

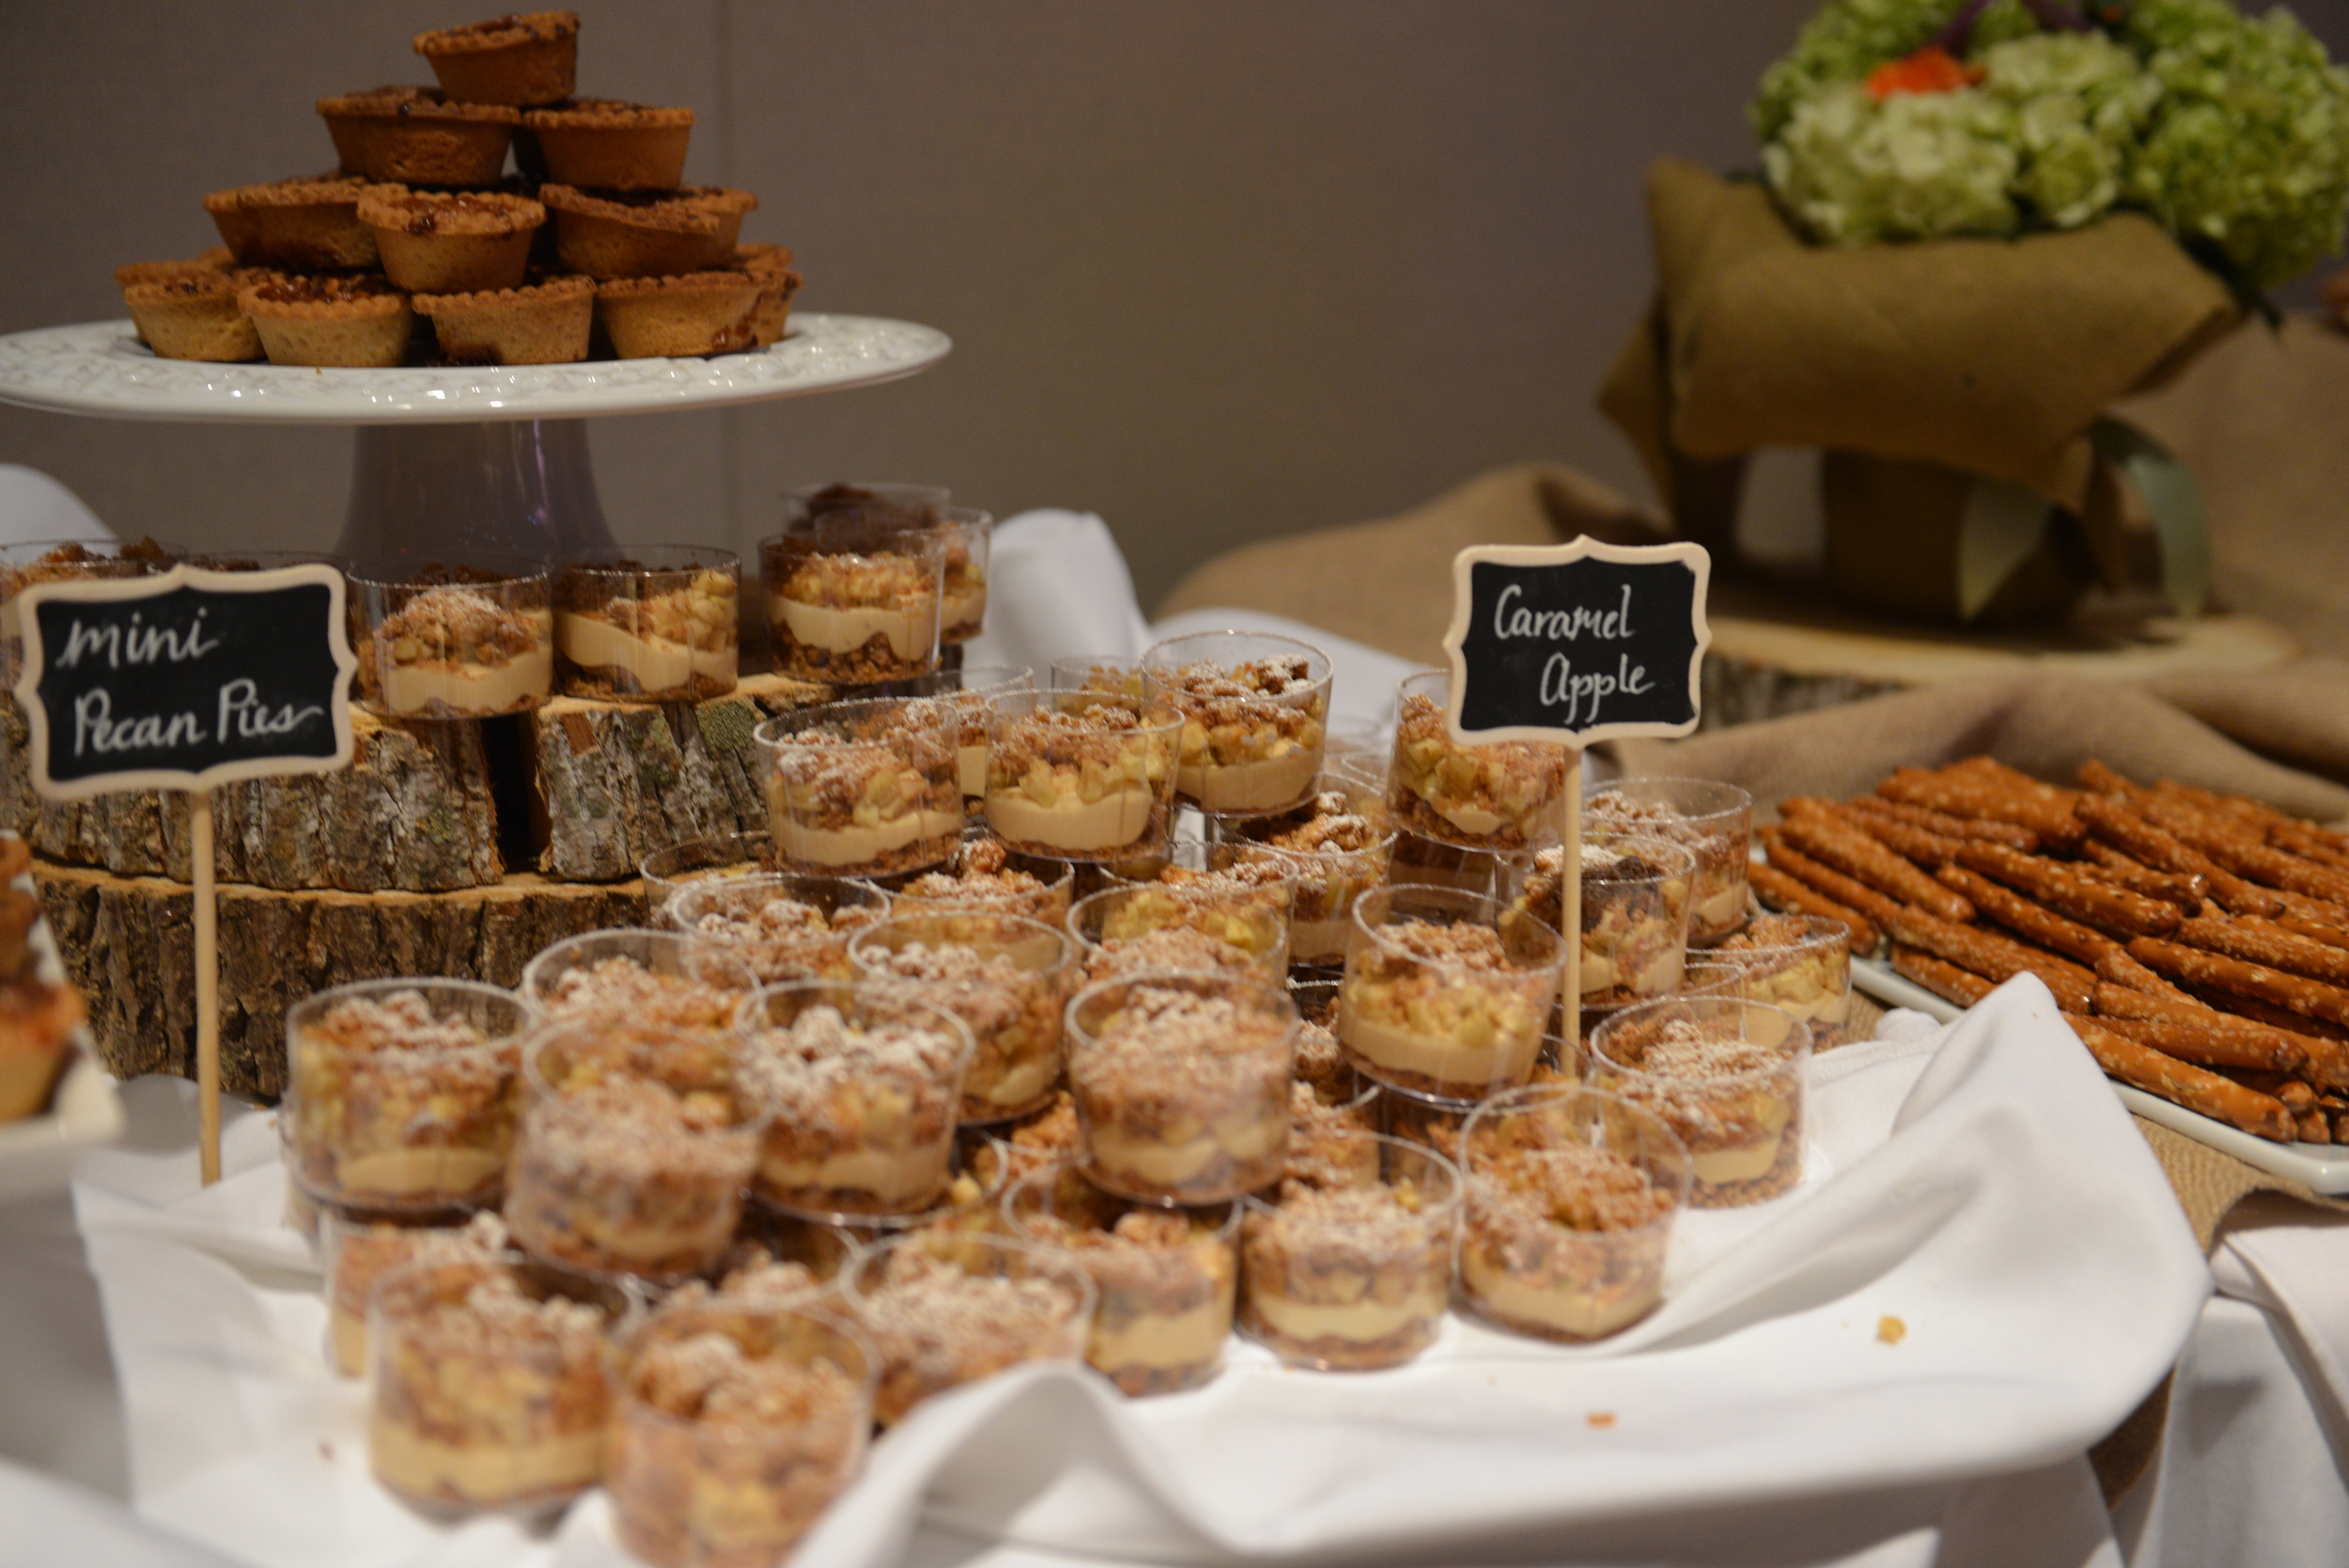
We're wrapping up wedding week with one of the sweetest weddings I've ever been part of. From the story of how these two came together to the dessert bar reception...everything about this day was just, well, sweet. And I couldn't have wished a sweeter day for two more deserving people!
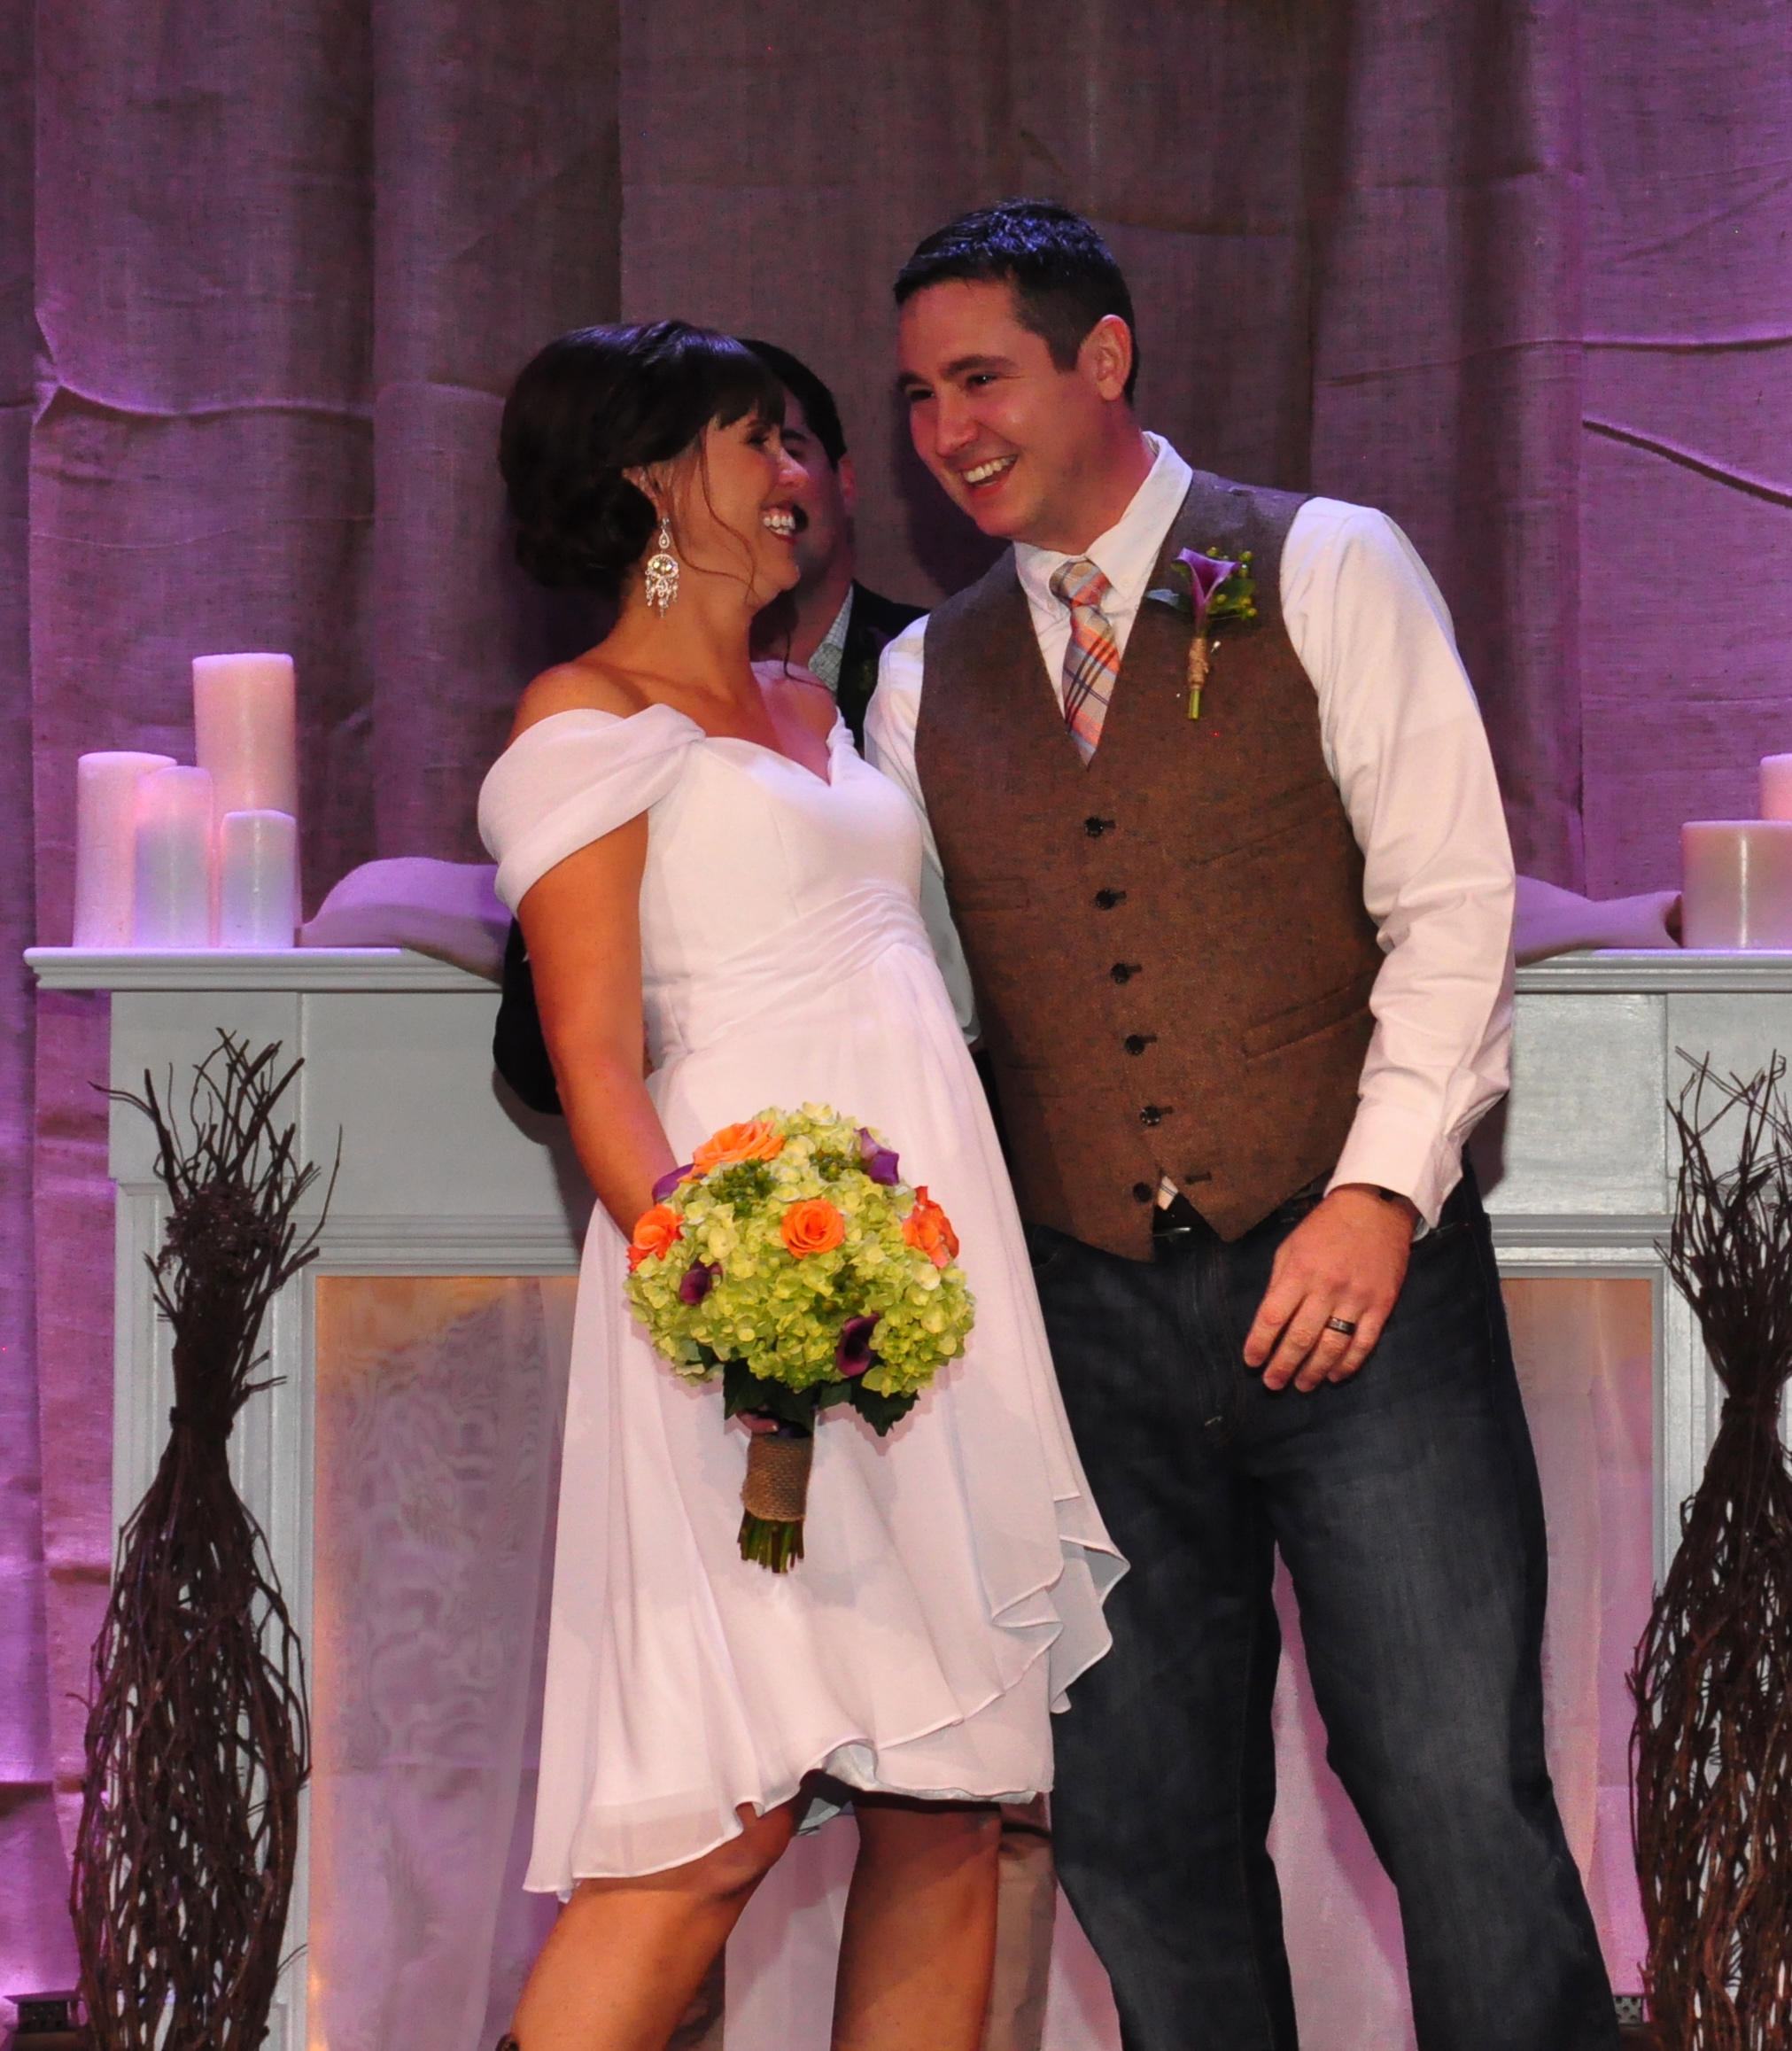
Meet Jen & Tim...
I could write an entire blog post on the incredible story of how God brought these two and their amazing families together. Jen is by far one of the strongest women I know with a faith like no other...so to see her find such a kind and caring protector like Tim was a true answer to many prayers.
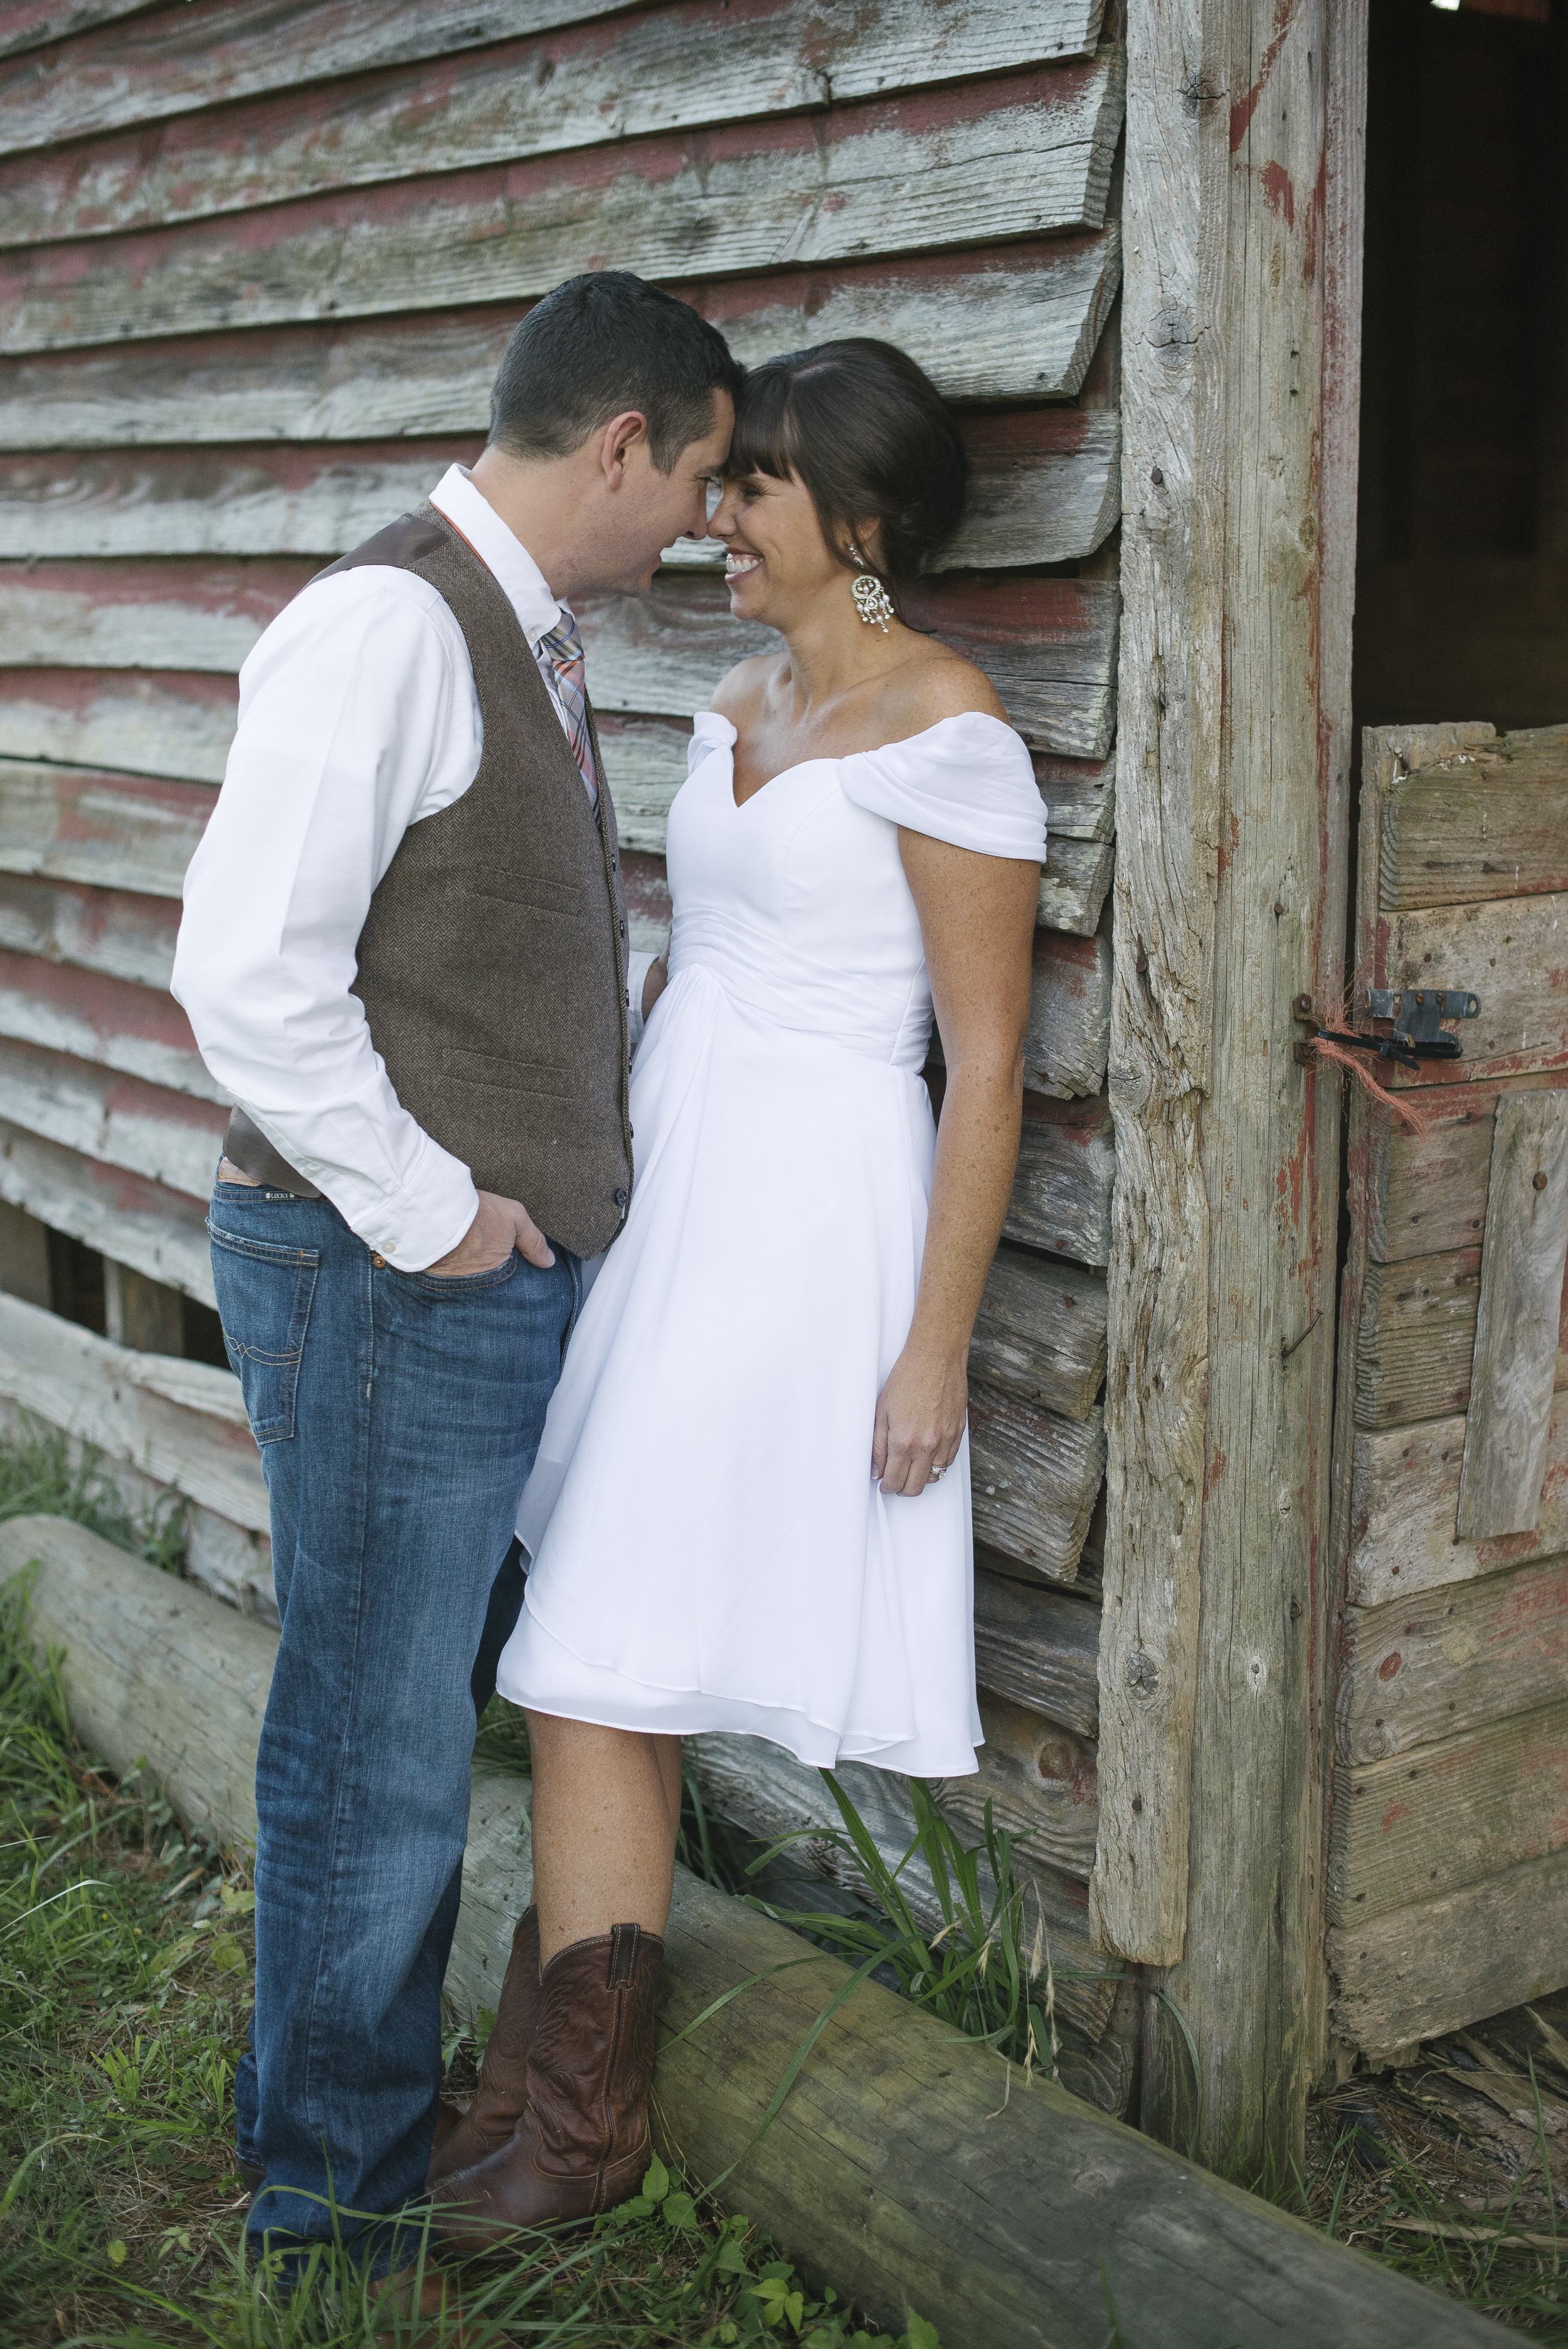

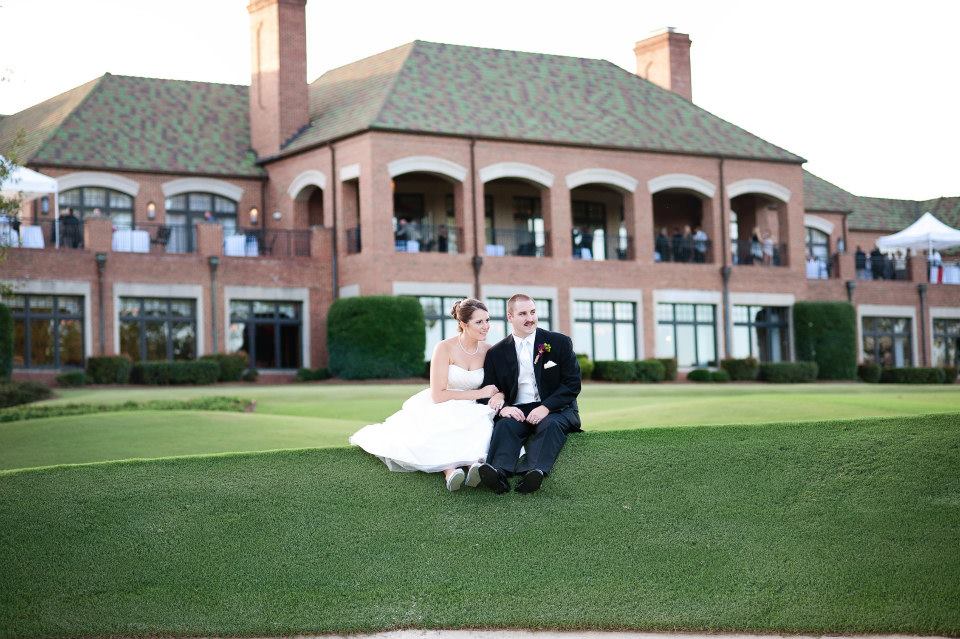
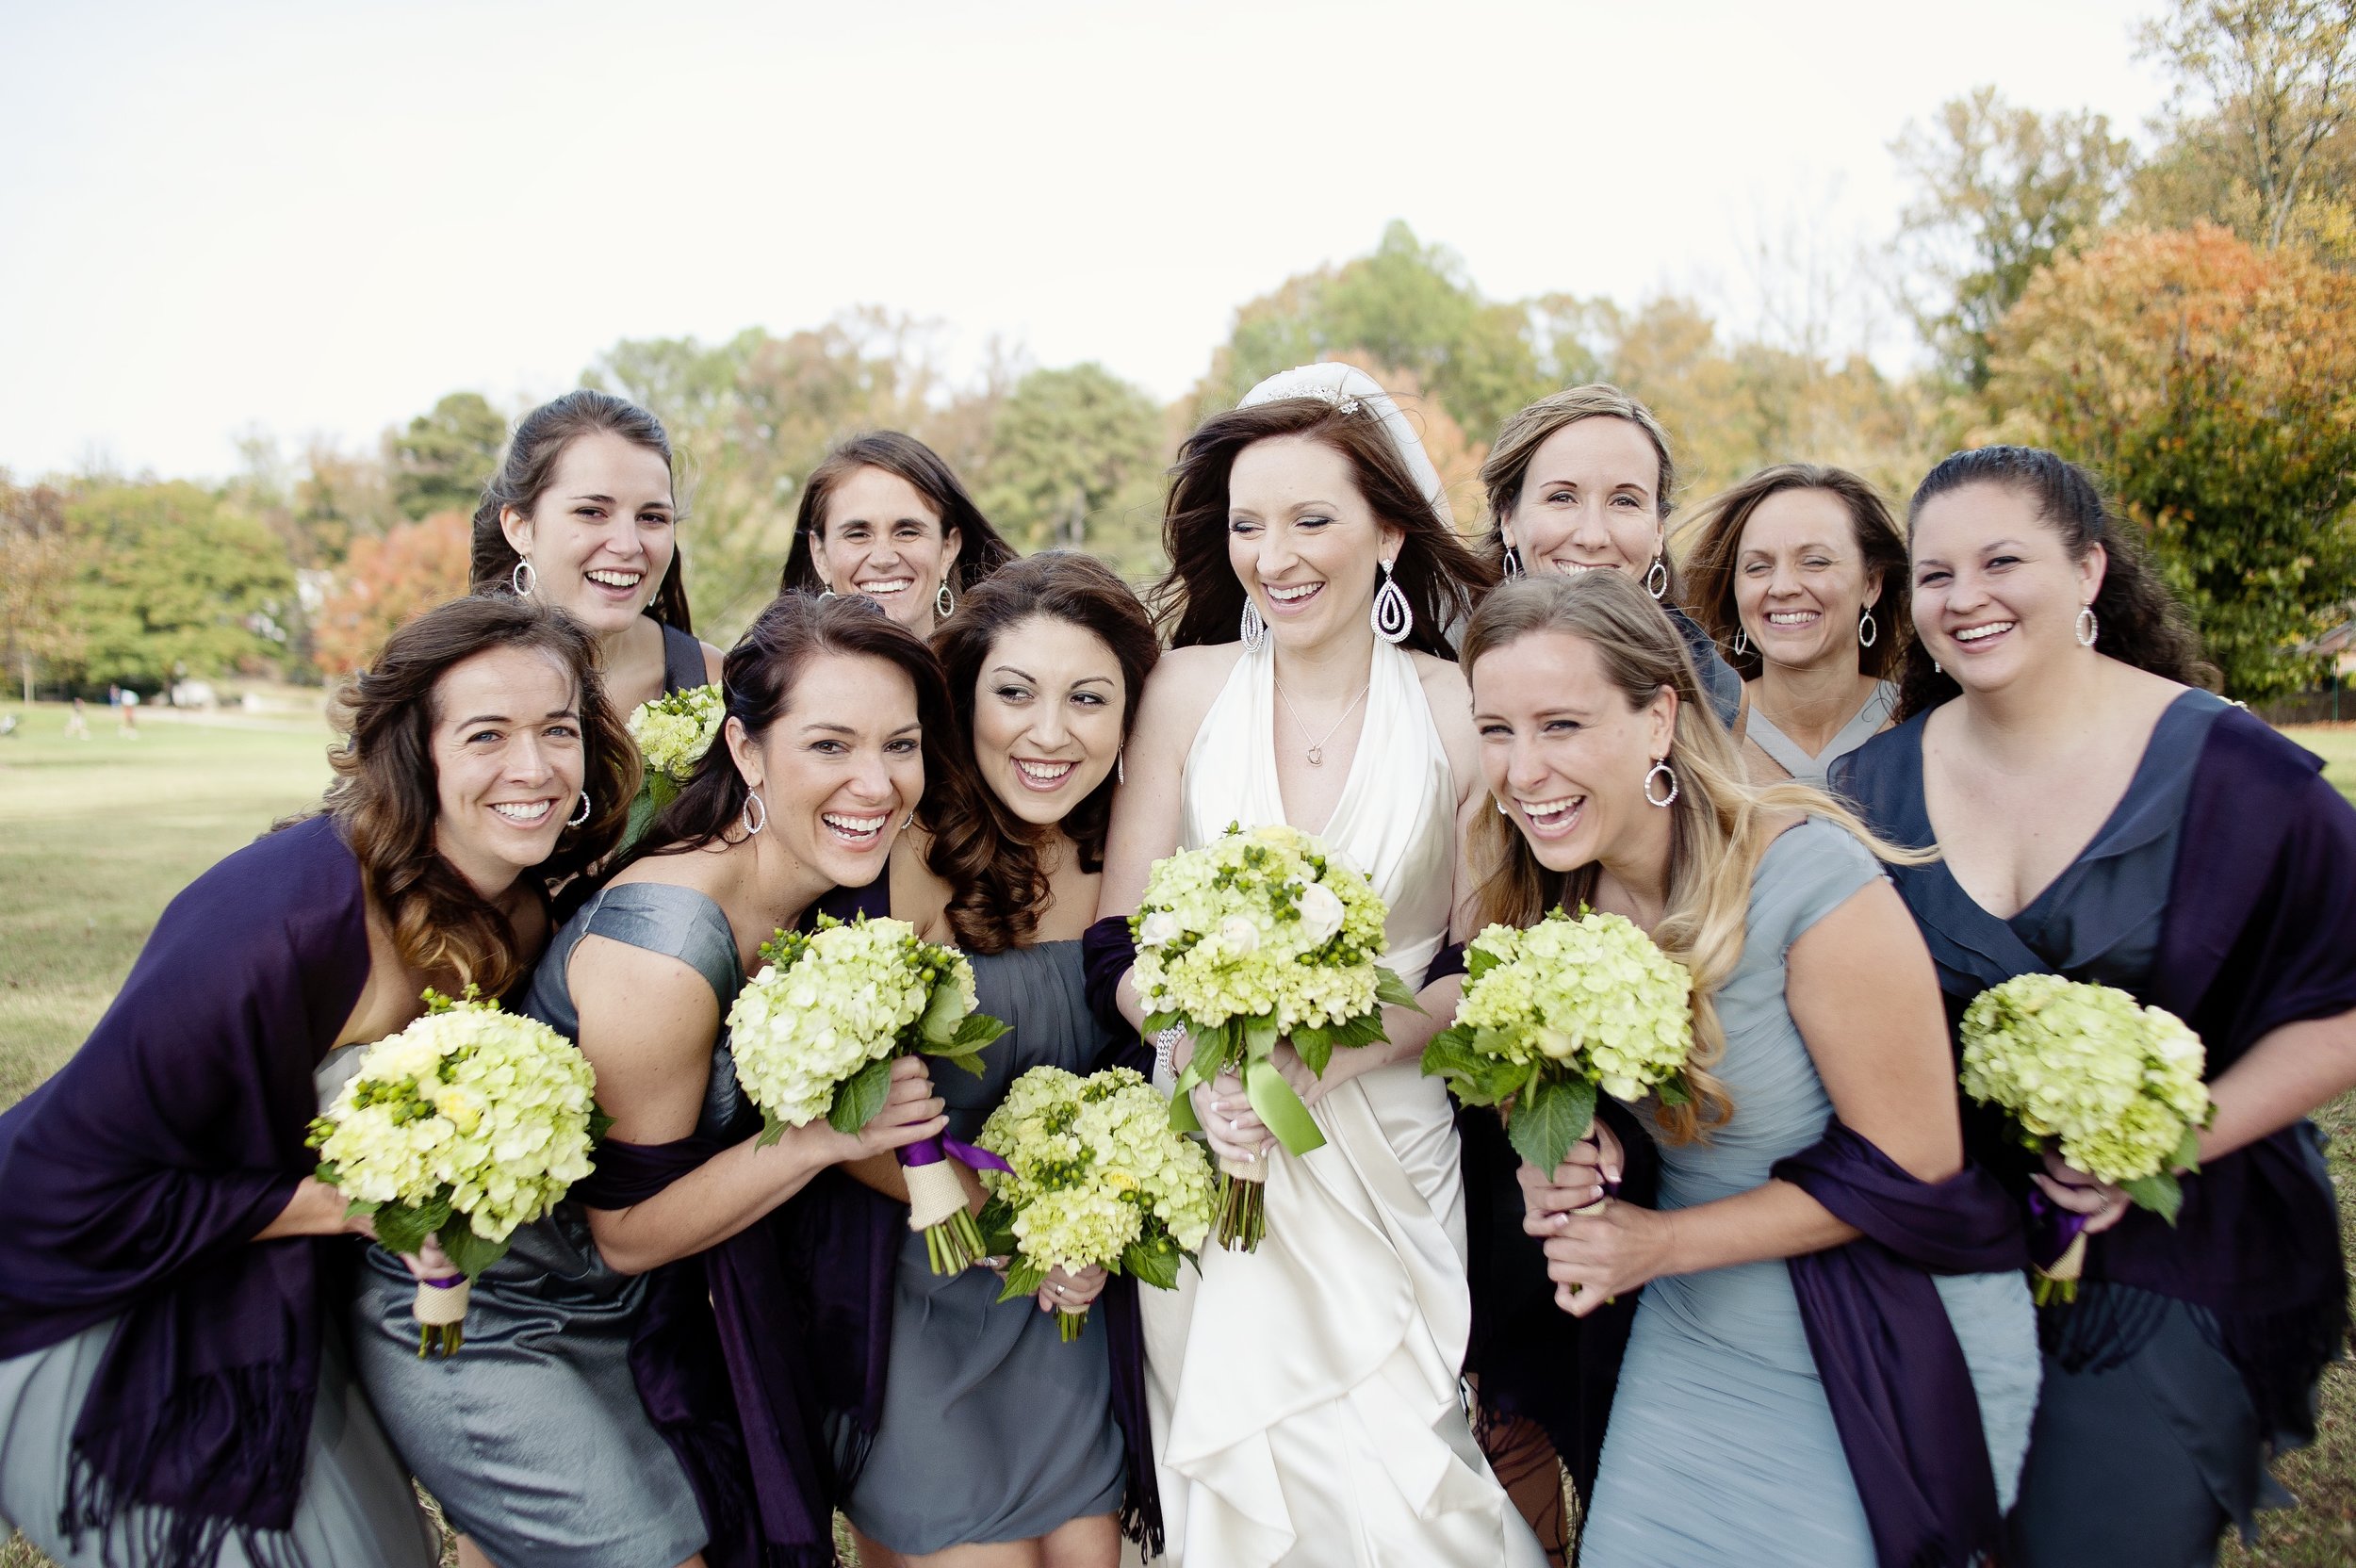
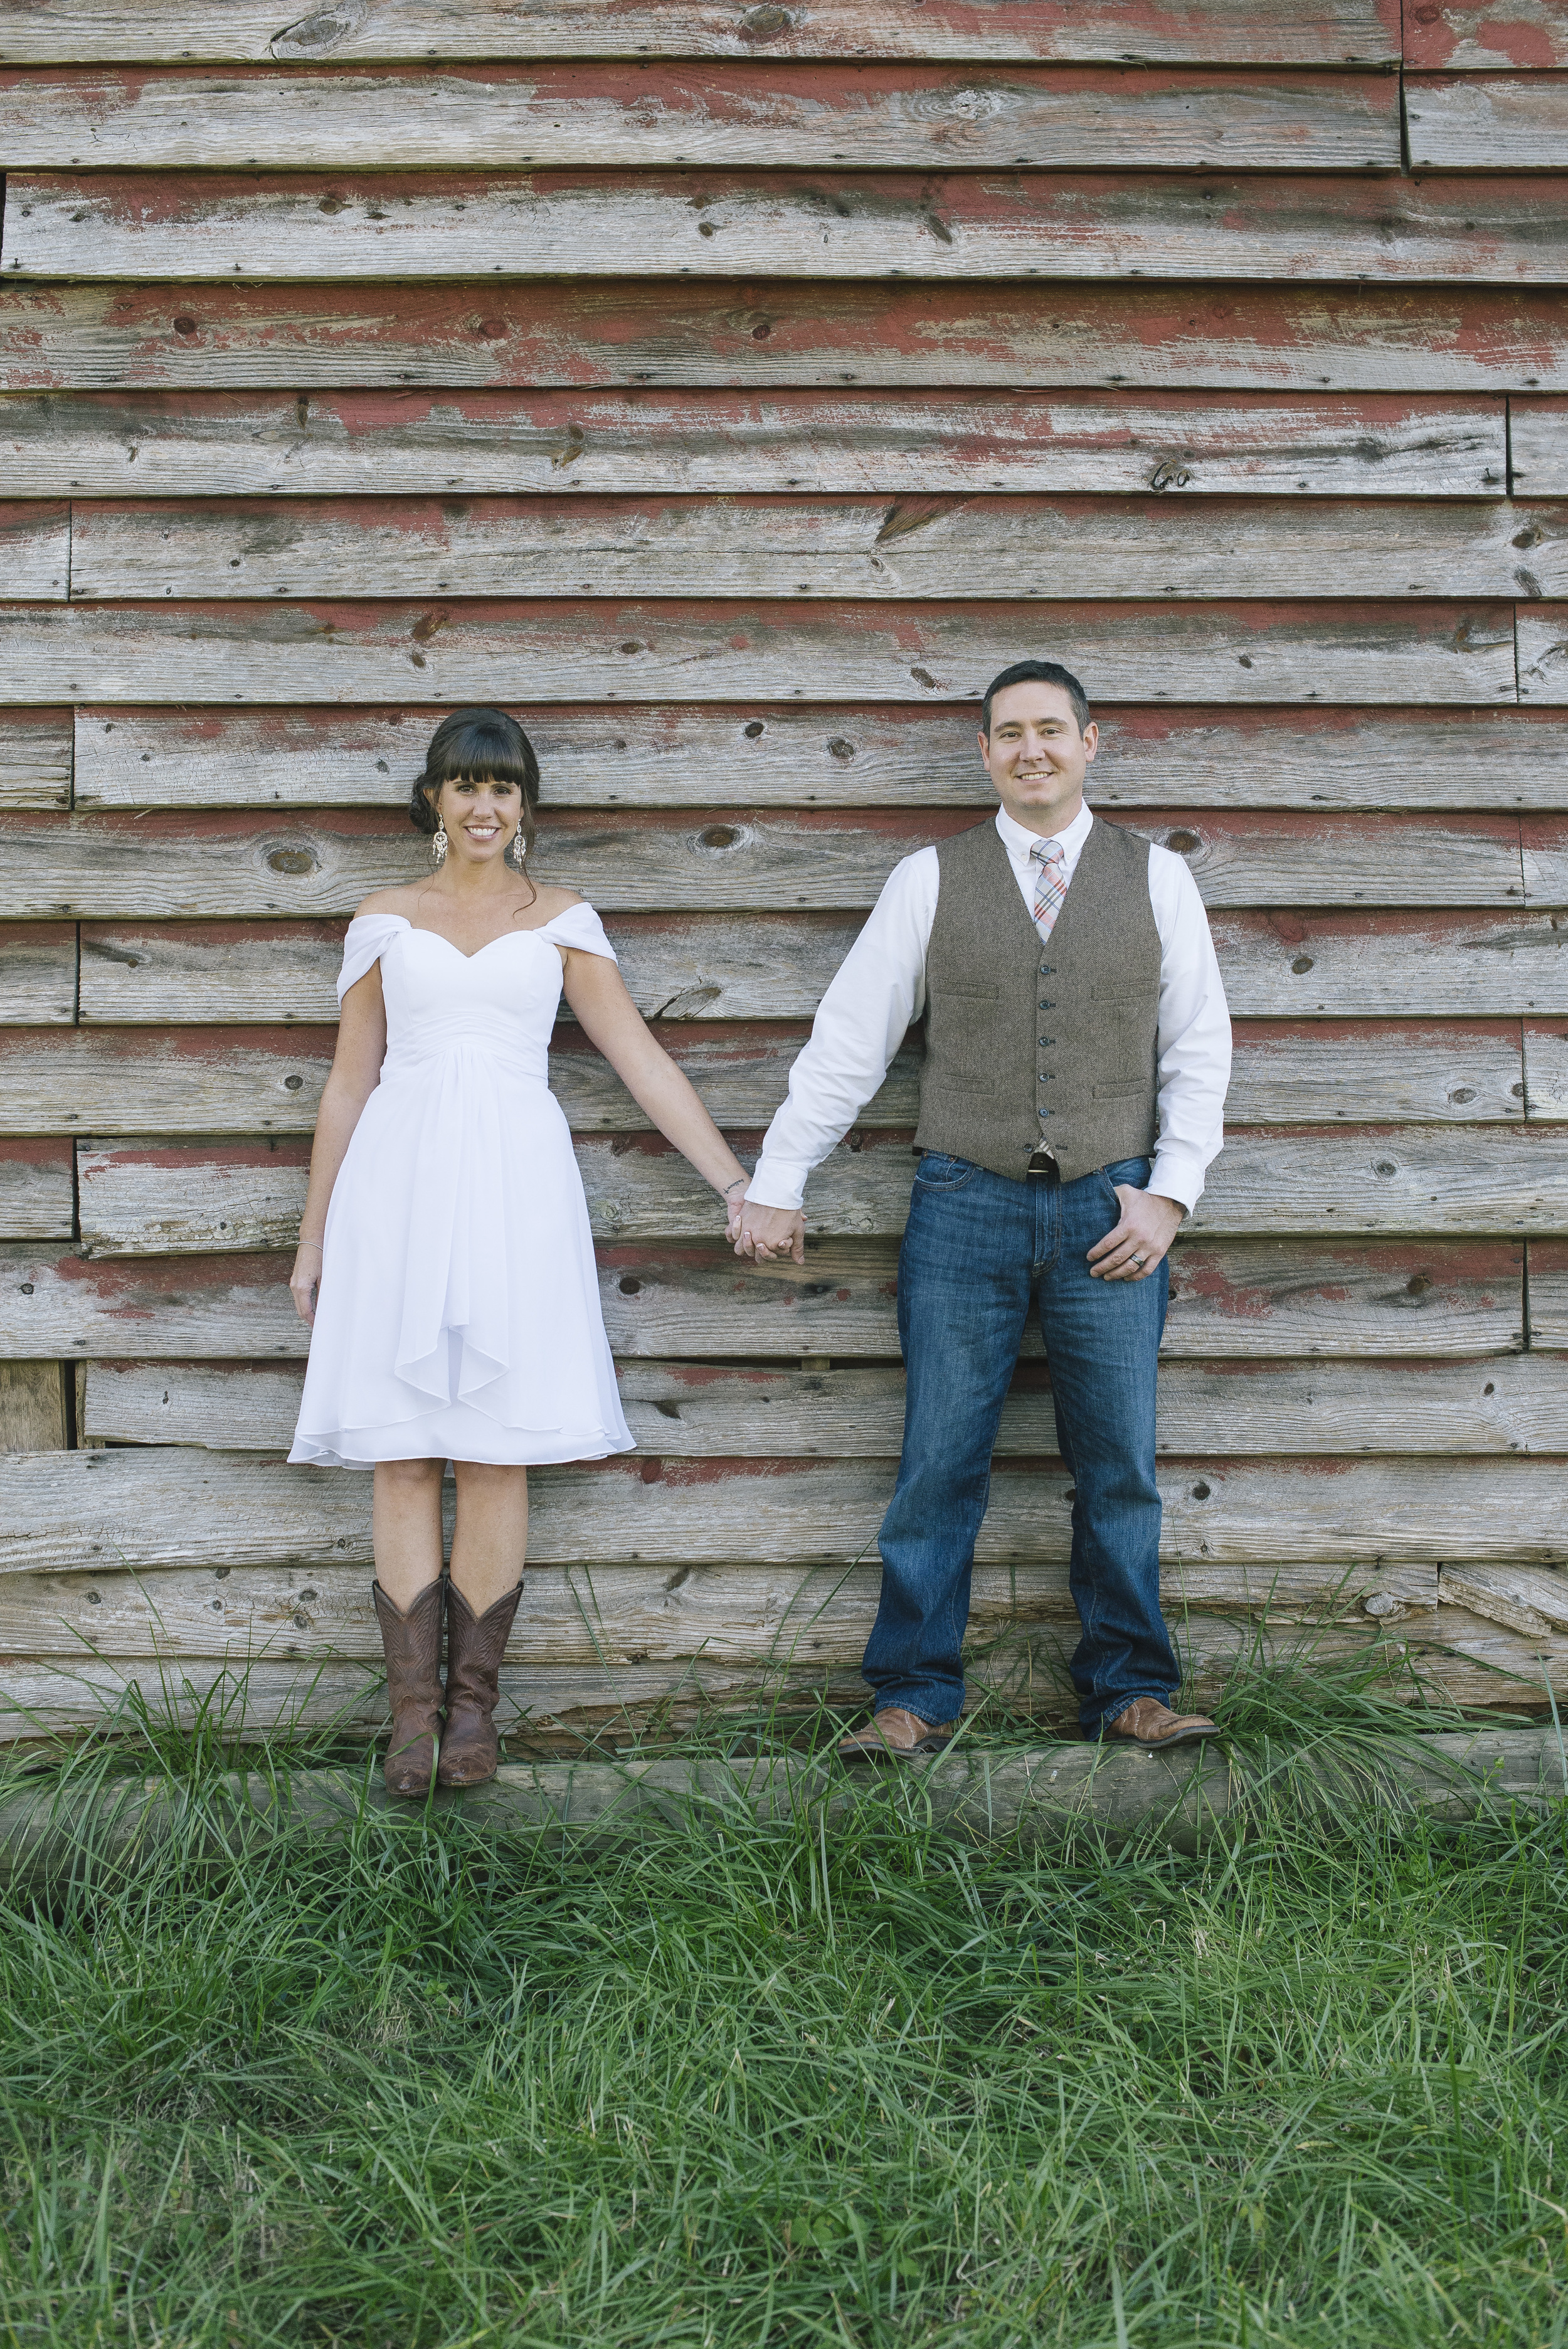
For their big day, Jen and Tim wanted a simple and intimate setting for their closest family and friends in an afternoon ceremony followed by a dessert reception. And if you know the bride, there are two things she loves: cowboy boots and the Clemson Tigers! So of course, those had to be tied into the theme of this country casual fall wedding.

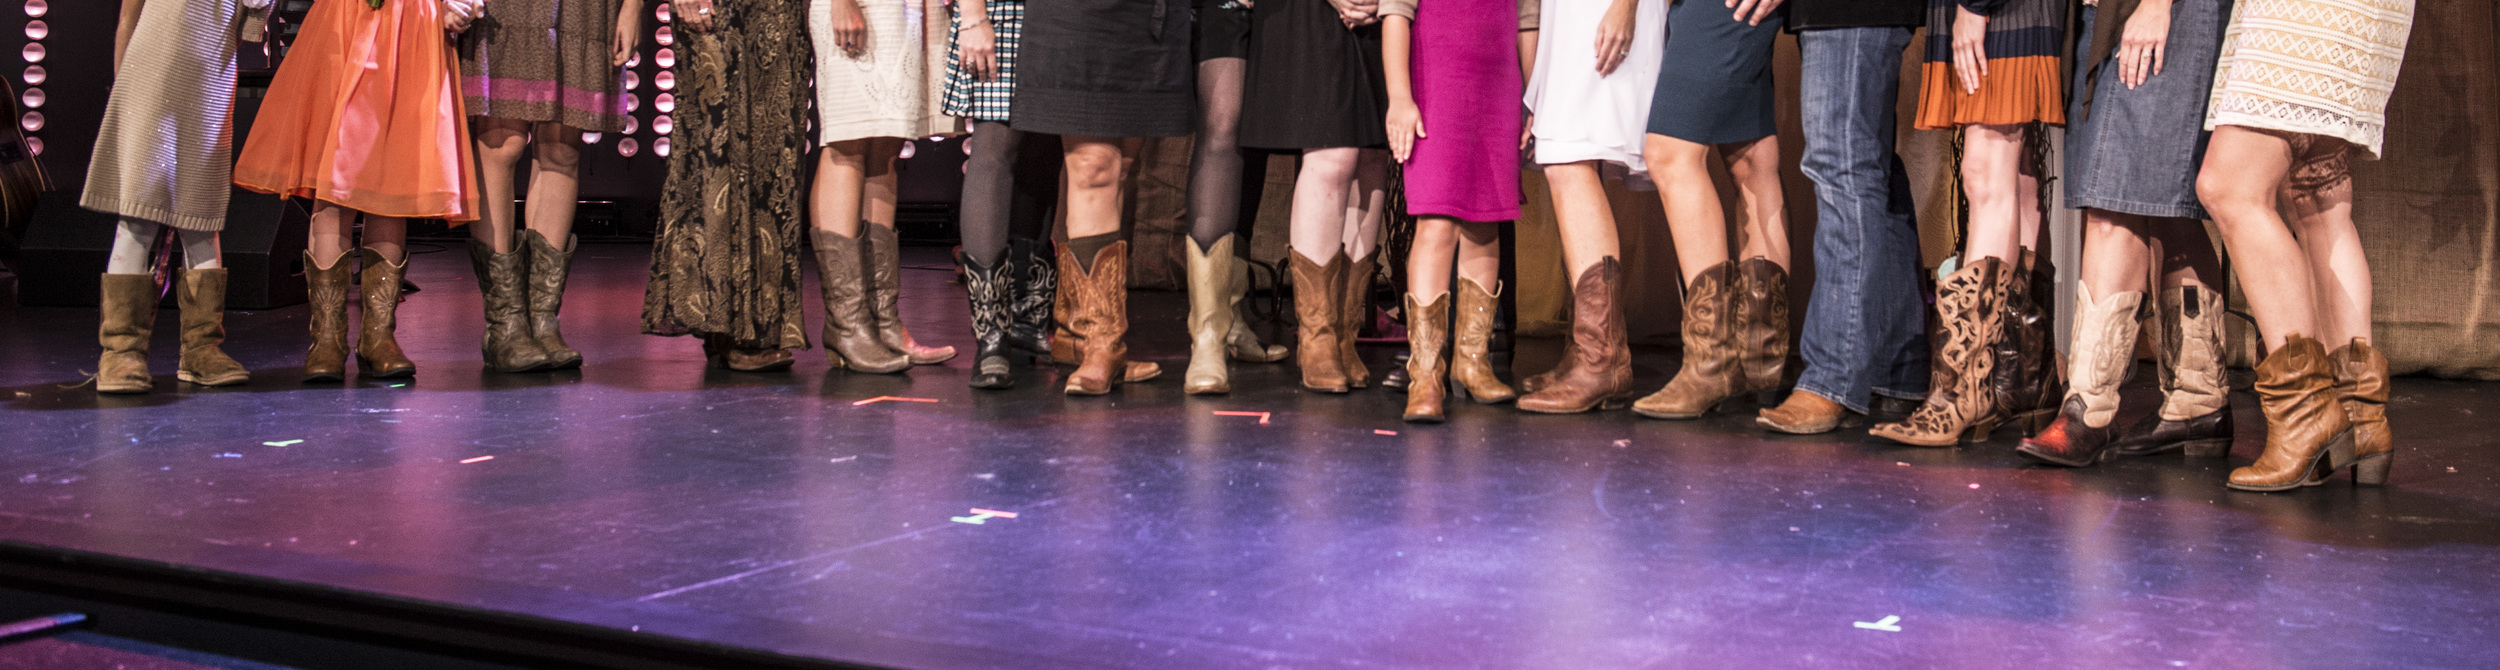
All the guests who sported their favorite boots!


Instead of a traditional guest book, family and friends signed these log slabs instead!

The ceremony and reception were both held in the same room, but to keep things casual, the bride opted for round tables for both the ceremony and reception....or what I like to call a "family style" ceremony.

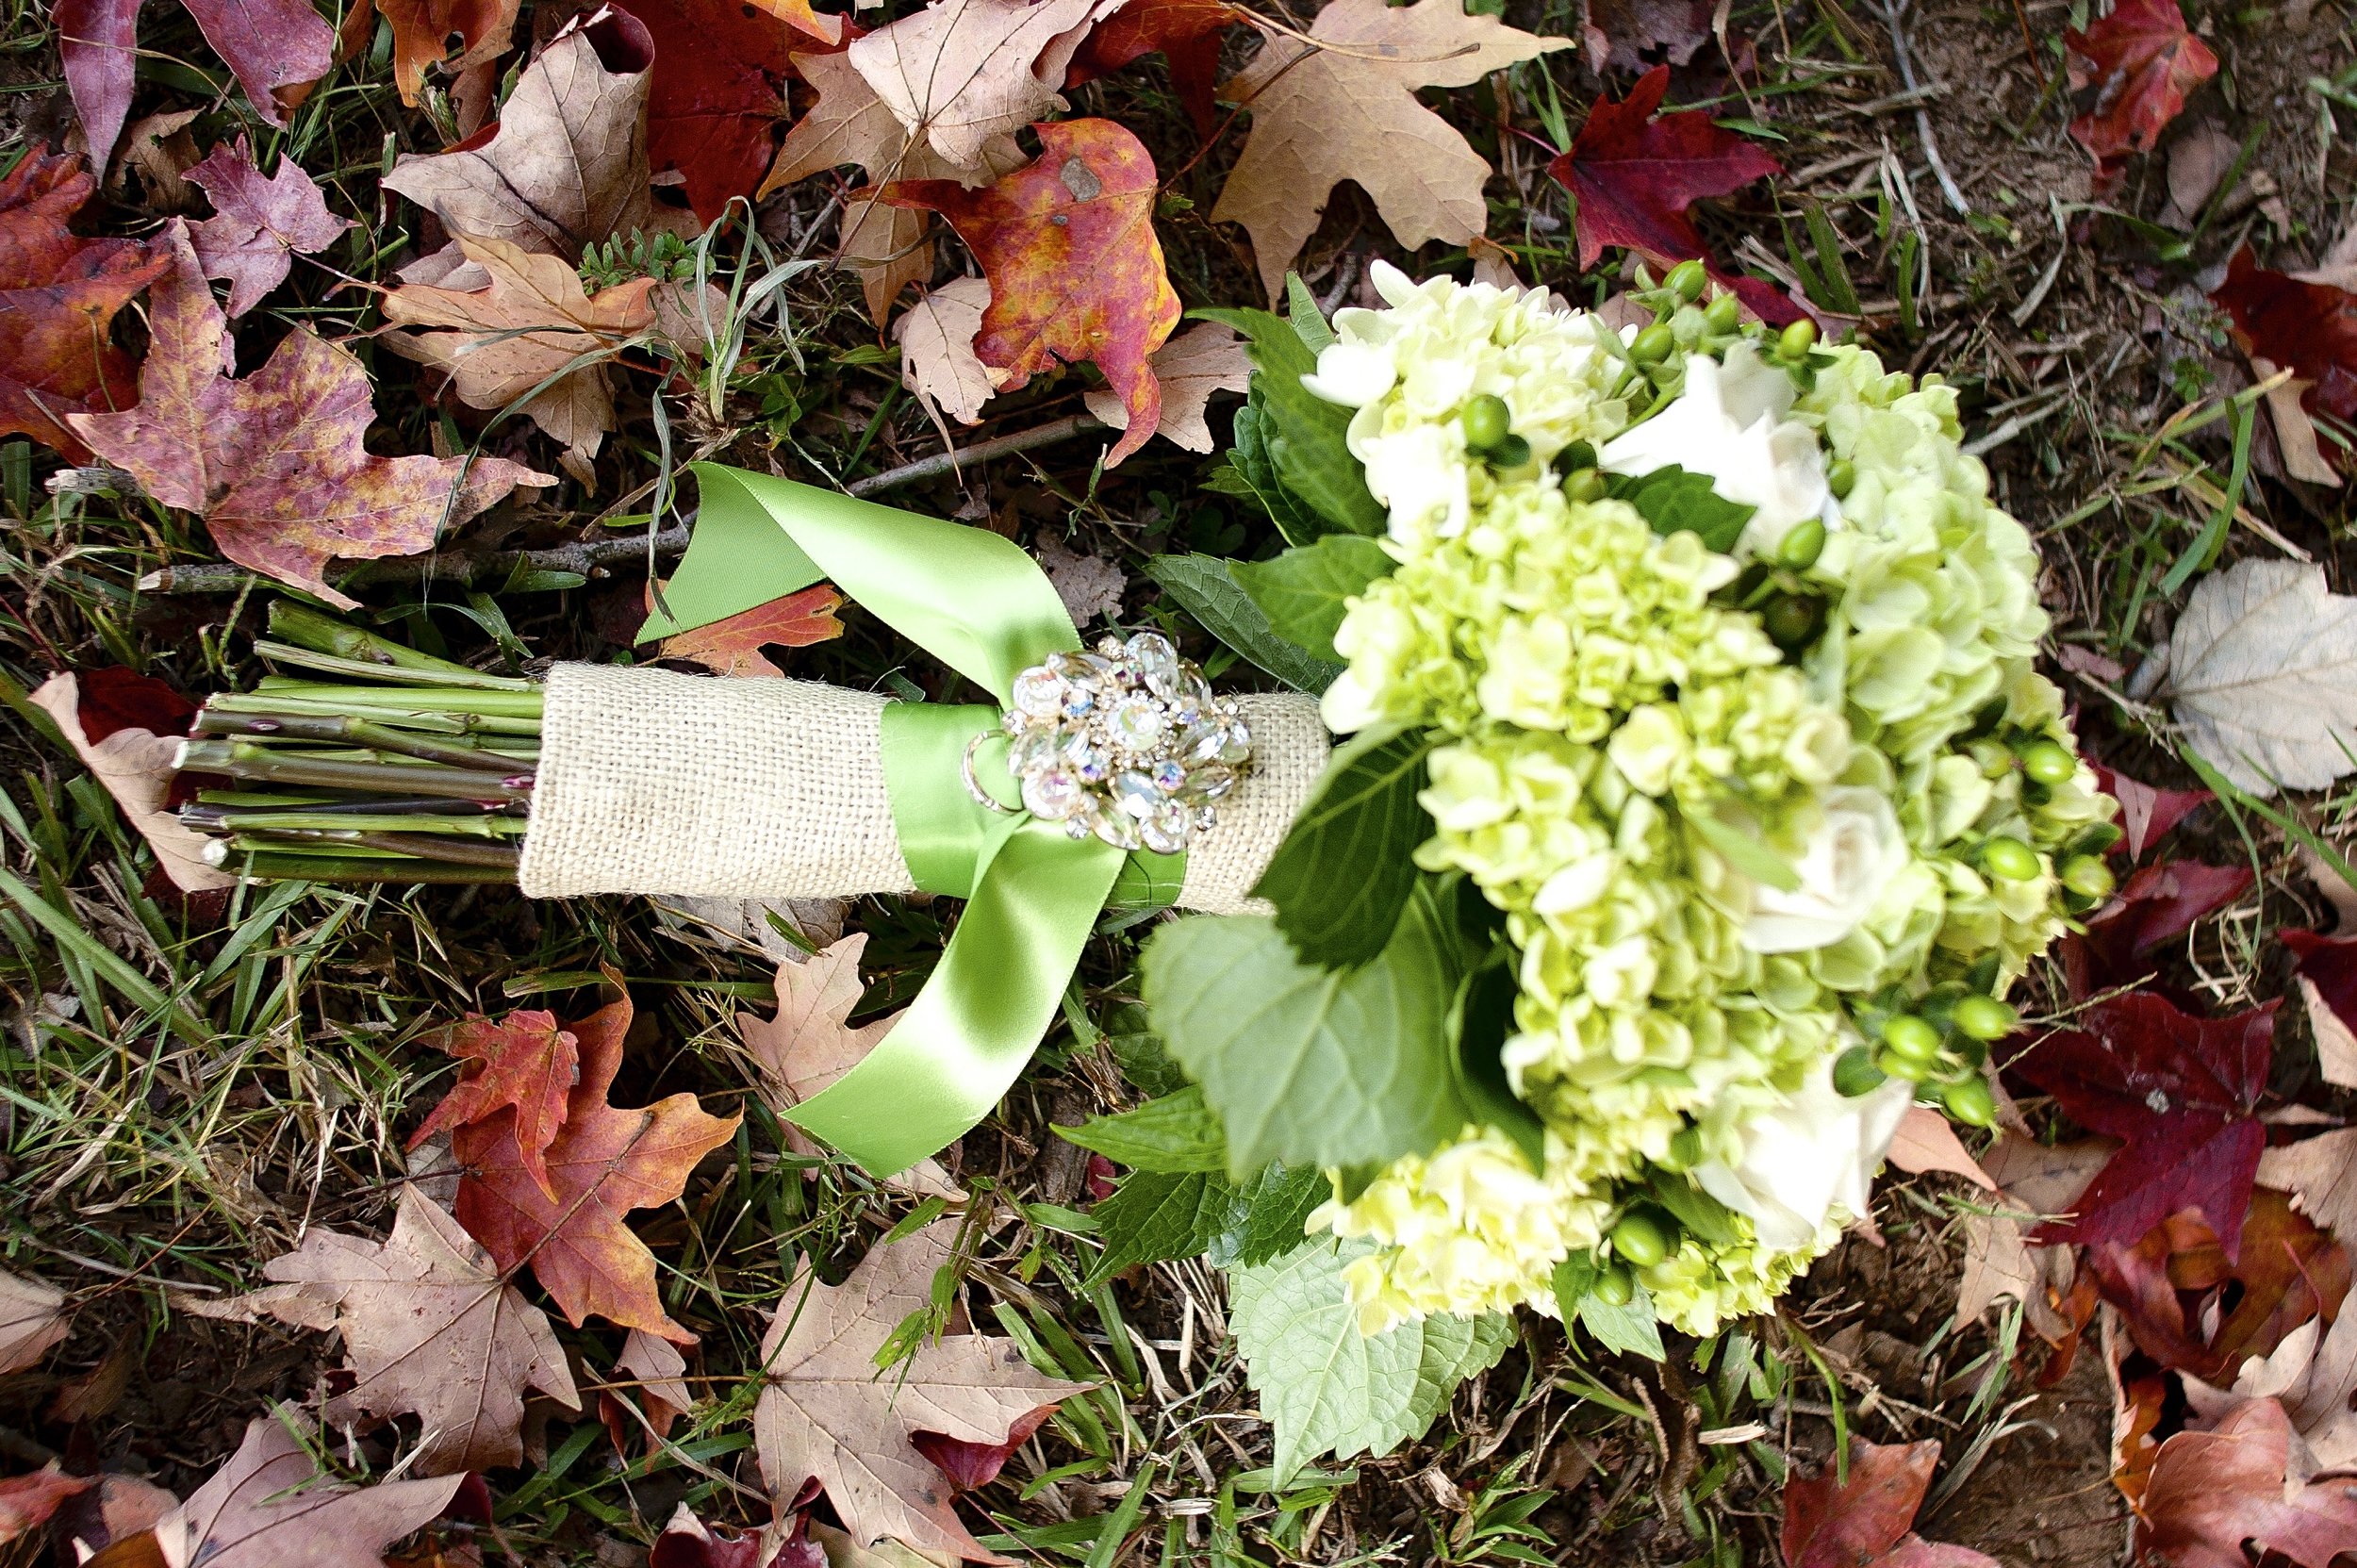
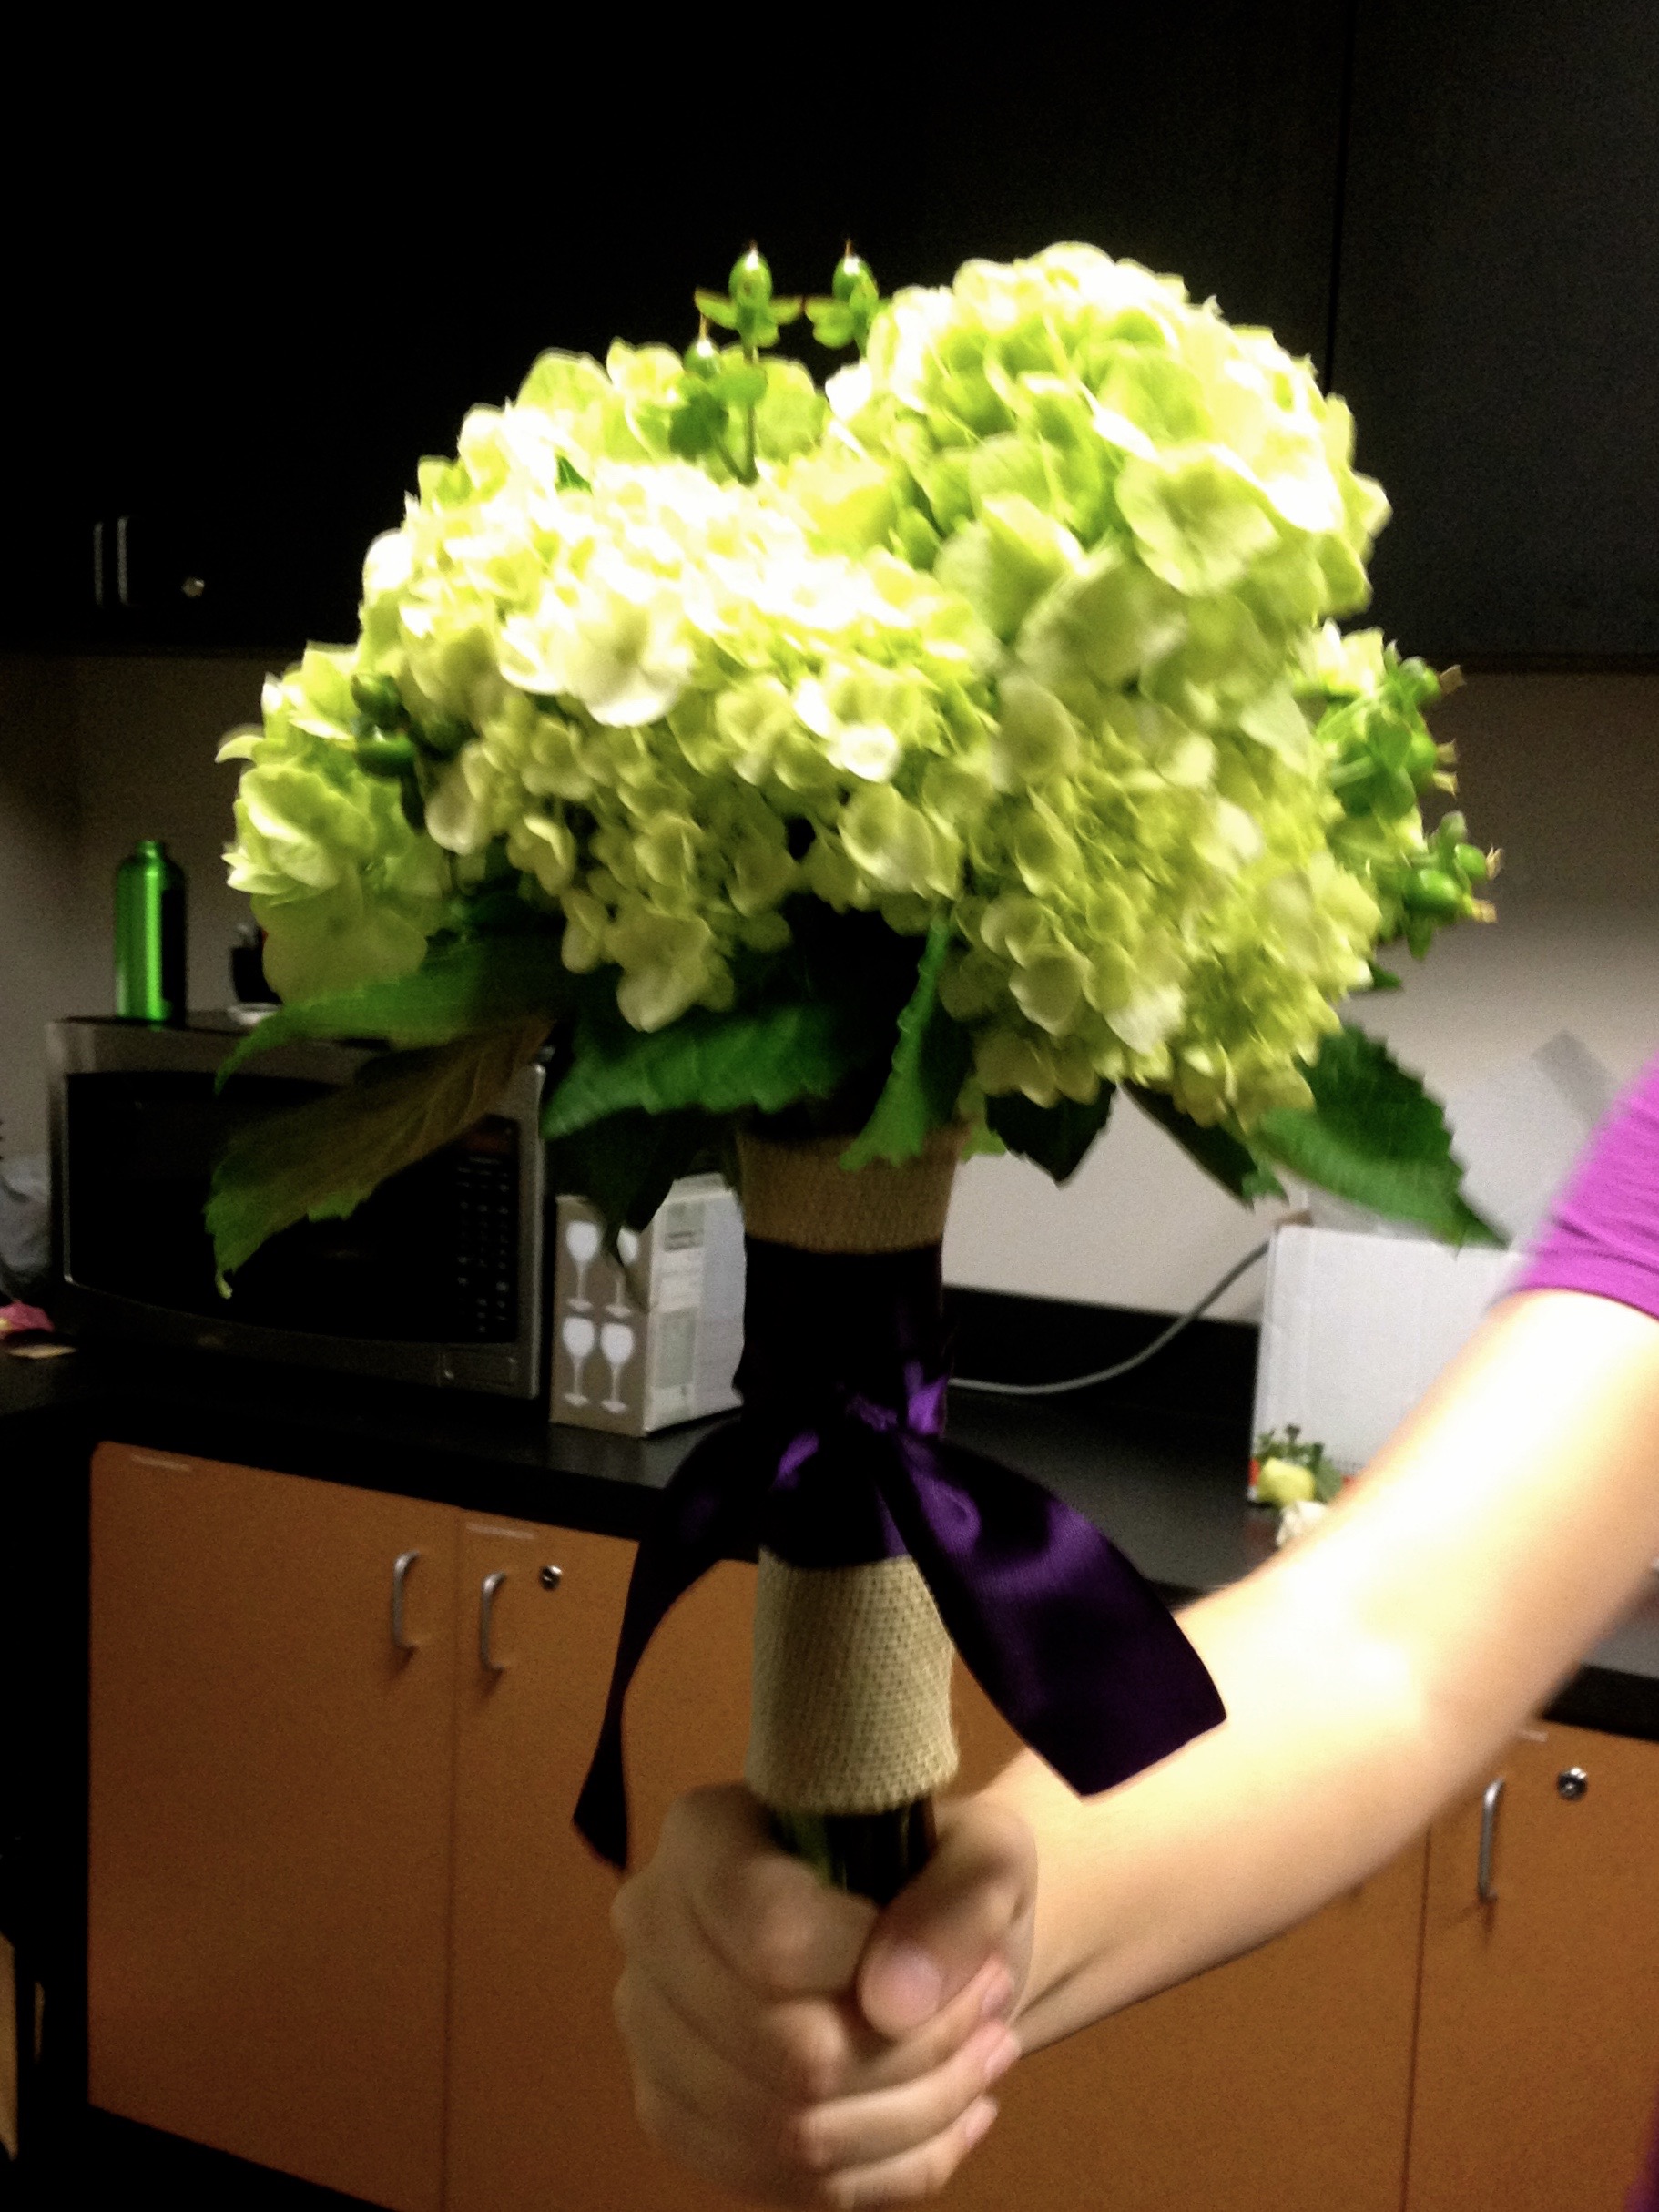
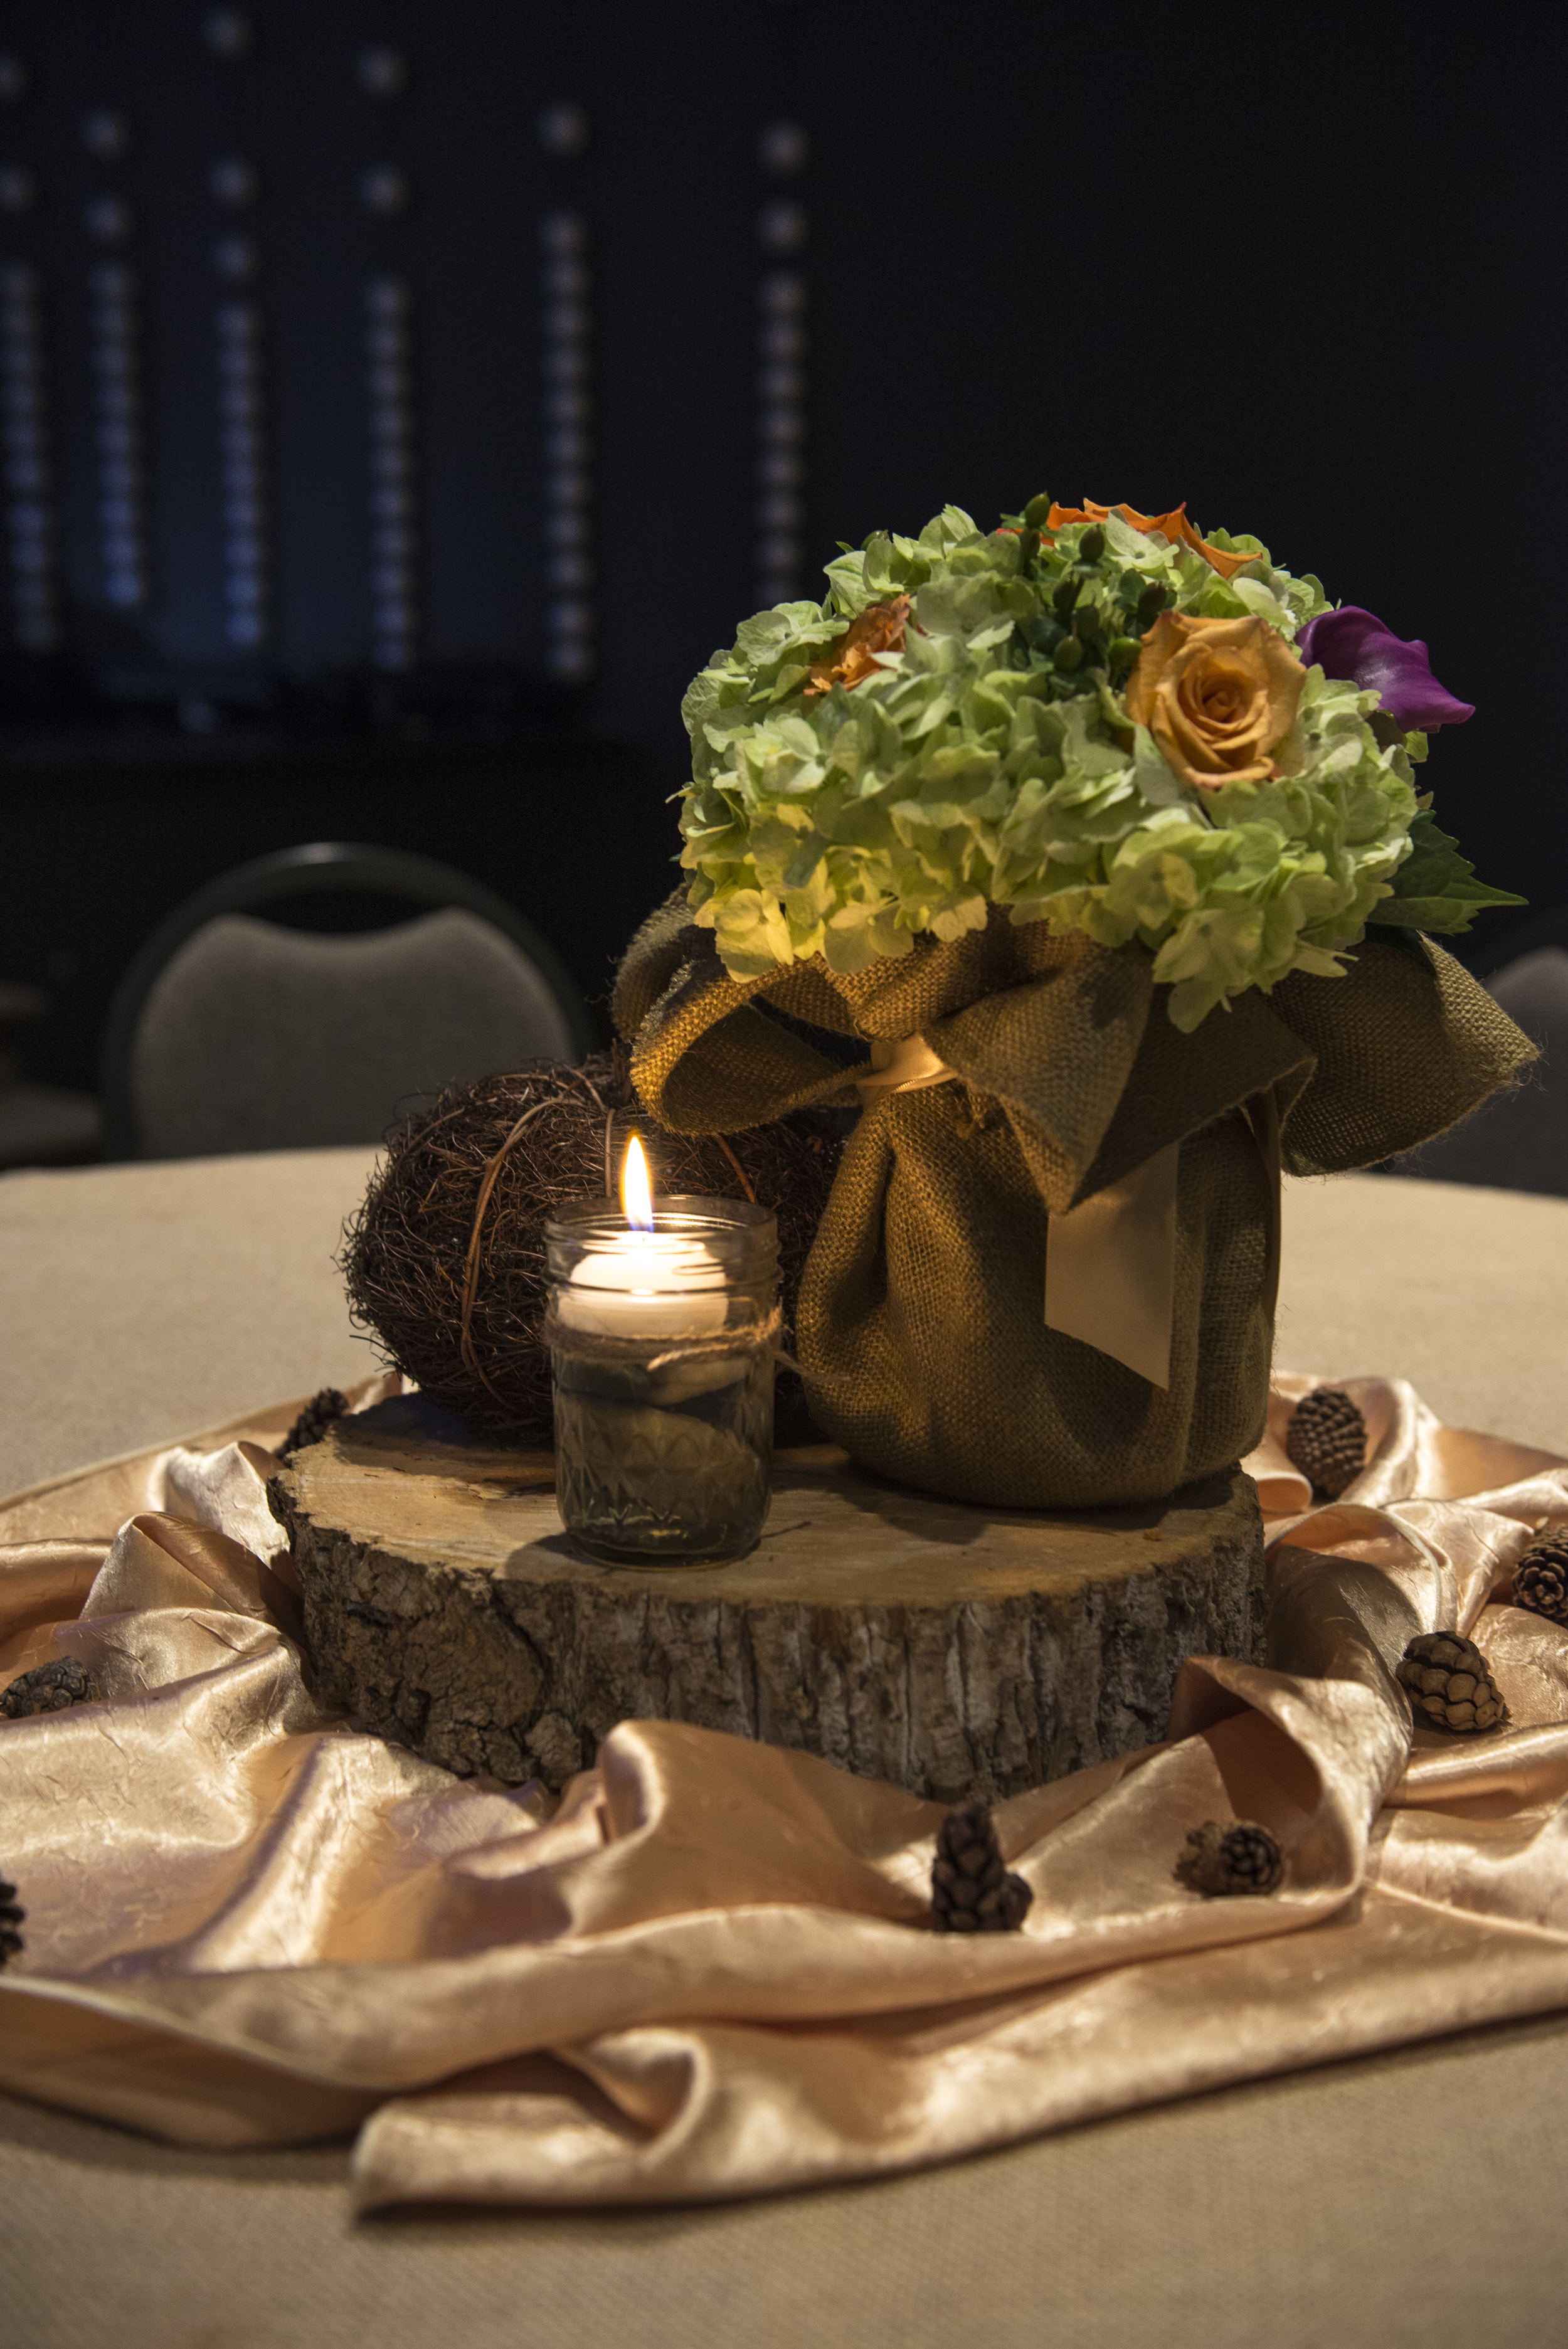
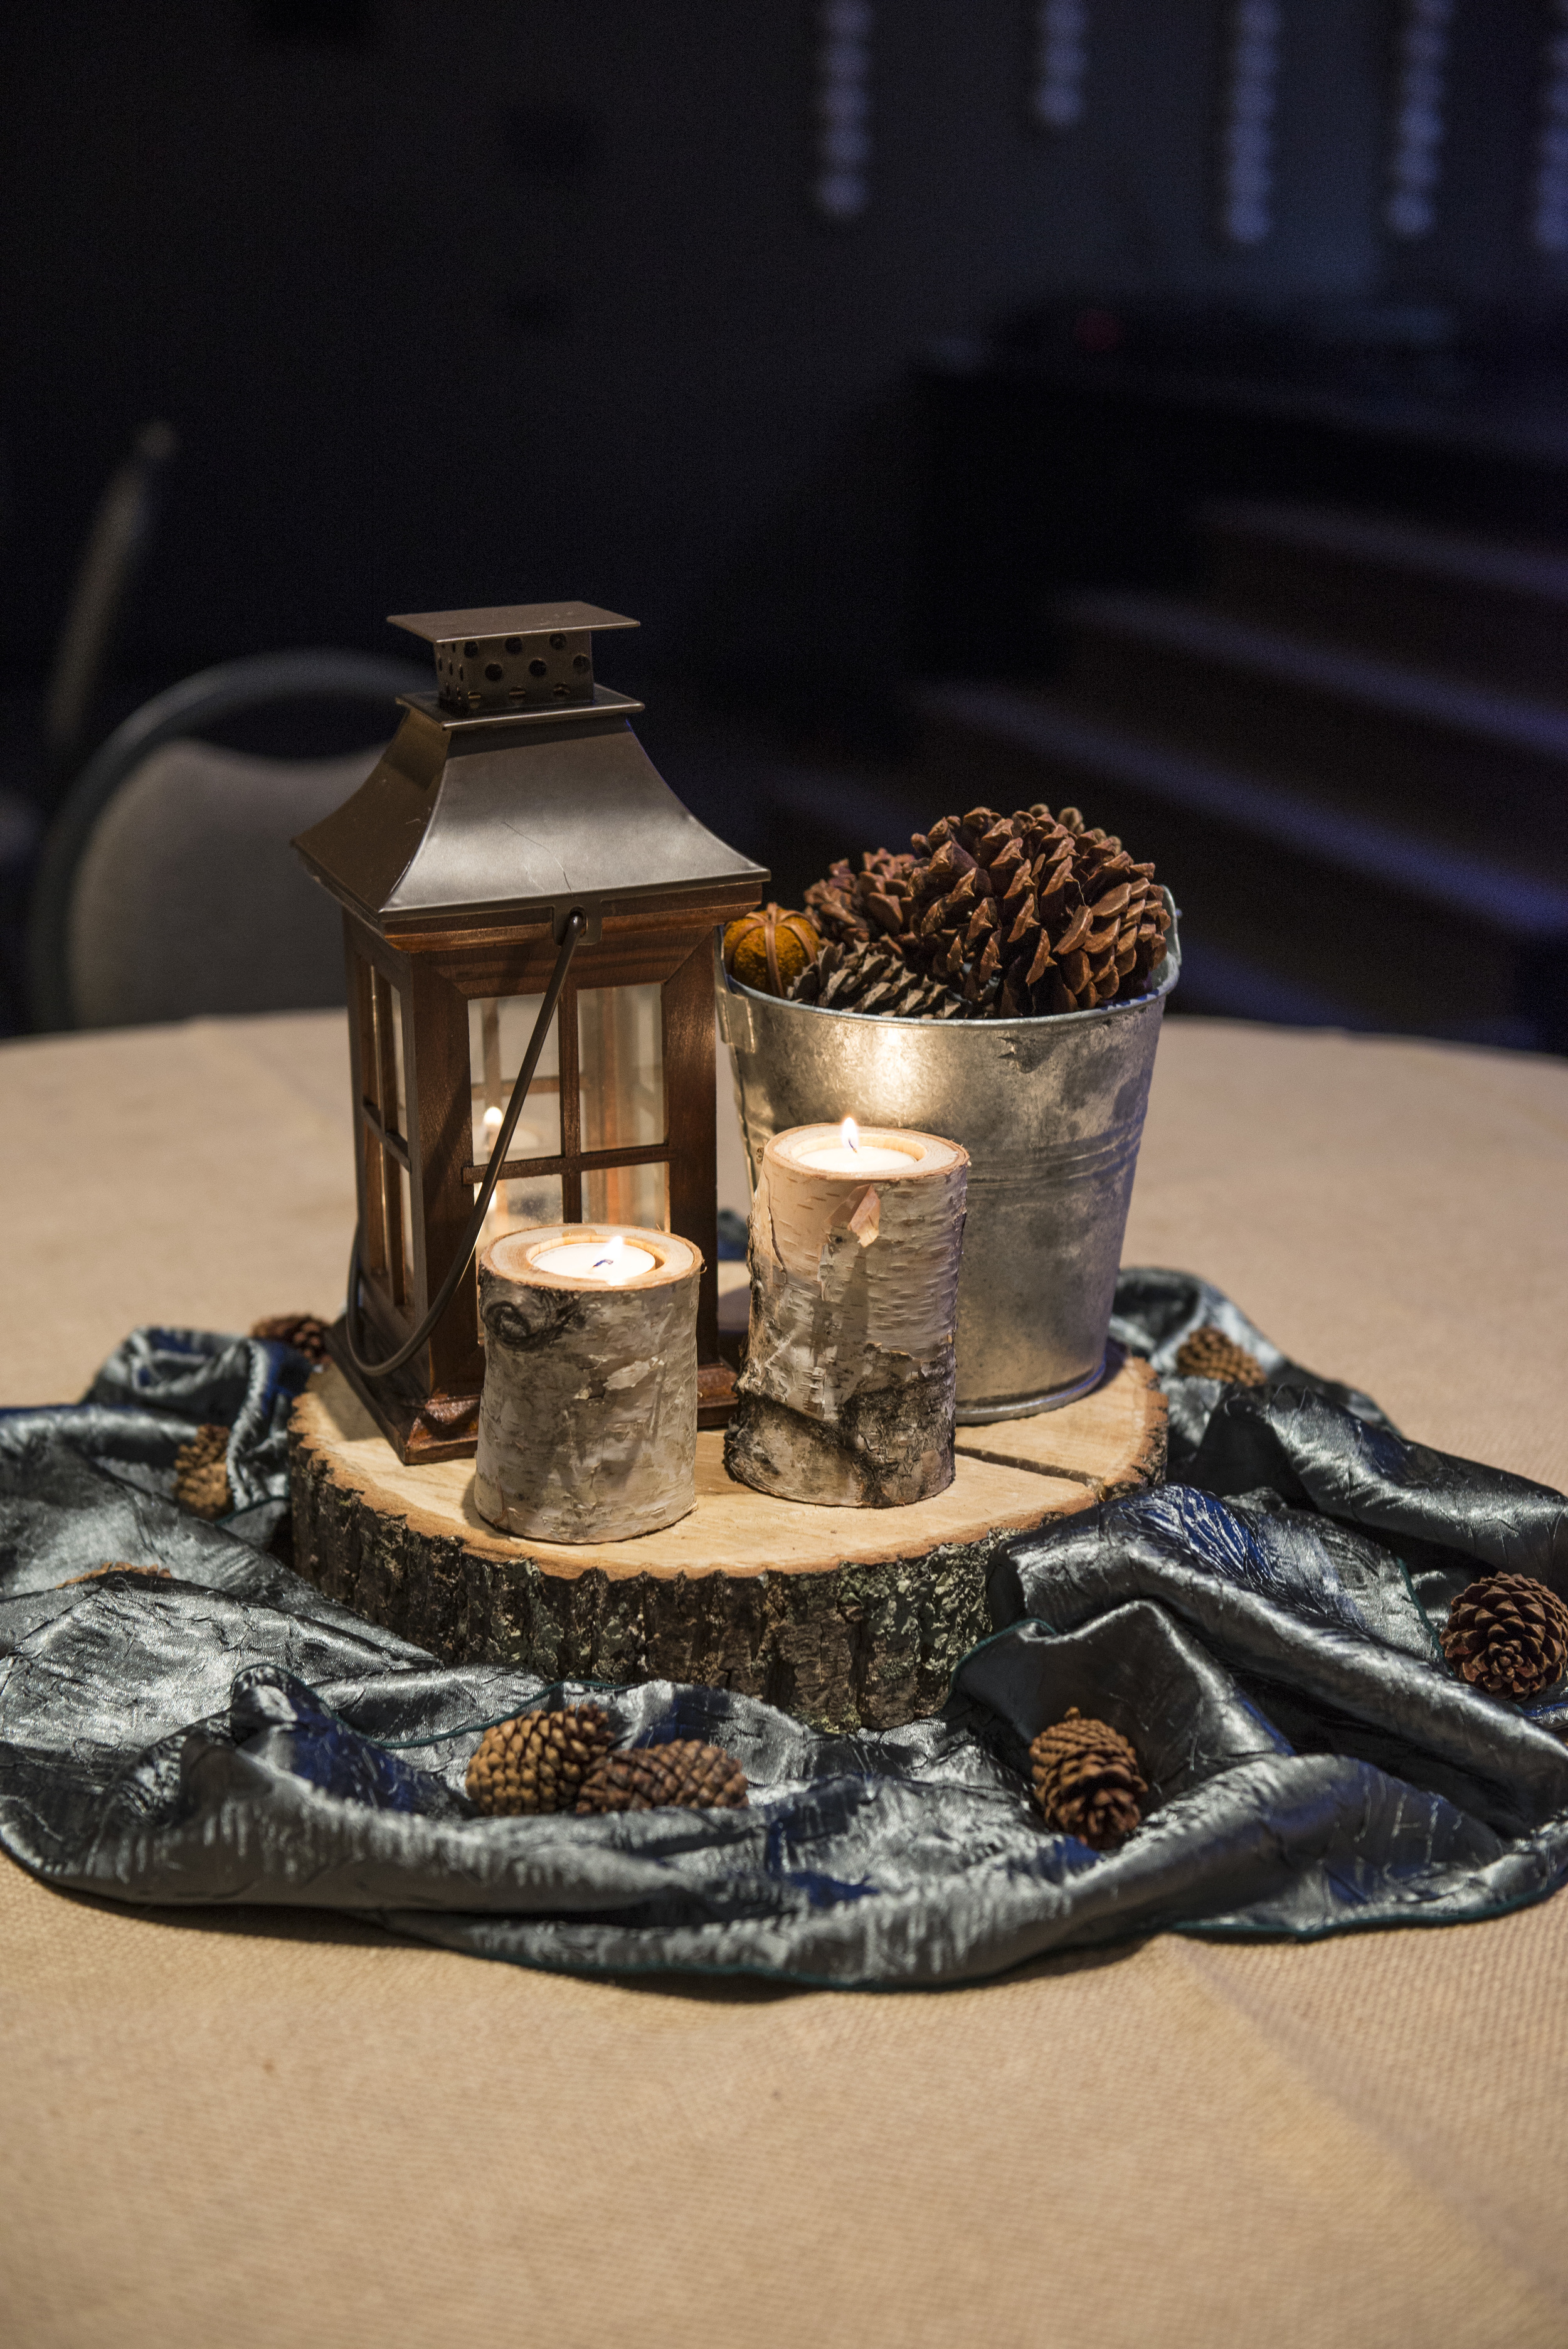
With wood slabs, burlap, pinecones and pumpkins...these fall centerpieces were accented with some bright fall flowers (including Clemson orange and purple, of course) to match the bride's bouquet.
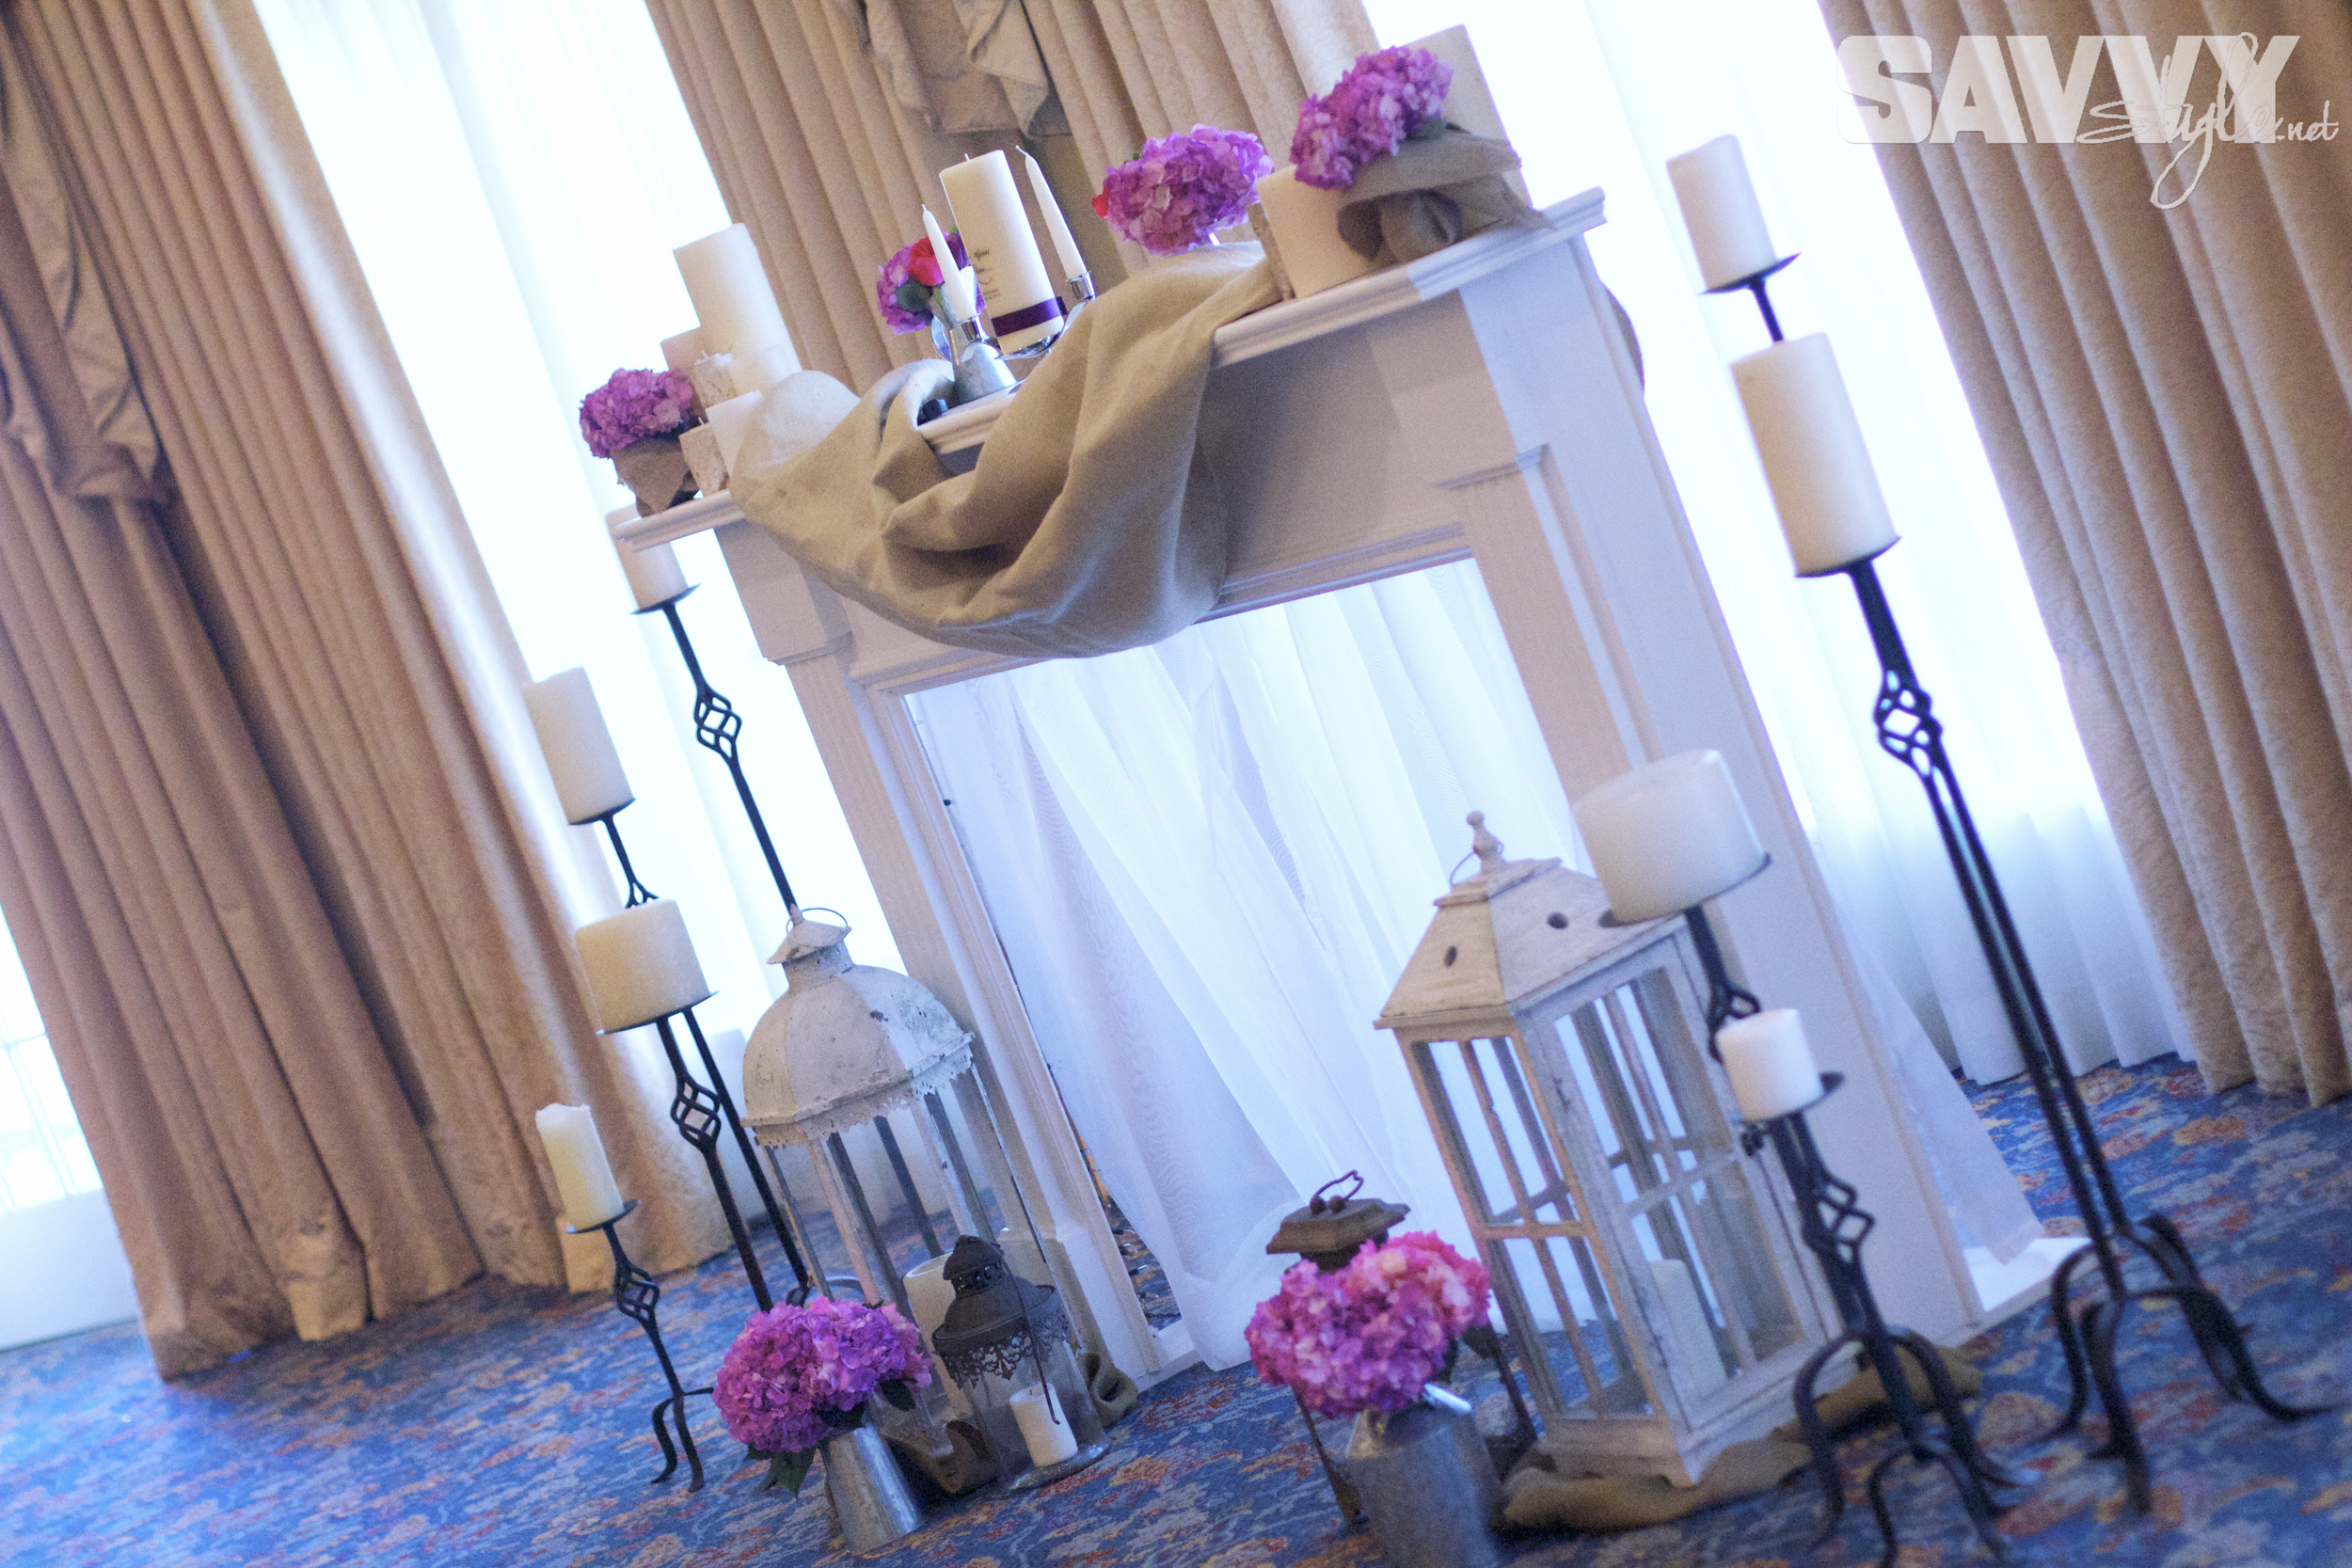
Oh, and remember my awesome Craigslist fireplace mantle find from my sister-in-law's wedding? Well it made an appearance here as well, but with a few more "country style" accents!

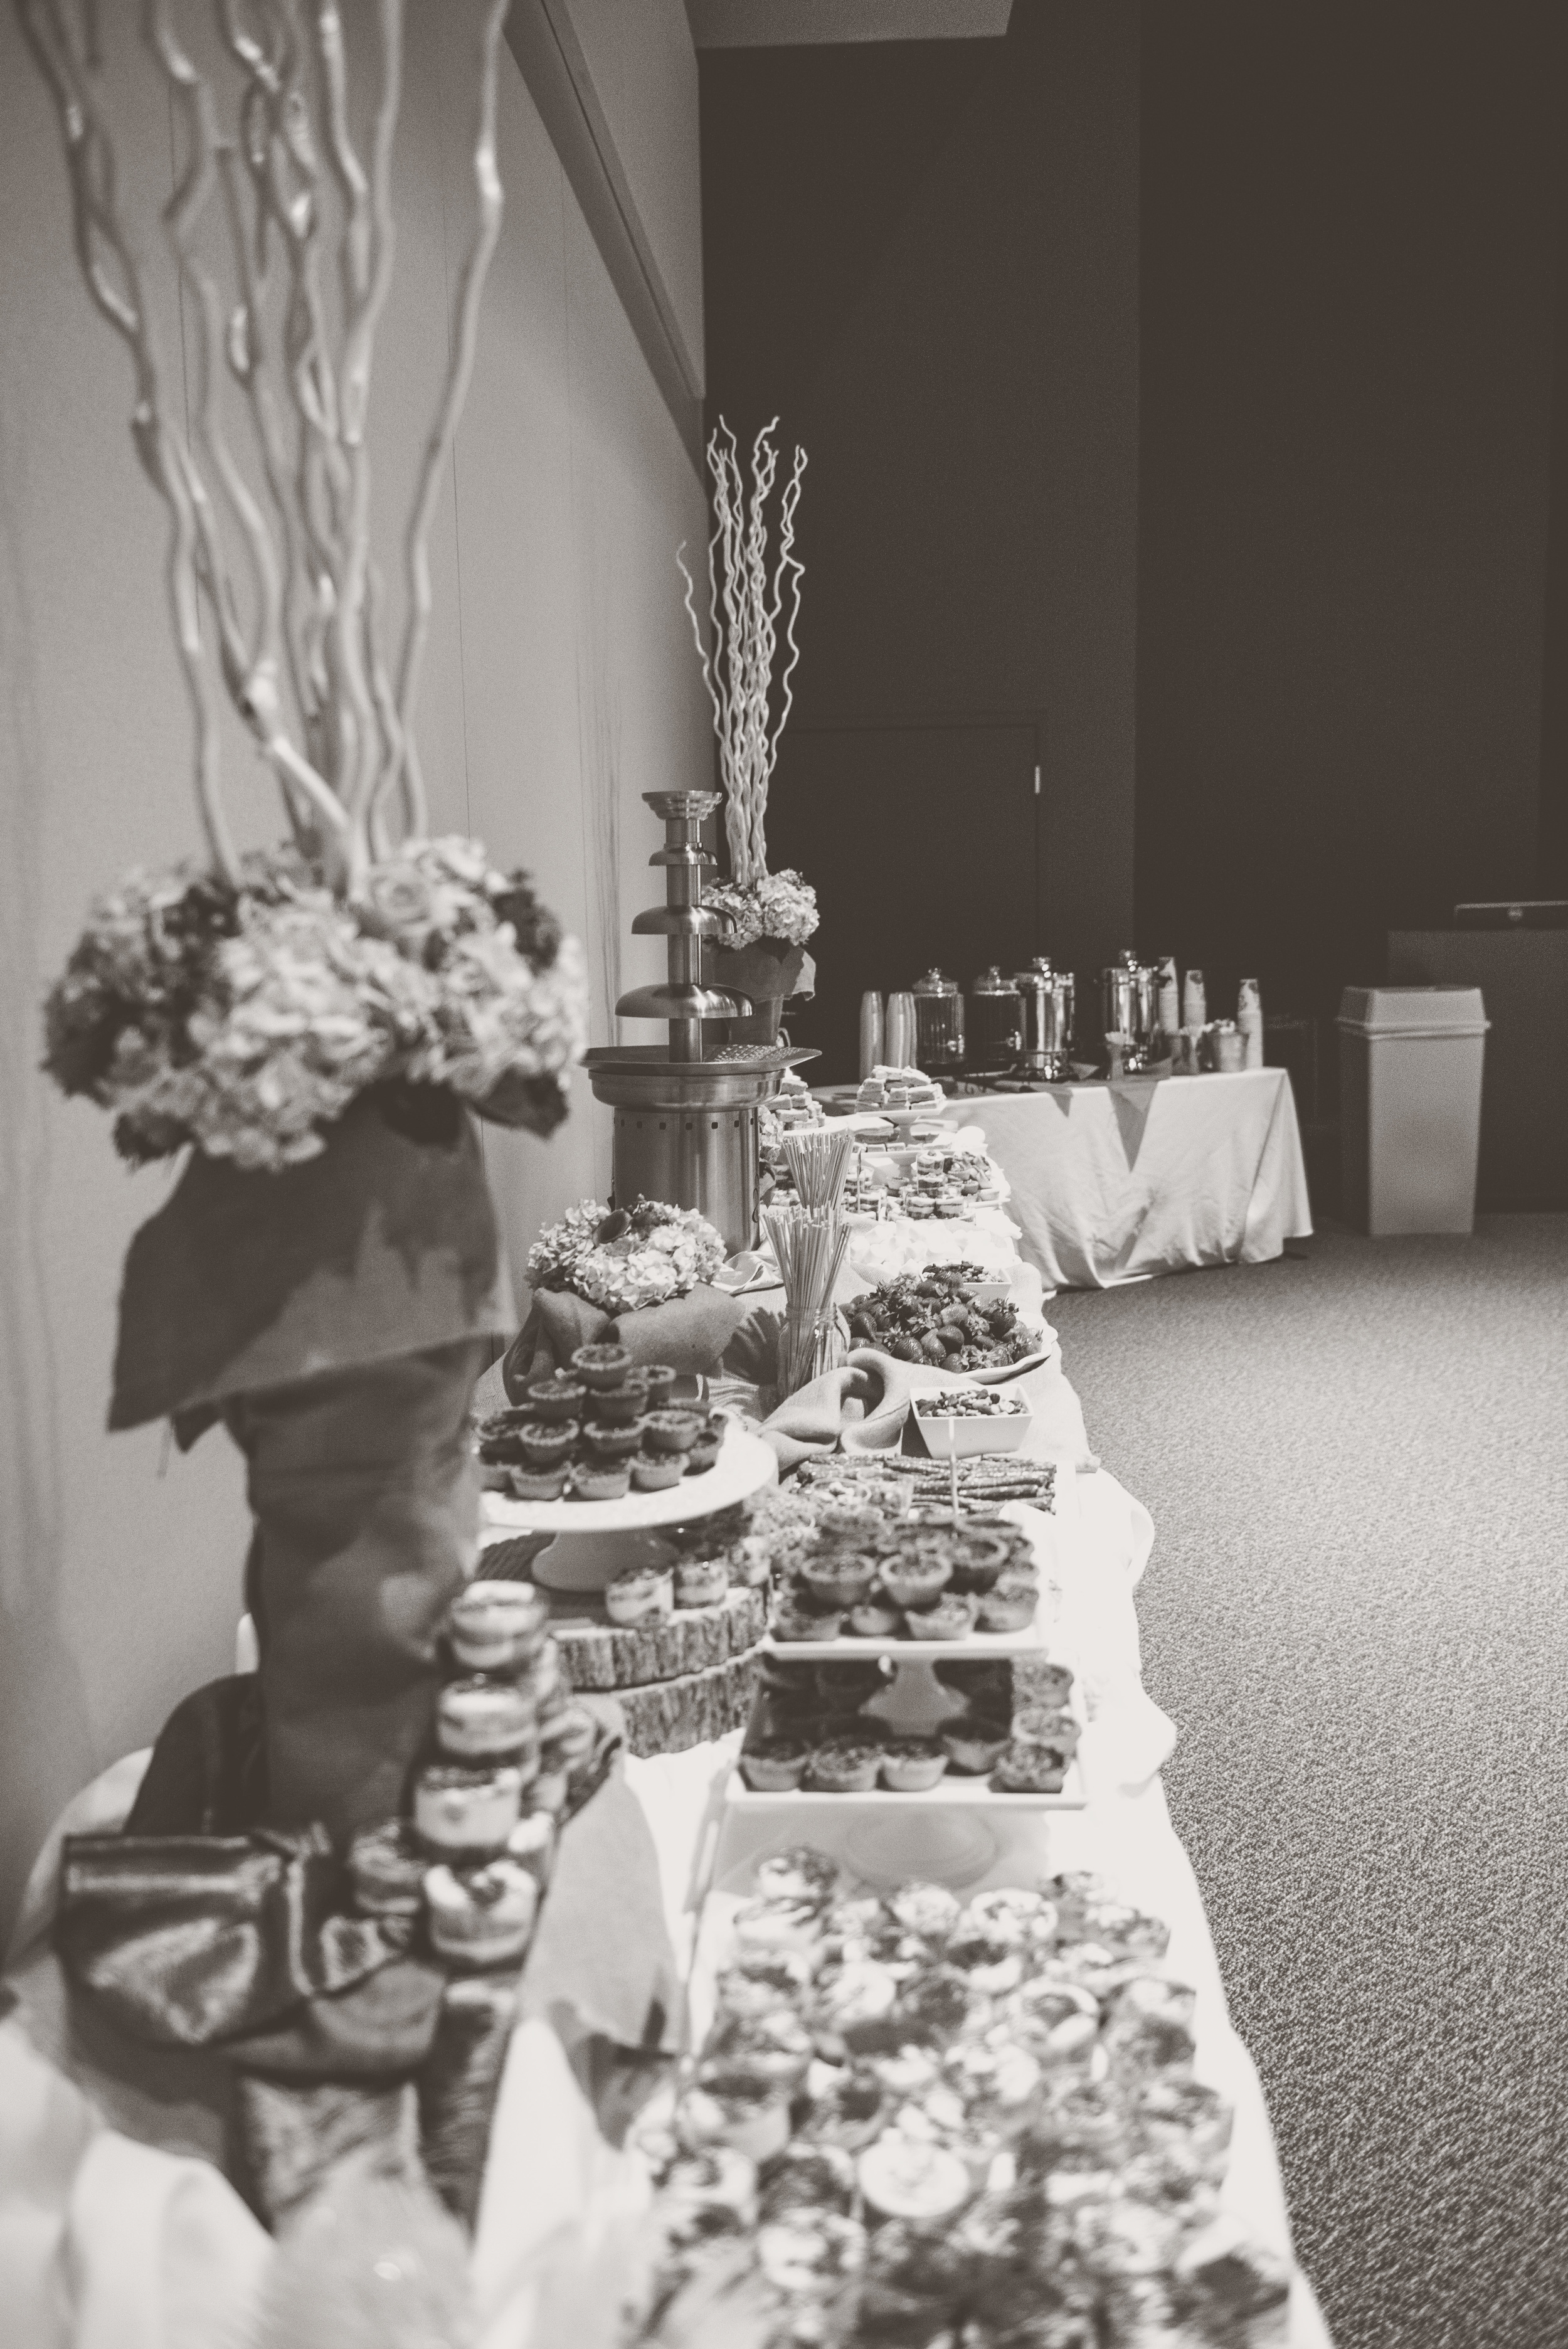
After the ceremony, guests were serenaded by live music from our buddy Chris Cauley (you might remember him from Team Adam on NBC's The Voice) while they enjoyed some amazing desserts!


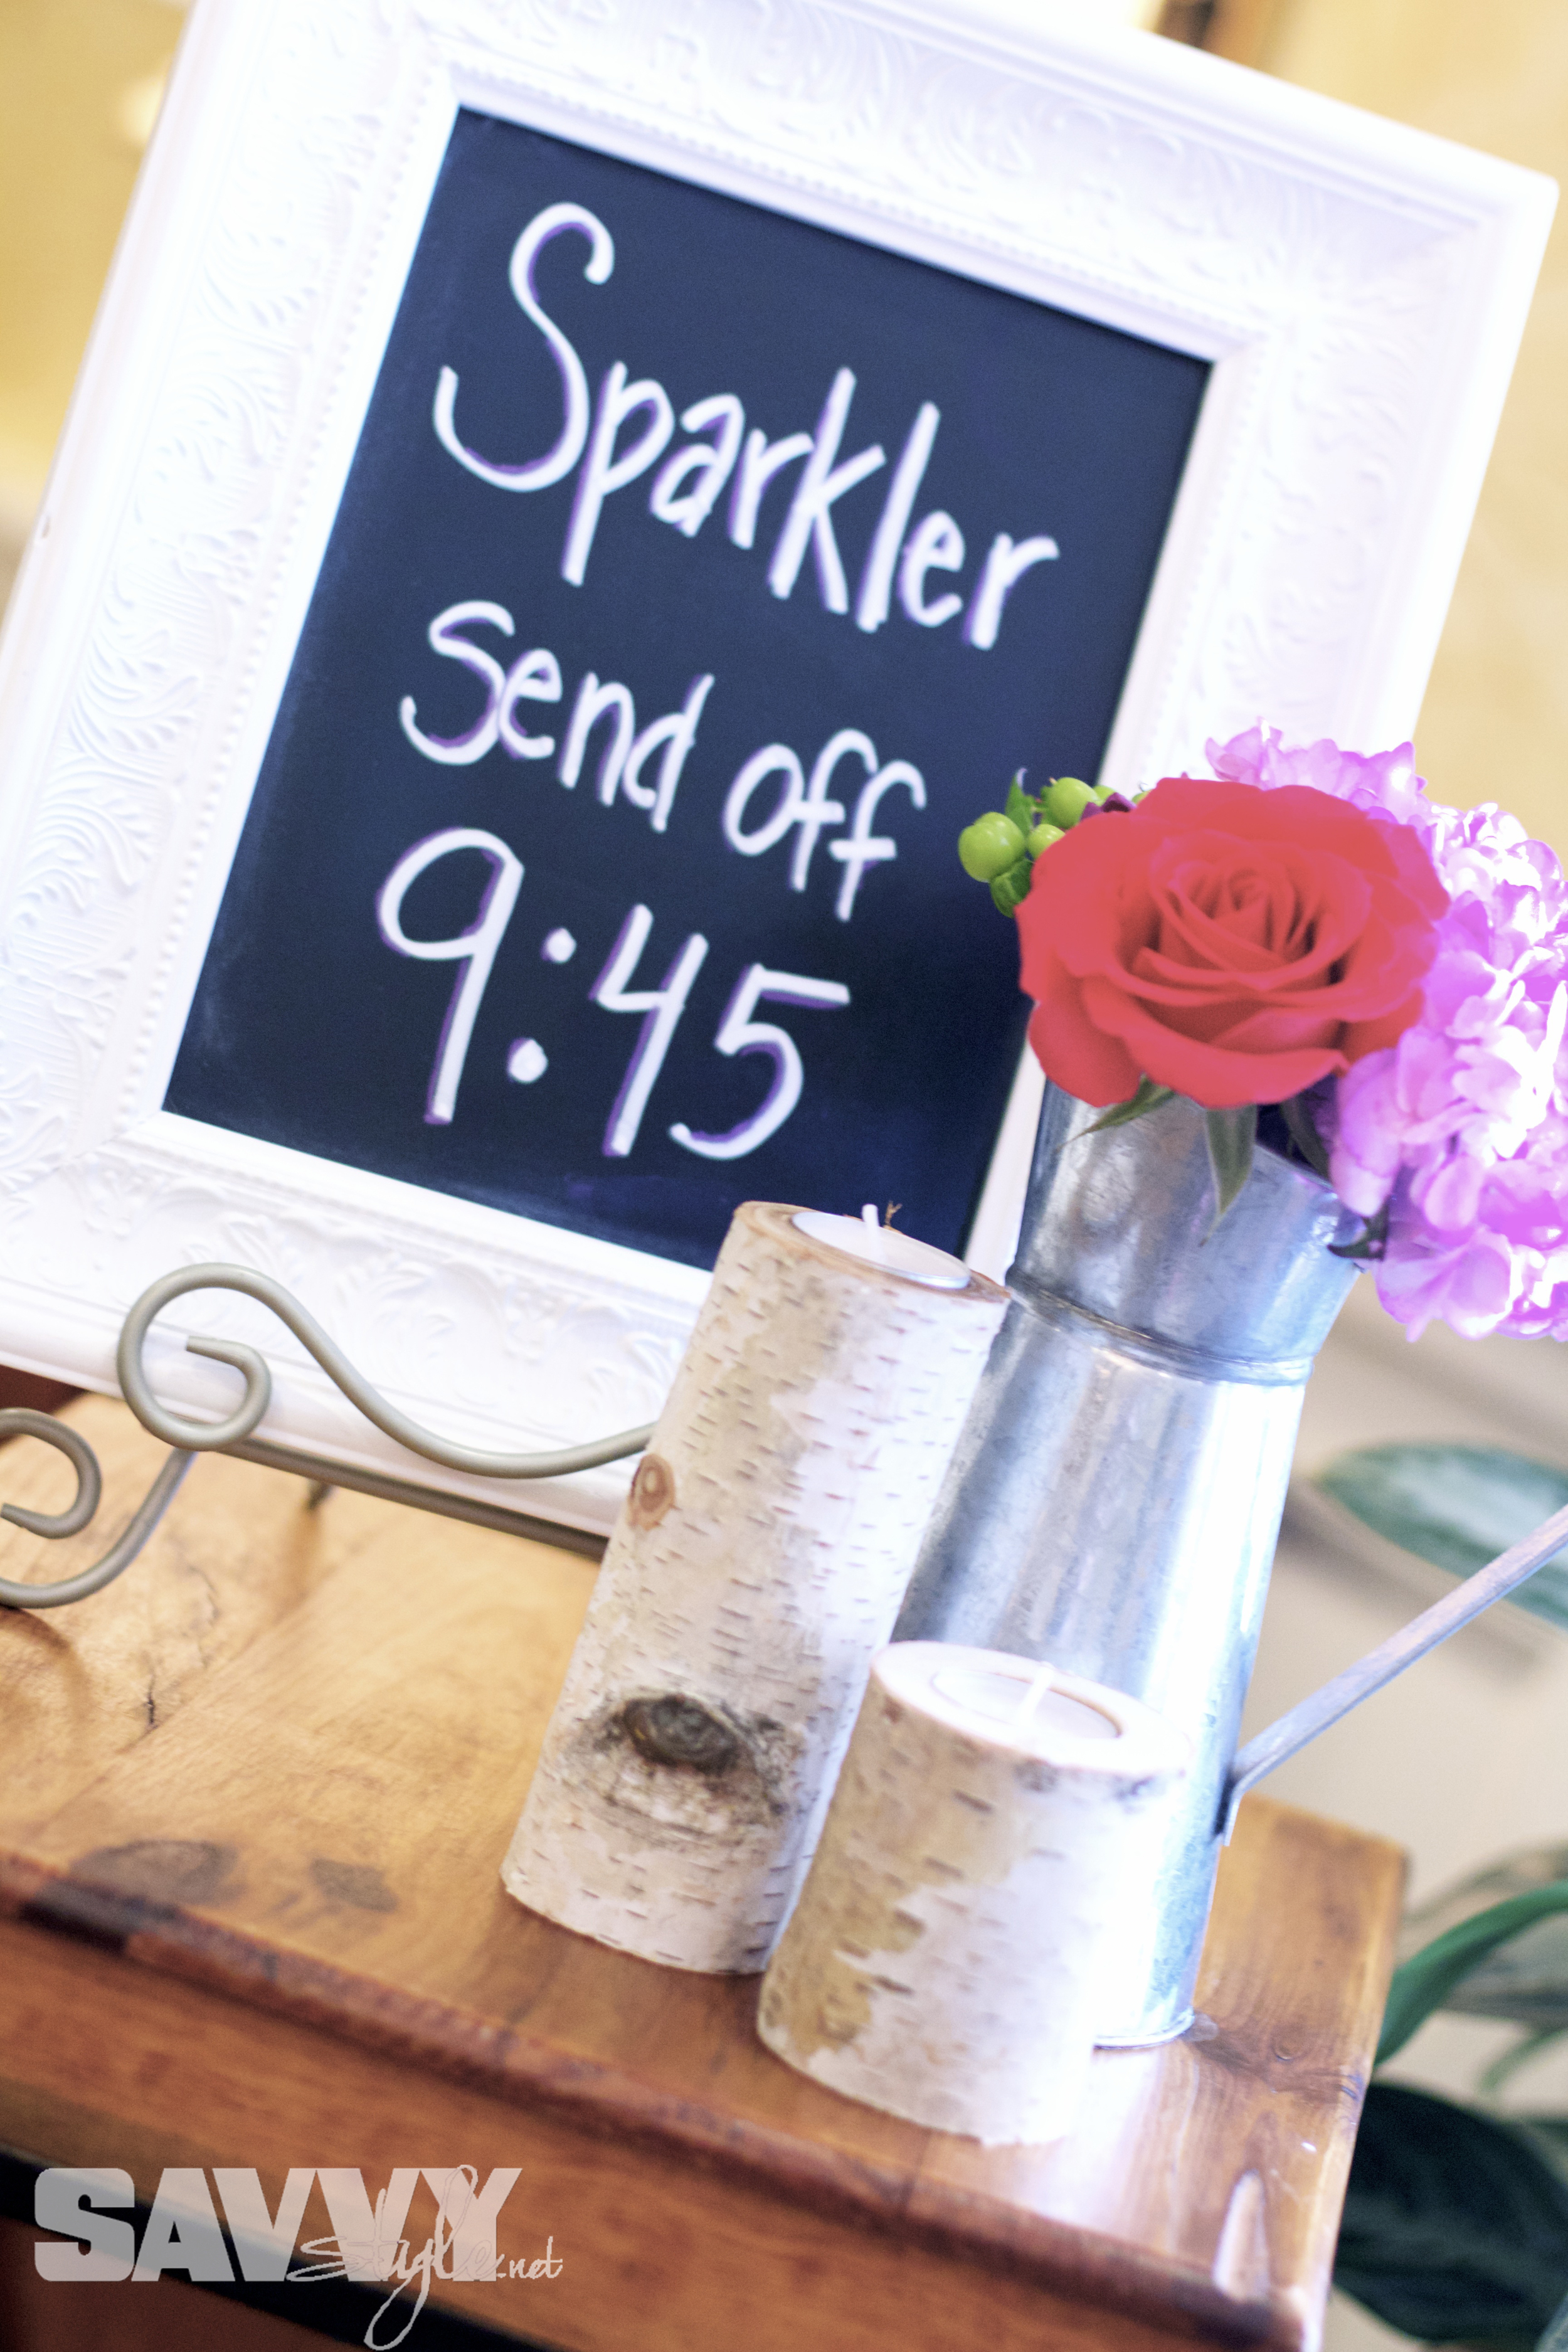
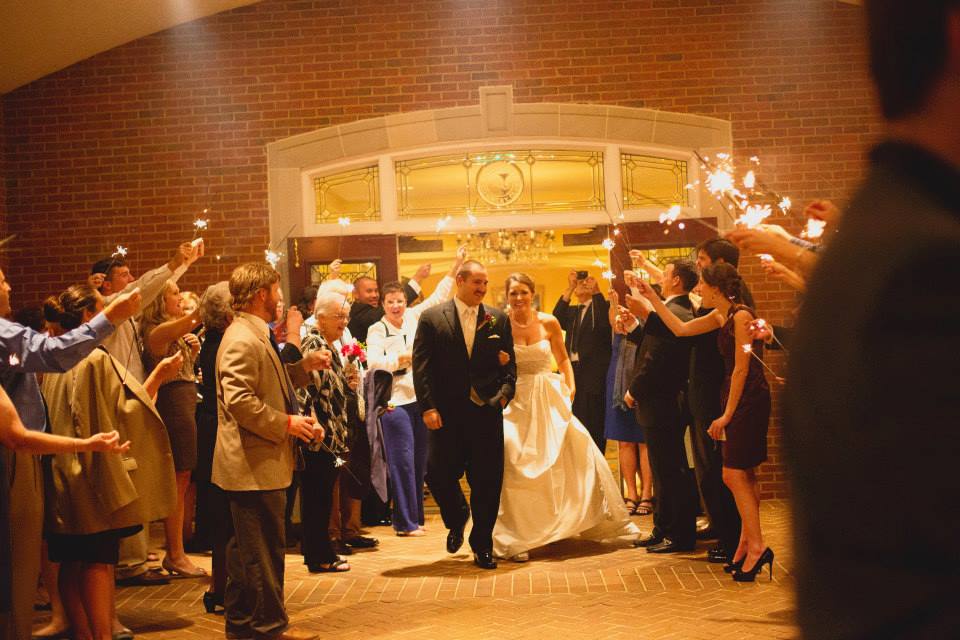
Then it was time to send off the happy couple! But you can't do sparklers in the middle of the day, so the bride hand made ribbon wands to wave them off..in true Clemson football style, of course.


Cheers to a lifetime of love...and cowboy boots.
Congrats Jen & Tim!

Photo Credit: http://lindsayhooten.com
All photos were provided by my dear friend Lindsay over at Lindsay Hooten Photography...if you're in the Atlanta area, you should check her out!