Taco Bout a party with this fiesta styled 40th birthday celebration!

Sweetwood Style
Event Design Inspiration & All Things Creative
Tis the season for celebration…and social distancing (ugh). Let’s just call a spade a spade: 2020 has made it increasingly challenging to get together and celebrate those people we love. But there are still ways you can mark those milestone occasions in your life and keep your friends and family as safe as possible!
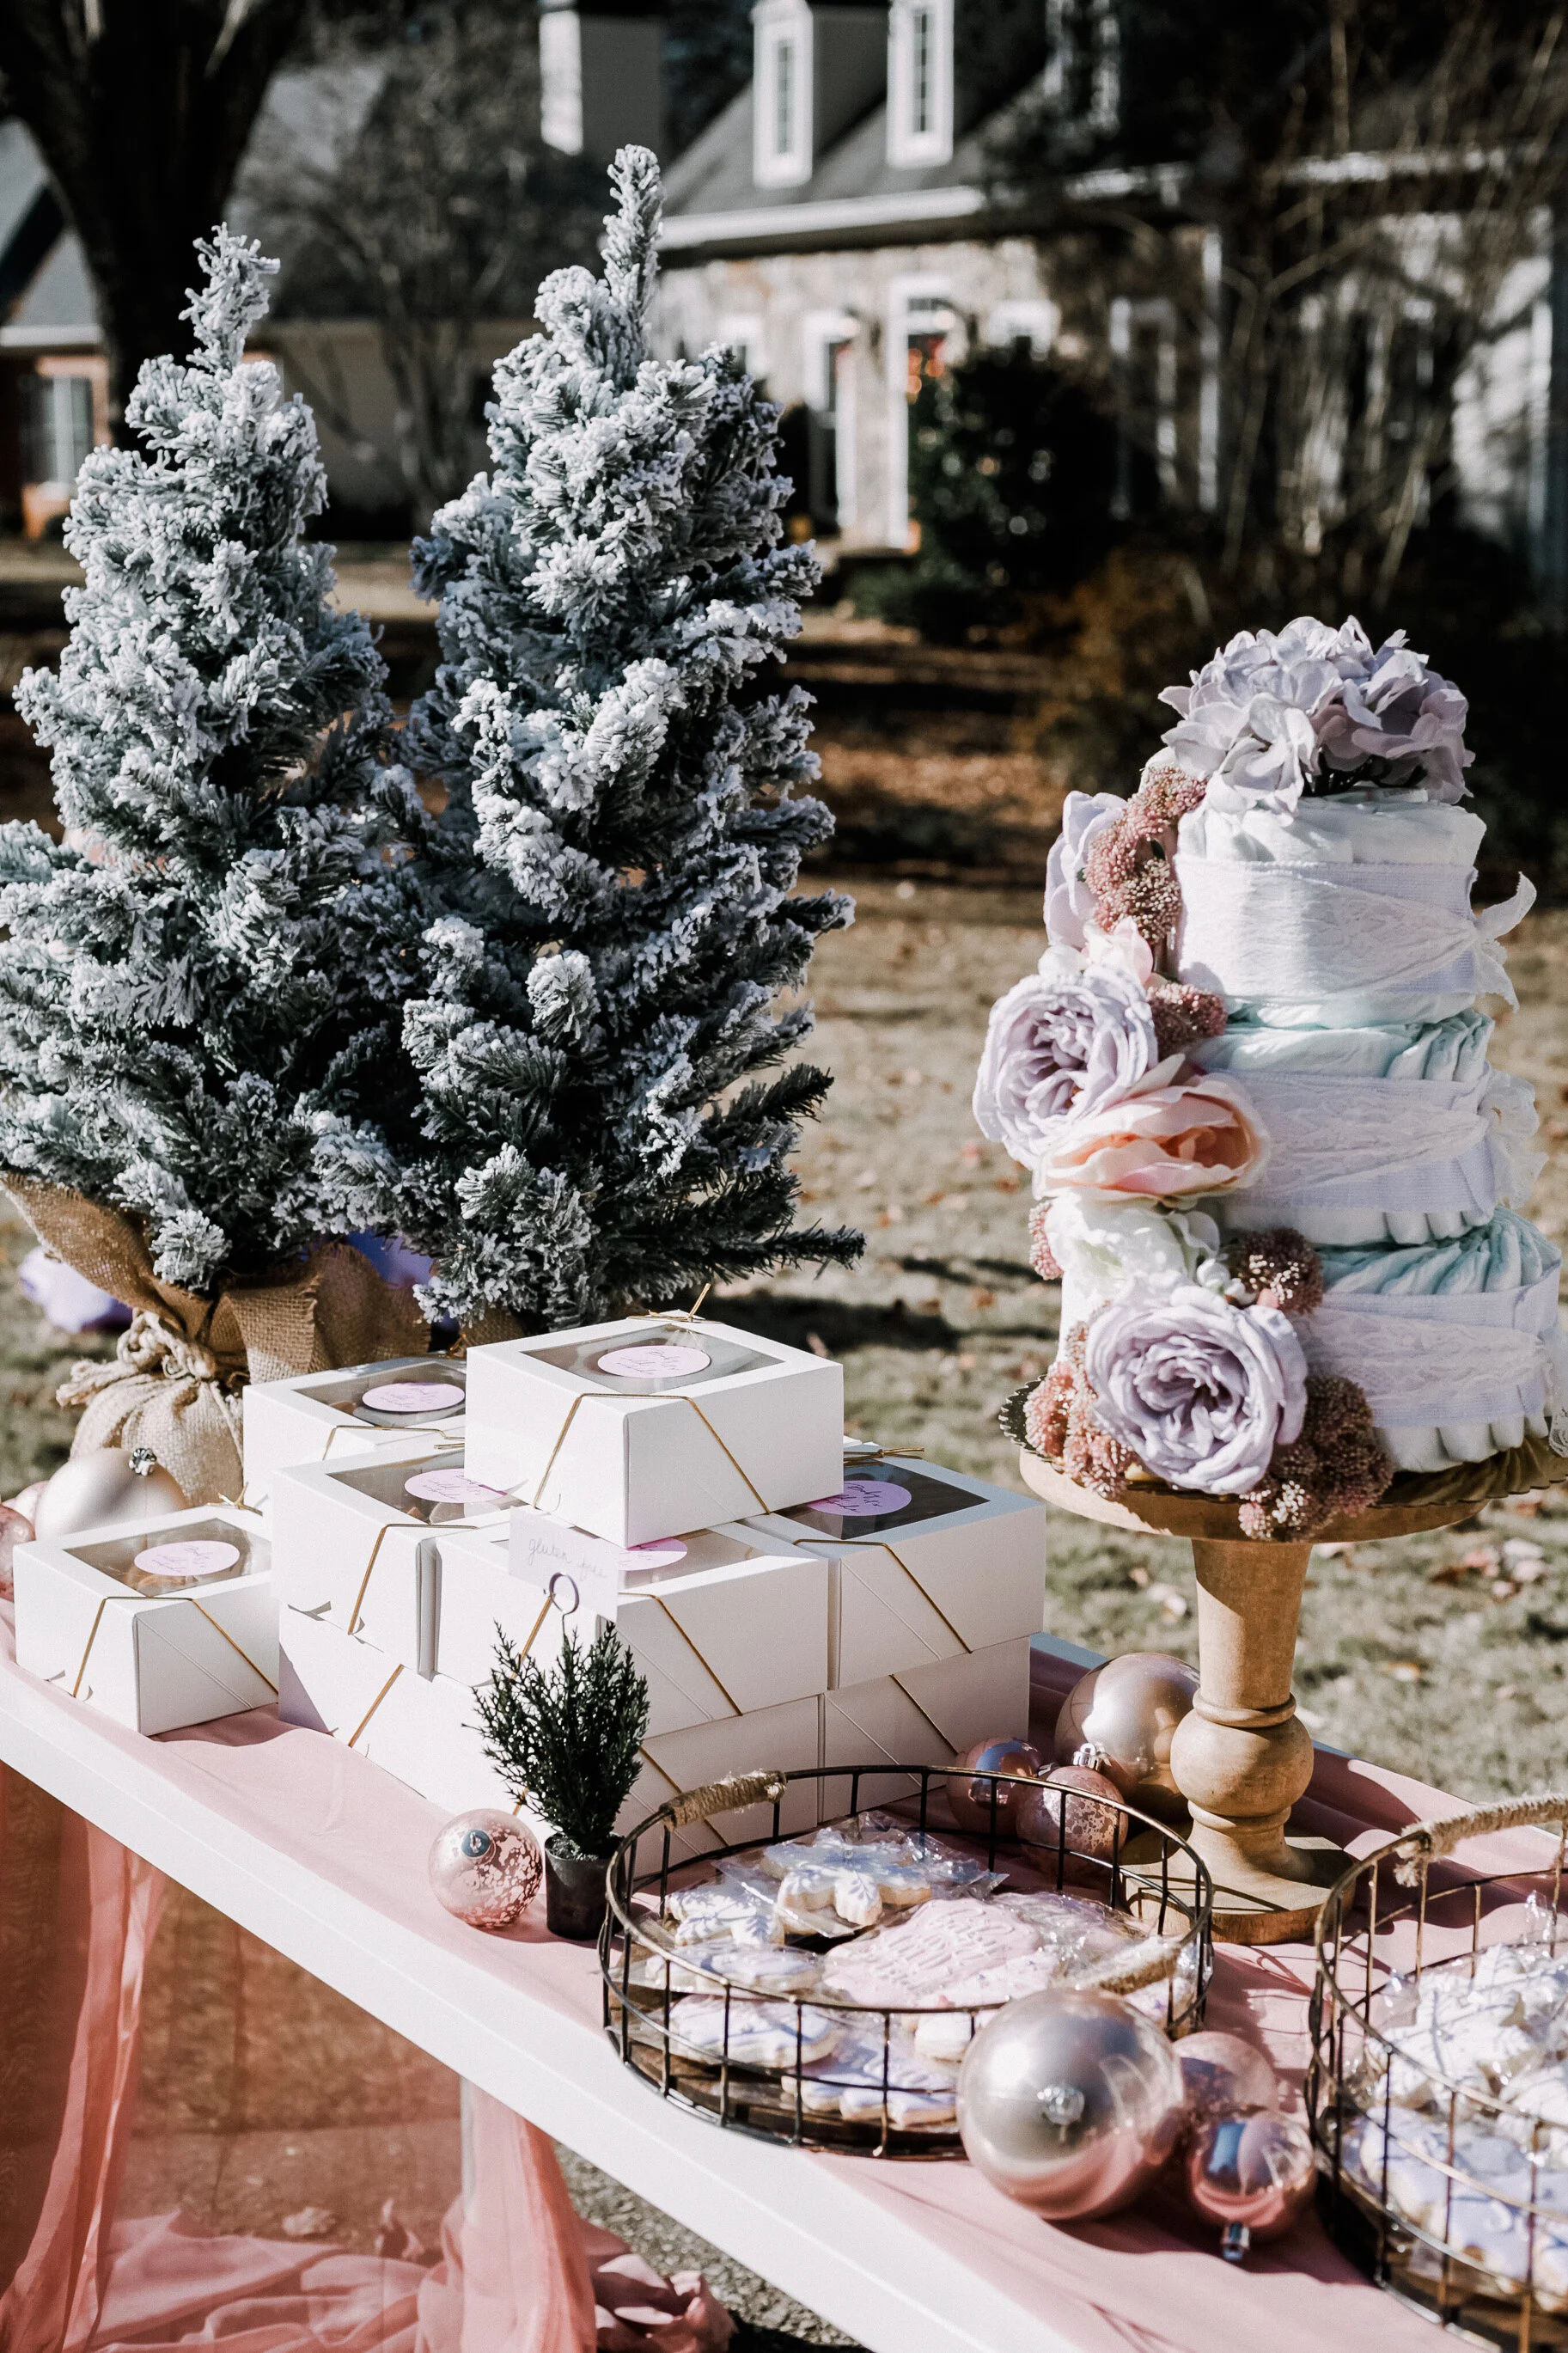
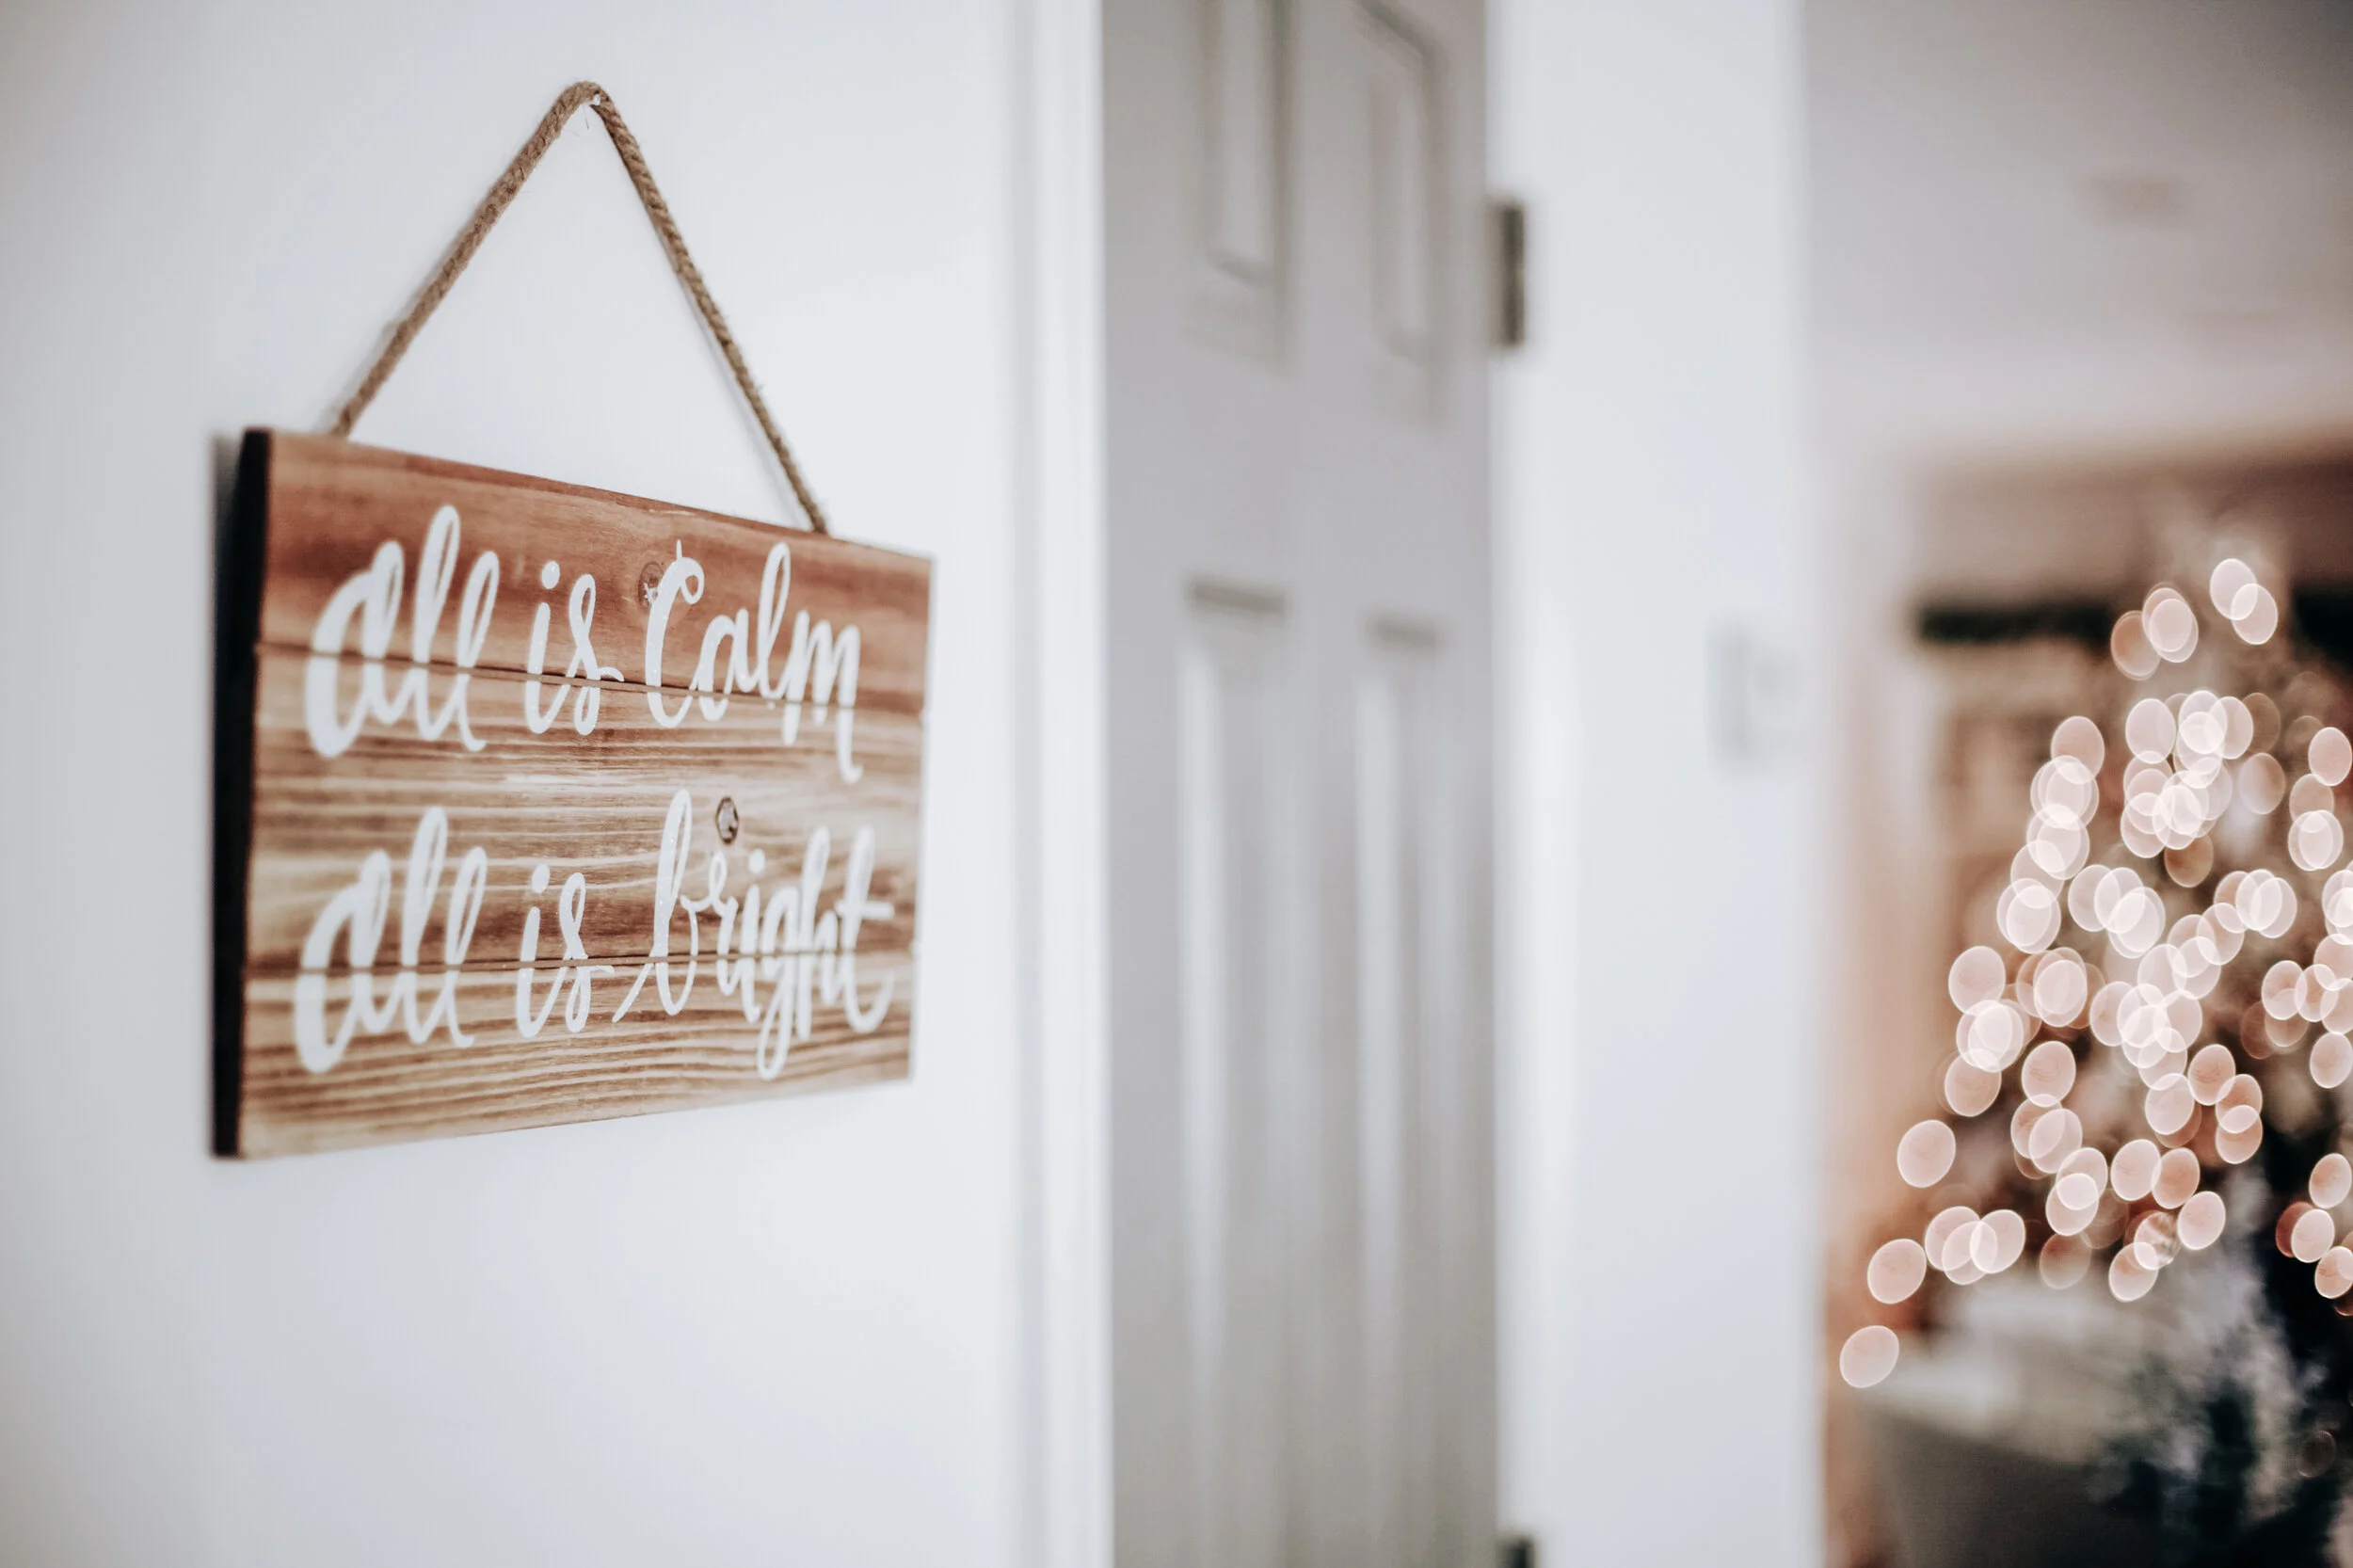
My baby sister is getting ready to welcome another little girl to our family, so we had to get creative in figuring out a safe way to celebrate! Check out the pics below from our “Baby It’s Cold Outside” themed sprinkle, and then at the bottom we’ll share our best tips for hosting your own socially distanced celebration!
We had the perfect weather for our celebration - it was in the upper 50s so just warm enough to not freeze, but also just cool enough to enjoy the warm and toasty hot chocolate! As you’re planning your own celebrations, here’s my top six tips for keeping them Covid-safe:
I know as it gets colder, this gets increasingly tougher for parties…especially if you don’t live in the south or warmer climates, but the fresh air and room to space out is key for keeping everyone safe!
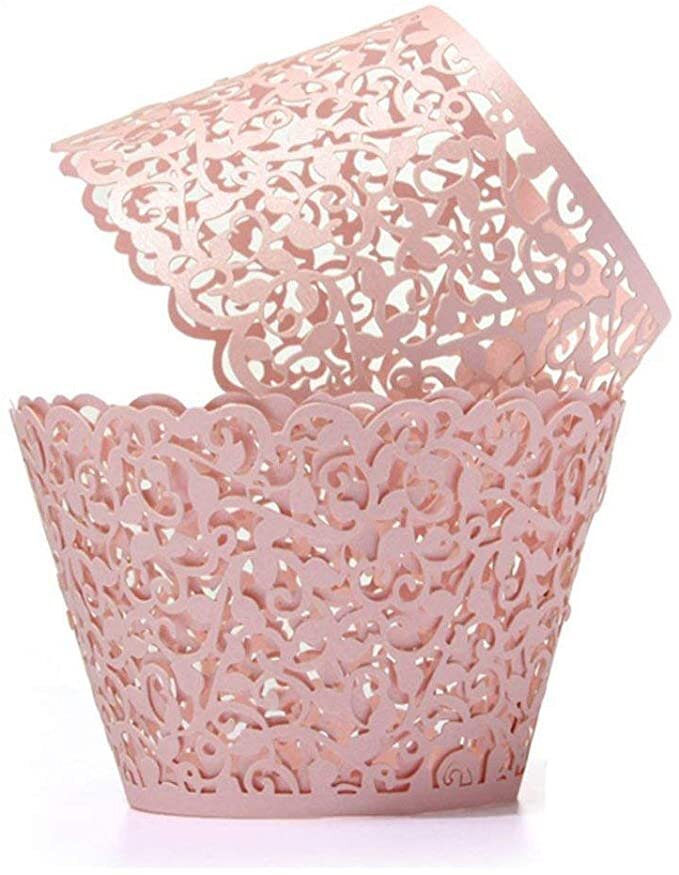
Even if it’s outdoors, provide everyone a mask for safety - it’s a cheap and easy way to let everyone know your safety standards if you’re handing out masks when they arrive. Bonus points if they match your party’s theme! Check out the links below for some adorable pastel masks I found for our party! It’s super easy to set up a mask and hand sanitizer station conveniently where your guests arrive.
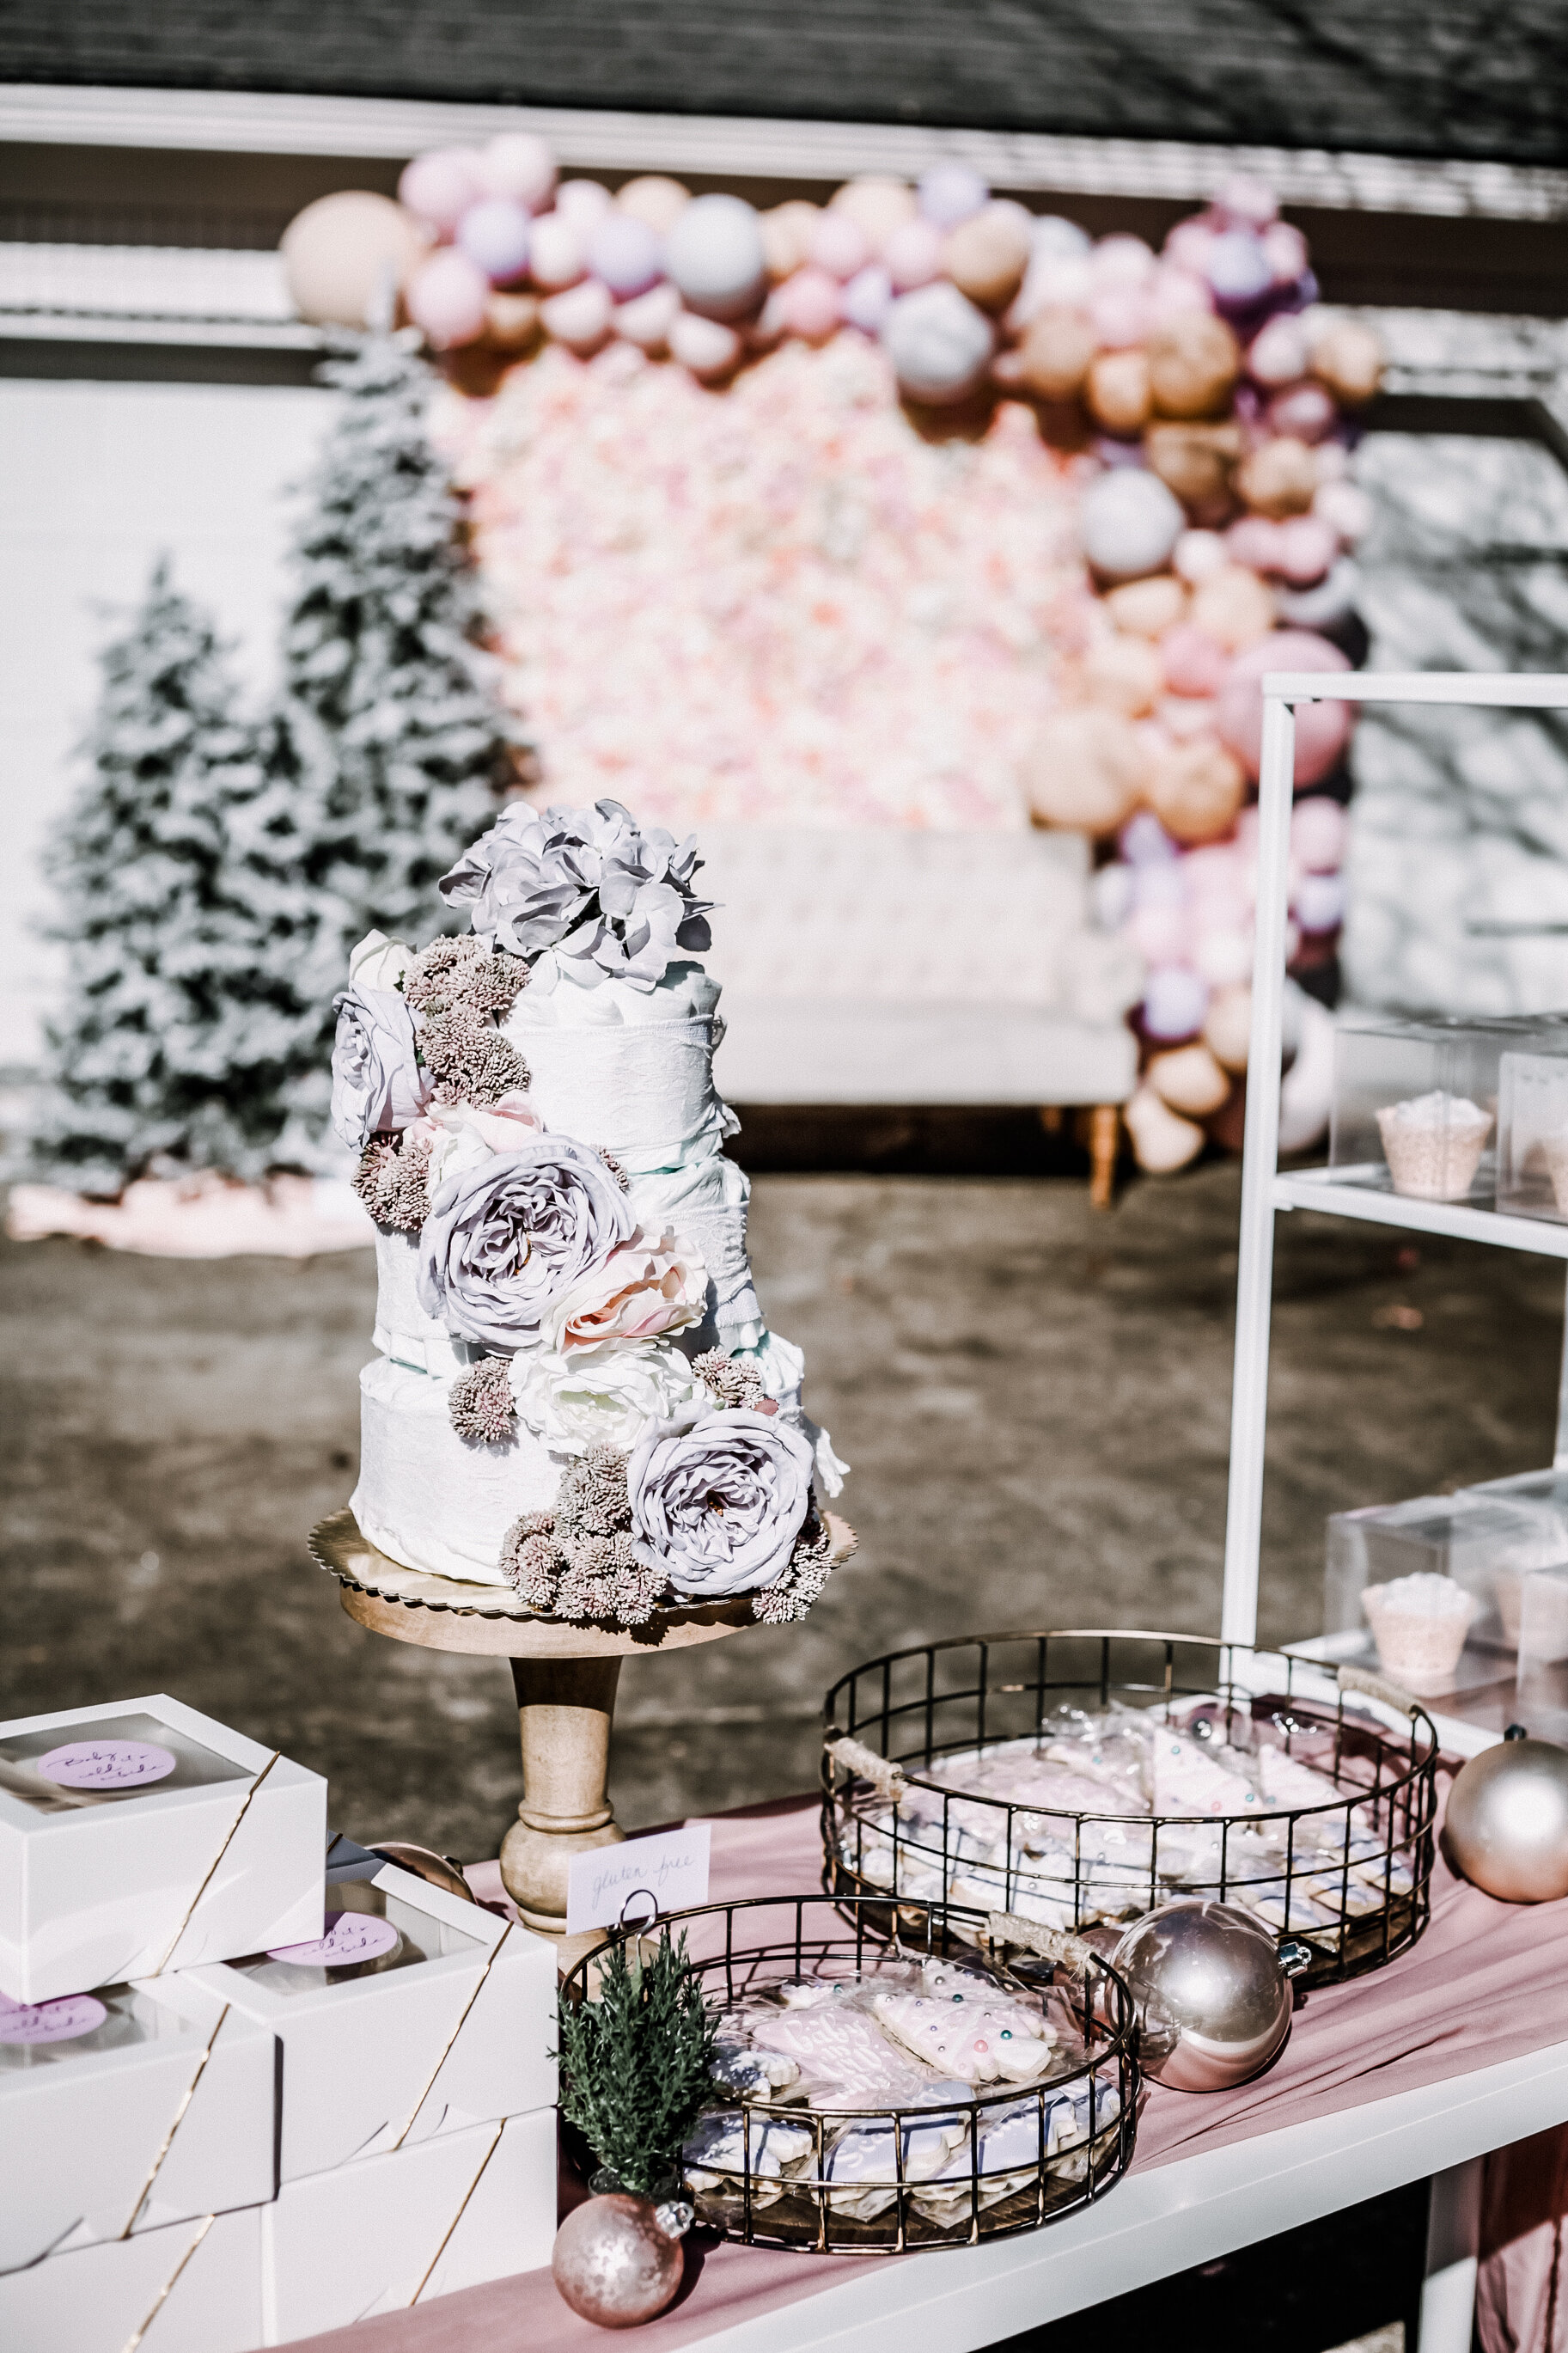
It’s definitely risky in groups when everyone is removing their masks to eat a full meal, and it’s even more risky when they are all scooping food from a buffet - so try to eliminate both of those options. Choose a time of day to host your party where the food you would need to provide is minimal. We hosted this shower from 2-4pm because it was between meal times, so we only served dessert and small bites (individually packaged, of course) and it was also the warmest part of the day.
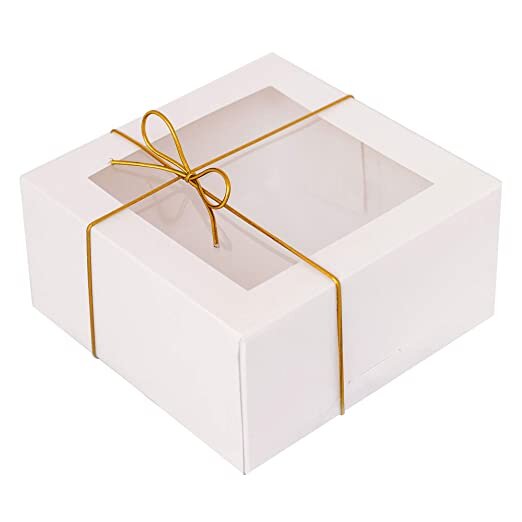
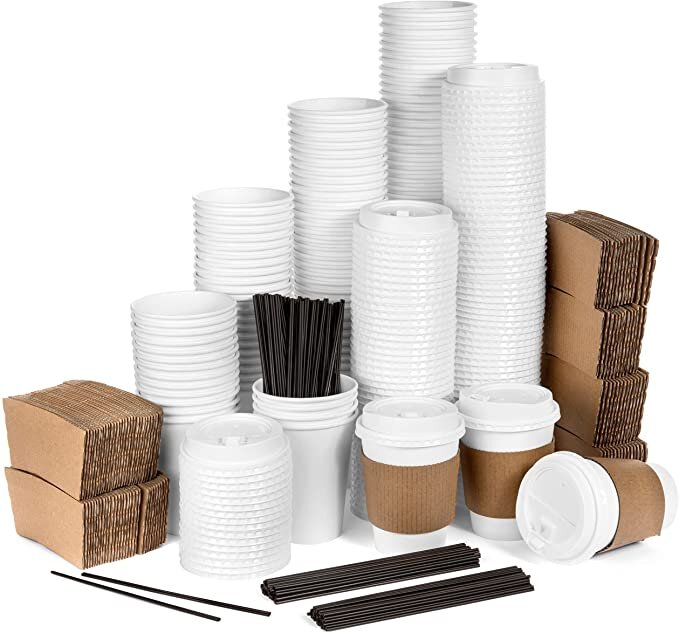
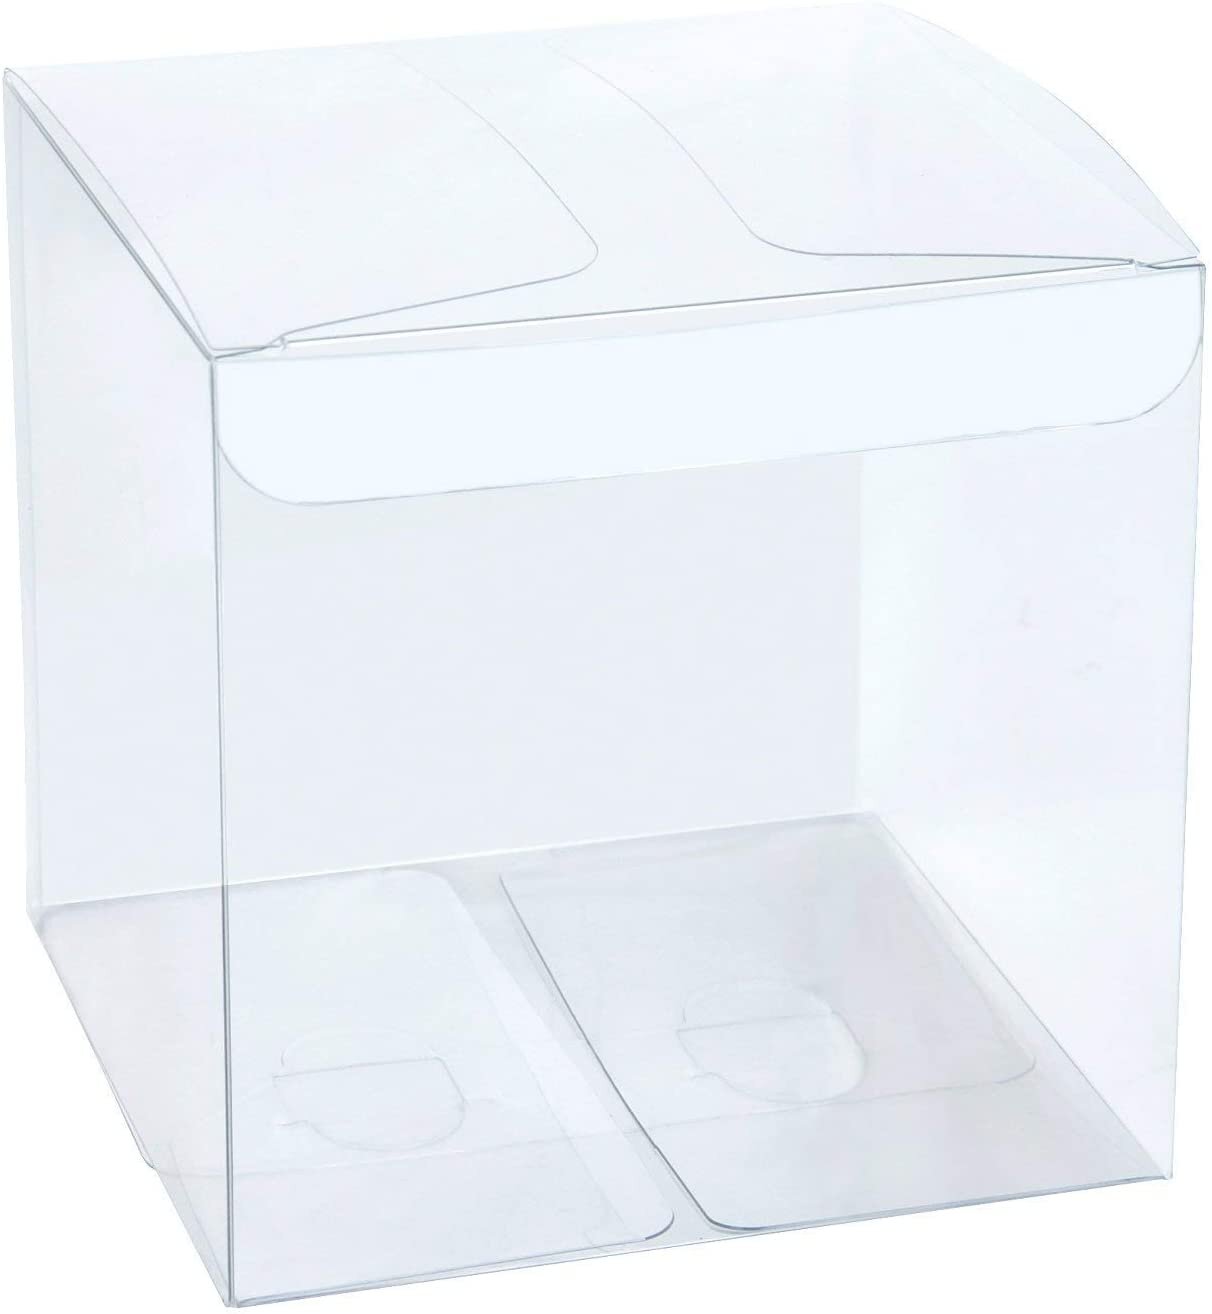
This is much easier to do when you’re serving small bites! We boxed up our cupcakes, served individually wrapped custom sugar cookies and I created customized individual mini-charcuterie boxes that were a hit! That way, if people want to eat the food at the party, they can safely space out and do so…but they can also take it with them if they feel safer eating afterwards. I provided some to-go bags for people to put treats in so they knew they didn’t have to eat it there! For our hot chocolate, we did not allow our guests to self-serve (to keep all the hands off of the dispenser), instead we had a host who was masked and gloved serve drinks in cute customized to-go cups.
I’ll tell you a little secret, those “bistro” tables you see in my front yard are actually tv trays. I just covered them with a linen and pulled chairs from my back deck and boom…instant bistro seating for intimate tables of 2 that were more than 6 feet apart so everyone felt safe! I kept them significantly spaced away from the food as well, just to be extra safe!
It probably goes without saying, but you likely shouldn’t invite hundreds of people to your celebration. Keep the numbers smaller, or you can even space them out over several hours as a drop-by party and assign smaller groups certain time windows they can arrive. We also intentionally hosted the party in the front yard as opposed to the back yard and let our guests know in advance they had the option to just drive by if they didn’t feel comfortable getting out and visiting. That way those who are older or high risk feel like they have options as well!
That’s it! We hope this is helpful for you in this season of “unprecedented times” (I swear if I hear that again it will be too soon, ha!). And we hope you keep finding creative ways to safely celebrate those you love because even when the world is turned upside down, our people are still worth celebrating!
Check out the links below for some of the products we used to make this party happen!
Event Design: Sweetwood Creative Co.
Custom Cookies: Bakeologist
Cheers!

(DISCLAIMER: This post contains some affiliate links. This does not affect the price of the products you're purchasing, but I do receive a small kickback for any purchase made. I only link to products that I personally use and highly recommend!)
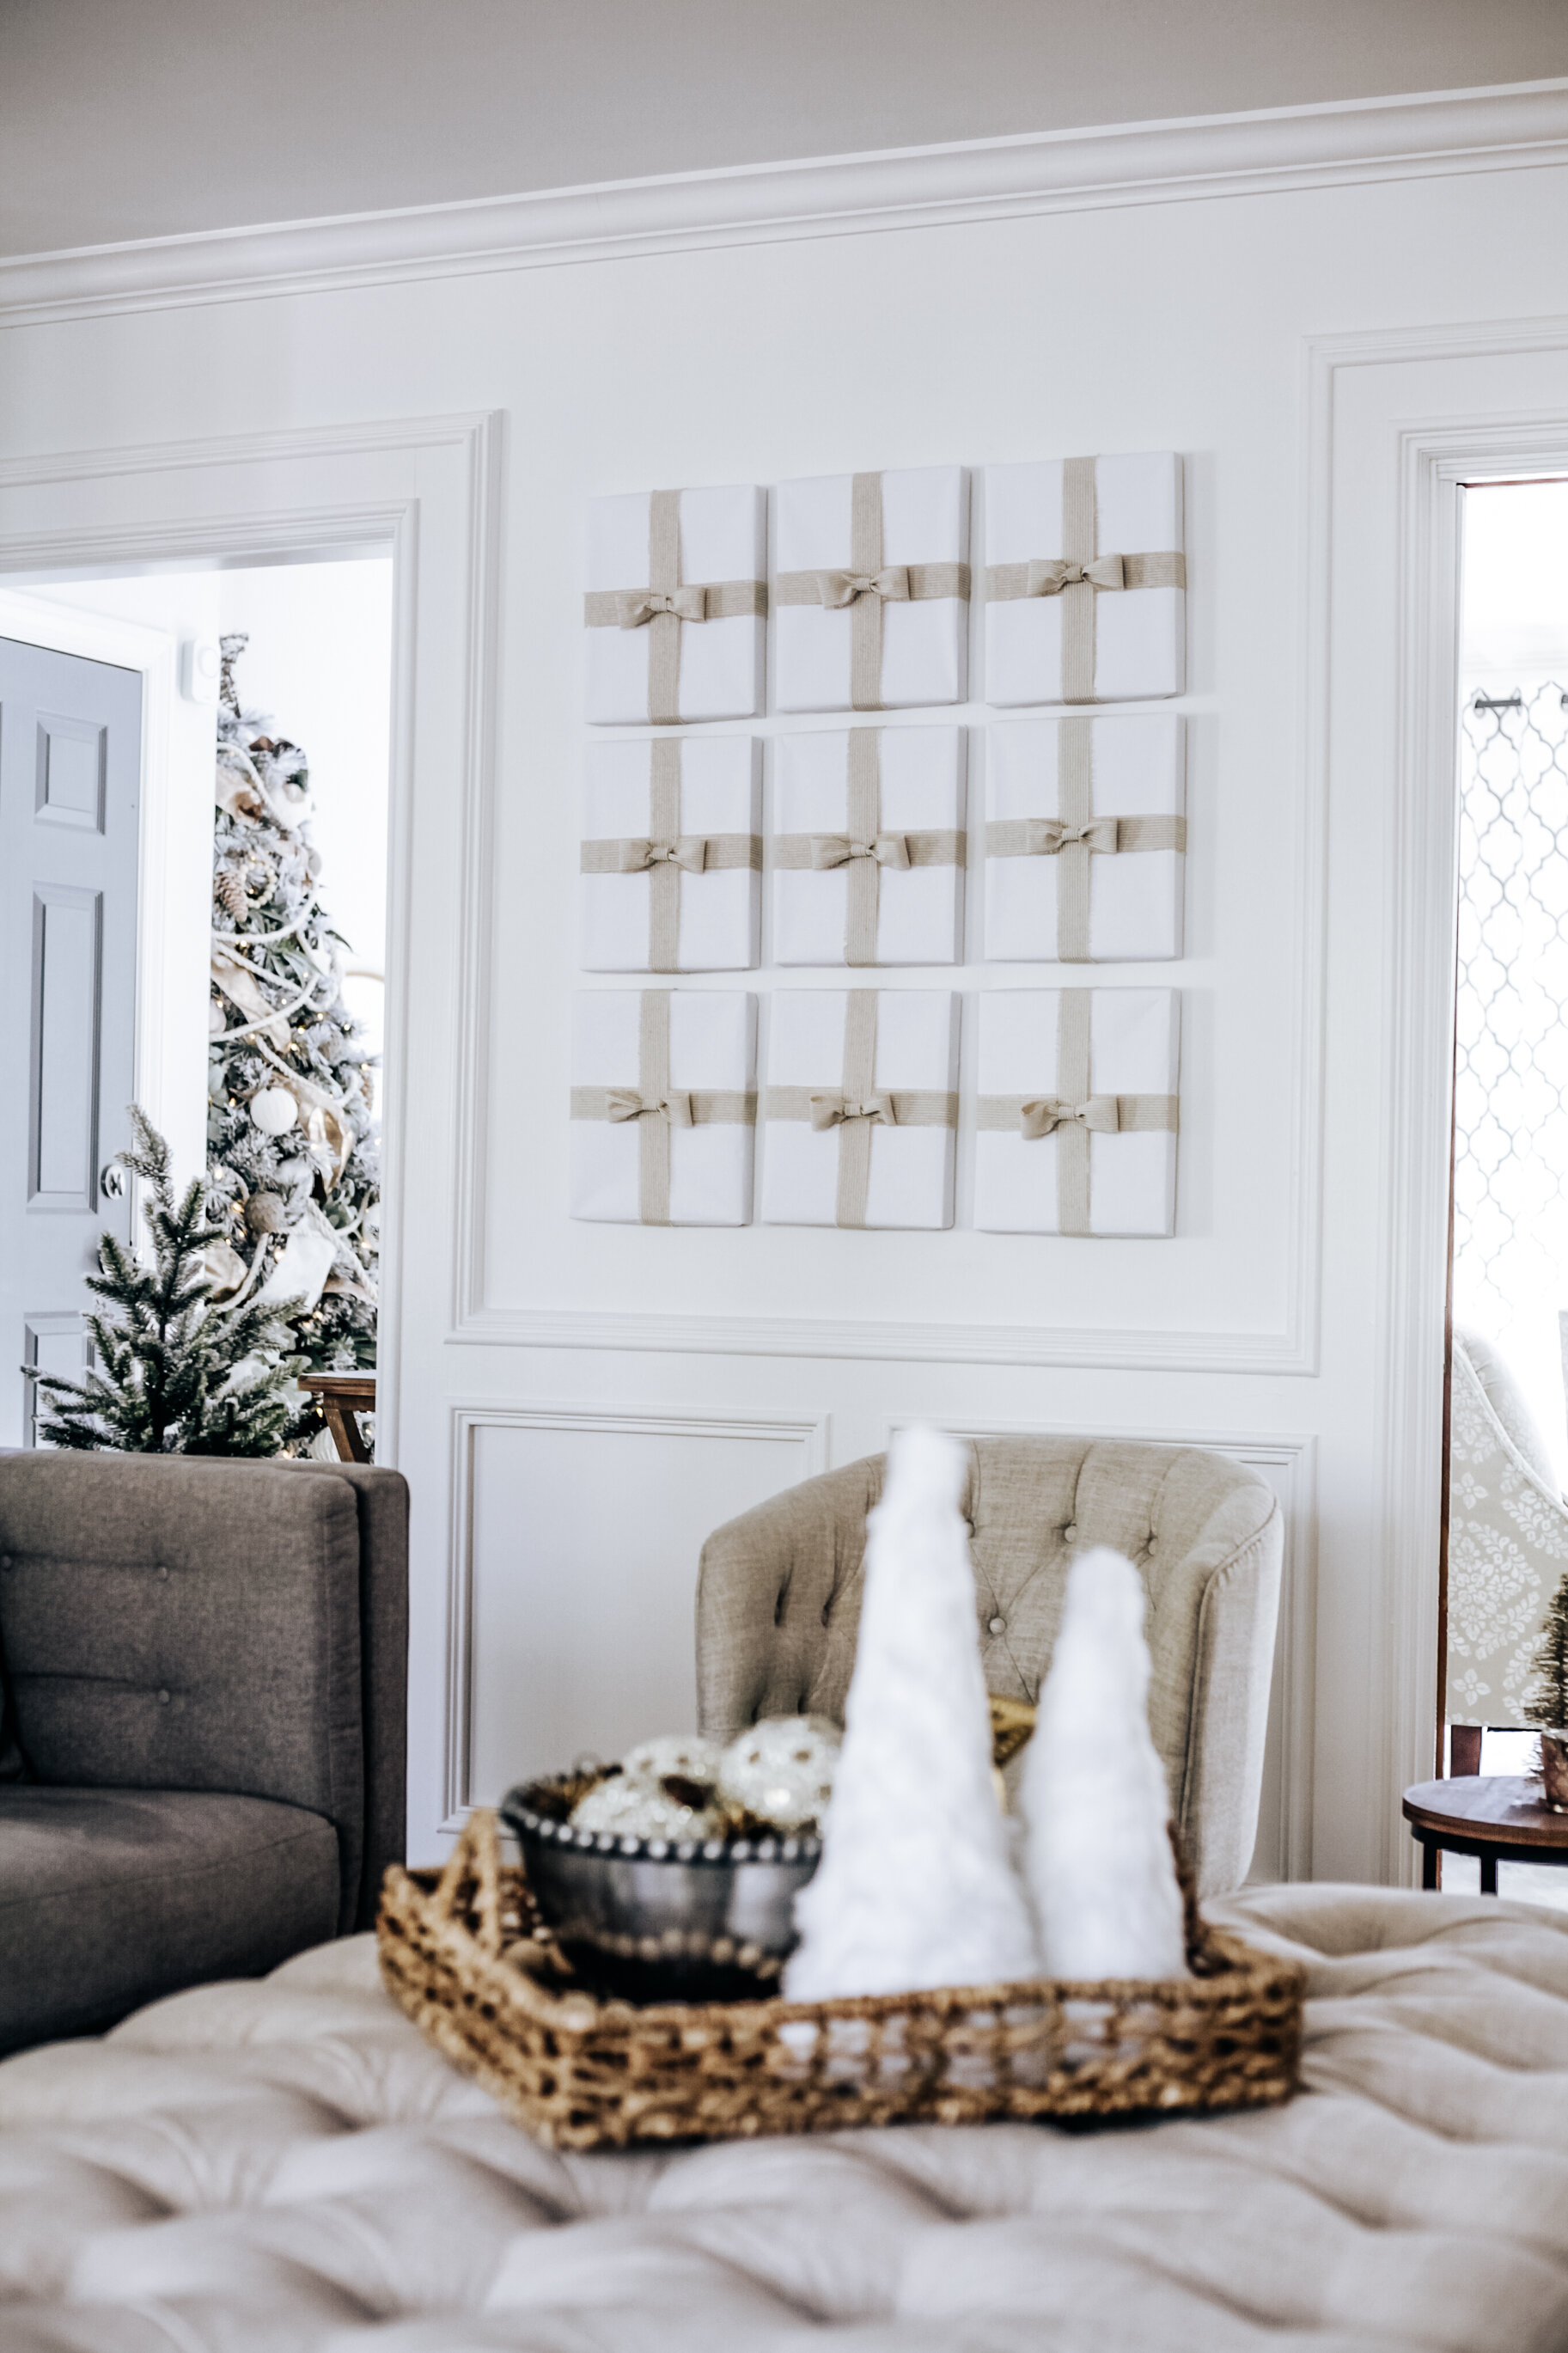
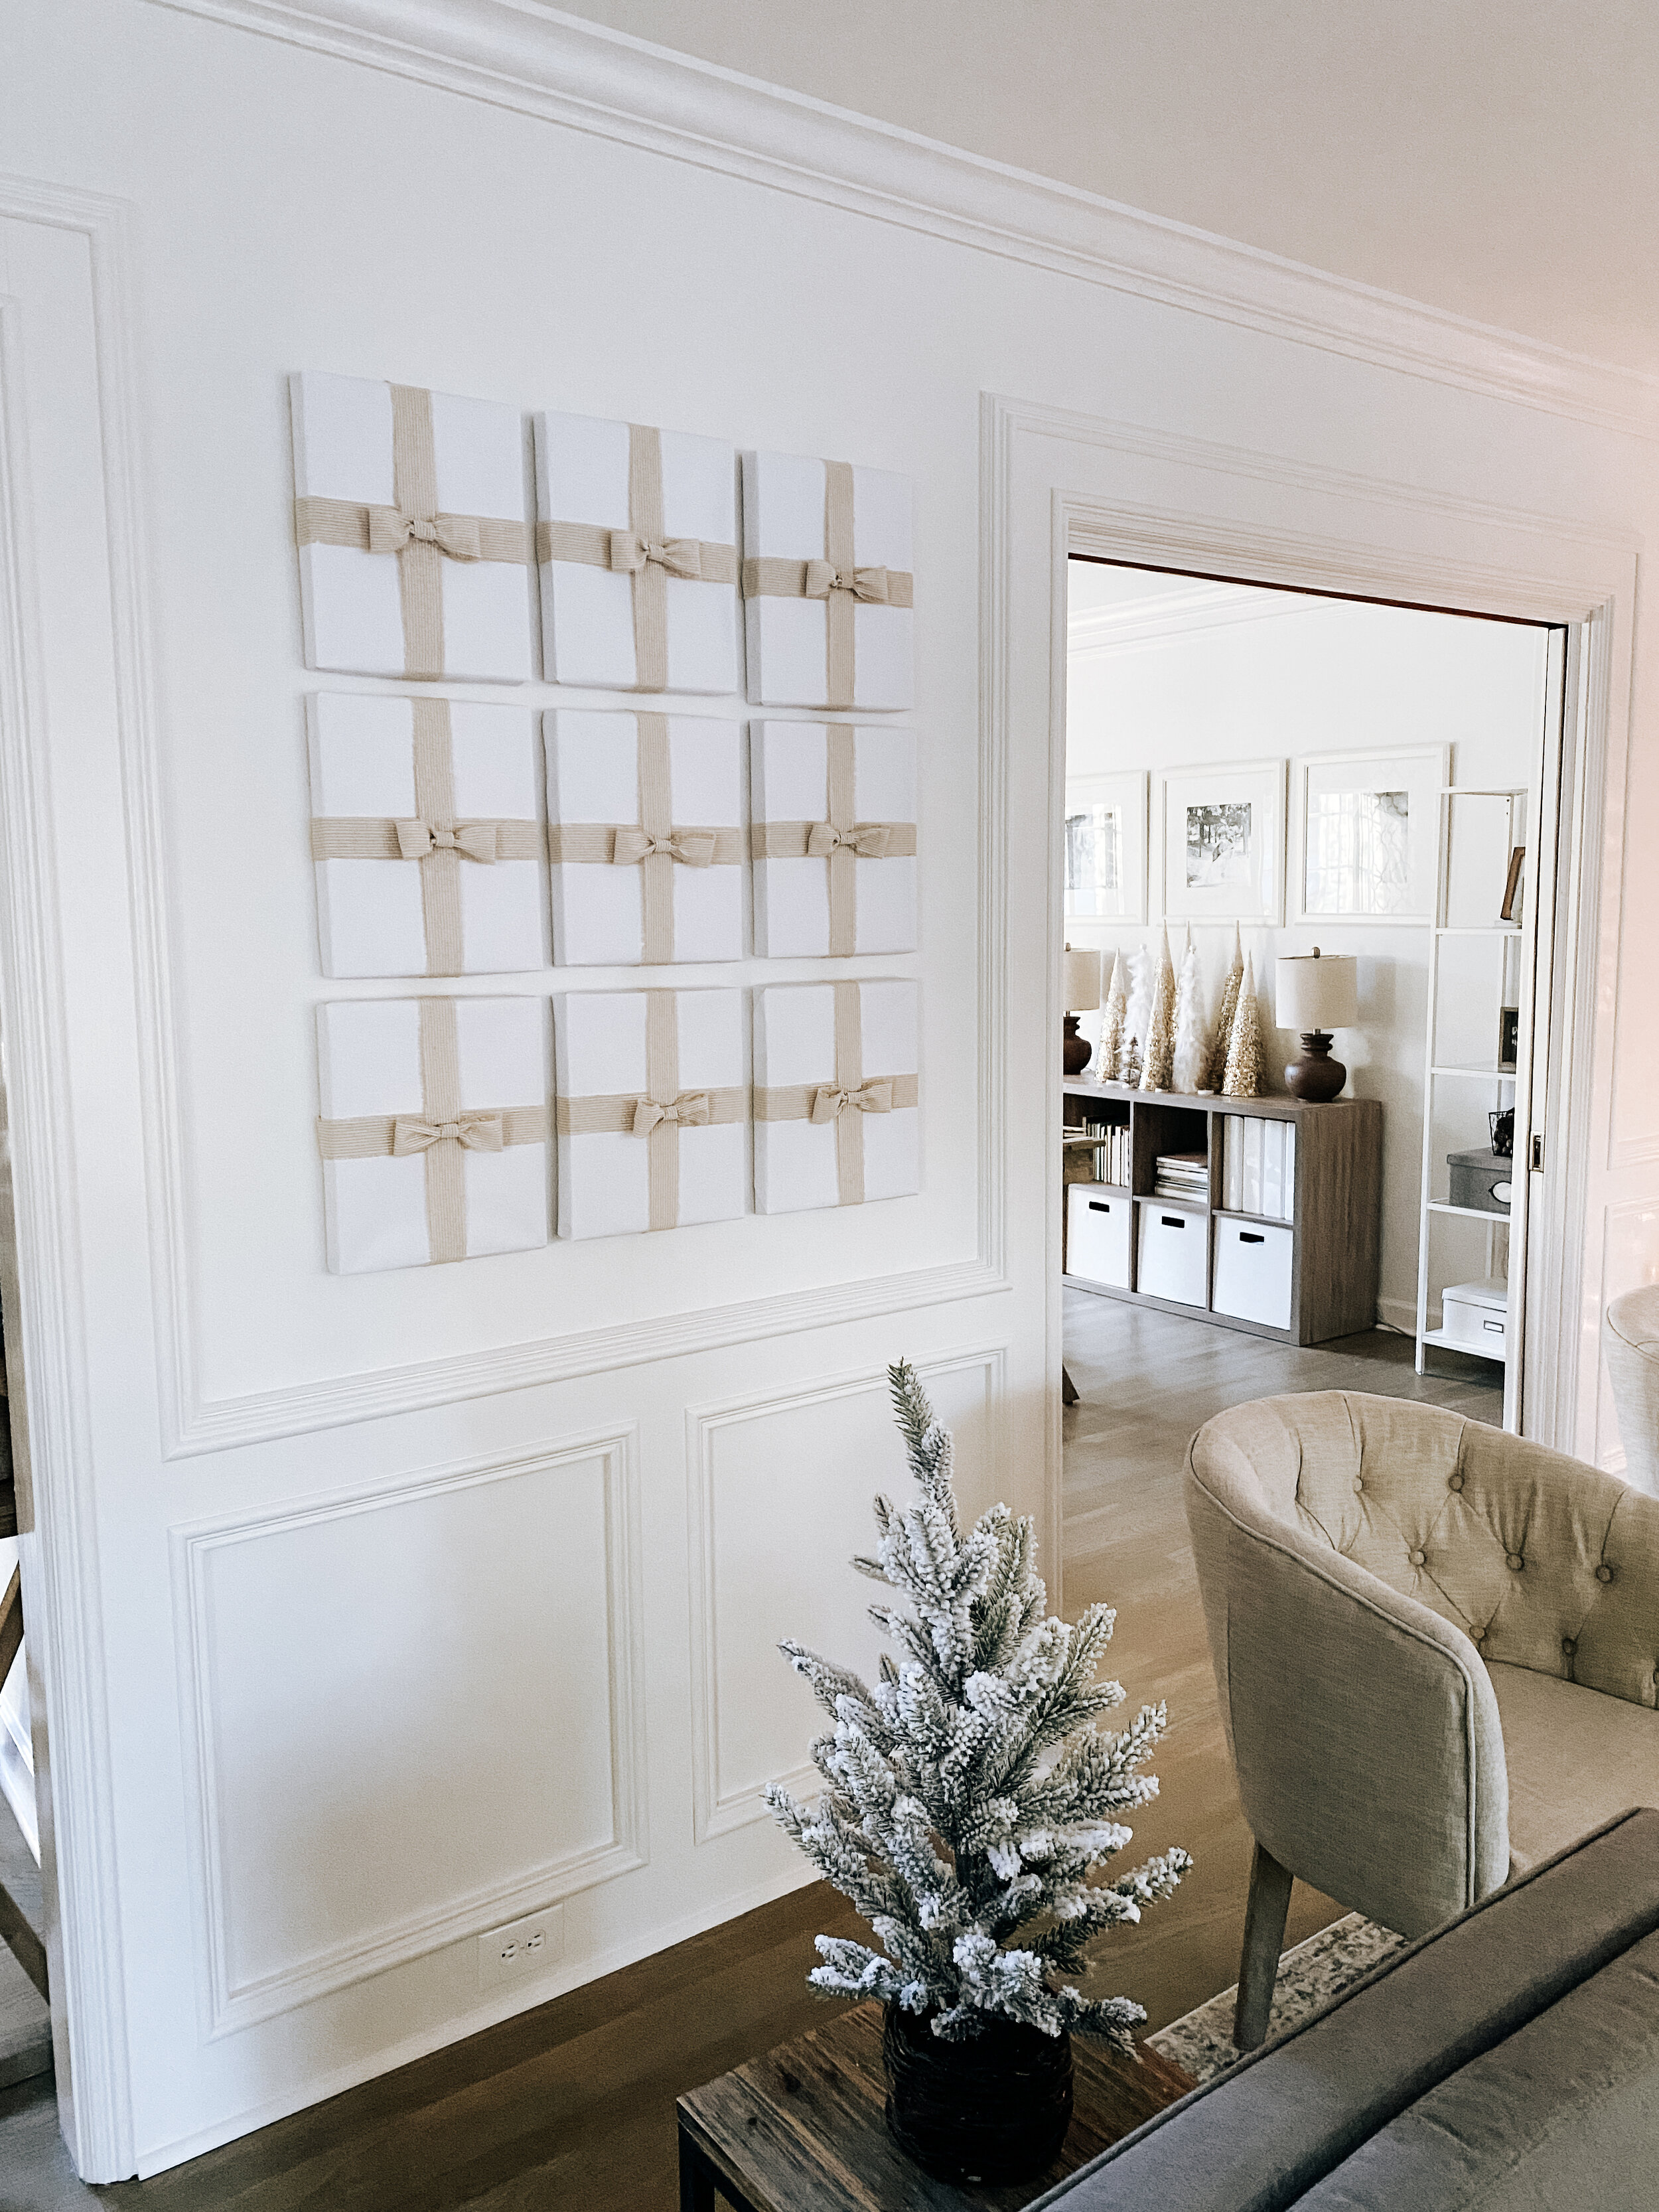
Today I’m going to show you how to do add one of the easiest and most affordable decor elements to your Christmas home collection - wrapped photo frames! This is an inexpensive and easy way to get more coverage around the house without having to buy extra decor - and you can reuse the ribbon every year!
Wrapping paper or kraft paper (you can get these in large rolls for bigger picture frames at places like Office Max or Staples. You can get the white kraft paper I used HERE.
Scotch tape
Scissors
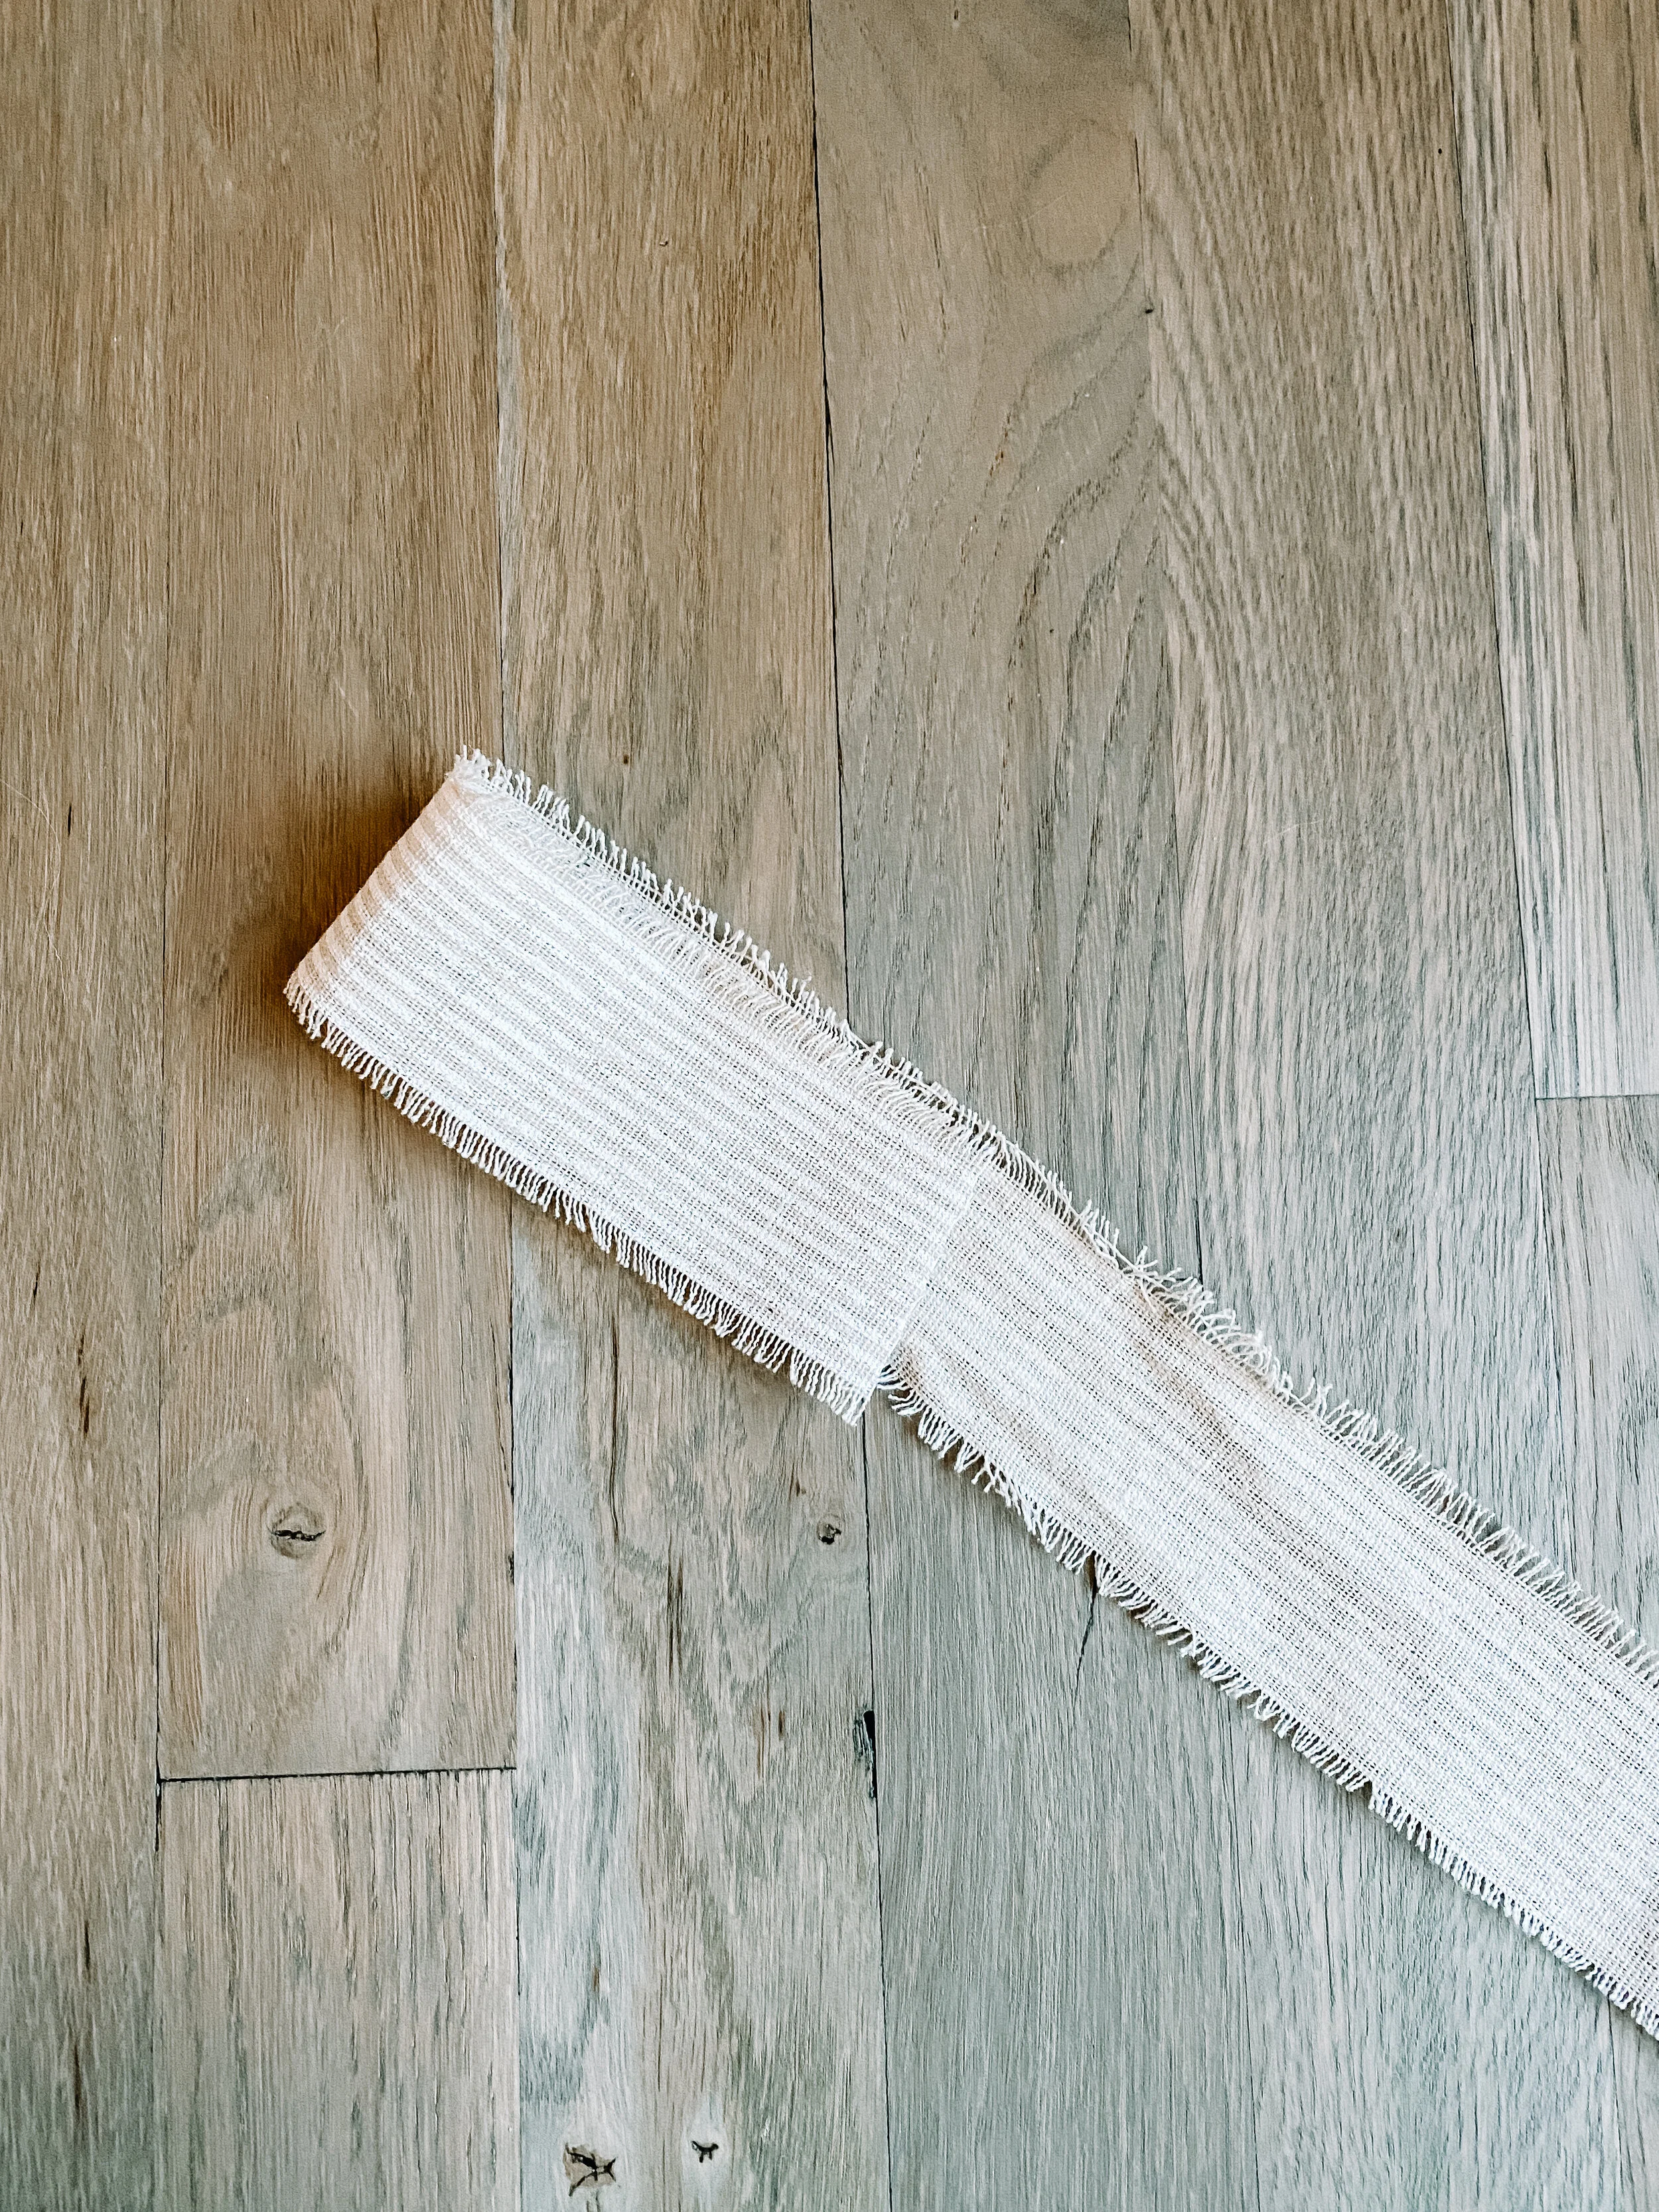
2-4” wide ribbon of your choice. The ribbon I used can be found HERE.
Glue dots (find some HERE)
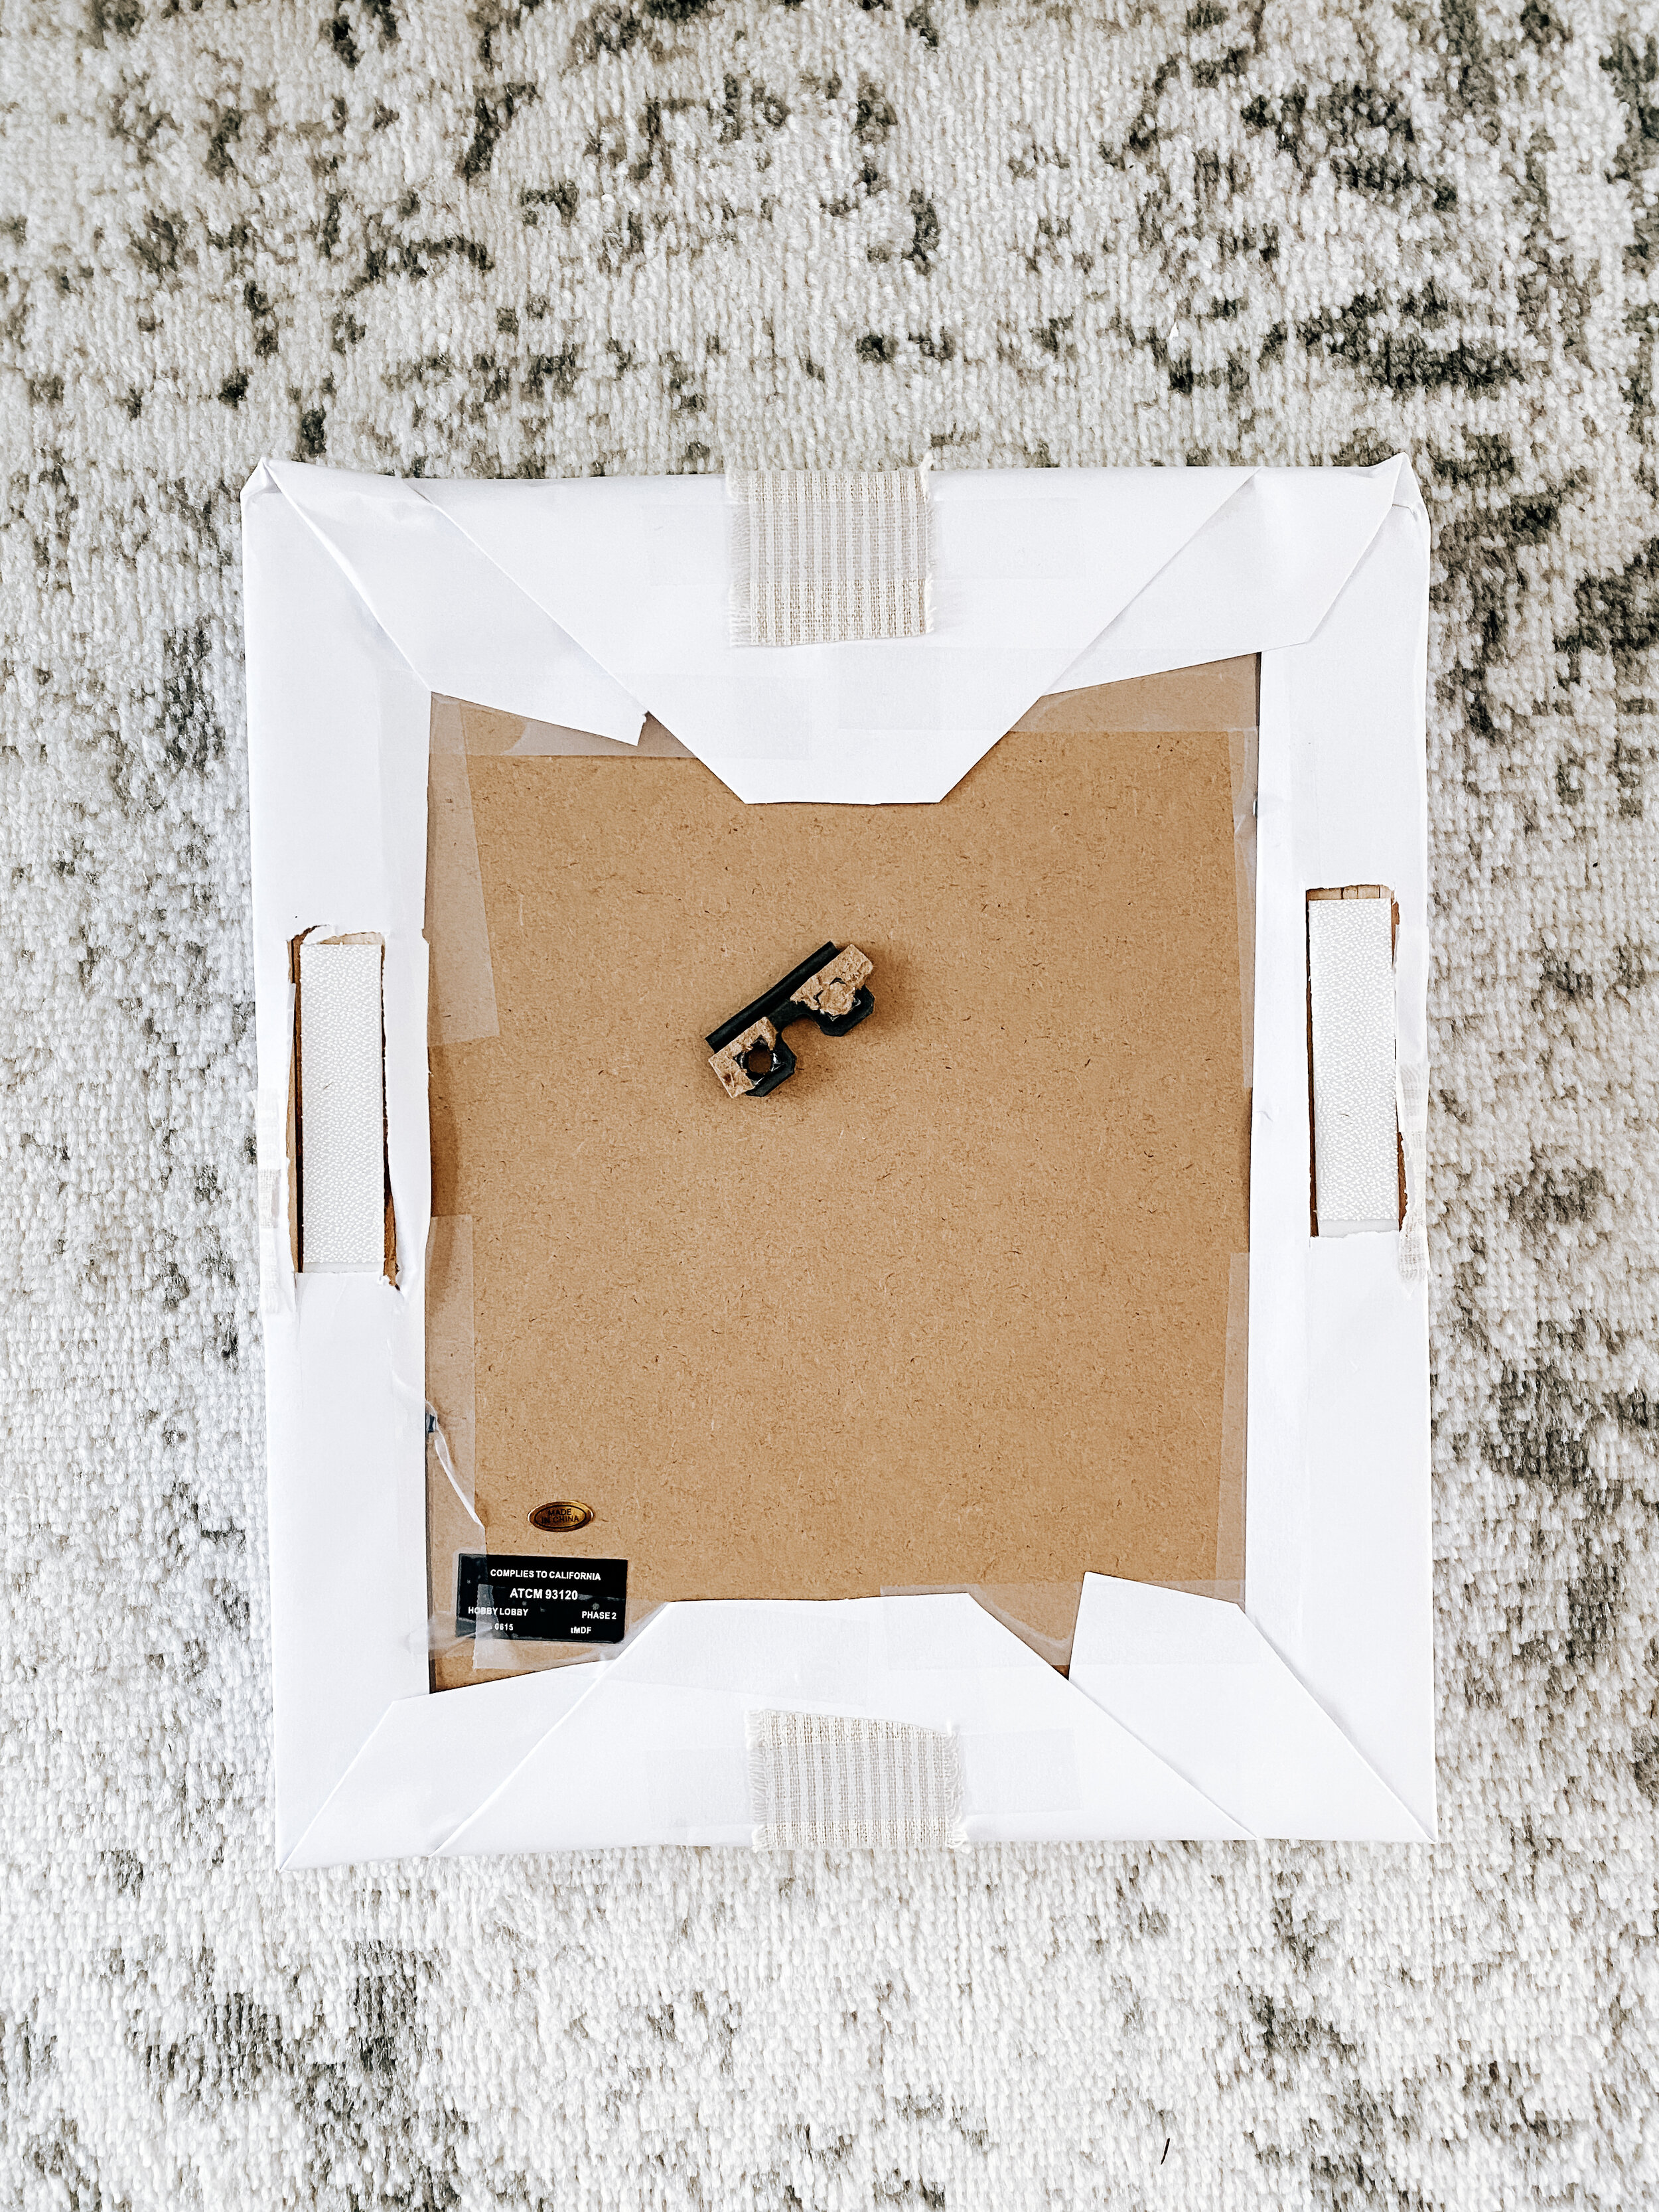
To start, my photo frames in this gallery are attached to the wall using Command Velcro (if you don’t know about this stuff, it’s AMAZING. Keeps me from having 500 holes in my wall! I use it everywhere!) So I knew I had to work around that on the back side. It had to remain clear so that I could put it back on the wall.

I also didn’t want to waste paper on the back side of the frame, so I laid out the paper on the floor and only left about a 2inch margin all the way around - just enough to fold the sides like a regular gift and scotch tape on the back. Once I did that, I razor bladed the area around the Command Velcro on the back so that it was free to attach to the wall.
For the ribbon, I did the same thing as the paper - only using enough to just come around the back of the frame. On the sides where the Command Velcro was, I cut it just at the edge and used the glue dots to hold on each side.
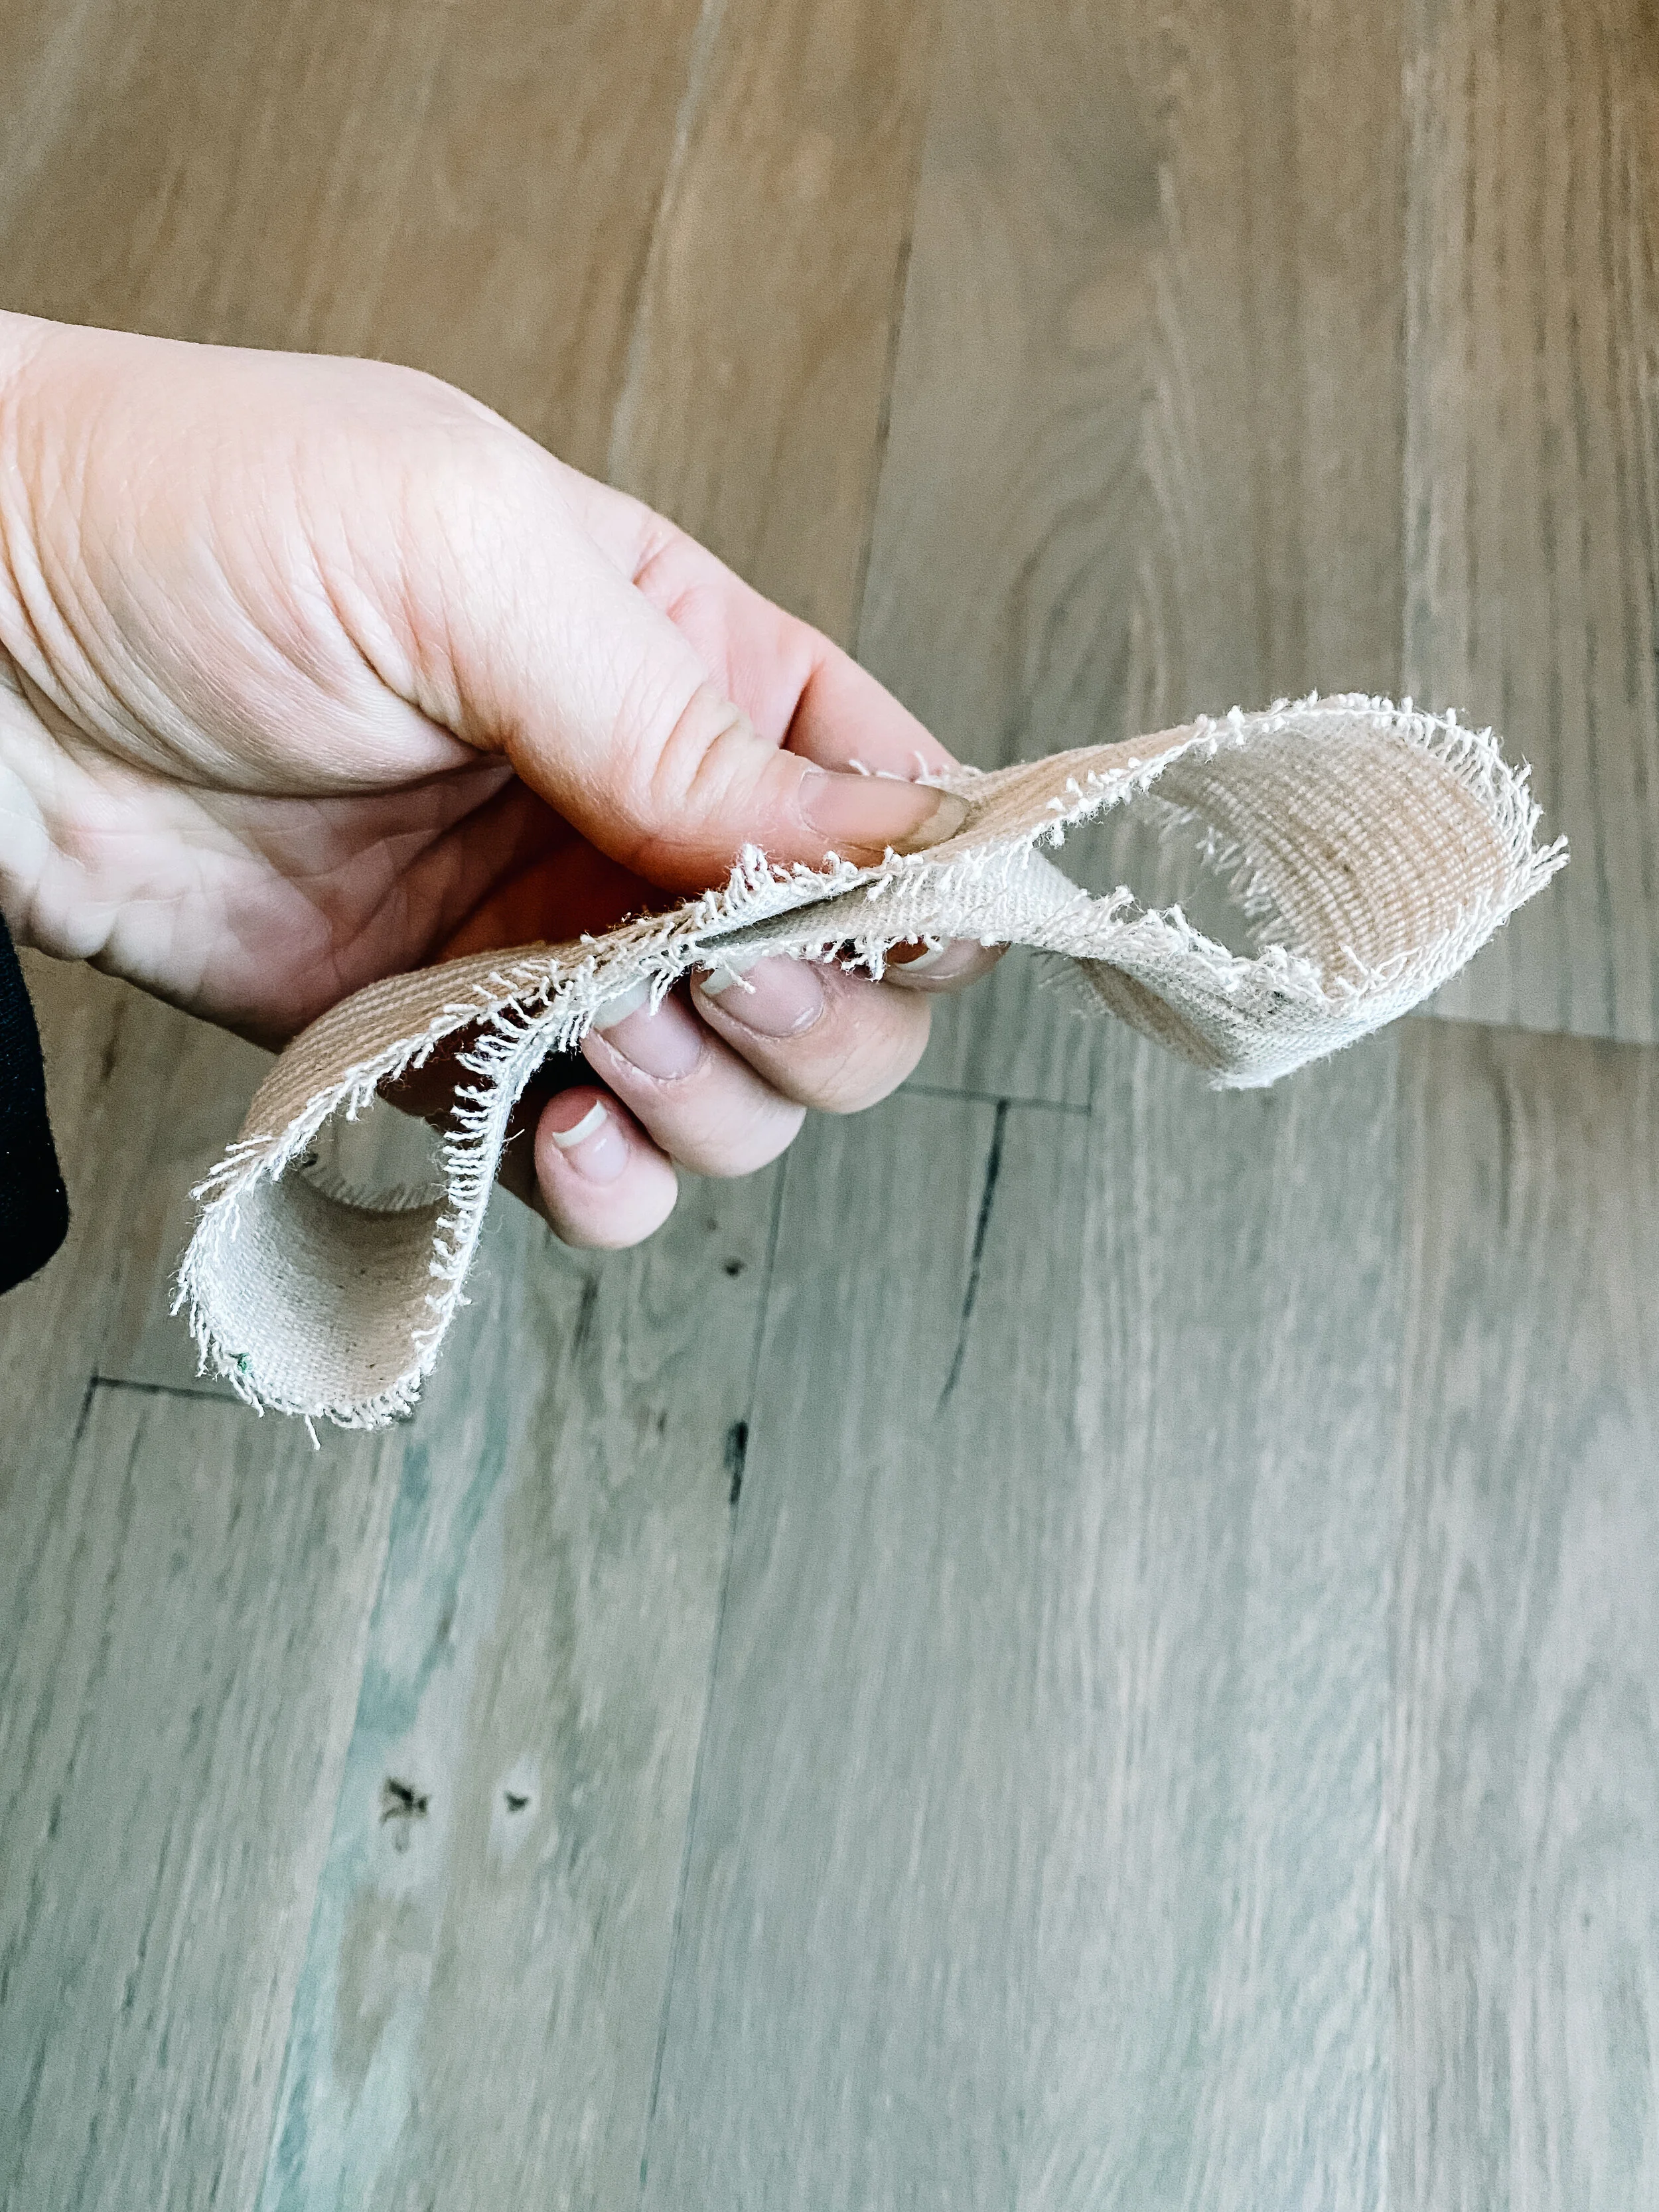
Next, I made my no-glue bow by folding two loops with the ribbon, then I cut a three inch strip of ribbon, folded in the edges on both sides and wrapped it around the back and secured with another glue dot. Piece of cake! One that was done I used one more glue dot to attach it to the front of the gift and done!

Click those bad boys back into the velcro and you are done. When the holidays are over, be sure and keep the ribbon - it’s already pre-cut and will be even easier to recreate next year! You can do this on any gallery wall in your house…I think it would look even more fun if the frames are all different sizes! I love that you can also change out the wrapping paper and the ribbon every year if you wanted to match whatever theme you choose with your Christmas decor.


(DISCLAIMER: This post contains some affiliate links. This does not affect the price of the products you're purchasing, but I do receive a small kickback for any purchase made. I only link to products that I personally use and highly recommend!)
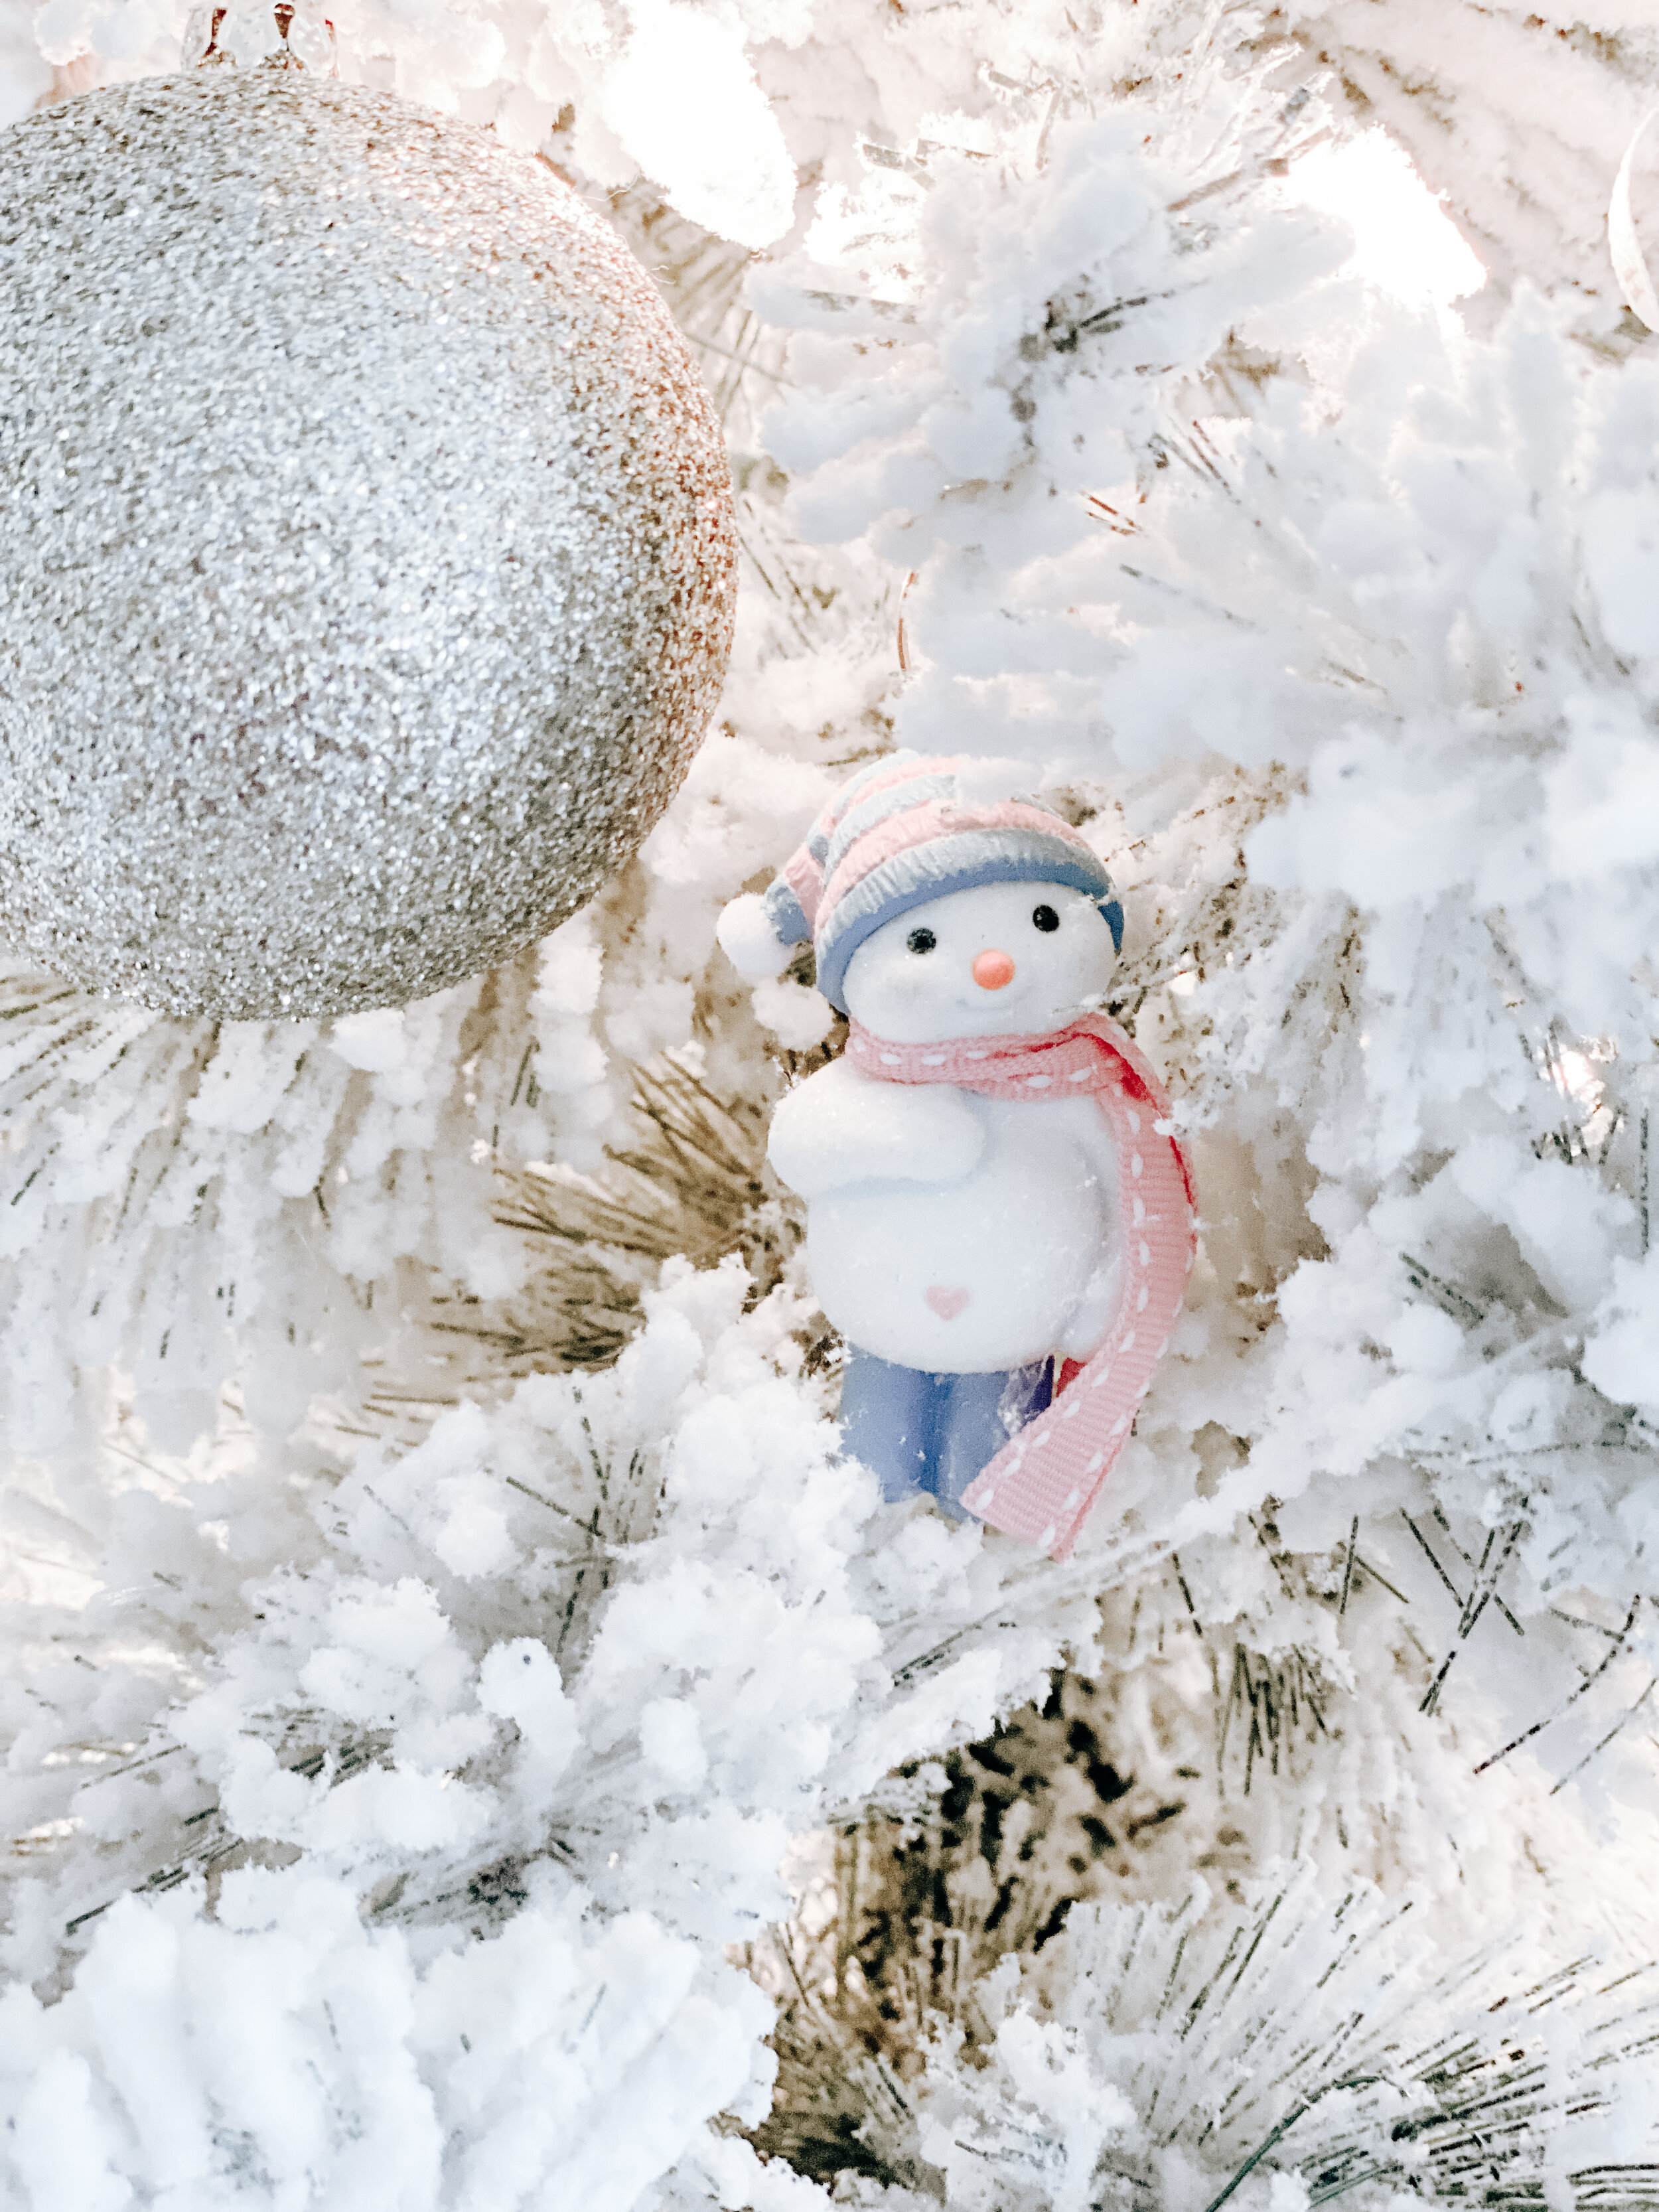
It’s that time…we’ve reached the fourth and final install of our Holiday Home Tour 2020. And this one is super fun since it’s all things kid, because what is more magical than seeing Christmas through the eyes of your child?!
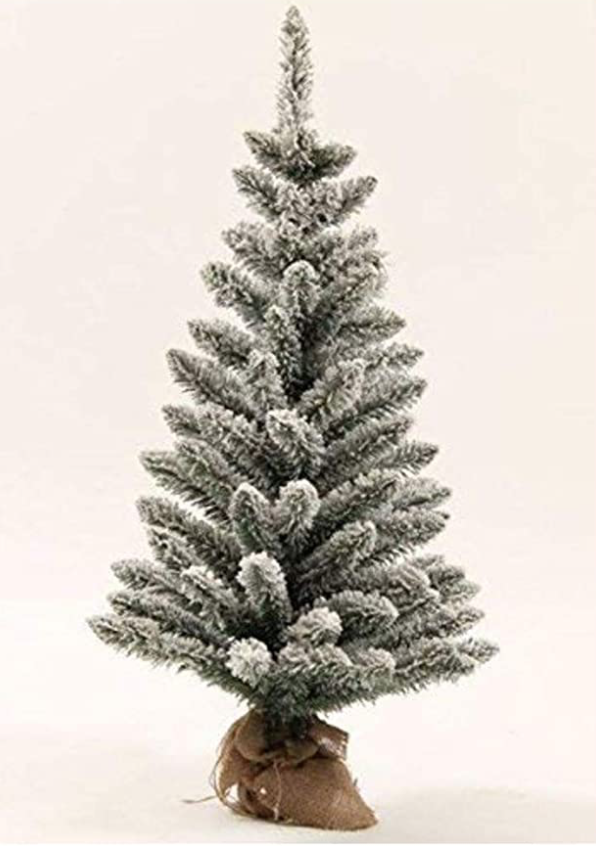
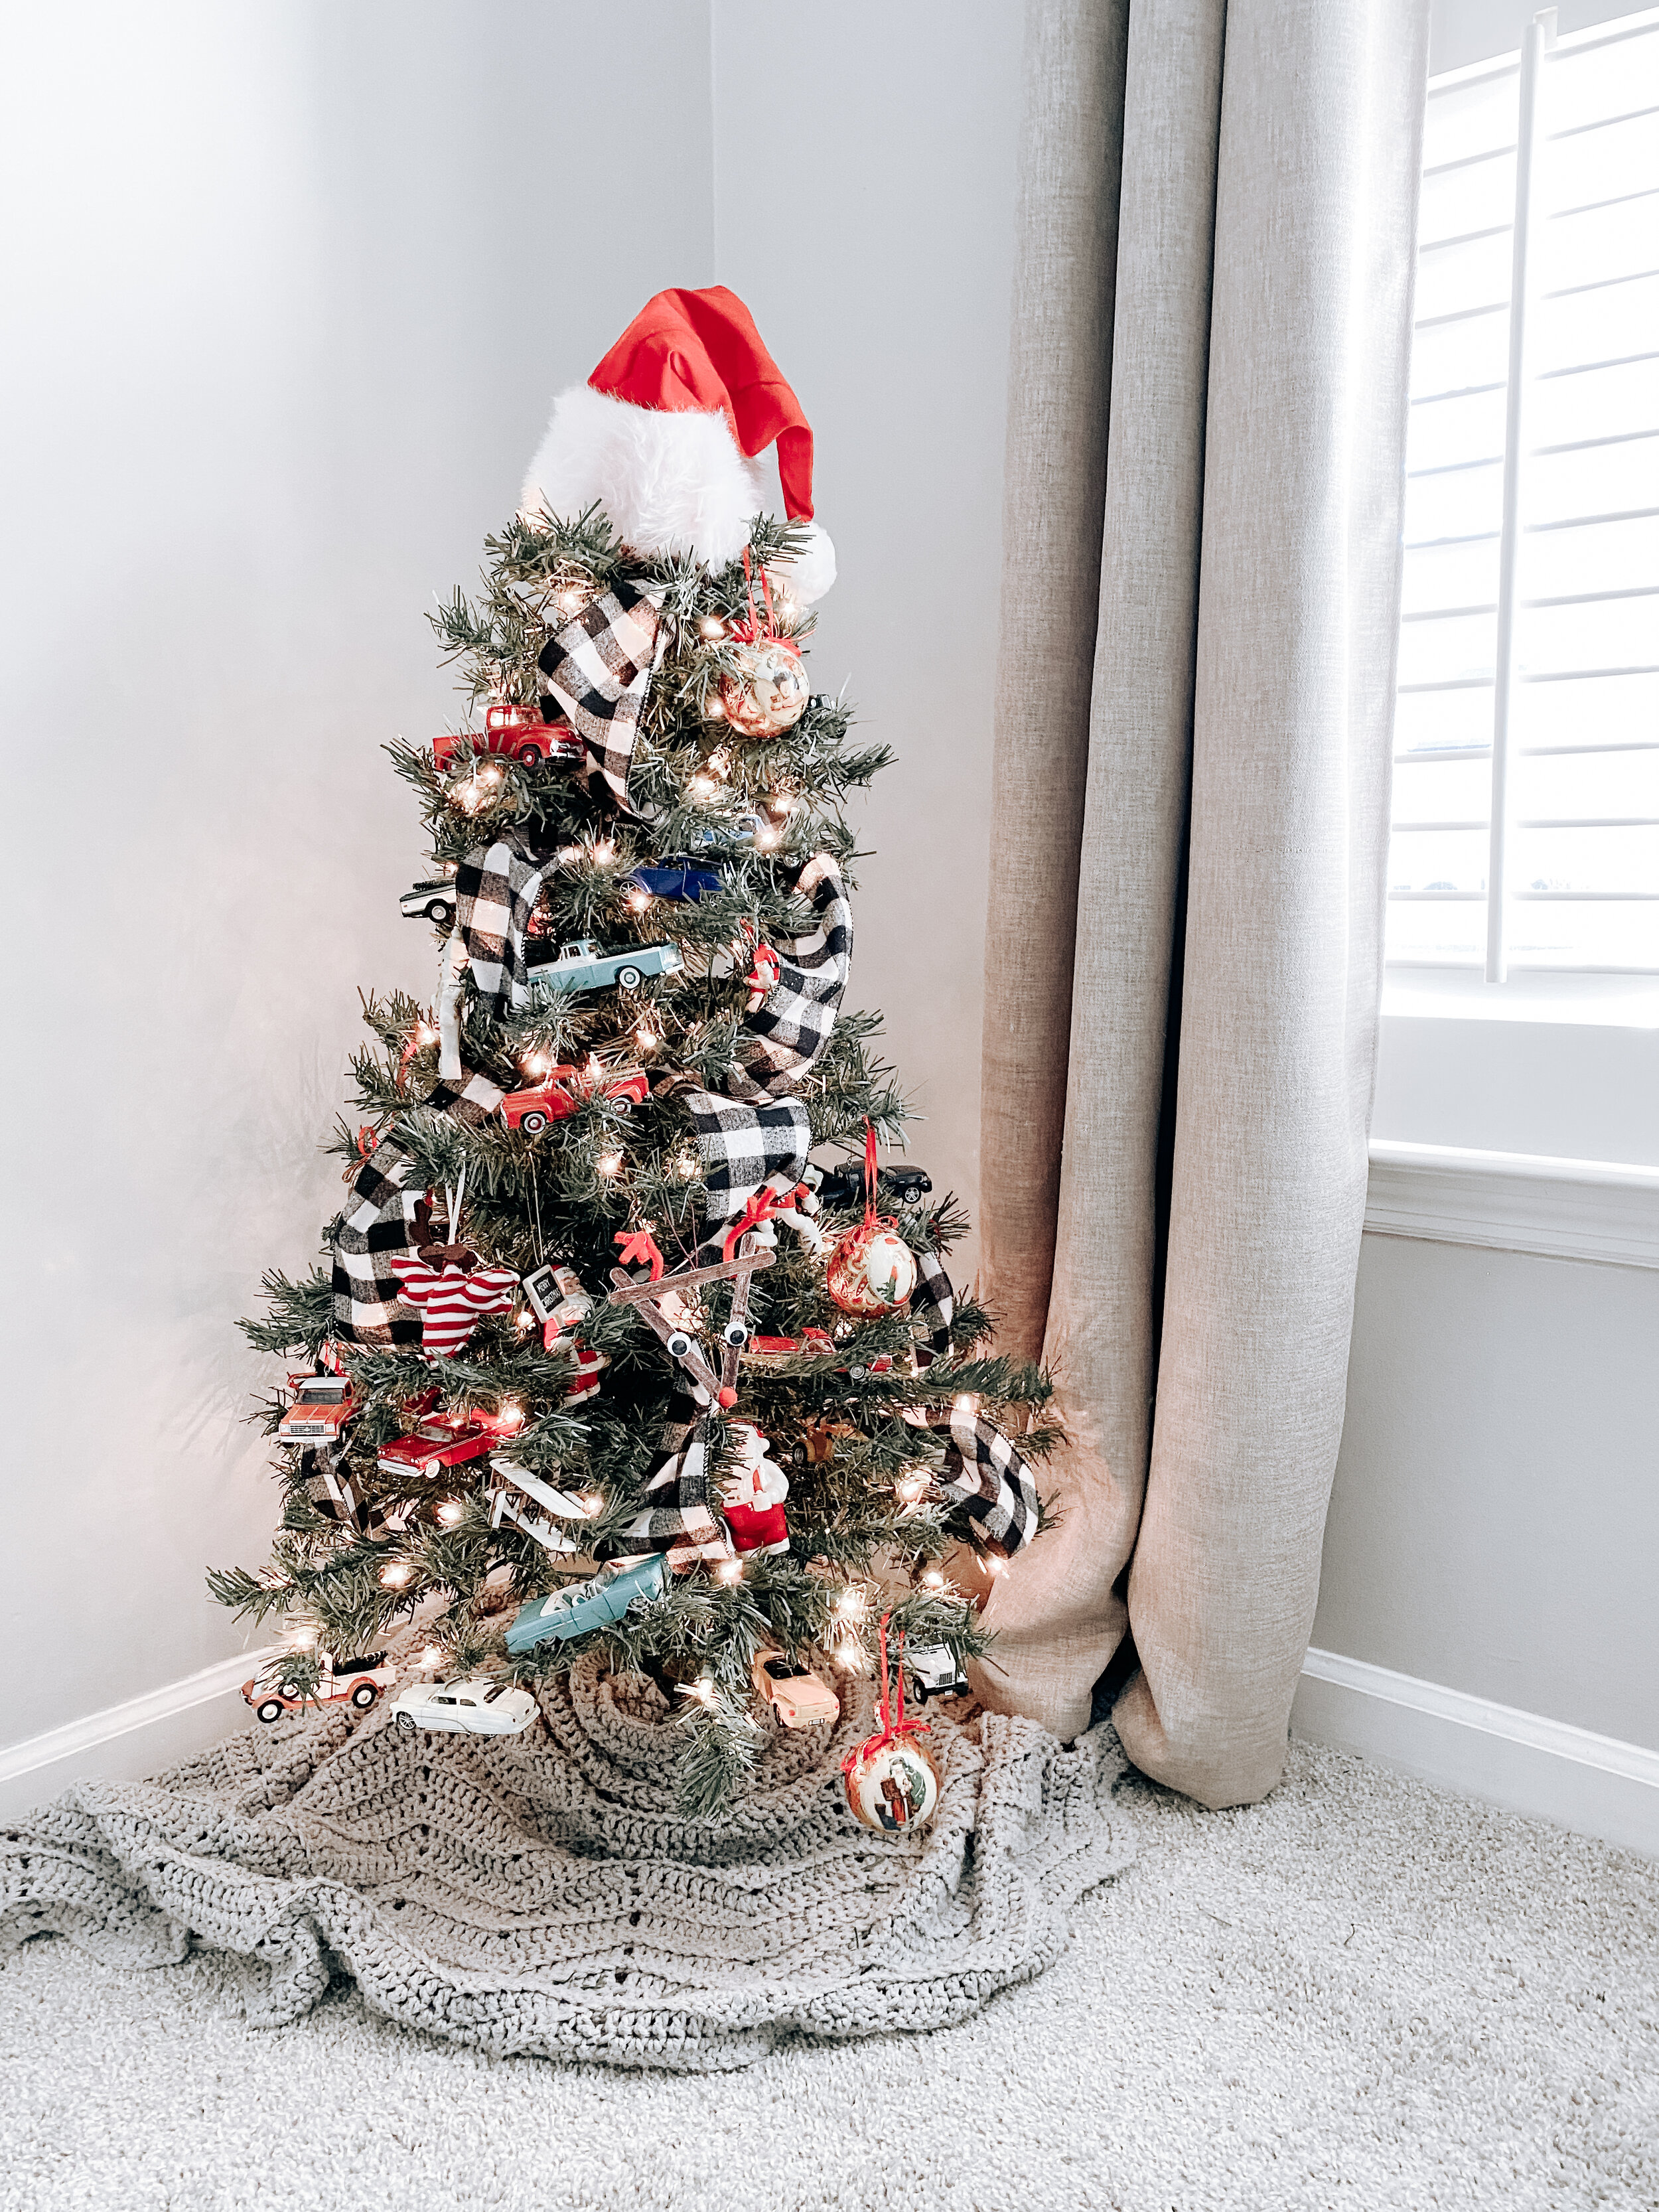
This was our first year that our little man has really gotten into helping us decorate. This was also the first year we let him have his own tree in his room so he was elated to decorate that himself with some of his daddy’s childhood ornaments and some we’ve collected for him along the way.
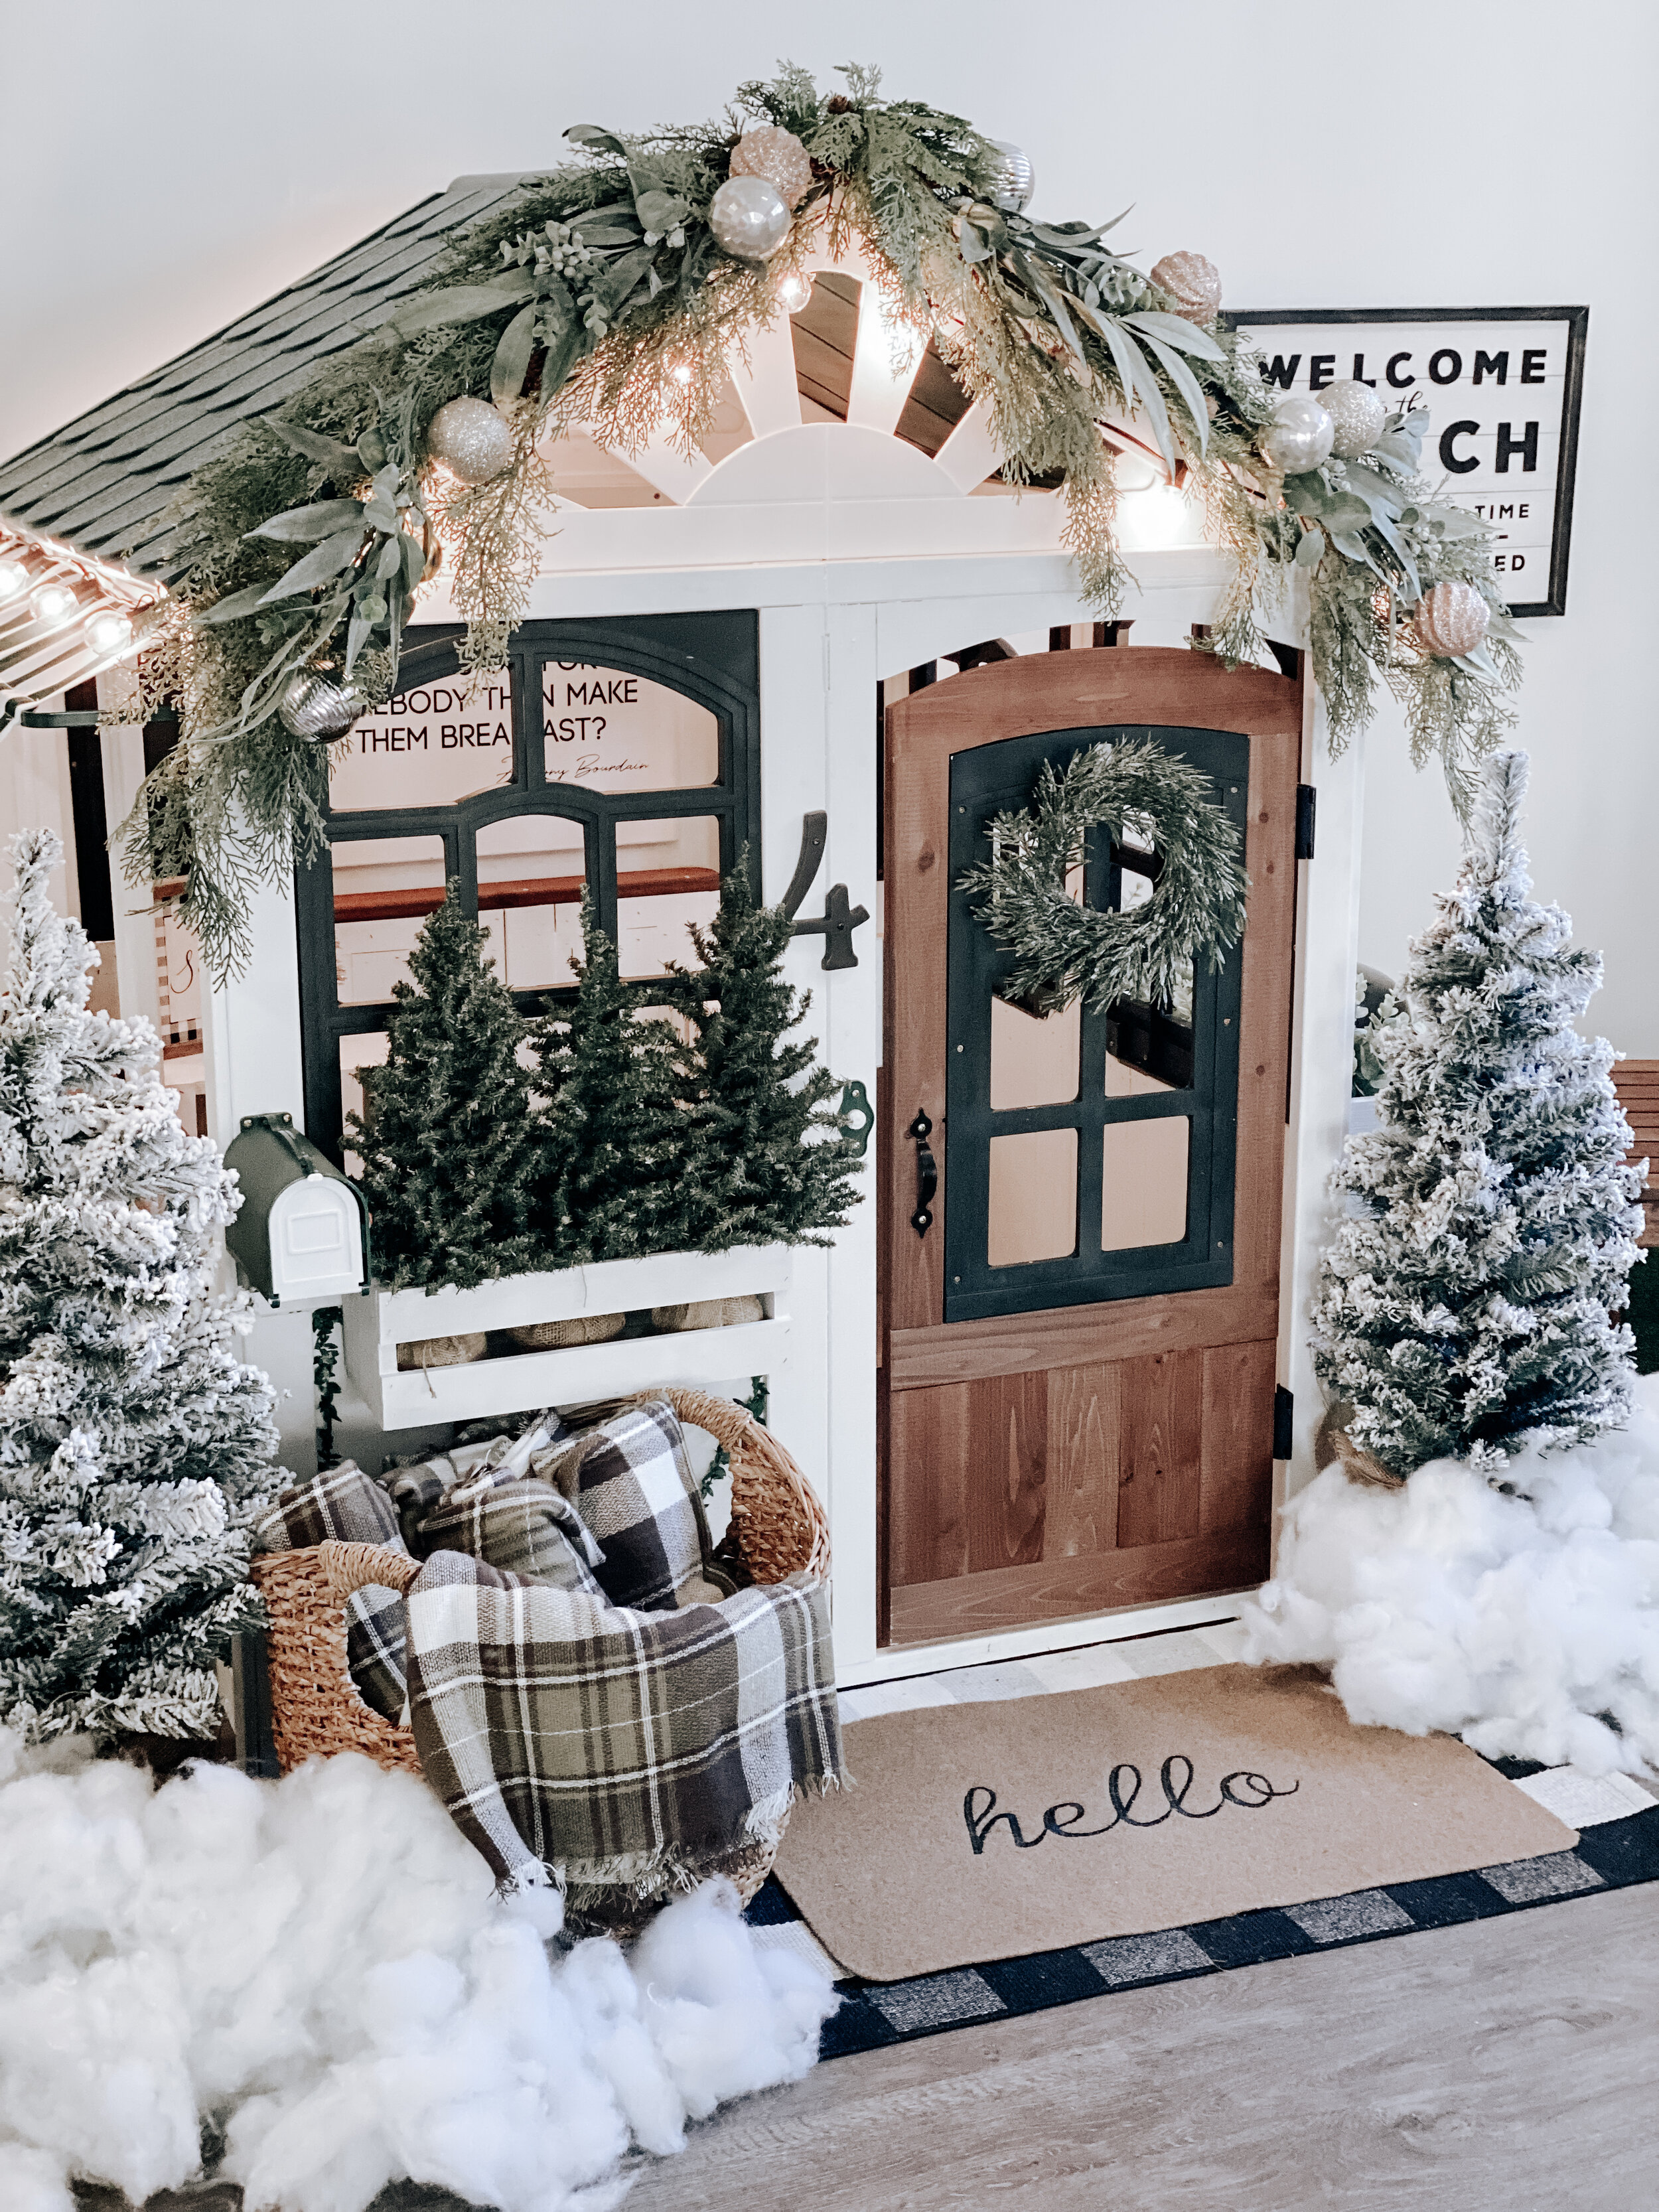
Mama also had a little too much fun with decorating the playhouse and the ice cream cart…but it’s ok, it’s 2020, right?!
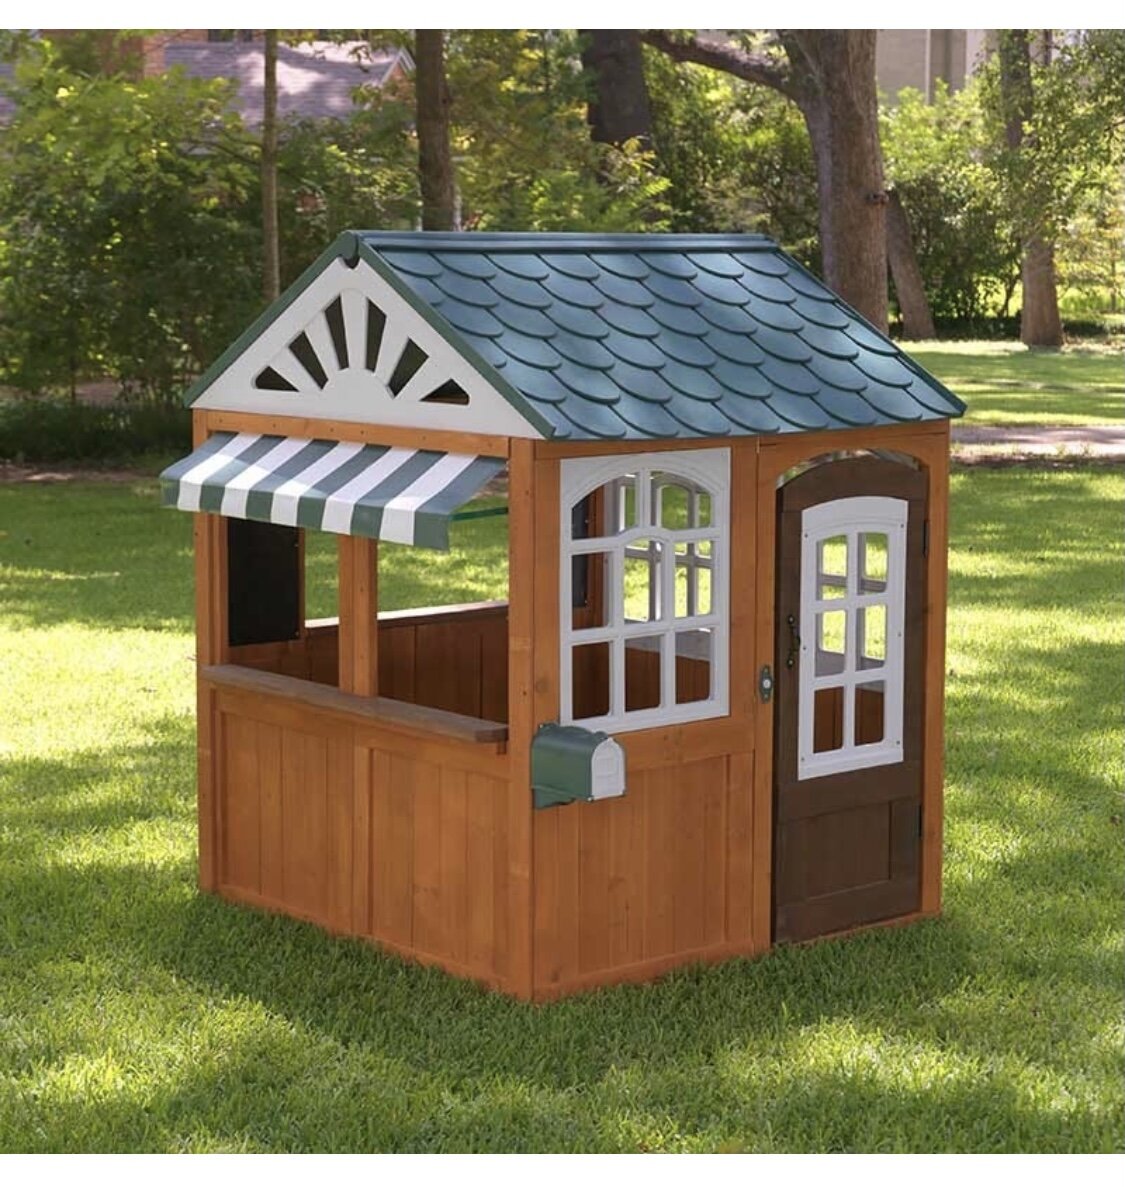
Earlier this year we turned our basement into a full-fledged classroom for our homeschool learning pod, complete with an indoor play area. I bought a wooden playhouse online and found an old lemonade stand on Facebook Marketplace and gave them both a makeover! Here’s the before of both:

Knowing they would both be used inside and wanting them to match the aesthetics of our home a little more (plus, the kid inside just wanted them to be super fun and cute). I painted them both white and jazzed them up a bit, turning one into an ice cream and sweets cart. Now this week I transformed our play area into a winter wonderland!
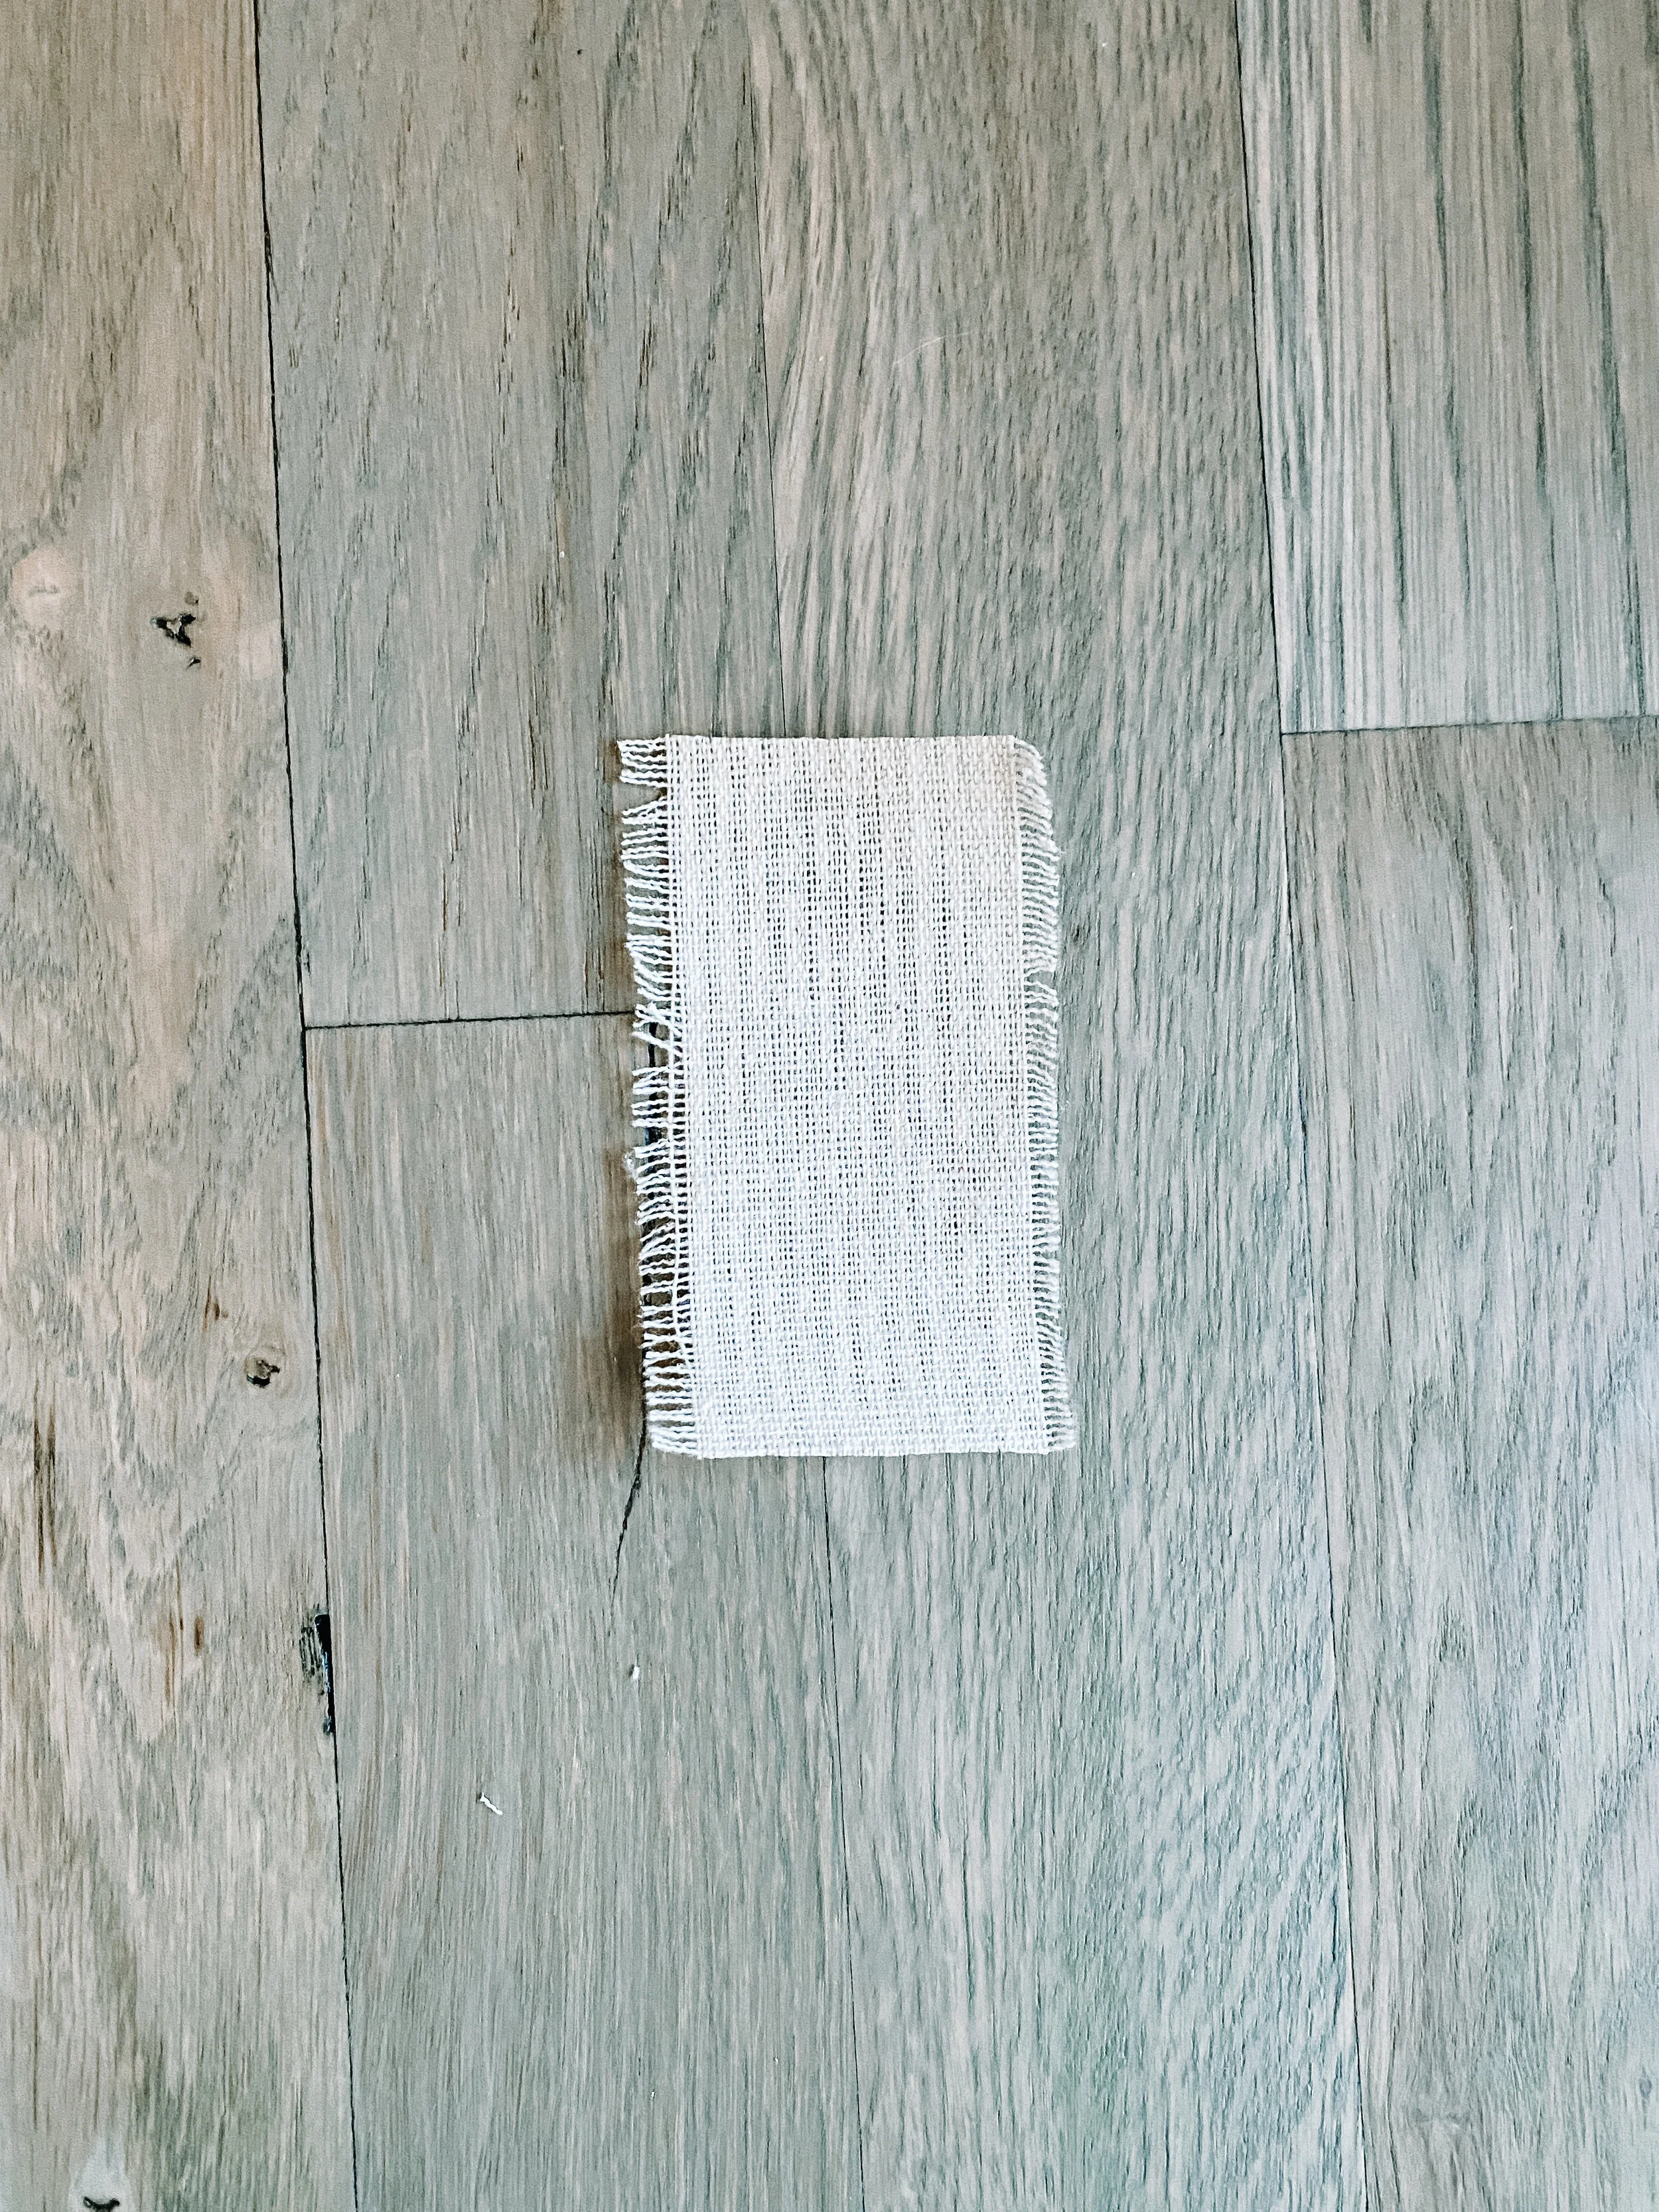
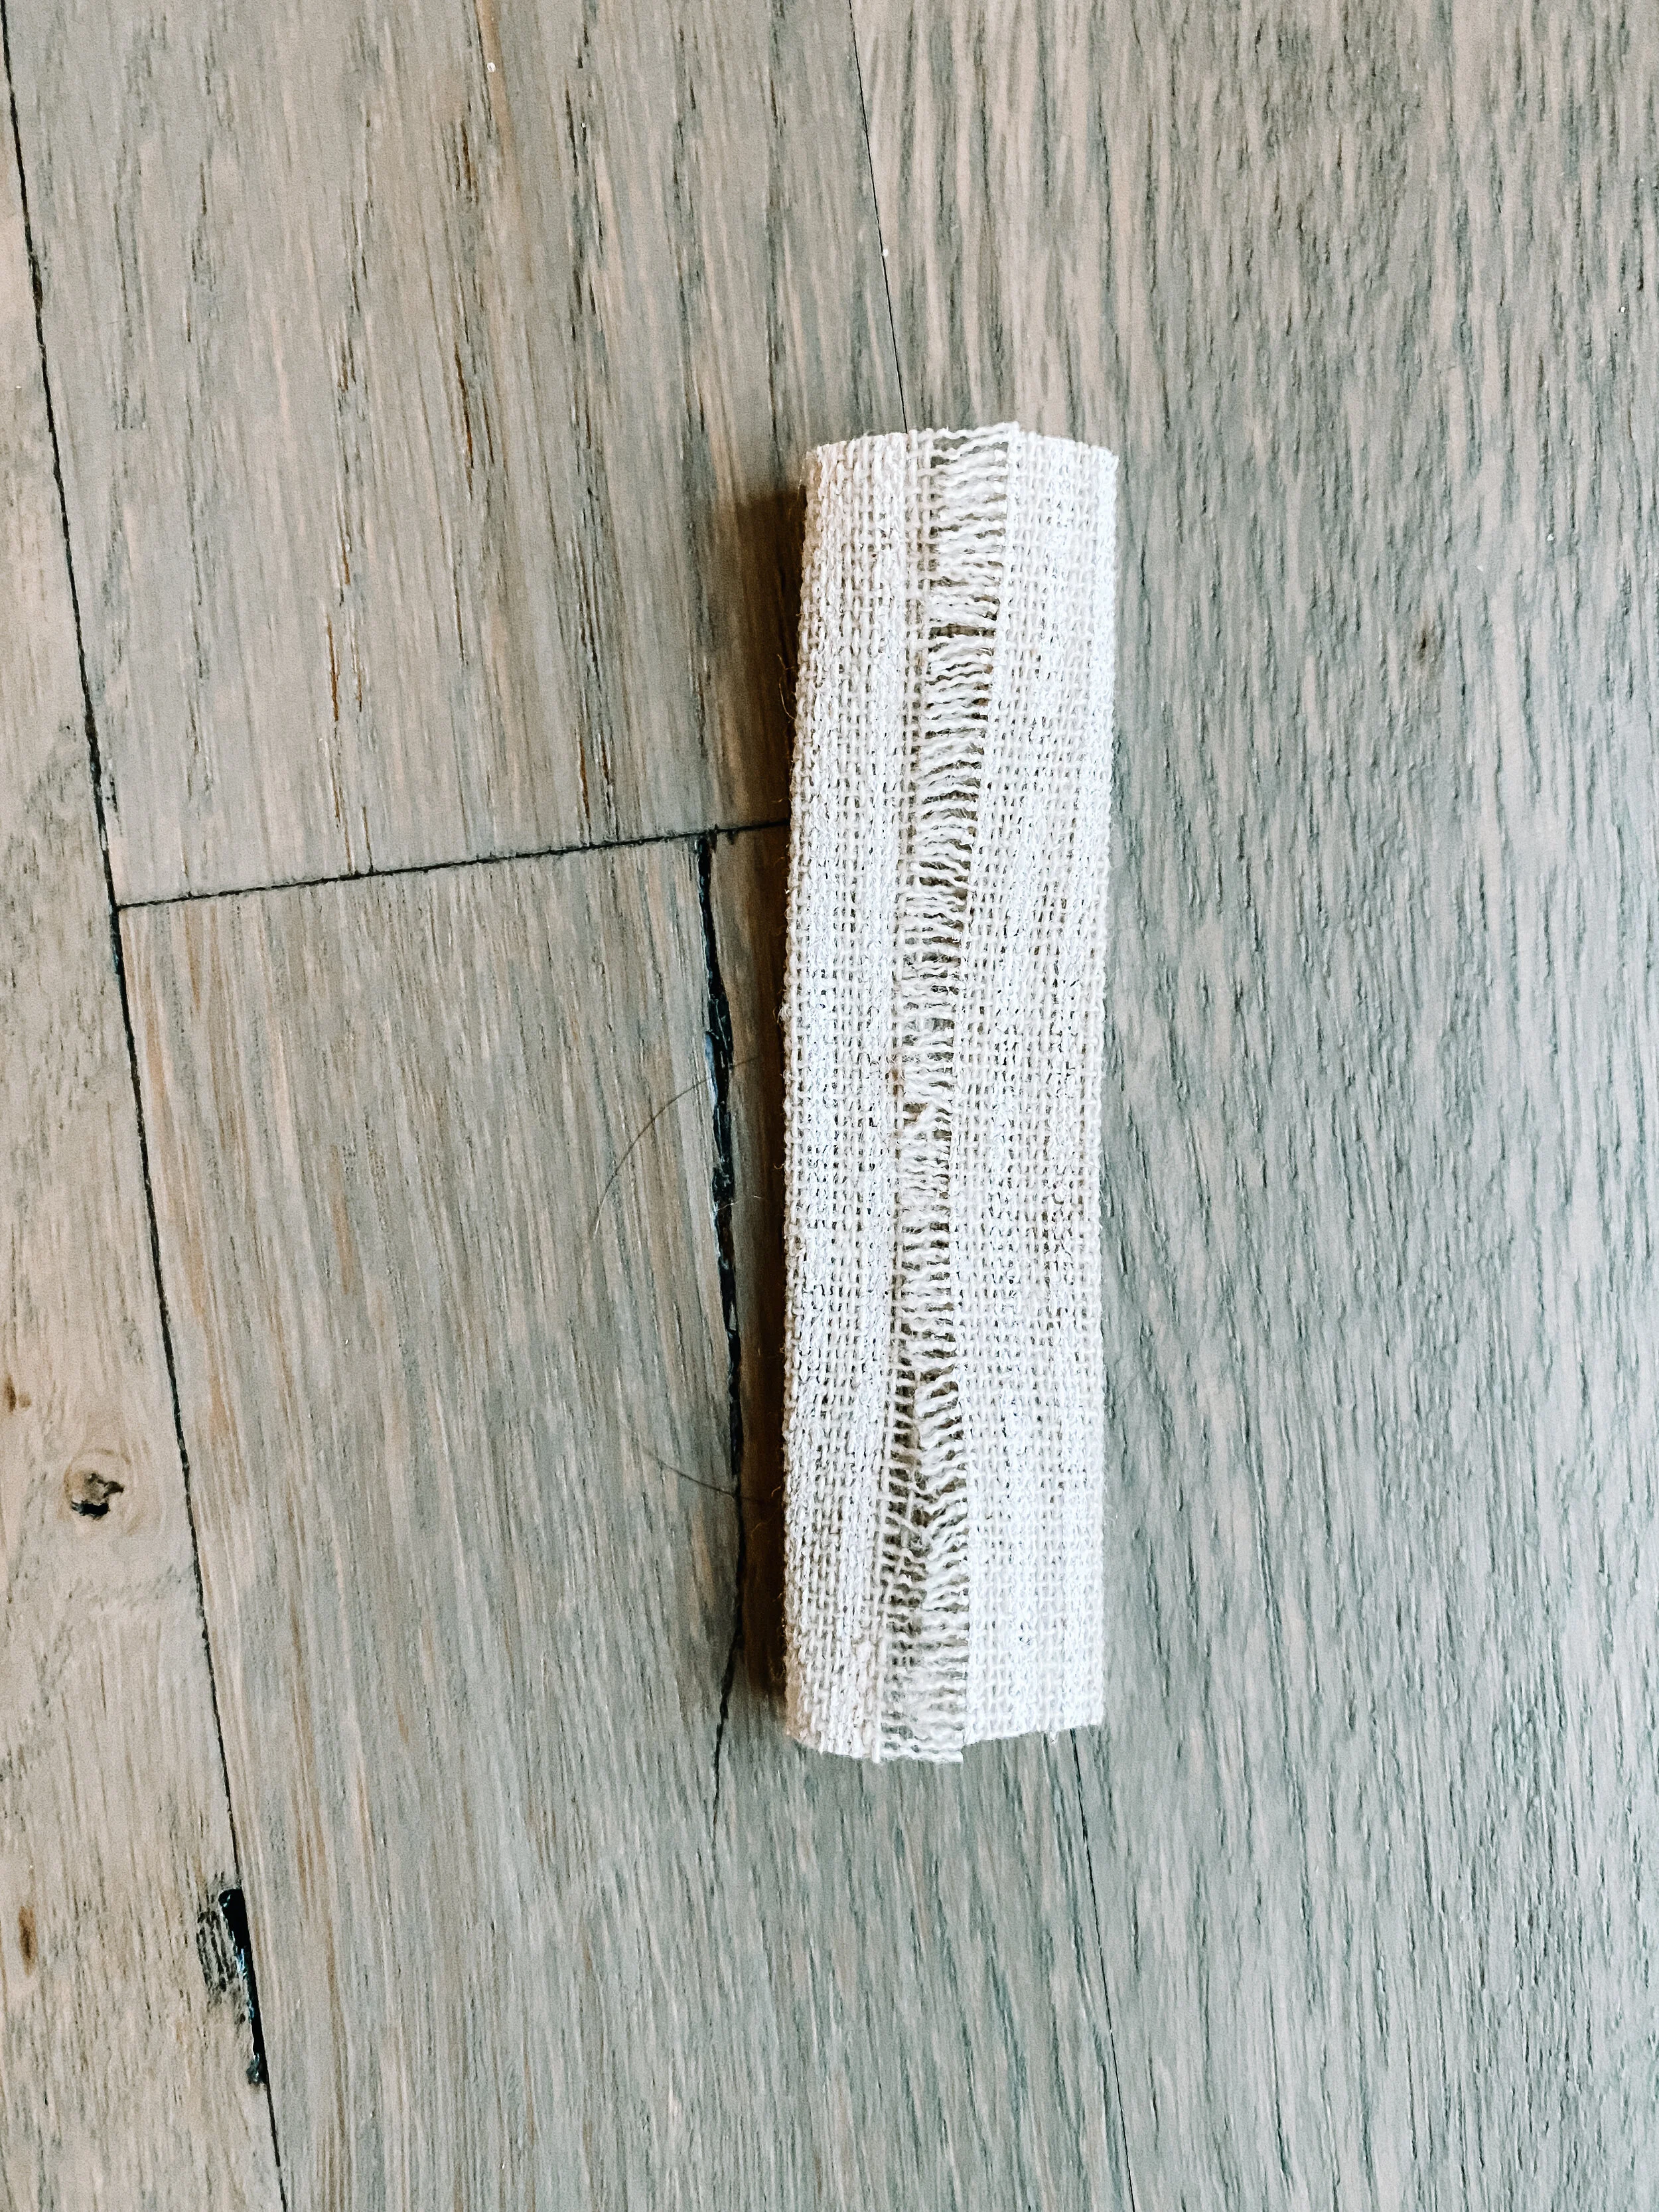
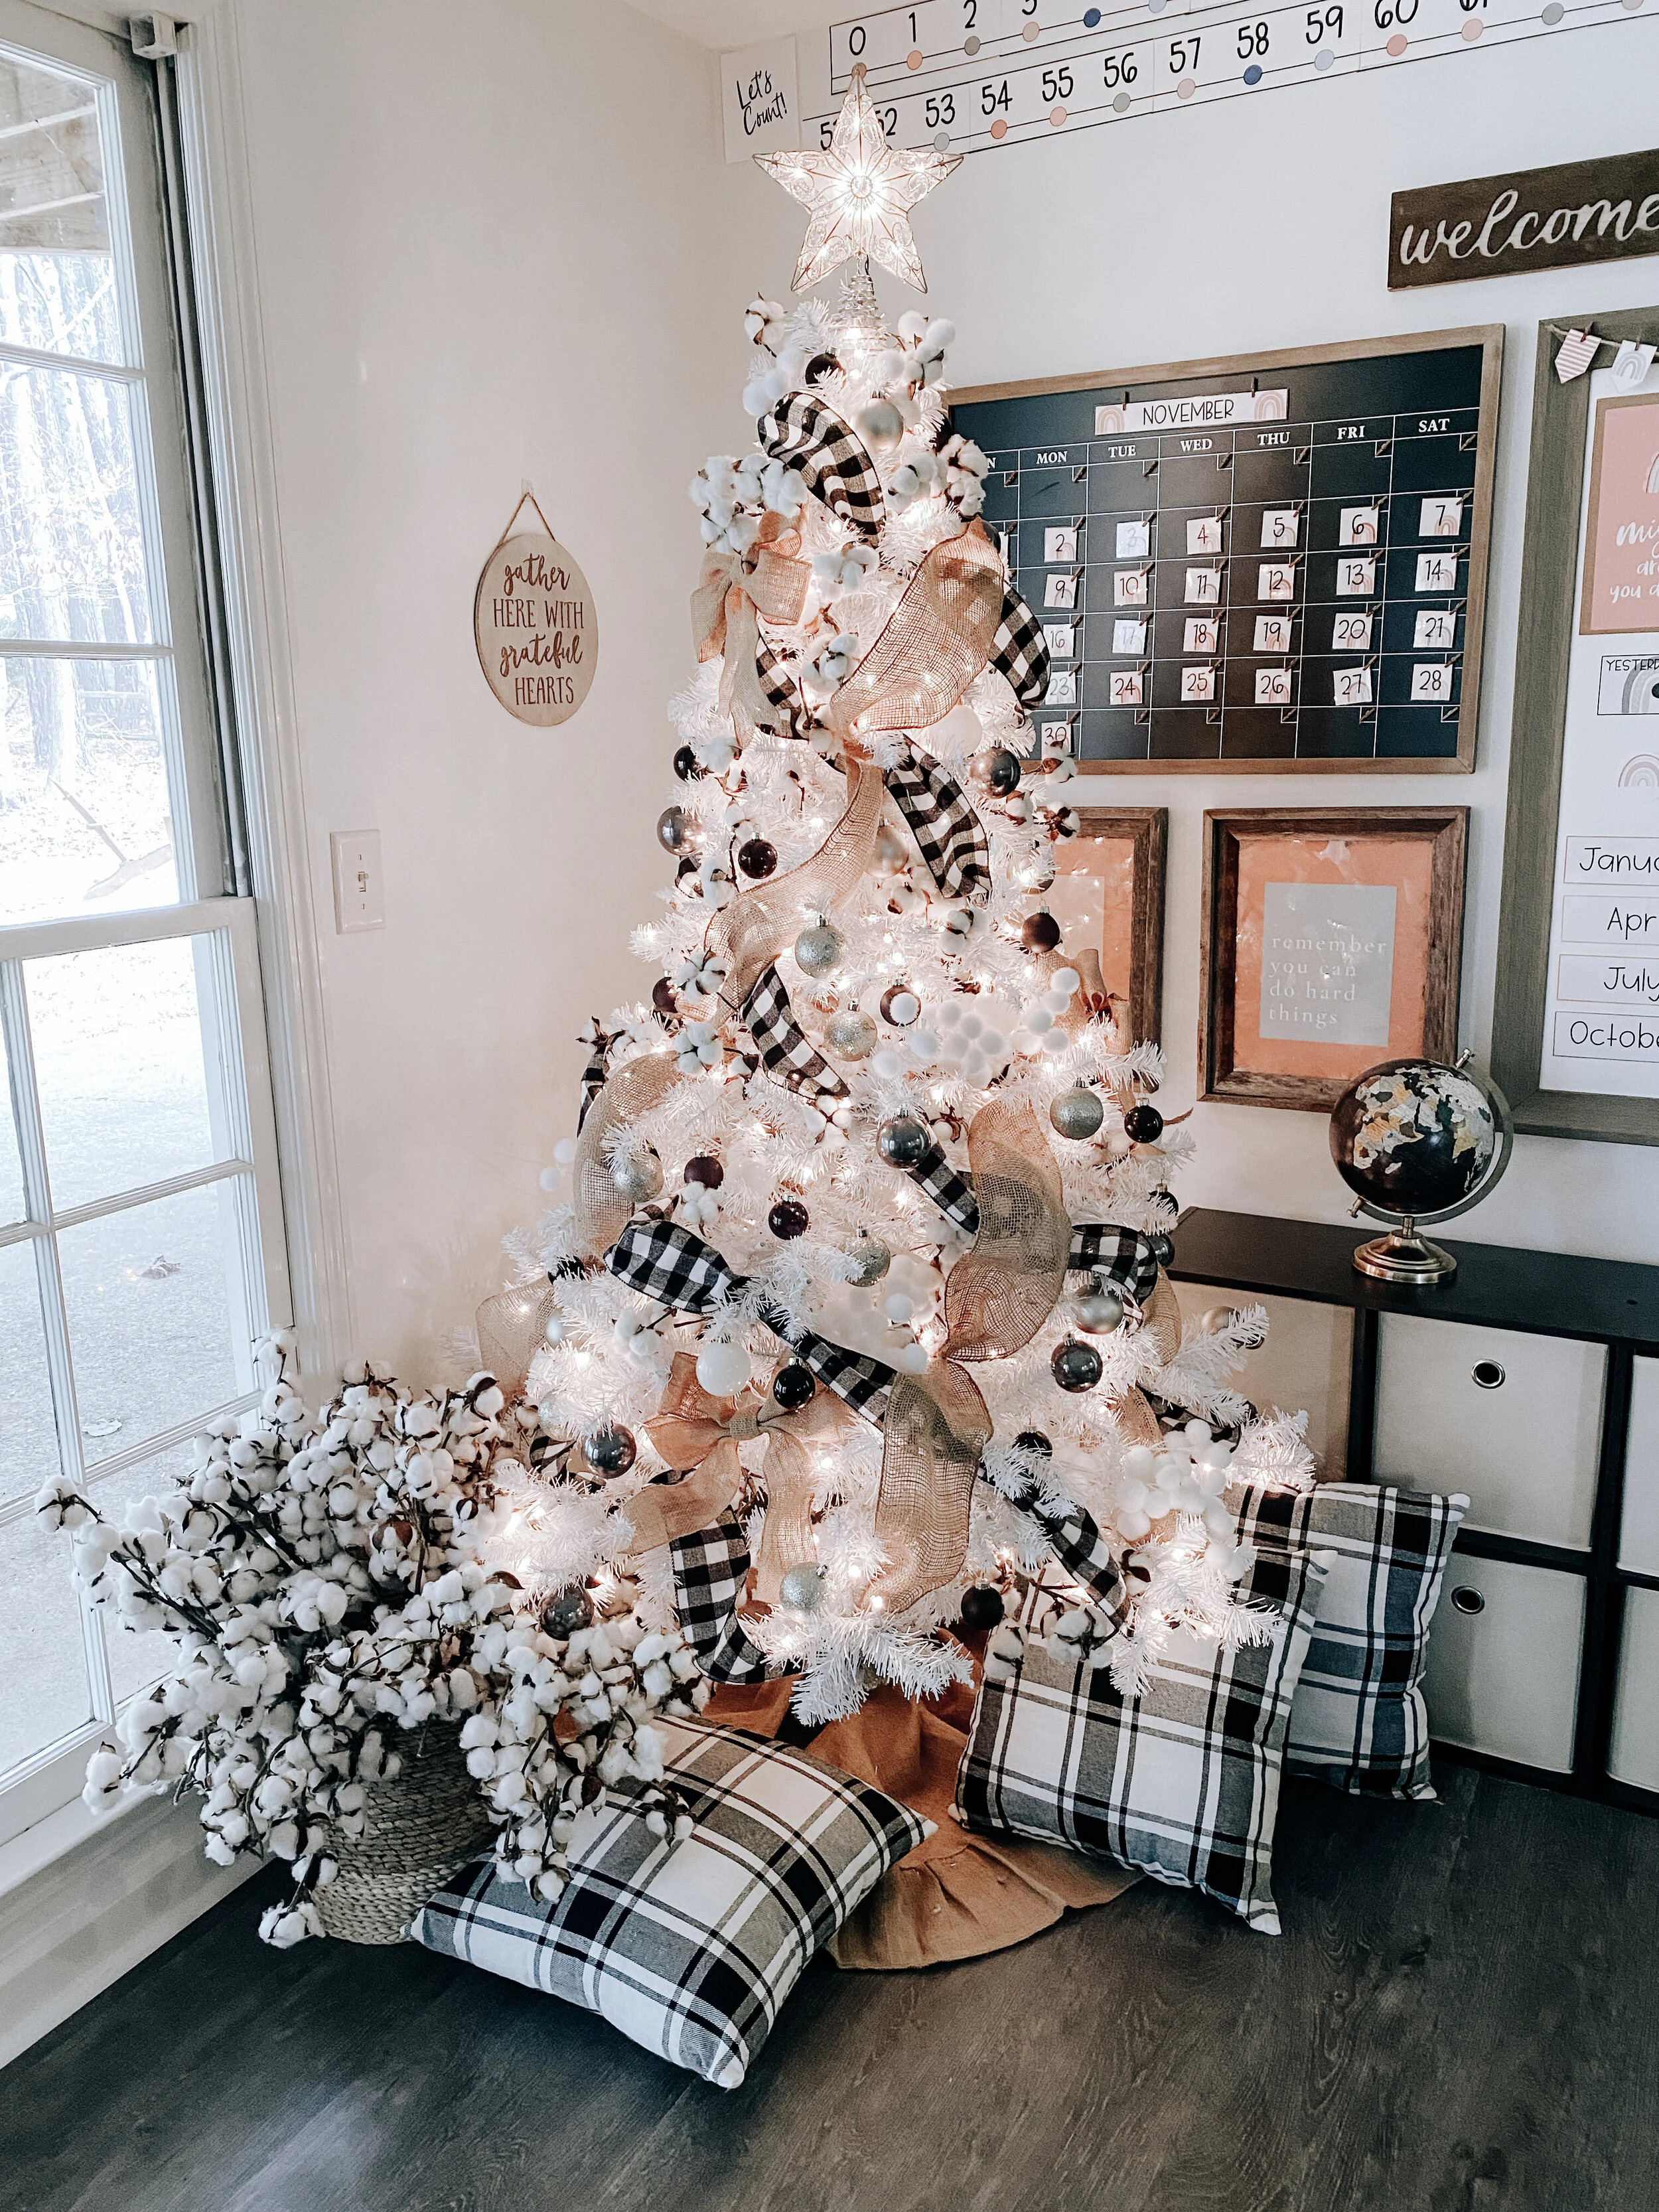
Over in the classroom portion of the basement I also put up a tree that is very special to us. Just shy of two months ago my 96 year old grandmother went to be with Jesus. We had a very special bond, and my heart already aches just thinking about going into our first Christmas season without her. I used to go to her house every year and put up her tree for her. It wasn’t much, just a small little white tinsel tree, but it was SO special to me that we got to keep it after she passed.

It turns out the tree was just the perfect size to fit in our classroom, so we put a little bit of our own style own it and now my son loves to light up “Mema’s tree” every morning before class. I love that just a little bit of her is there with us for the holidays.

Well that’s it! We hope you’ve enjoyed our home tour…now we’re off to figure out what we’re doing on the outside of our house! I don’t think we’ll go full Griswold this year, but don’t worry…it’s gonna happen one of these days, if I have anything to do with it. 😉
Stay tuned…in the next few days we’re going to give you some of our DIY decorating tutorials to help you make your house jolly!
Happy decorating!

(DISCLAIMER: This post contains some affiliate links. This does not affect the price of the products you're purchasing, but I do receive a small kickback for any purchase made. I only link to products that I personally use and highly recommend!)

Welcome back for Part 3 of our Holiday Home Tour 2020! If you missed the first two parts of the tour you can catch up HERE and HERE. Today we’re covering two of the rooms I spend a lot of time in: my office and the master bedroom.
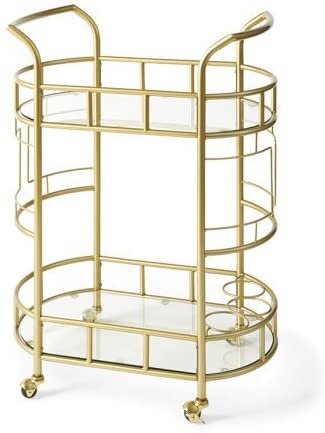
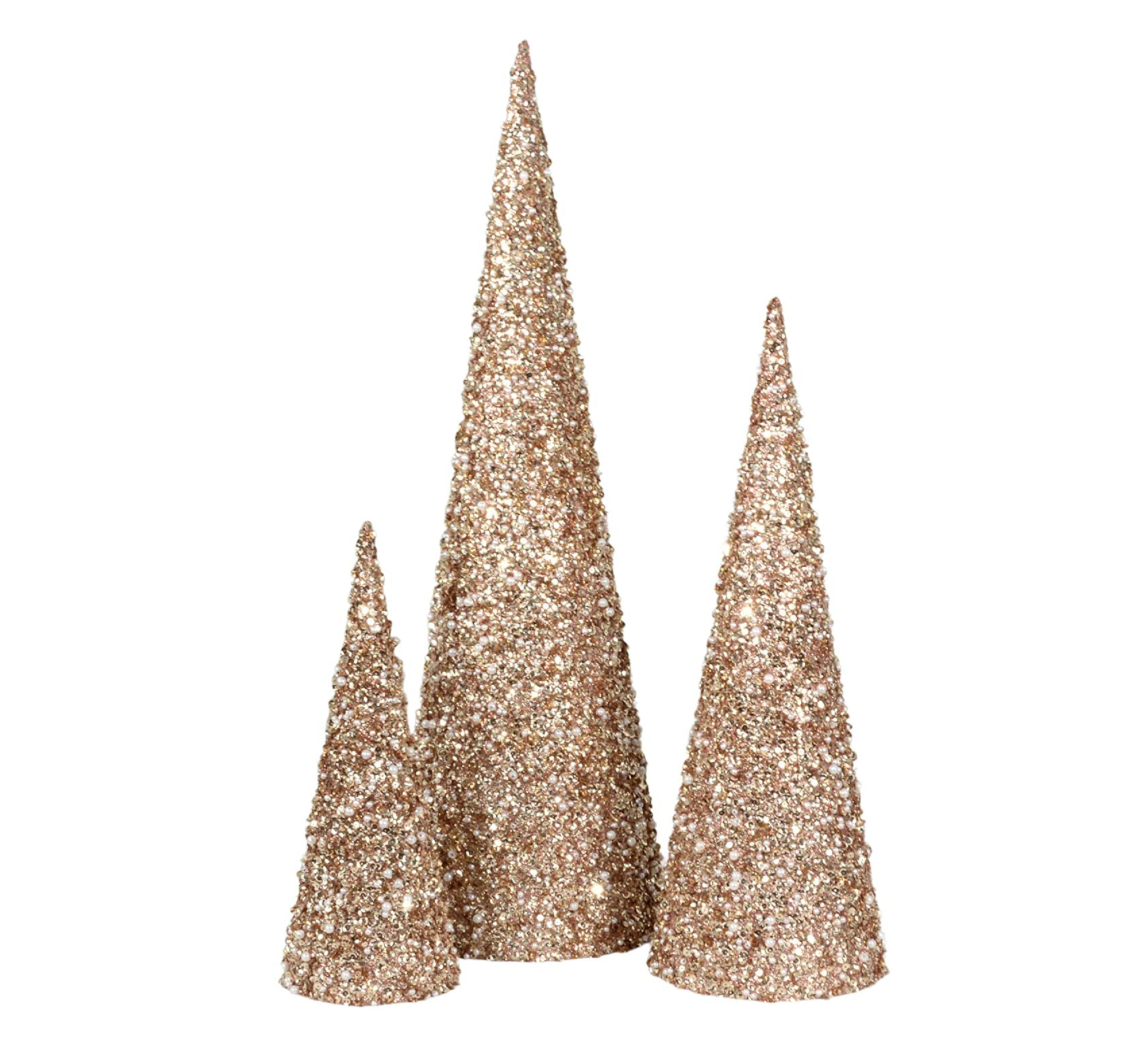
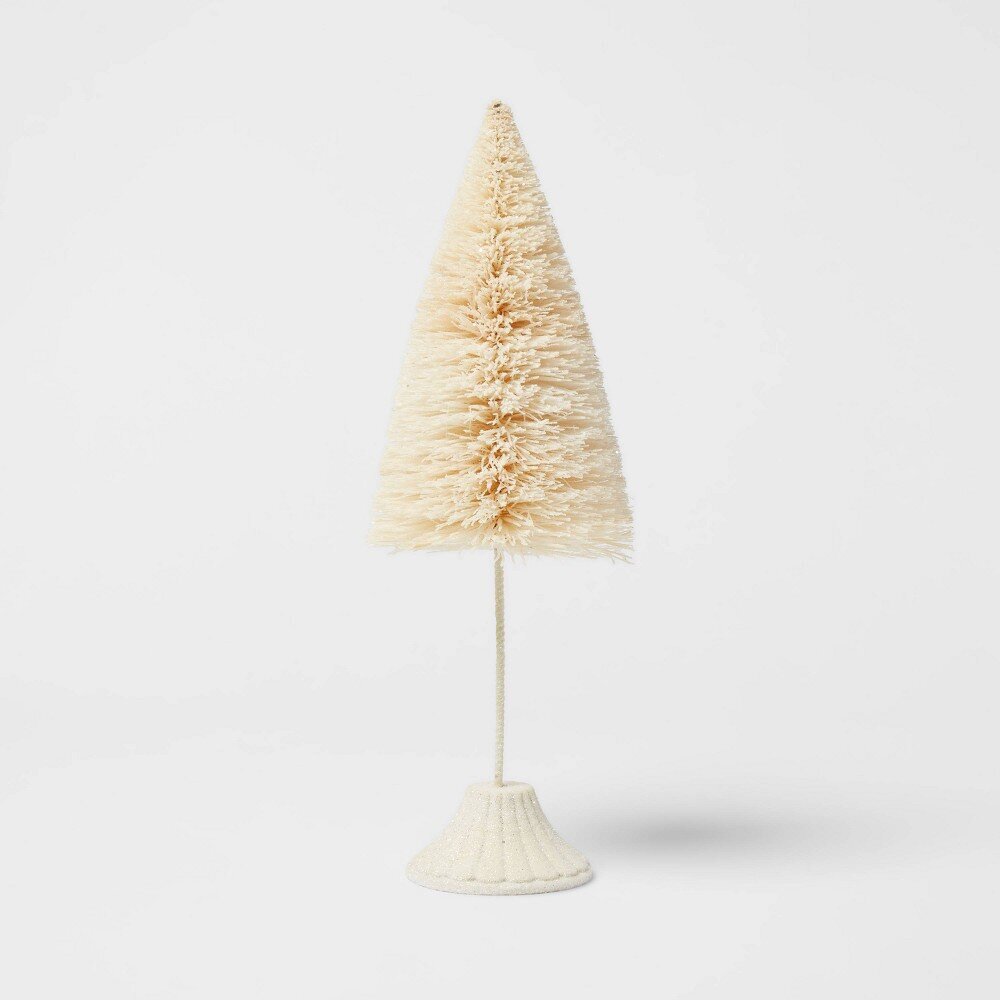
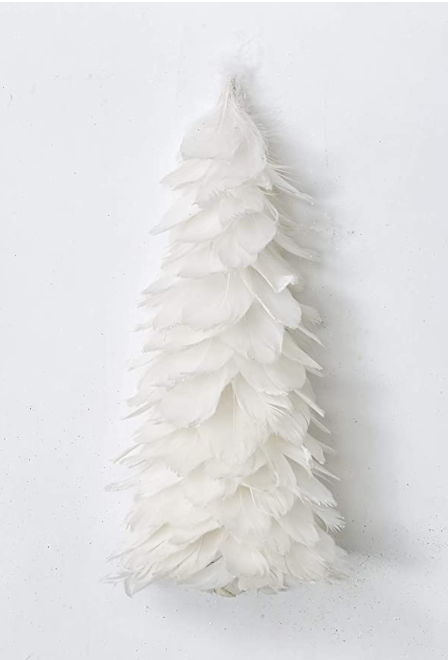
My office is one of the first things you see when you walk in our front door, so of course I want it to be fun and festive! (that also means I have to keep it spotless pretty much at all times…but that’s ok, I’m OCD on organization so it’s not a problem 😉) This space is not only bright and pretty, but super functional for me. At the entrance to the house, it’s the perfect spot for me to meet with clients (when Covid is over, of course). When I do have clients in office, I fill the bar cart with treats and beverages…but for now I filled it with bottle brush trees and festive greenery. Check out the bottom of this post for links to shop this look!

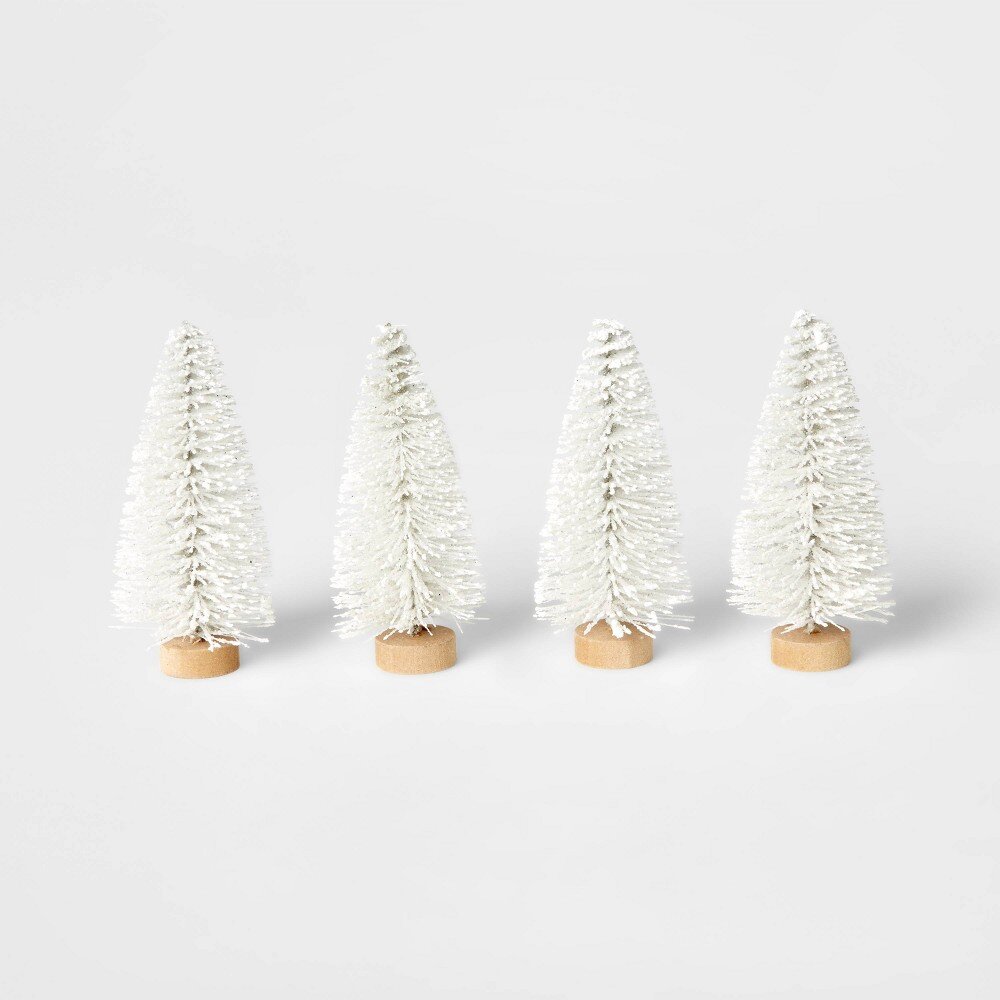
I should probably start off by telling you my husband may or may not think I have gone off the Christmas deep end with our master bedroom decor. We currently have 3 trees in there (not counting the 4 mini trees on the dresser, ha!)…but I just couldn’t help myself. In a year where we’ve spent 95% of our time at home, and ALL of our “date nights” have been at home, I wanted our room to be cozy and festive just like the rest of the house.
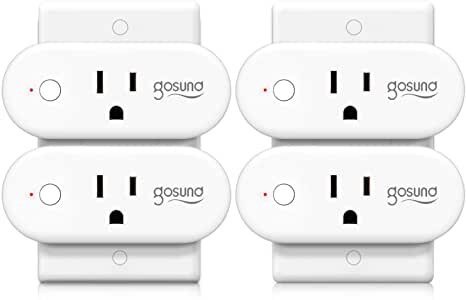
Also, my child loves to fire up the trees in the morning with Alexa. I’ll link to that awesomeness below too…my husband, even though he thinks I’m a little Christmas crazy, managed to automate ALL of the NINE trees in our house so that they can be powered on by my phone or Alexa. It’s pretty much amazing.

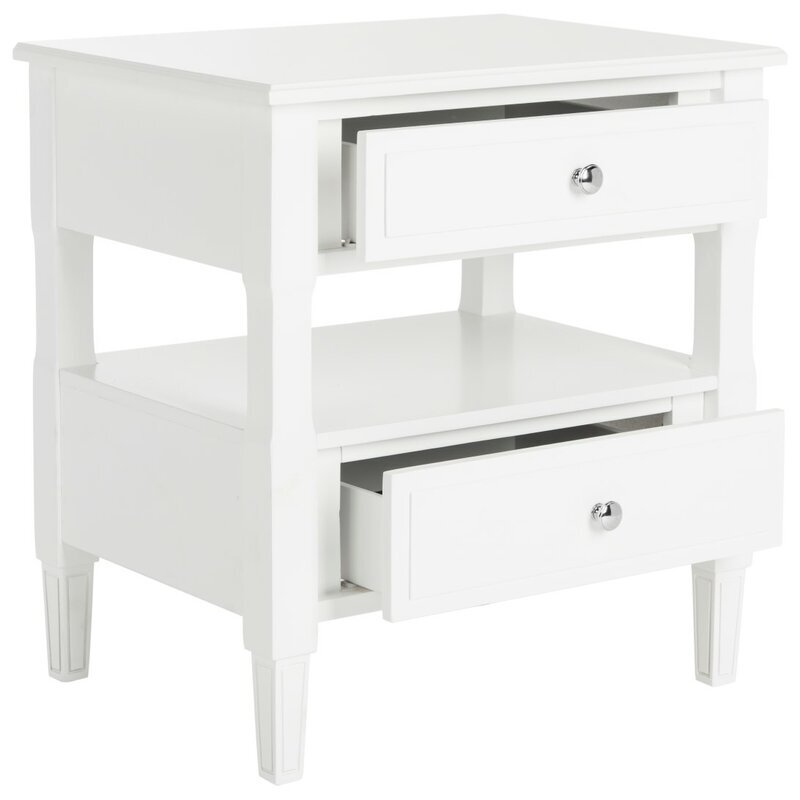
You’re seeing our Master mid-makeover. We just got all new furniture, but still to come are paint, a new feature wall, curtains & new window treatments, bedside wall sconces as well as a big pretty rug. I’ll post again once we’re done!


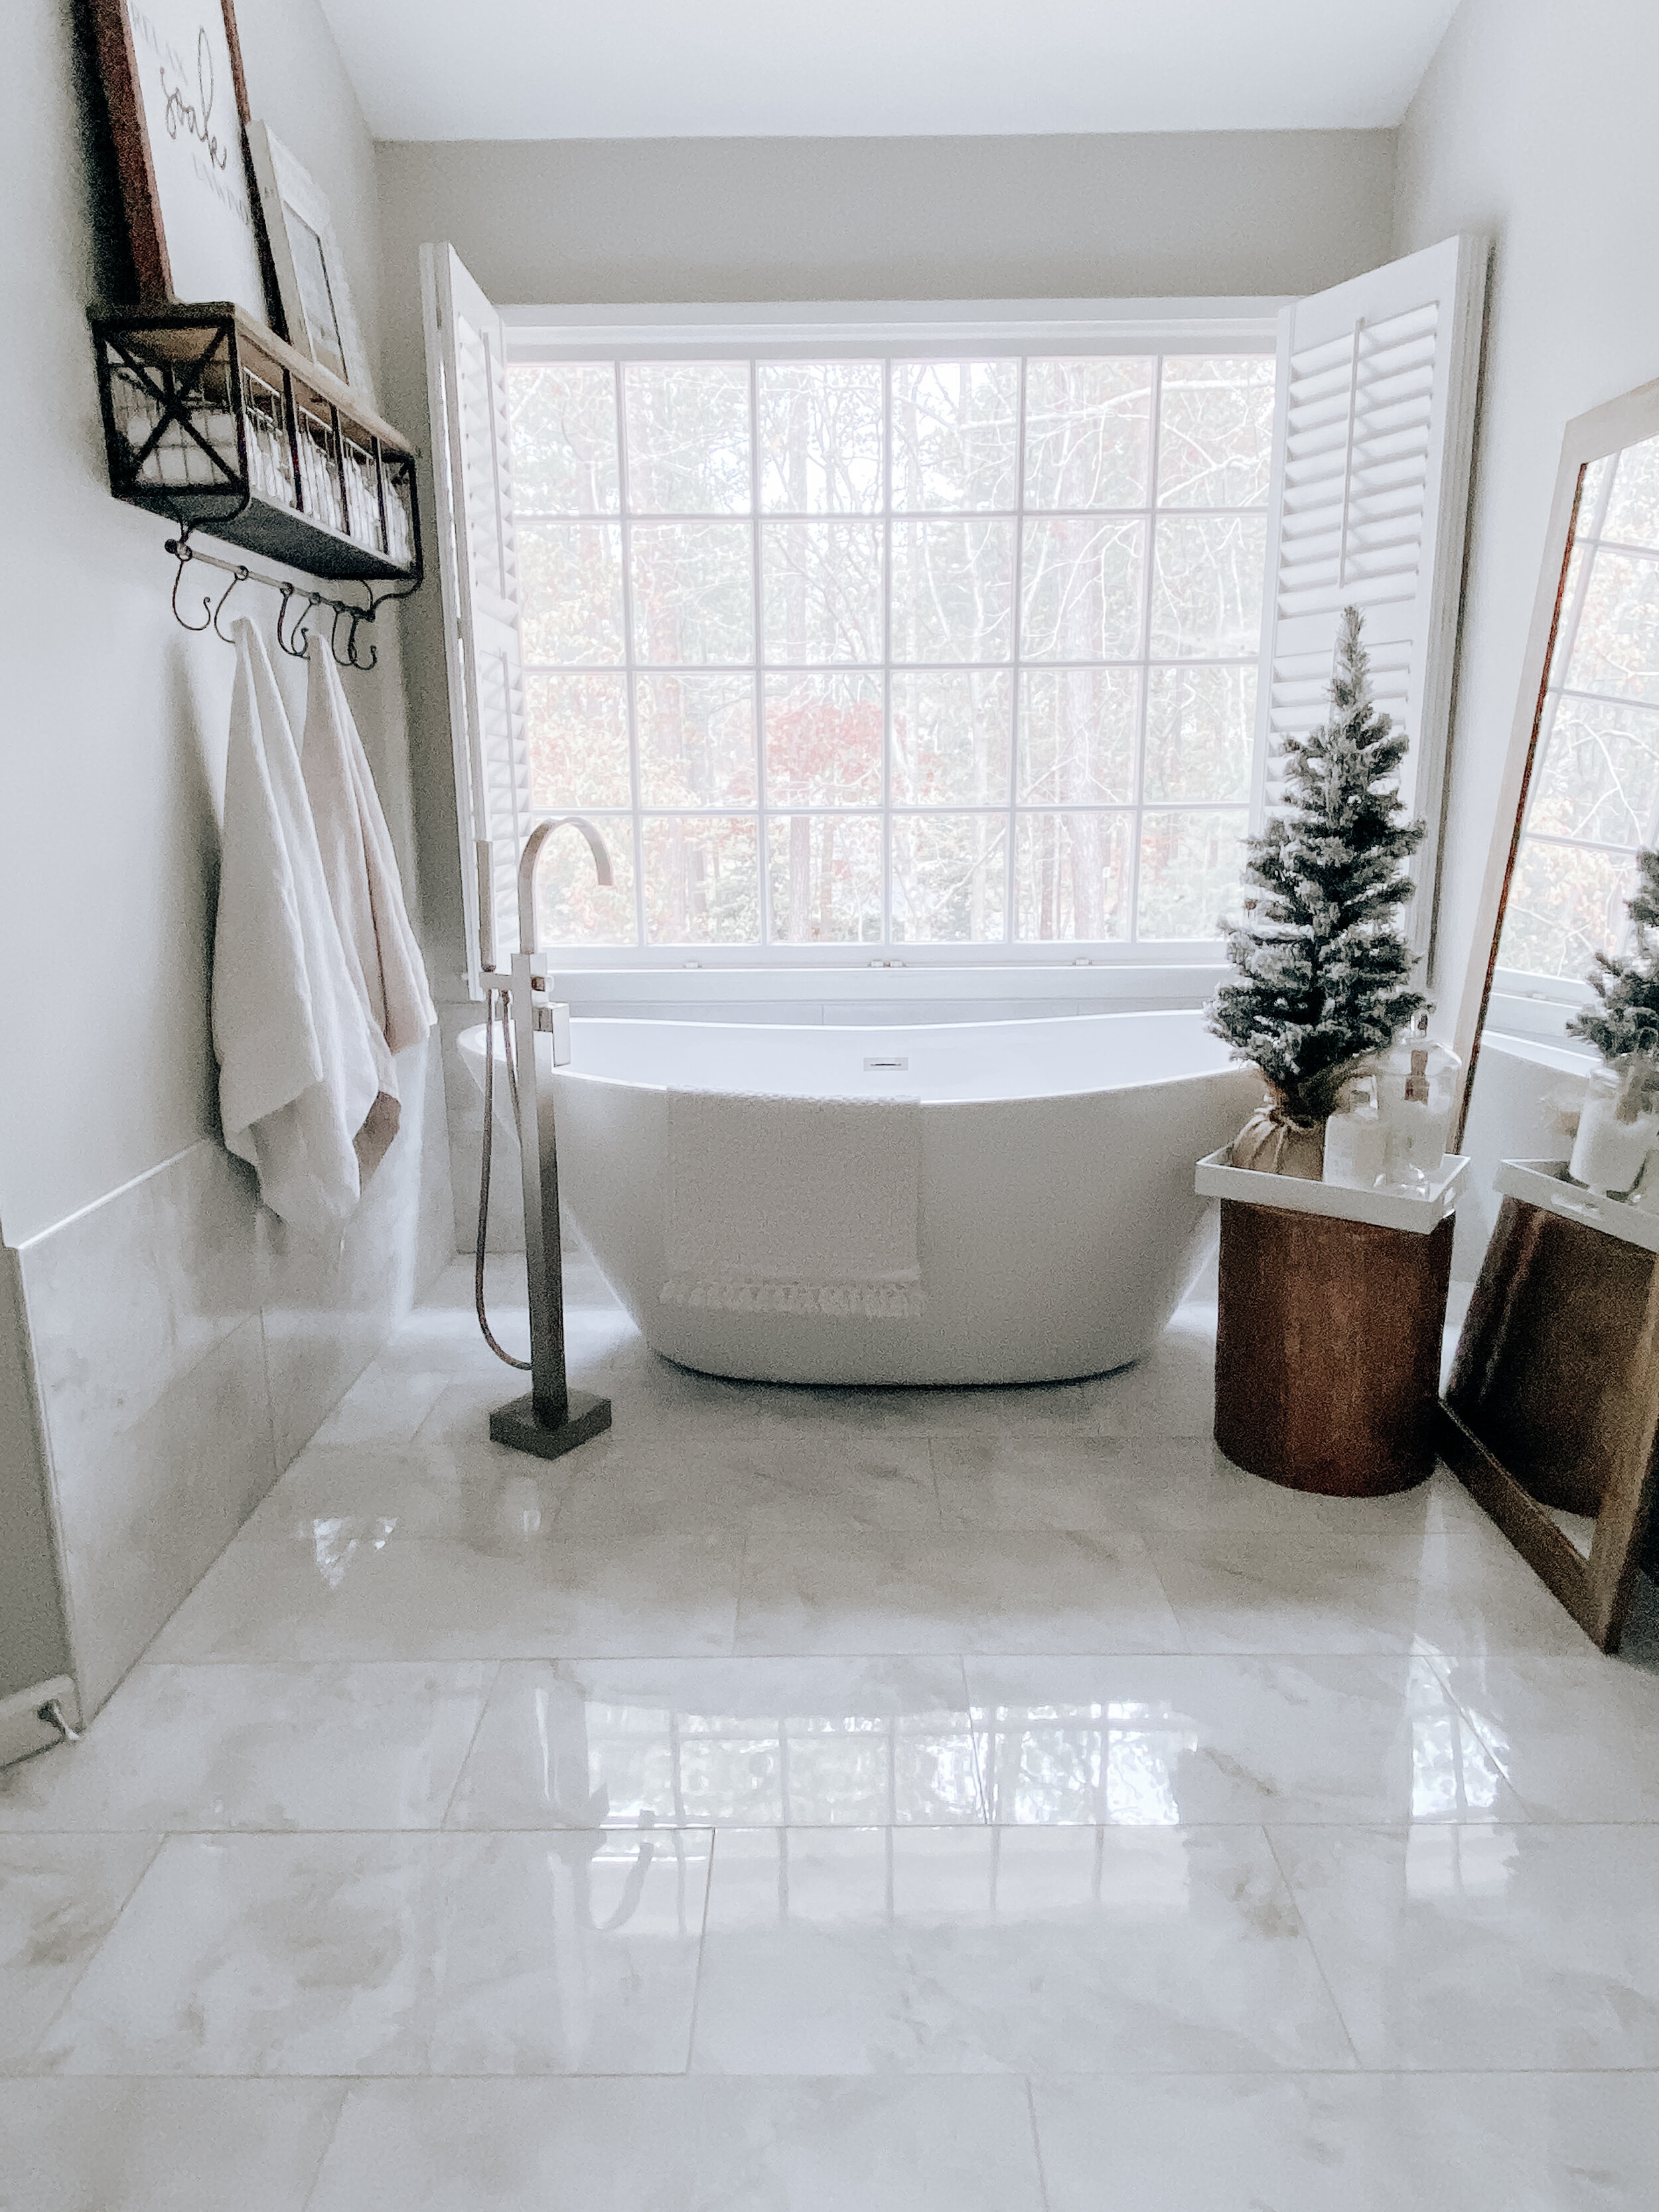

This year I also moved all of our “personal” ornaments from the main tree up to our bedroom, for a few reasons. We have accumulated quite a few sentimental ornaments over our 8 years of marriage…from all of our anniversary trips, some to commemorate special moments or milestones, and of course precious ornaments from our little man. They felt safer to me out of the main “traffic” area of our house, and I don’t care if any of the ornaments on our living room tree get broken! Plus, I get to see them every night and that just makes me happy. So I gave them their own little tree and added some gold balls in to tie it all together. As we get more, I’ll have to get a bigger tree, but that’s ok!


By far my favorite spot in the room is this corner, where I can cozy up with a blanket and look out the window, while having the perfect view of all my bedroom trees!

Here’s wishing you a cozy Christmas evening as well!
Stay tuned for our 4th and final installation of the Holiday Home Tour tomorrow!


(similar to those pictured)
Similar to those above


Similar to those in post


(DISCLAIMER: This post contains some affiliate links. This does not affect the price of the products you're purchasing, but I do receive a small kickback for any purchase made. I only link to products that I personally use and highly recommend!)
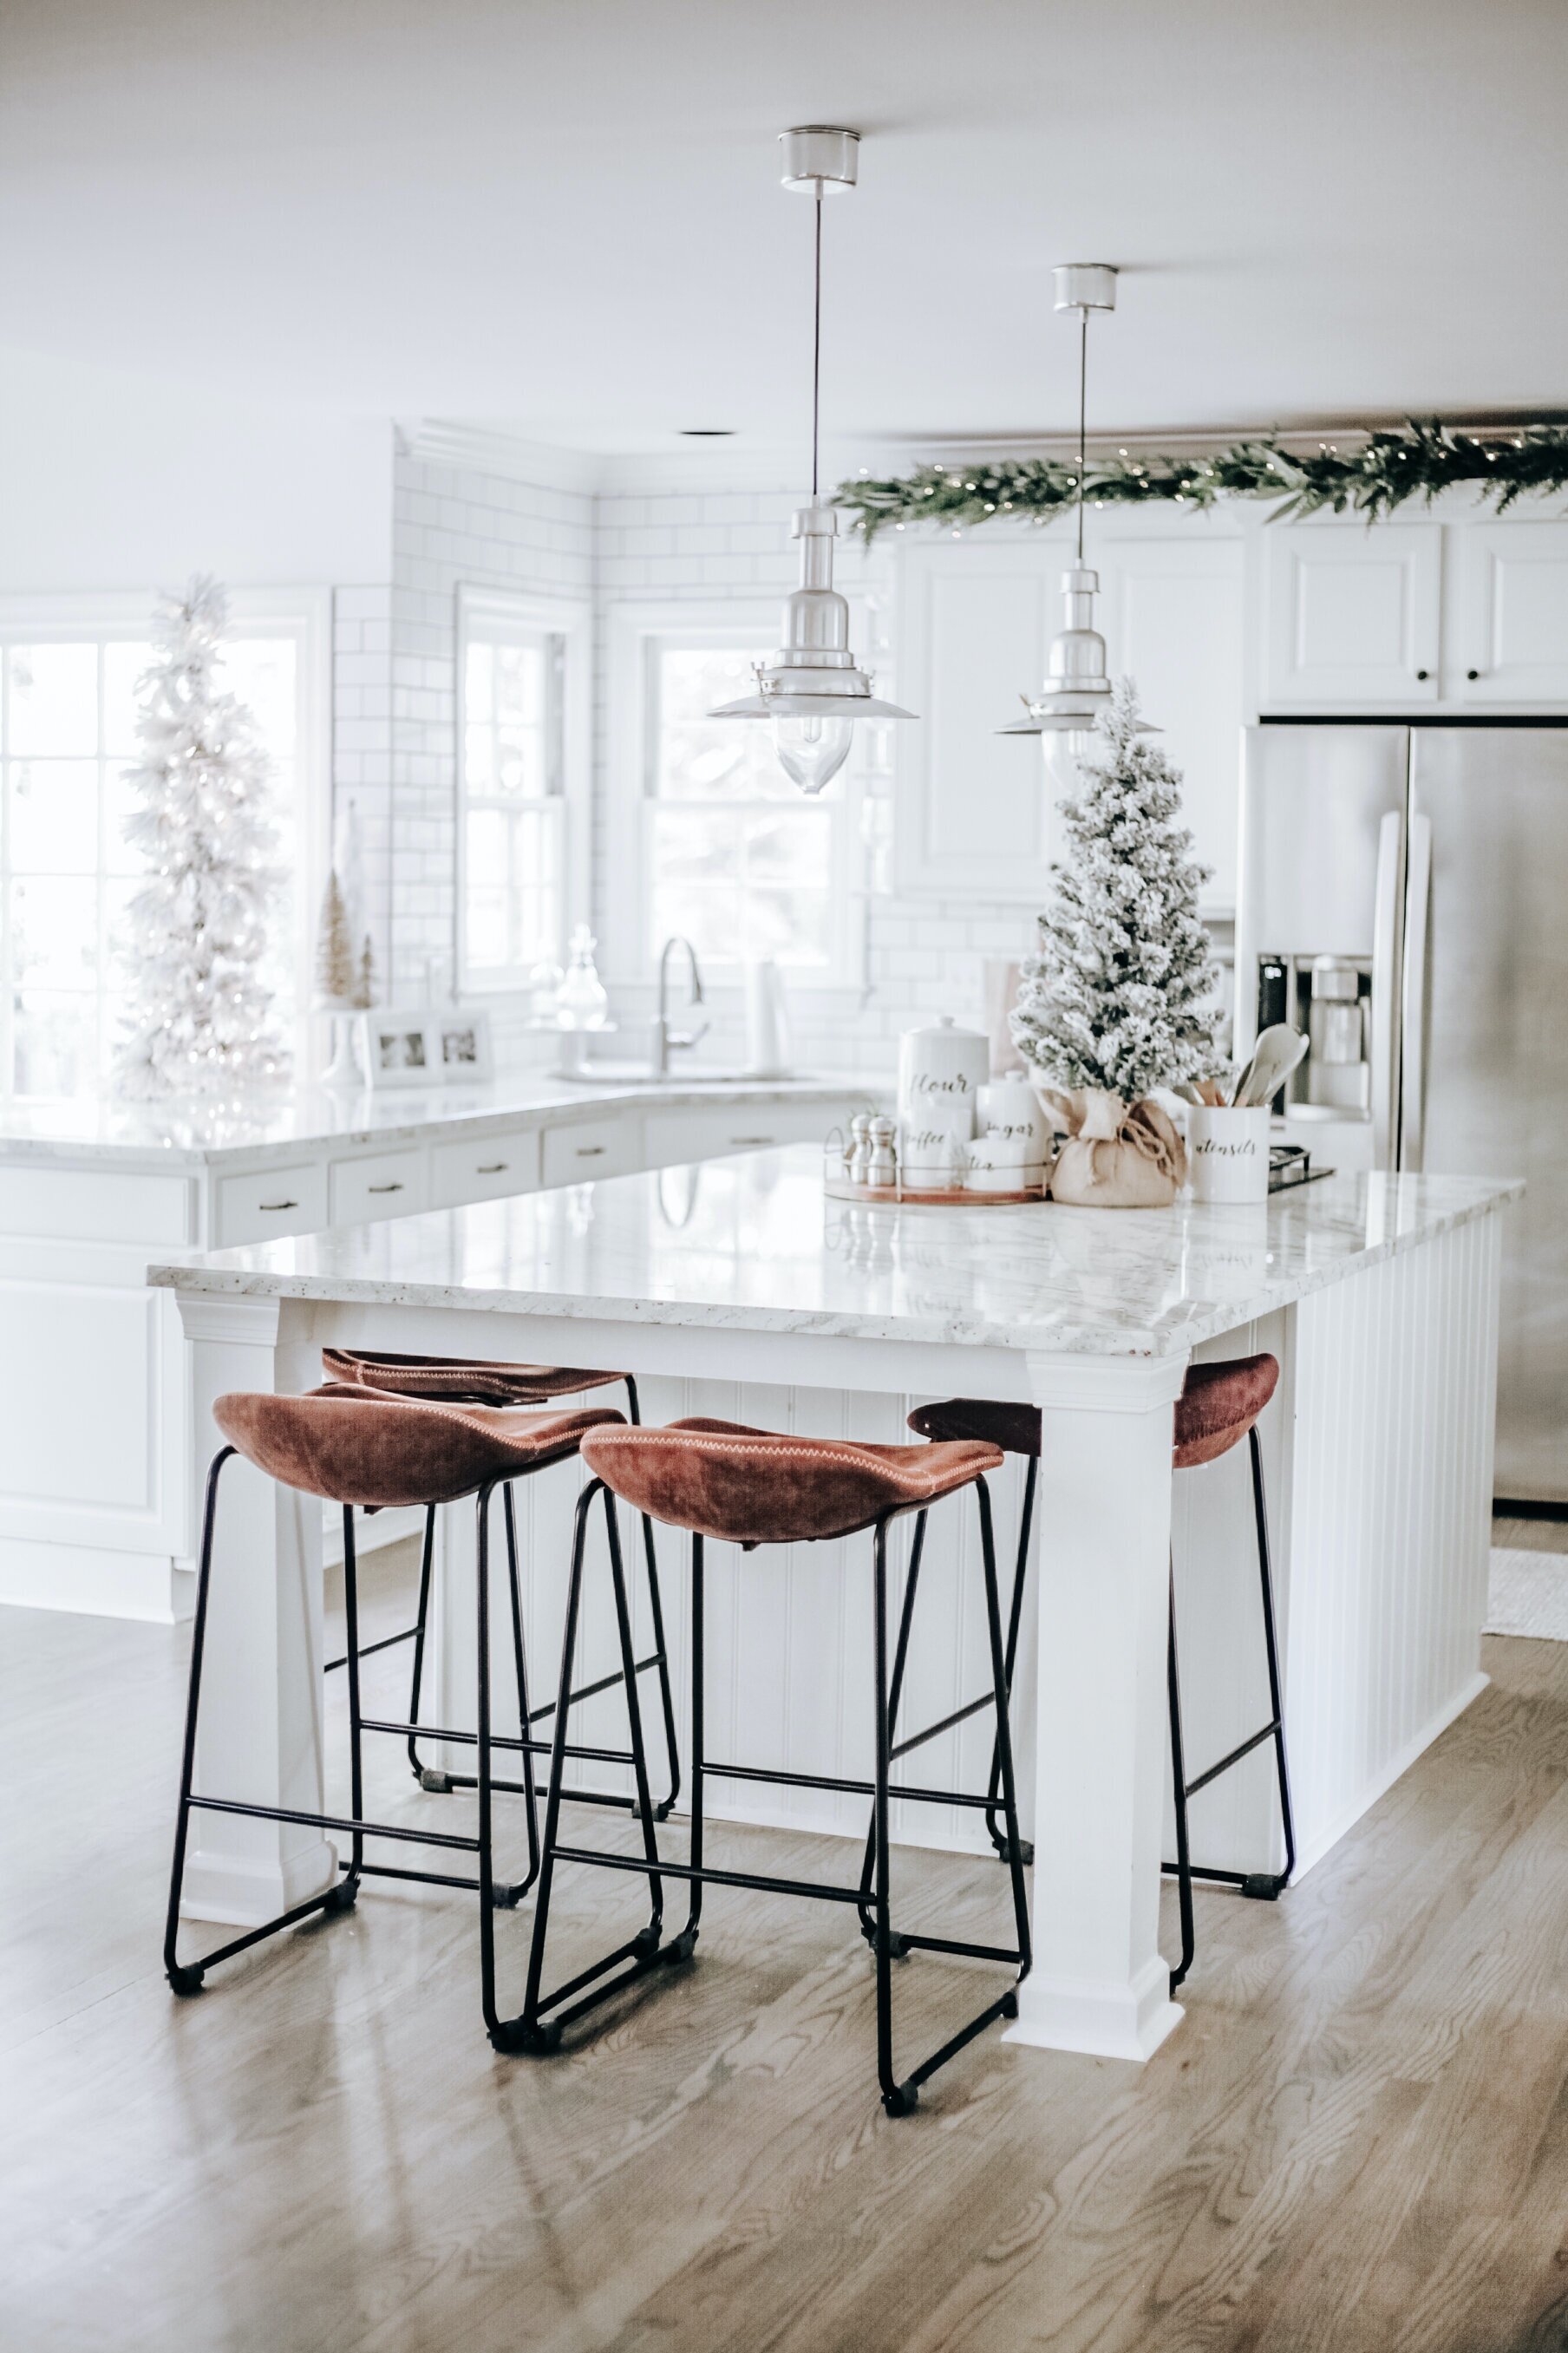
Today we’re covering those places where you’ll find all the good holiday food: the kitchen and the dining room!
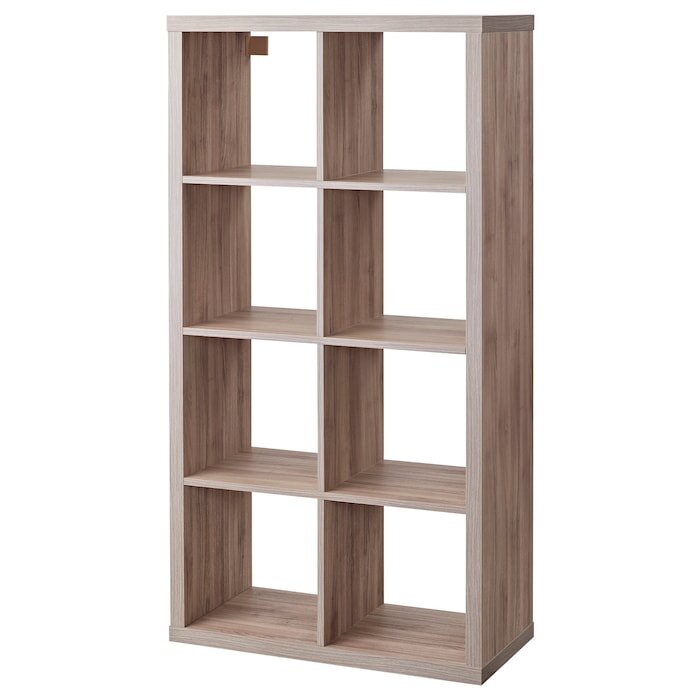
And then comes my absolute favorite part - the coffee bar! I’ve always dreamed of having a legit, standalone coffee bar area in my kitchen where I could decorate all the things and the coffee maker wouldn’t take up precious counter space. So I was giddy to find this blank wall in my kitchen to make that happen!
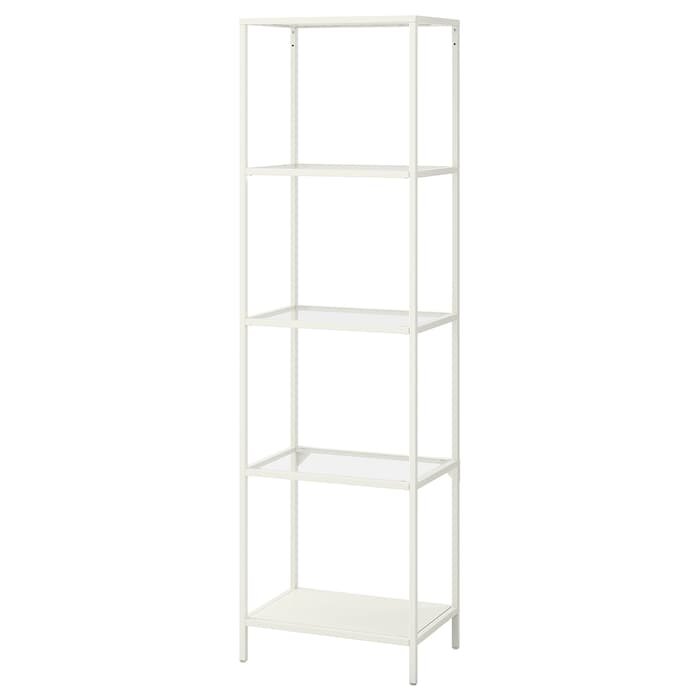
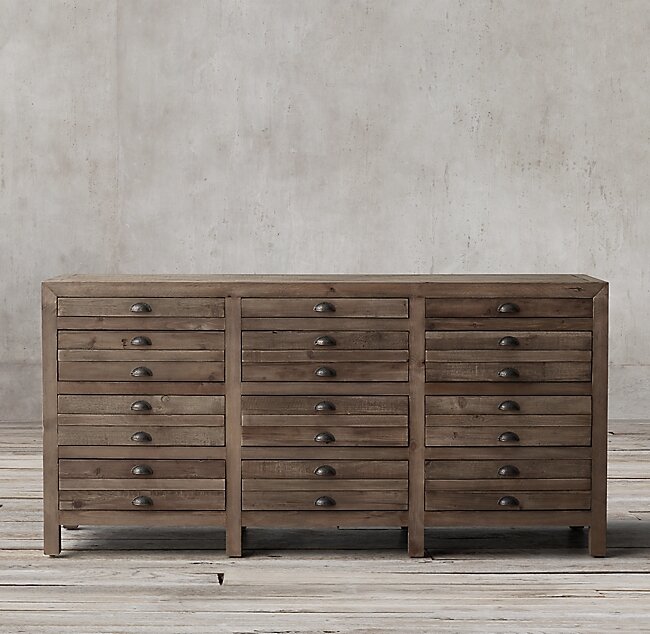
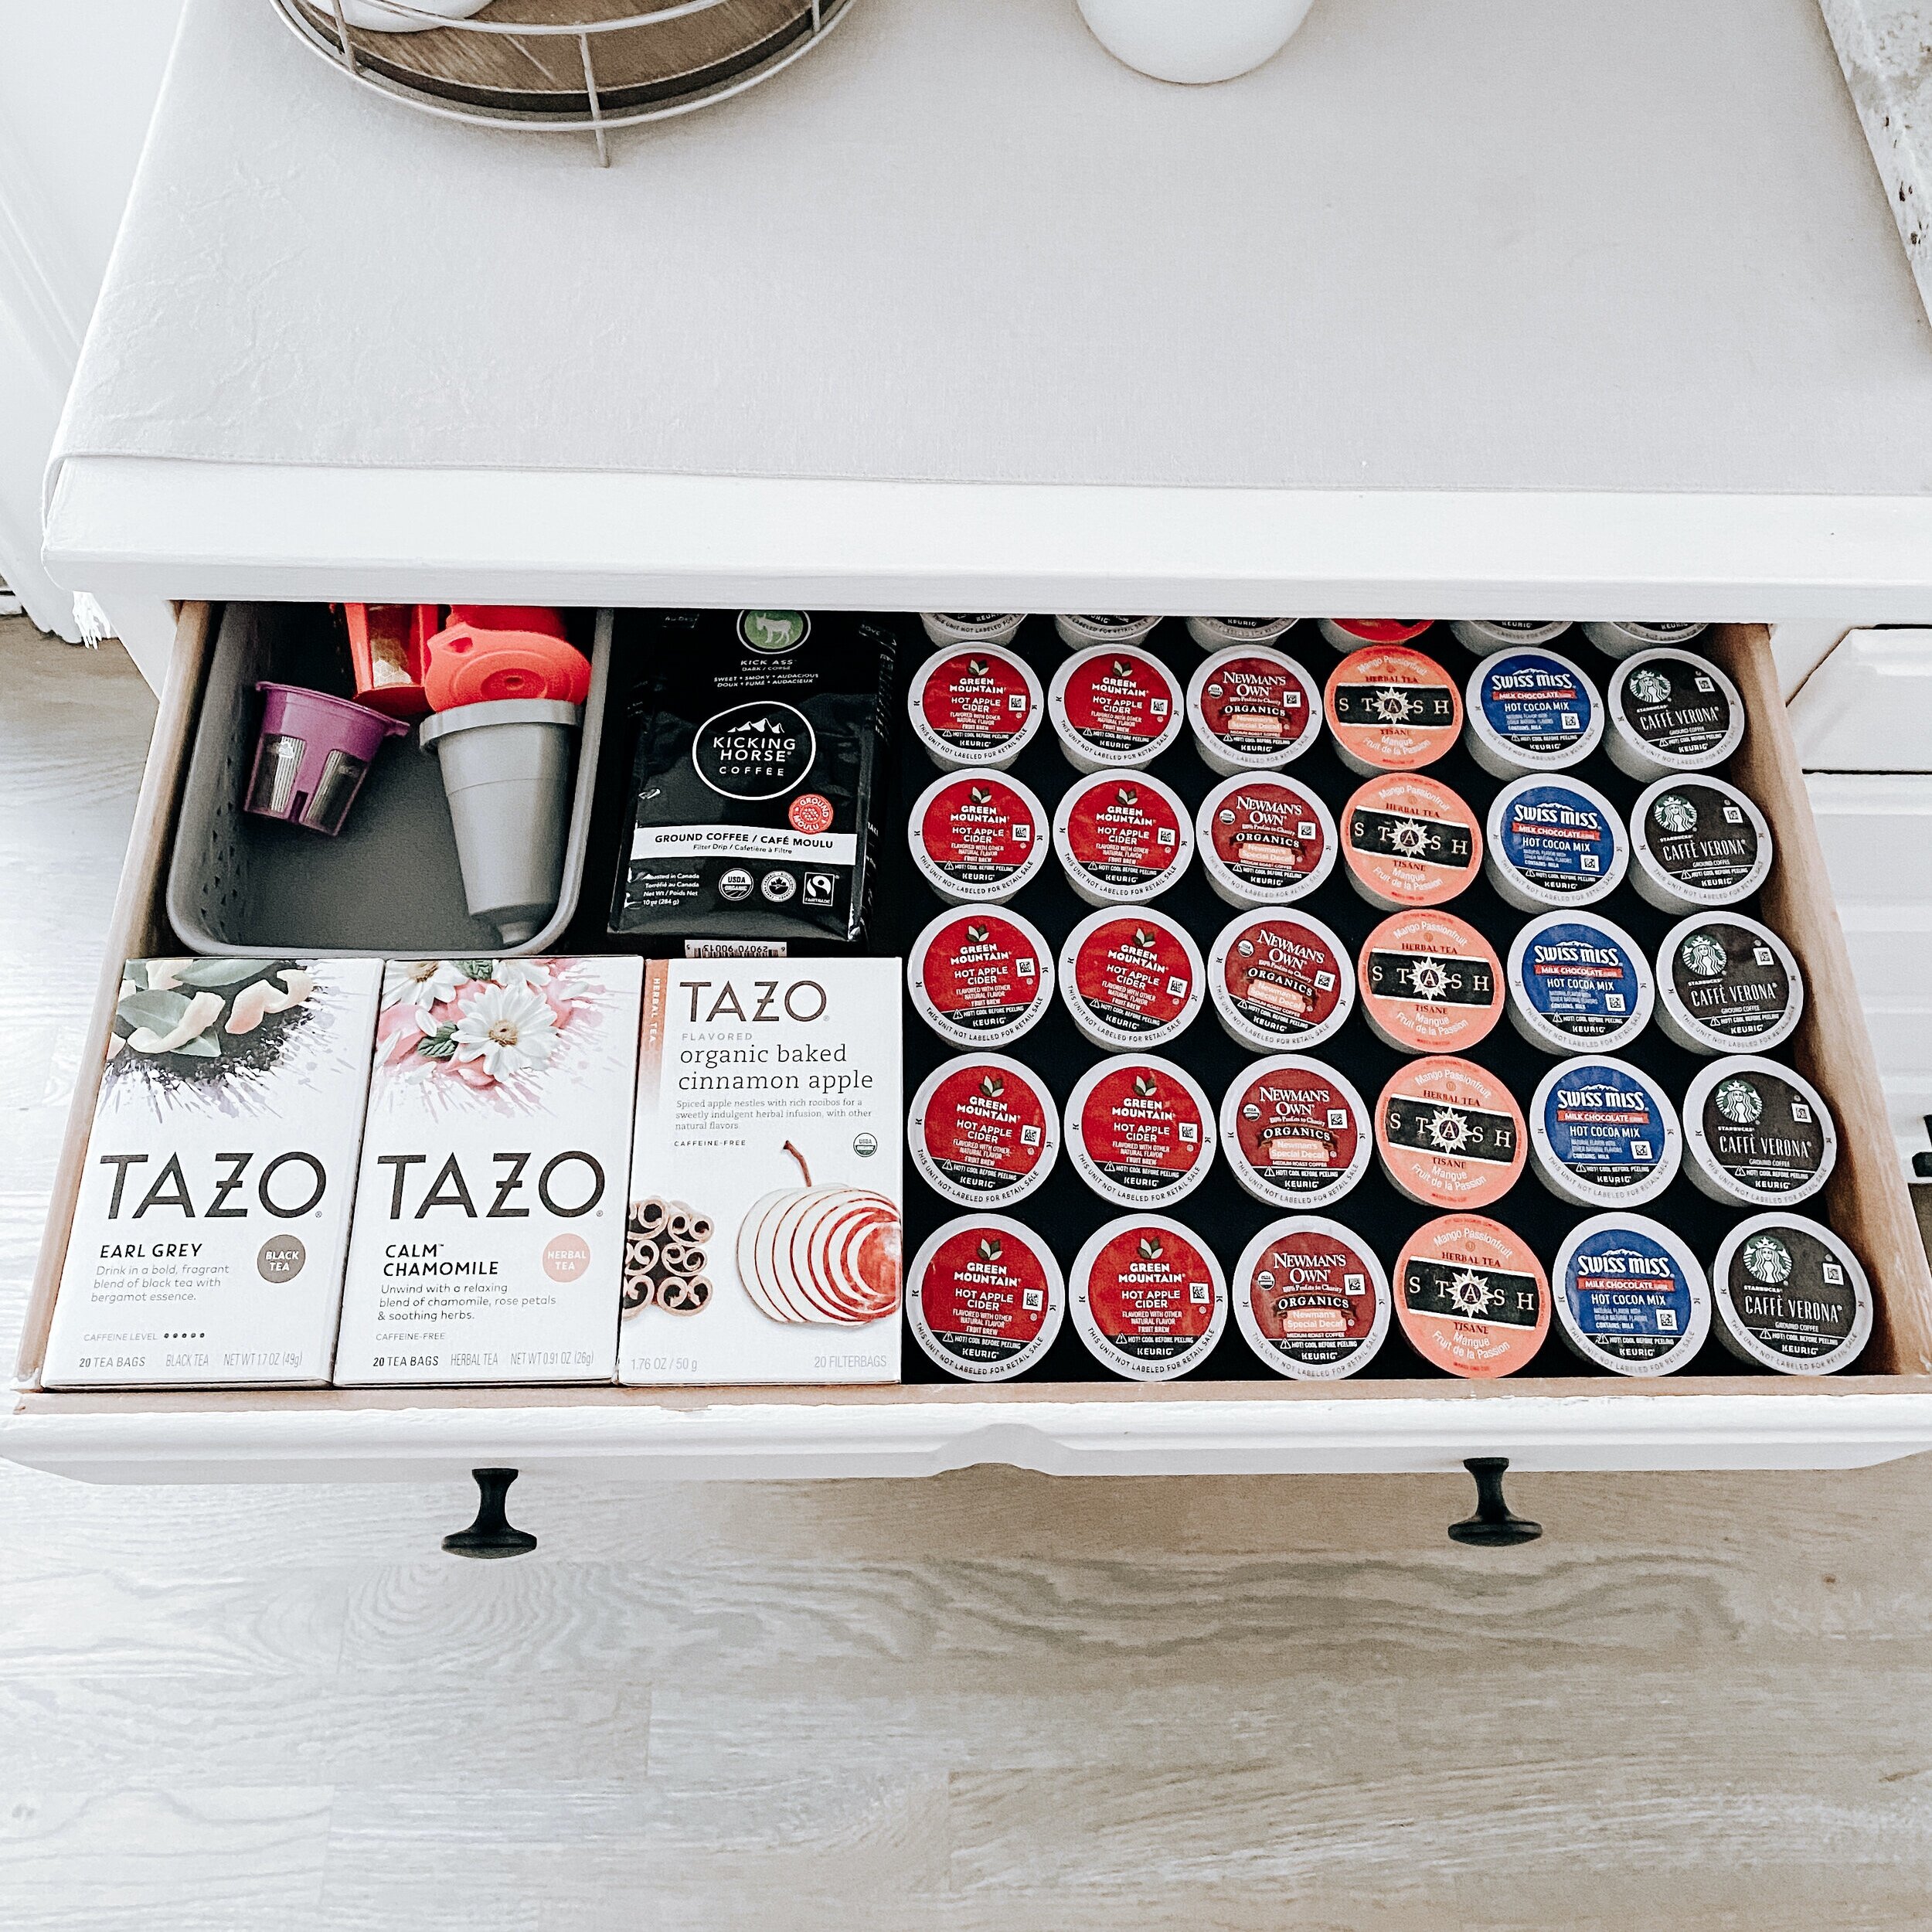
We just literally got the shelves up about a day ago, so I haven’t even stained the wood yet, but I wanted to include it in this post anyway because it was so fun to style for Christmas! This space is so functional, as well - I bought the dresser years ago from an antique store and chalk painted it white. Because we don’t have a ton of upper cabinets in our kitchen, this serves as valuable storage for lots of my containers and cooking dishes. It also made a great space to store all of the k-cups for our Keurig machine to keep the top clutter free.
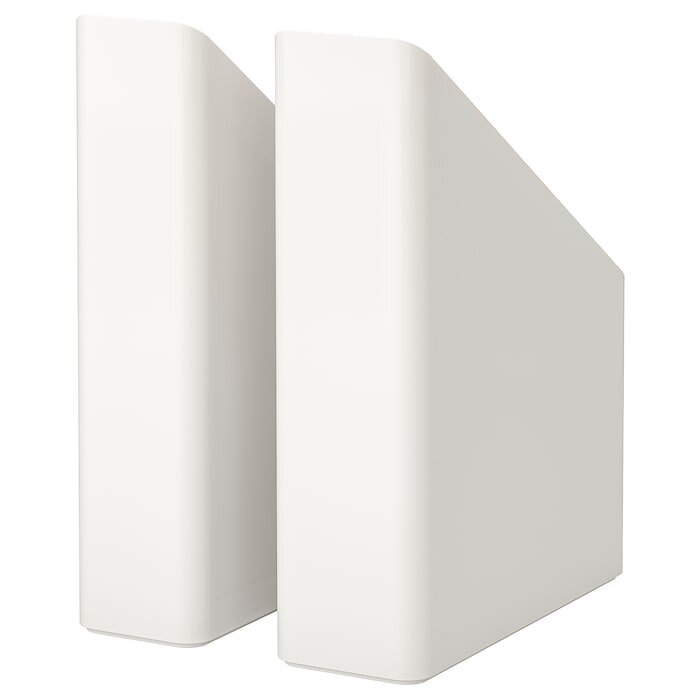
If your’re OCD about your k-cups like I am, you need to get you one of these foam organizers. My drawer is super shallow and it fit perfectly and helped me not twitch every time I opened it and saw a jumbled mess! Get your own HERE.
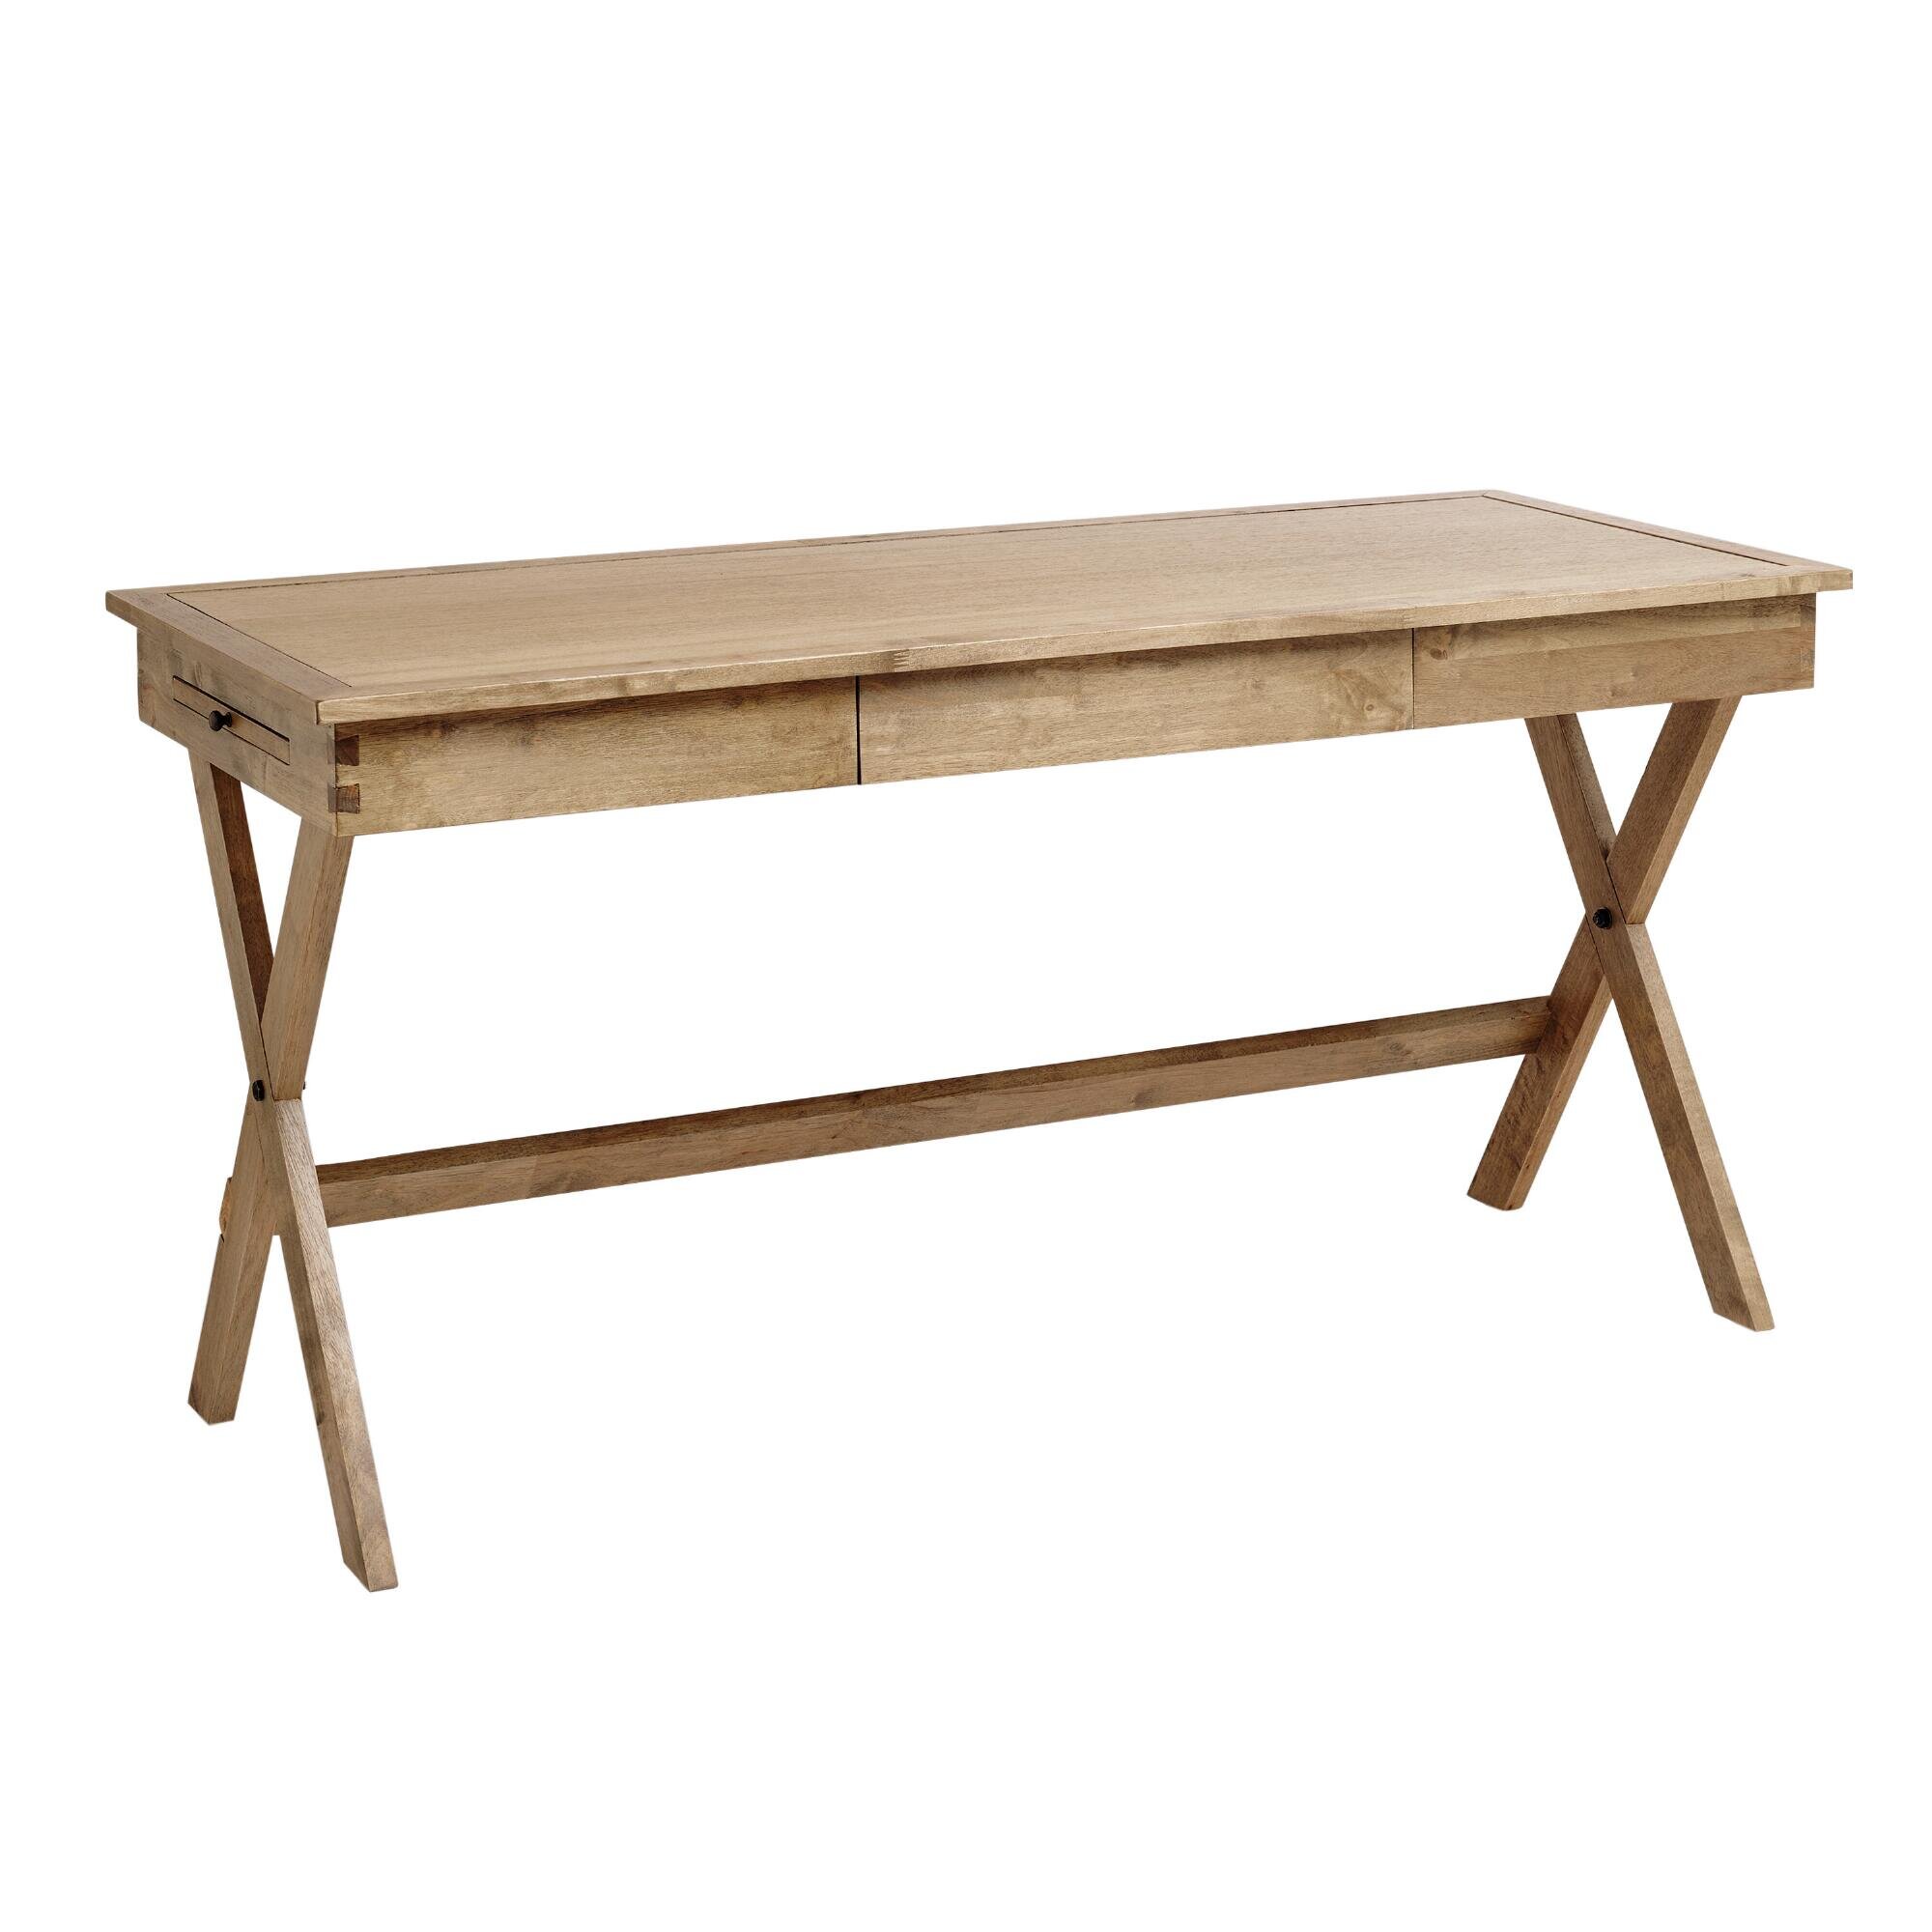
Finally we’ll wrap our tour today with the Dining Room! Even though this table has been empty for most of the year (thanks global pandemic), at least I got to dress it up for the holidays!
I don’t know about you, but my favorite holiday meal is Christmas breakfast. The bacon. the biscuits. The grits. The GRITS. I am a southern girl through and through, so late at night every Christmas eve I put my grits on in the crock pot and when we wake up Christmas morning the kitchen smells heavenly and they are ready to devour. Today, as a bonus, I’m sharing my Christmas crock pot grits with you! Enjoy!
DIRECTIONS:
Soften the butter.
Lightly spray your crock pot with cooking spray, or add a crock pot liner for easy clean up.
Combine all ingredients into the crock pot minus the shredded cheese.
Cook on low in the crock pot for 6-8 hours stirring occasionally.
About 15 minutes before serving stir in shredded cheese if desired.
Enjoy!
We’ll see you tomorrow for Part 3 of our Holiday Home Tour!
Cheers!


Similar to those seen in picture (those pictured were from 2017)

(similar to one pictured)

(used in garland throughout house)
(DISCLAIMER: This post contains some affiliate links. This does not affect the price of the products you're purchasing, but I do receive a small kickback for any purchase made. I only link to products that I personally use and highly recommend!)
Guys, I may have crossed over to the dark side. I’m usually the gal who is a staunch believer in no decorating for Christmas before Thanksgiving…but this year I did, and I may never go back. Sure, it’s 2020 and we can all use the extra cheer - it’s why I pulled everything out early. But the few extra weeks of holiday joy made my heart so happy that I may just have to make it my new tradition!
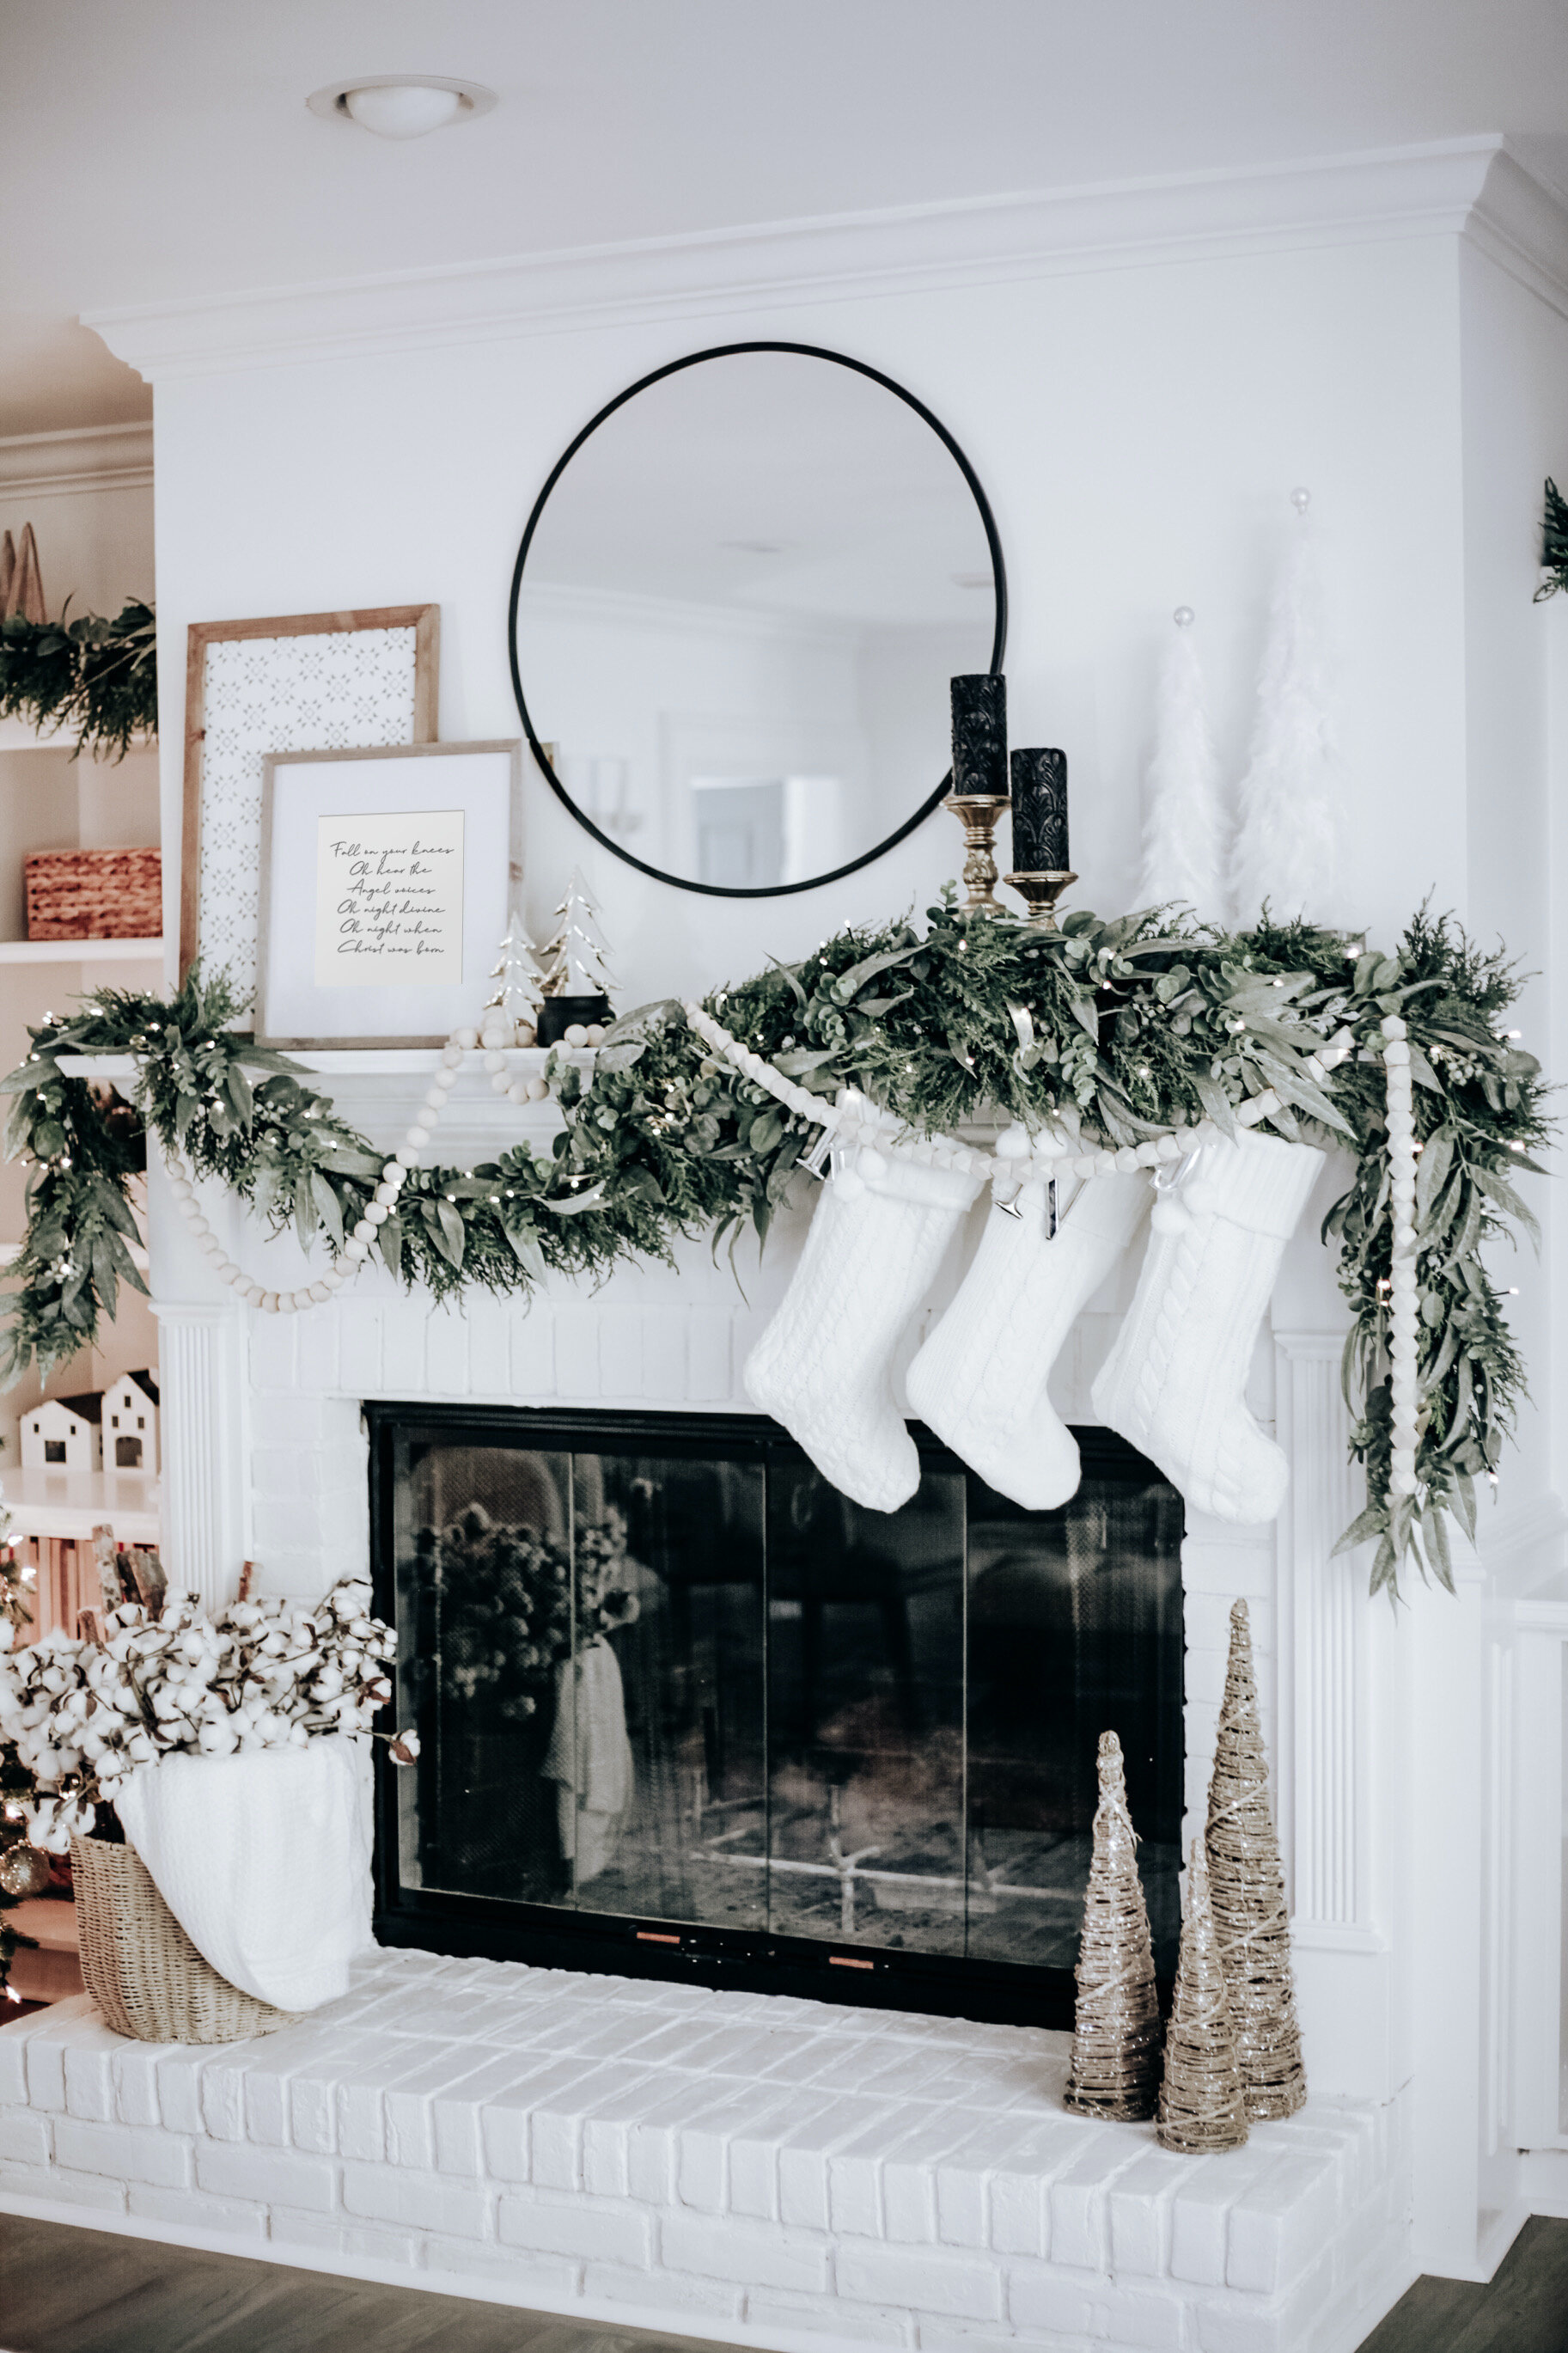
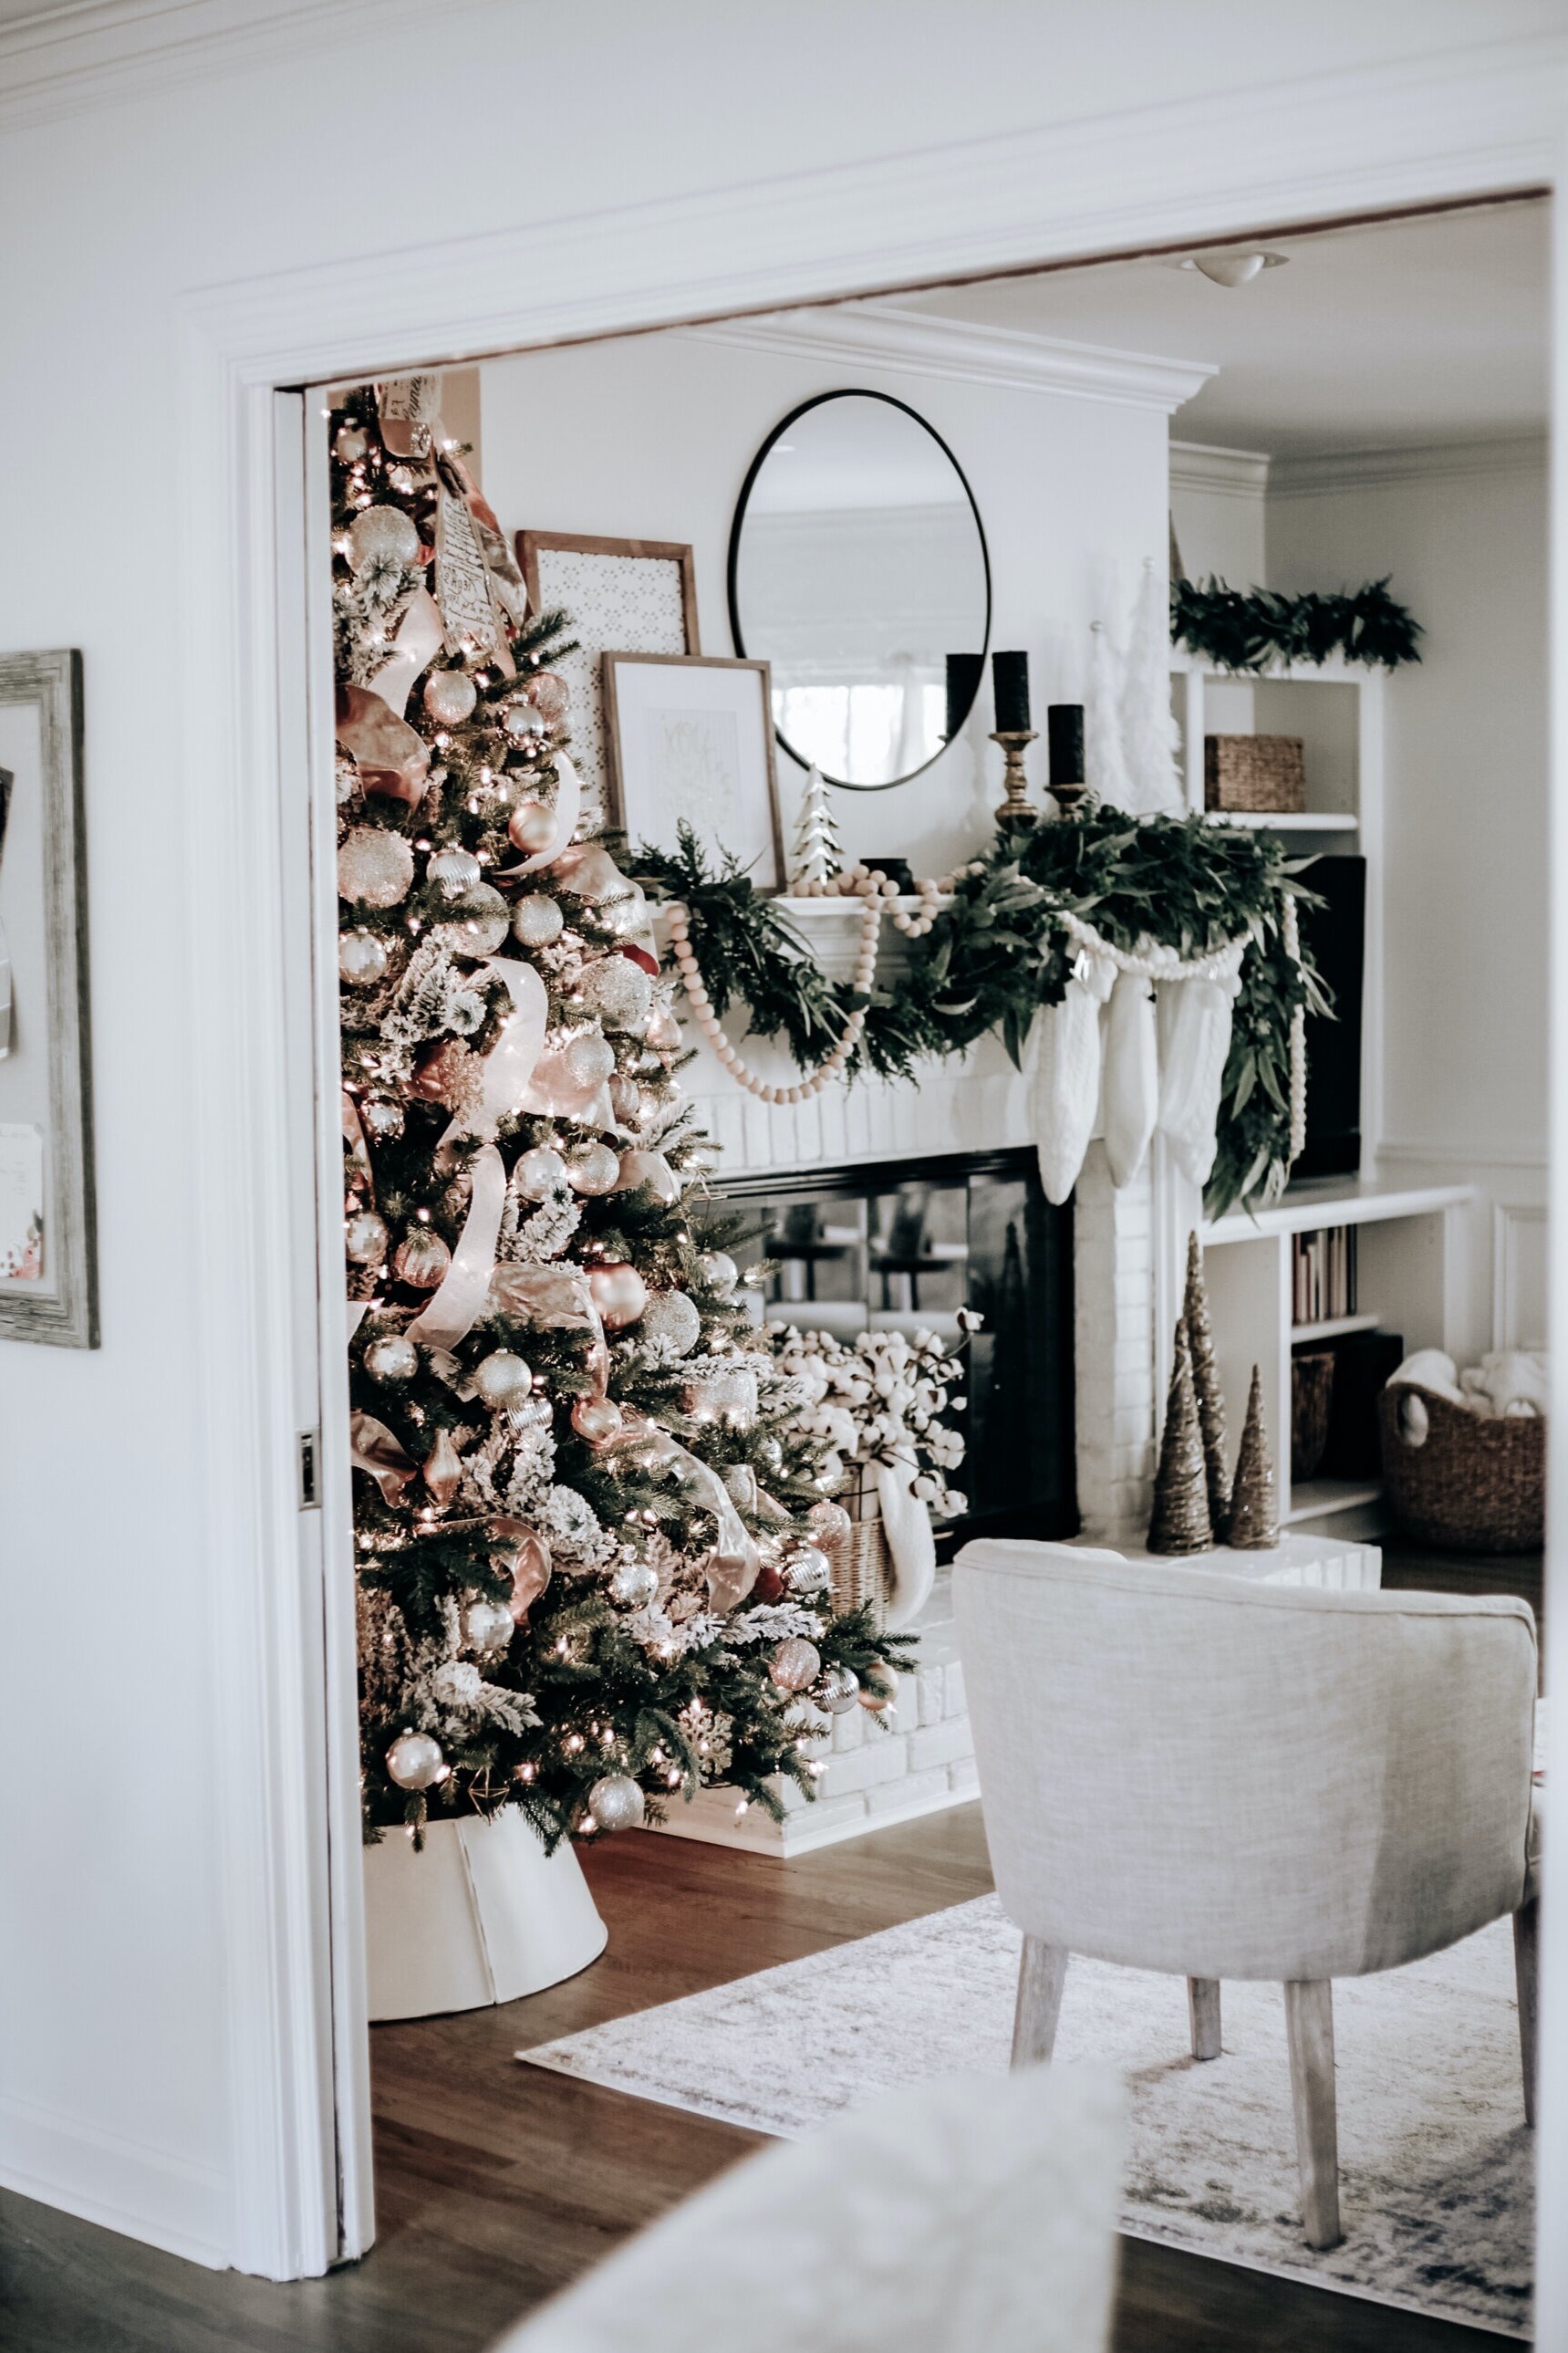
We went under contract on this house during the Christmas season last year, so I’ve literally been dreaming for an entire year about how I would decorate it. I had my heart set on cozy, warm neutrals and a classic, timeless look. I hope you’ll enjoy! Stay tuned for the rest of the tour and posts coming soon with a few tutorials on how I pulled this look together!
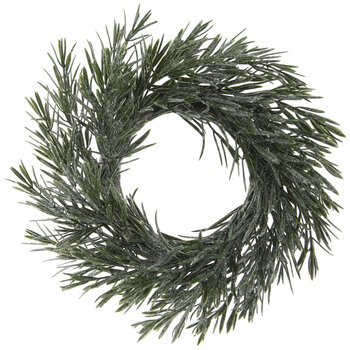
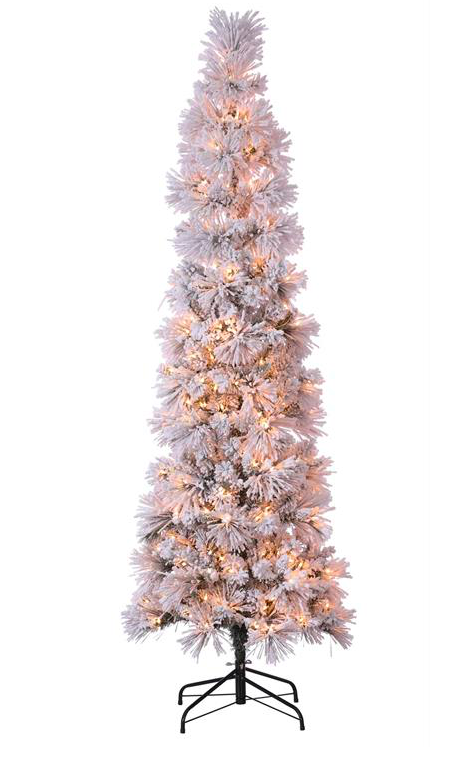
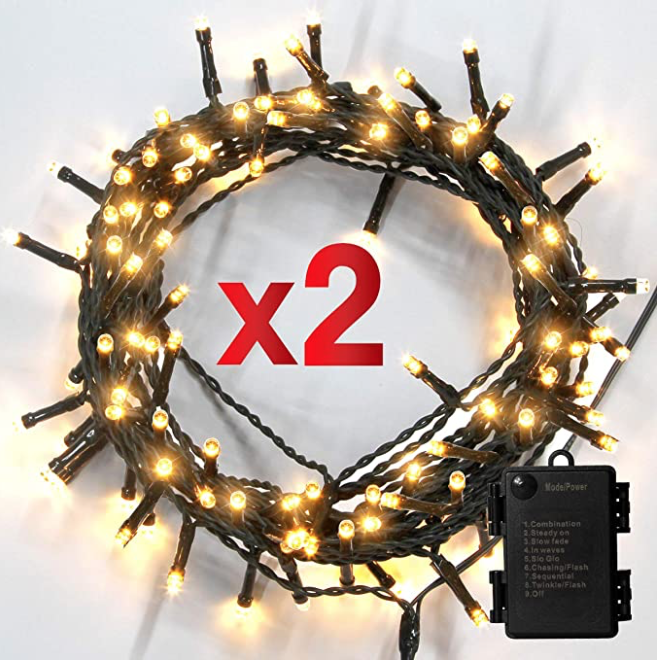
With the stairway as grand as it is, I knew I needed some hearty garland. I actually combined two different types - eucalyptus and juniper (artificial). Once I wired them together I added in the battery powered lights and ribbon. I carried the same garland throughout the entrance, living room and kitchen for a cohesive look. I just love the muted greens! I even added some eucalyptus picks into the flocked tree to complement the garland and bring the look together.
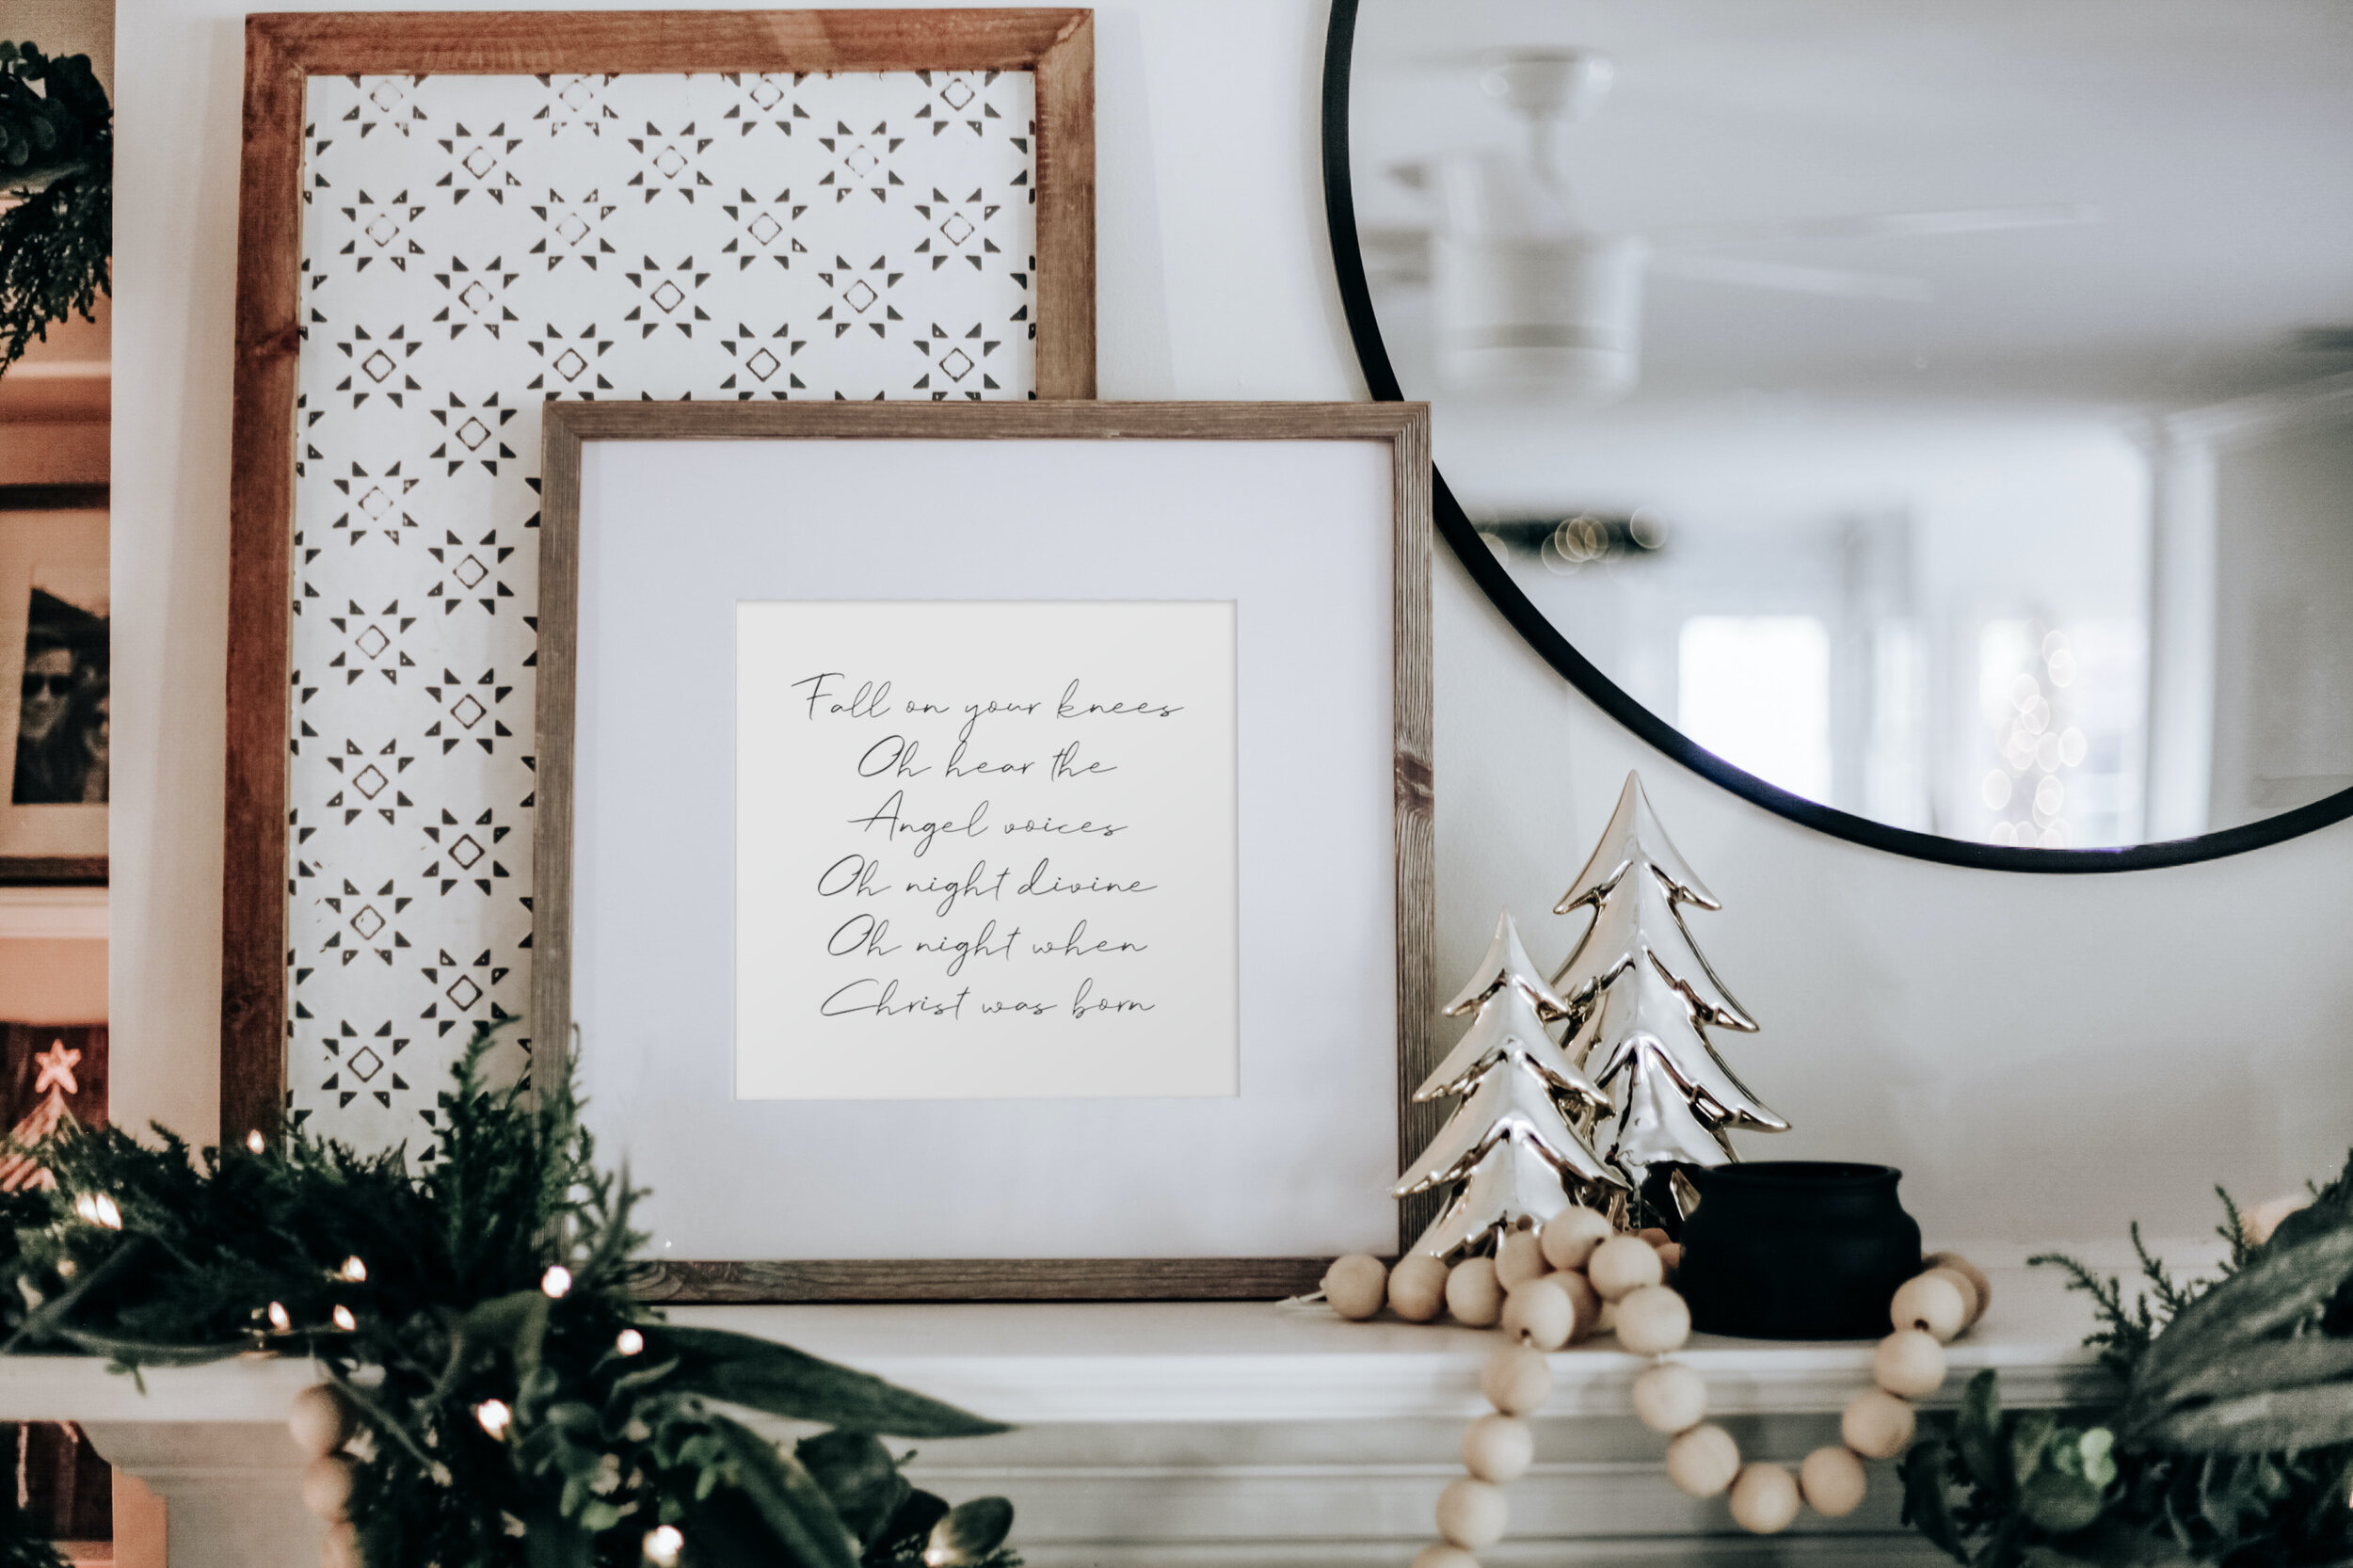
This is my favorite place in the house now because we spend most of our time here and it’s just so cozy! I added in some new elements this year like black candles on the mantle. Normally I wouldn’t incorporate black into Christmas decor, but I loved the bold contrast to all the white! And one of my favorite DIY elements was the wall of Christmas gifts! It’s normally our family gallery wall, but I wrapped all the frames to give a nice neutral holiday touch. (tutorial coming soon!)
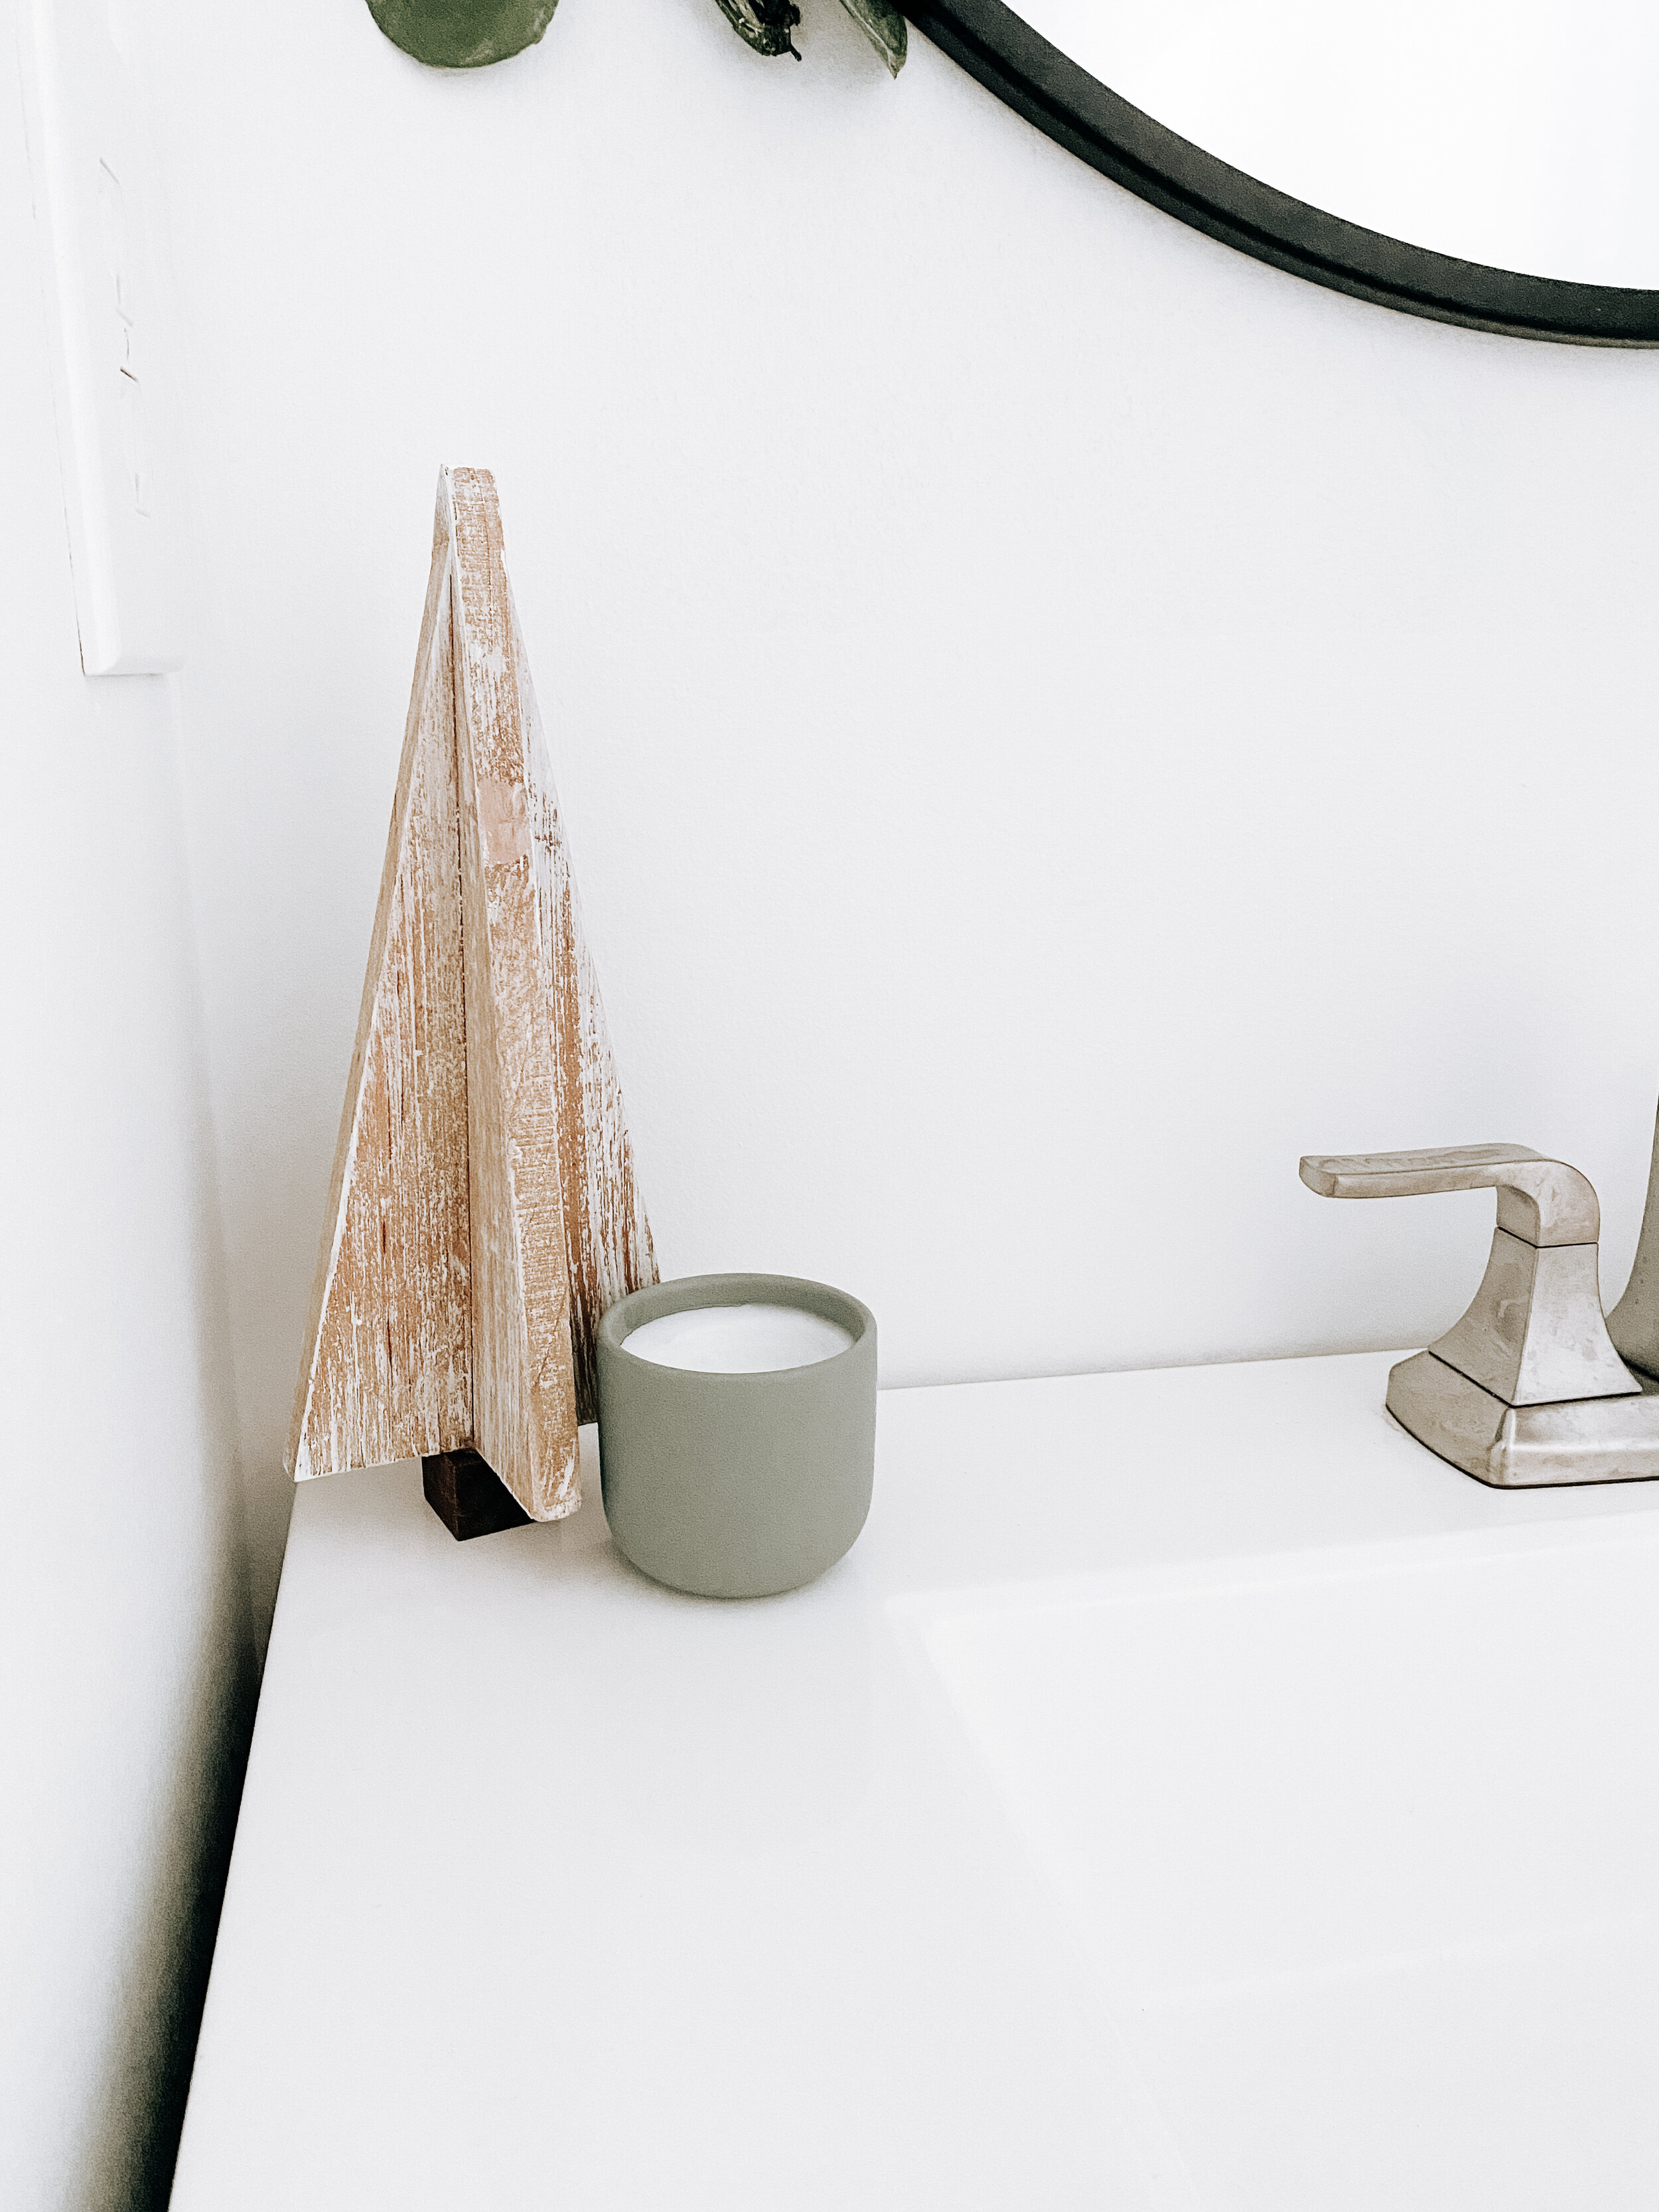
Yes, even the bathroom gets decorated around here!

Stay tuned - tomorrow we’ll continue our Holiday Home Tour with the kitchen and dining room!