Baby

Tips for hosting a socially distanced party

_MG_2143.jpg

Tis the season for celebration…and social distancing (ugh). Let’s just call a spade a spade: 2020 has made it increasingly challenging to get together and celebrate those people we love. But there are still ways you can mark those milestone occasions in your life and keep your friends and family as safe as possible!

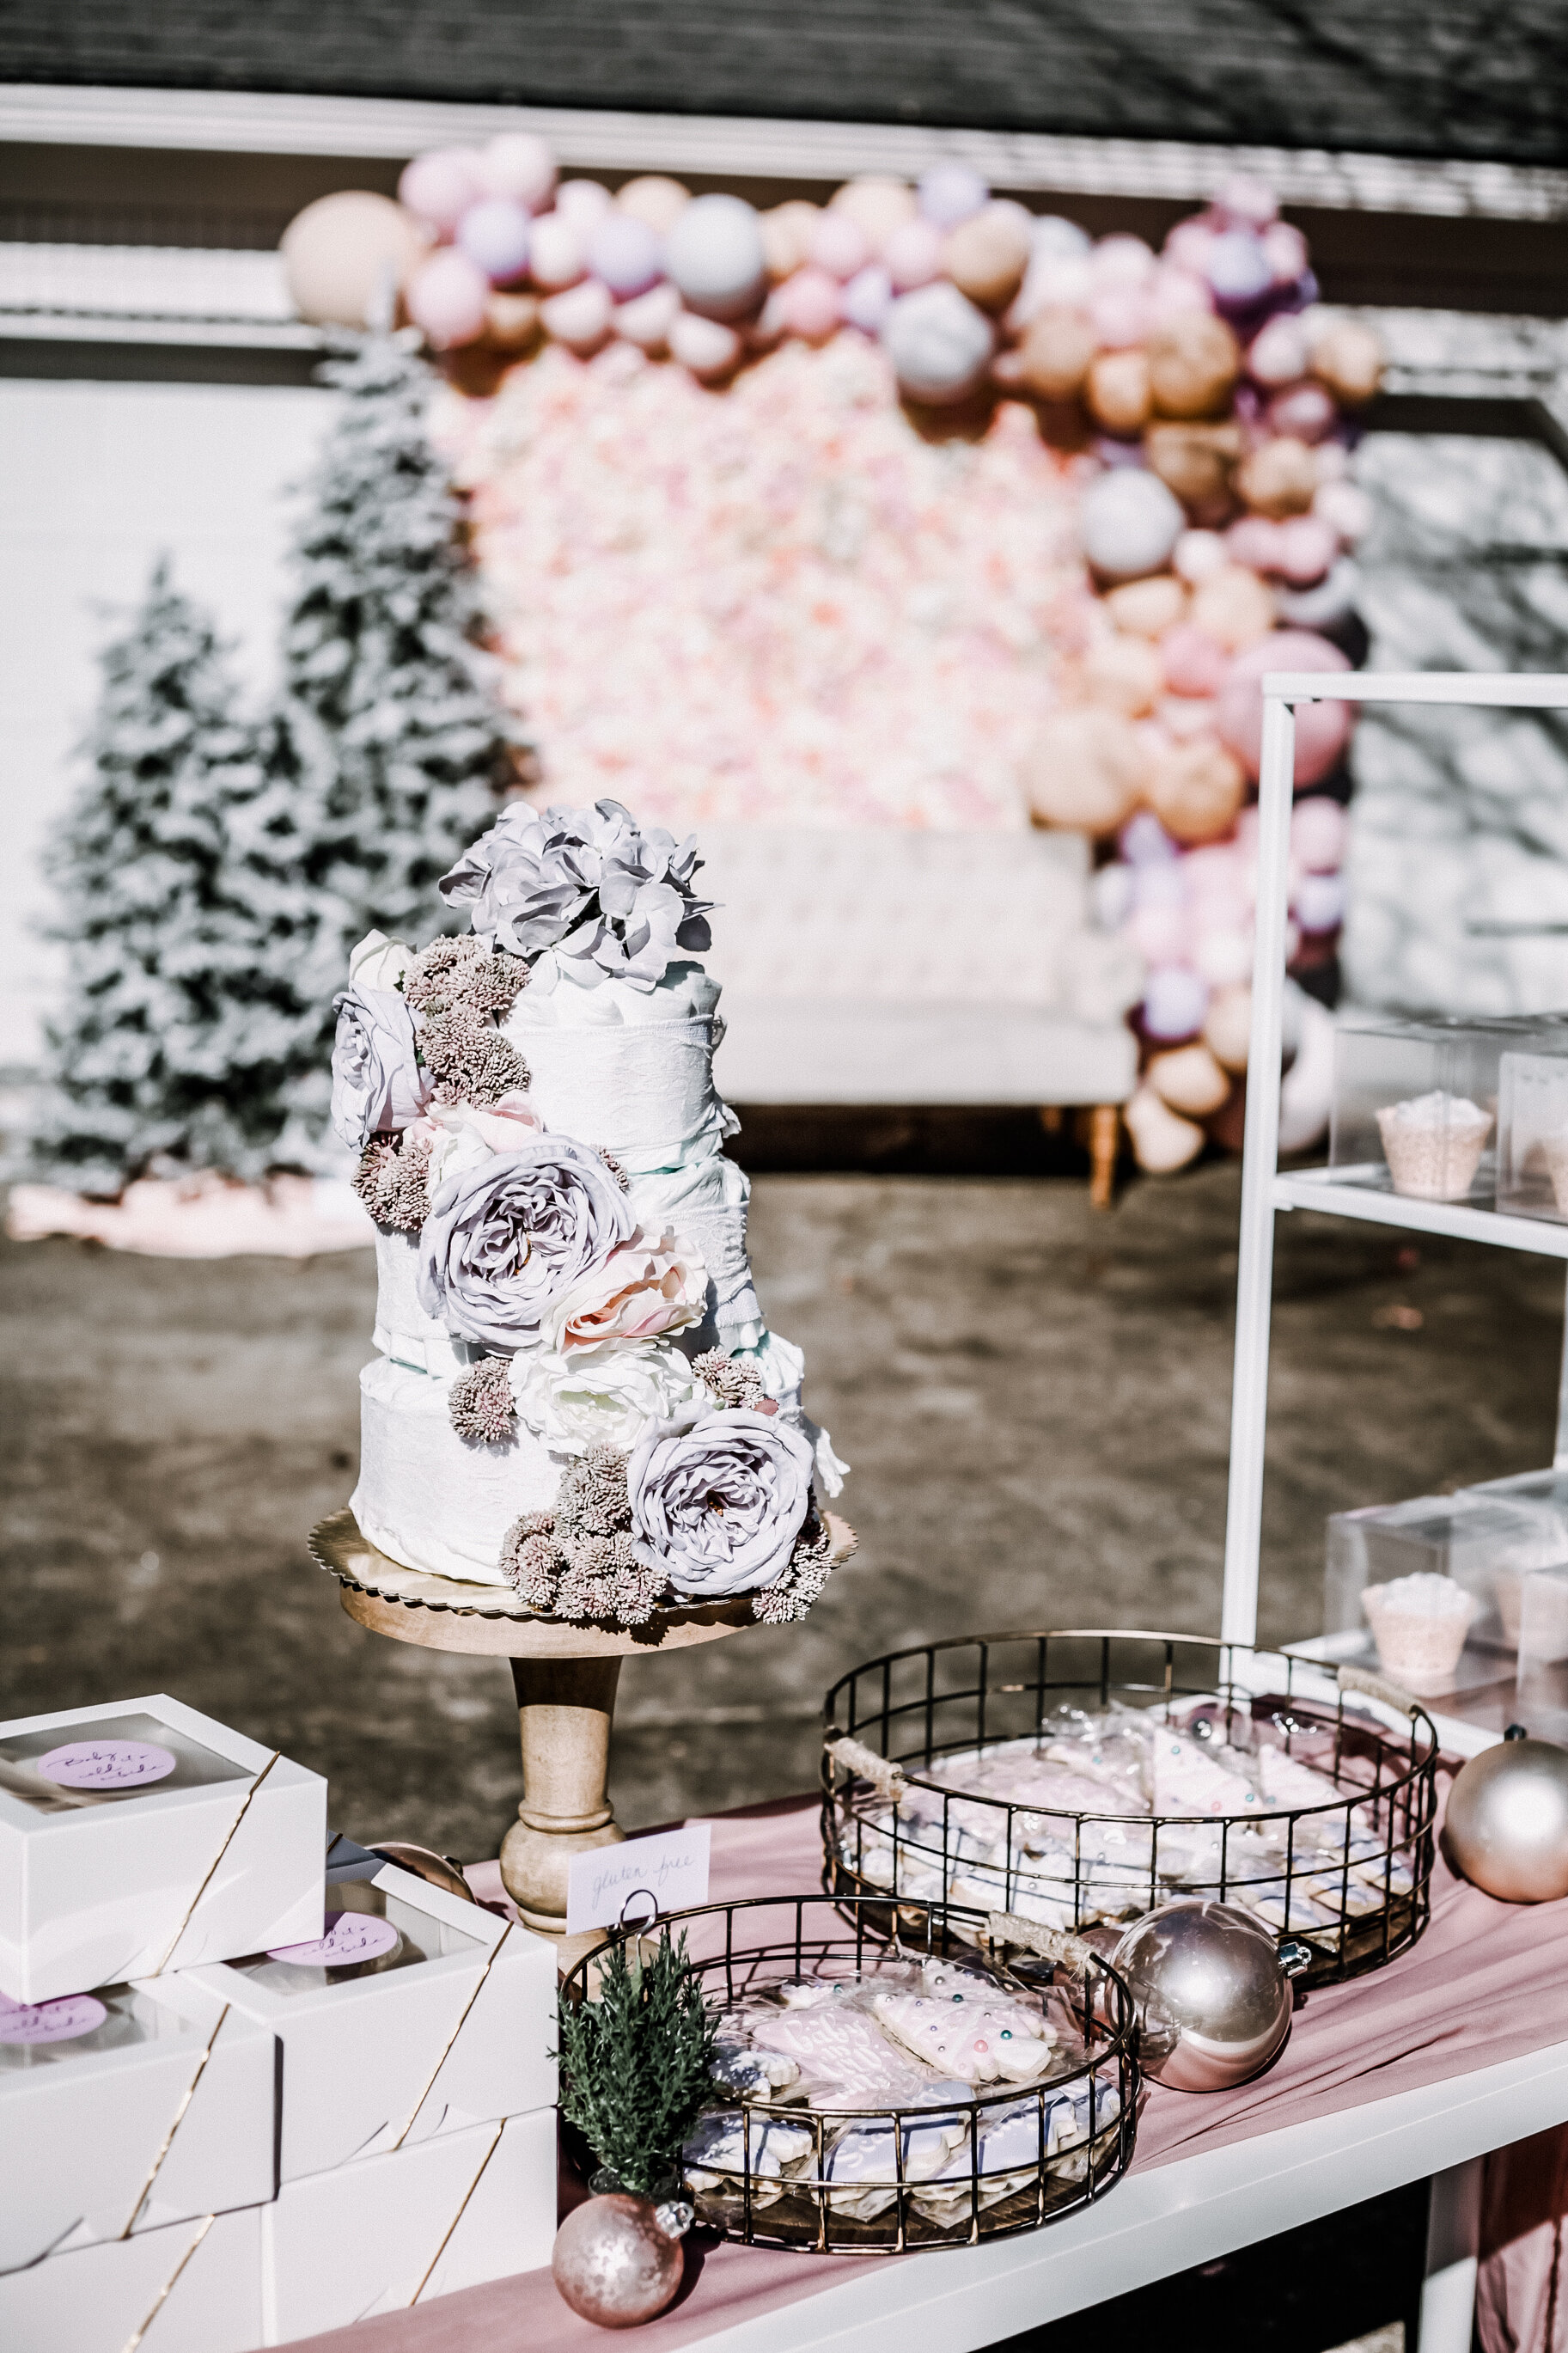
My baby sister is getting ready to welcome another little girl to our family, so we had to get creative in figuring out a safe way to celebrate! Check out the pics below from our “Baby It’s Cold Outside” themed sprinkle, and then at the bottom we’ll share our best tips for hosting your own socially distanced celebration!

We had the perfect weather for our celebration - it was in the upper 50s so just warm enough to not freeze, but also just cool enough to enjoy the warm and toasty hot chocolate! As you’re planning your own celebrations, here’s my top six tips for keeping them Covid-safe:

  1. Keep it outside.

    I know as it gets colder, this gets increasingly tougher for parties…especially if you don’t live in the south or warmer climates, but the fresh air and room to space out is key for keeping everyone safe!

  2. Provide masks.

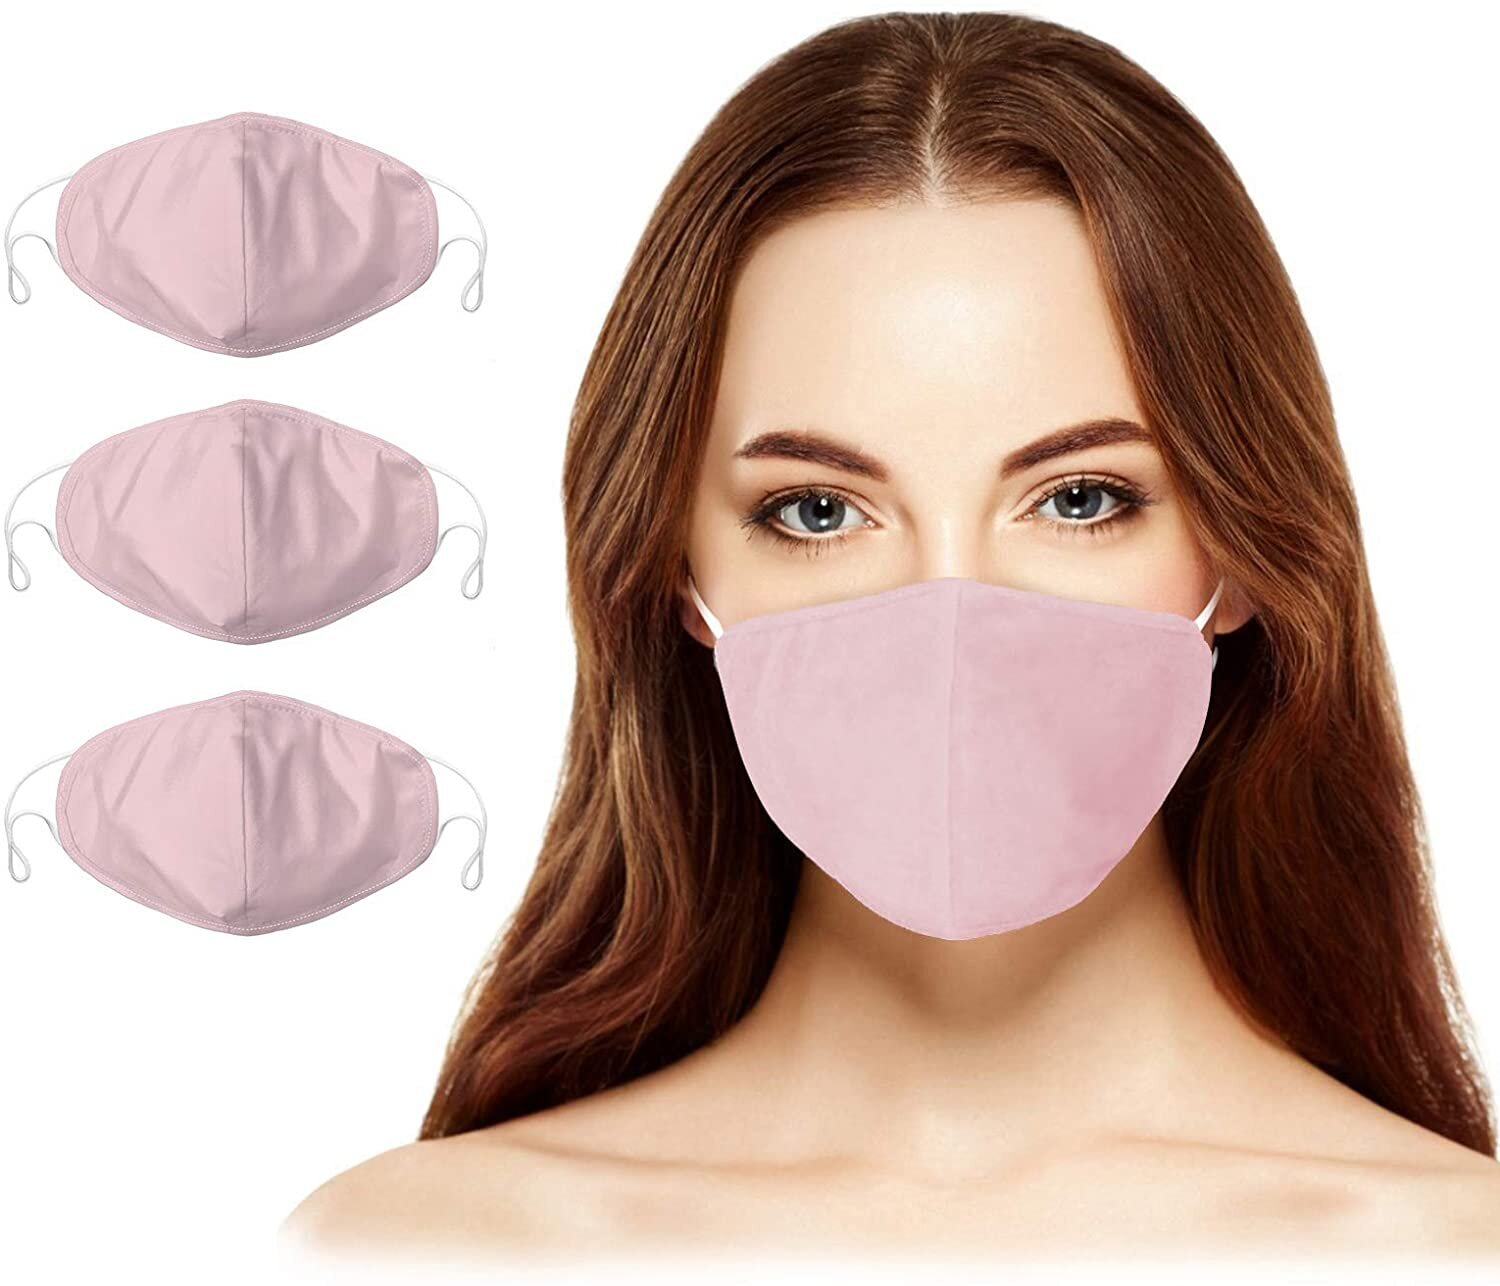
    Even if it’s outdoors, provide everyone a mask for safety - it’s a cheap and easy way to let everyone know your safety standards if you’re handing out masks when they arrive. Bonus points if they match your party’s theme! Check out the links below for some adorable pastel masks I found for our party! It’s super easy to set up a mask and hand sanitizer station conveniently where your guests arrive.

  3. Don’t serve a meal.

    It’s definitely risky in groups when everyone is removing their masks to eat a full meal, and it’s even more risky when they are all scooping food from a buffet - so try to eliminate both of those options. Choose a time of day to host your party where the food you would need to provide is minimal. We hosted this shower from 2-4pm because it was between meal times, so we only served dessert and small bites (individually packaged, of course) and it was also the warmest part of the day.

  4. Individually package the food you do serve.

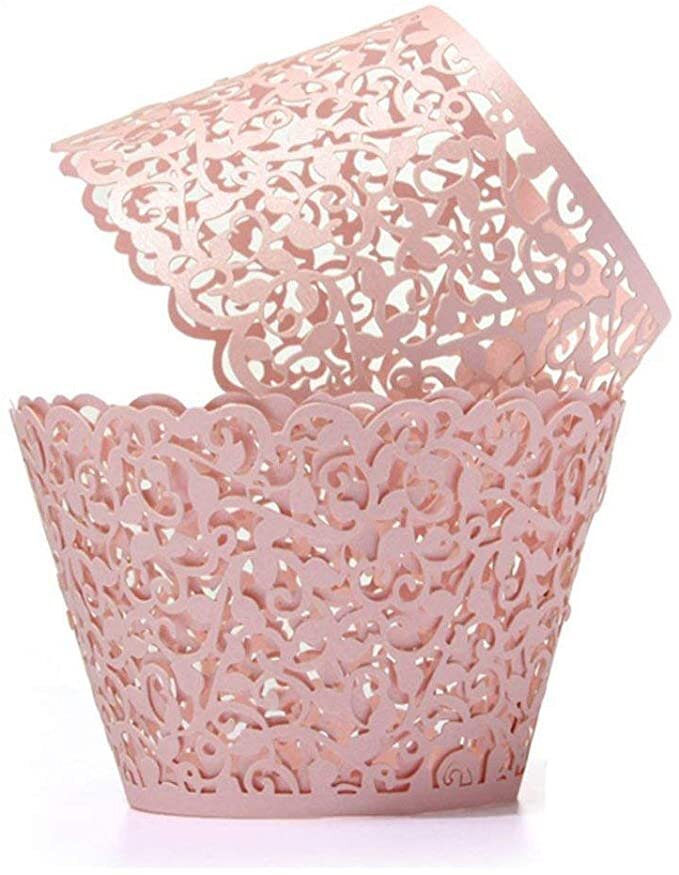
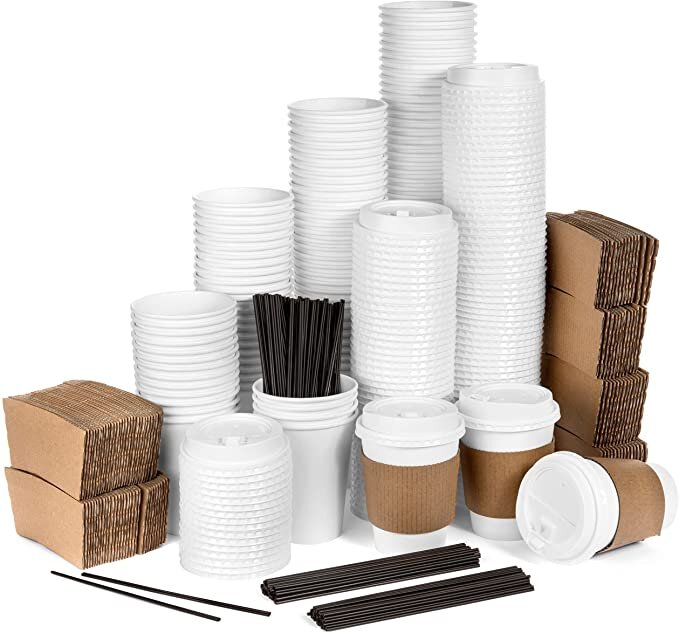
    This is much easier to do when you’re serving small bites! We boxed up our cupcakes, served individually wrapped custom sugar cookies and I created customized individual mini-charcuterie boxes that were a hit! That way, if people want to eat the food at the party, they can safely space out and do so…but they can also take it with them if they feel safer eating afterwards. I provided some to-go bags for people to put treats in so they knew they didn’t have to eat it there! For our hot chocolate, we did not allow our guests to self-serve (to keep all the hands off of the dispenser), instead we had a host who was masked and gloved serve drinks in cute customized to-go cups.

  5. Space out your seating and keep the groupings small.

    I’ll tell you a little secret, those “bistro” tables you see in my front yard are actually tv trays. I just covered them with a linen and pulled chairs from my back deck and boom…instant bistro seating for intimate tables of 2 that were more than 6 feet apart so everyone felt safe! I kept them significantly spaced away from the food as well, just to be extra safe!

  6. Keep your guest count low.

    It probably goes without saying, but you likely shouldn’t invite hundreds of people to your celebration. Keep the numbers smaller, or you can even space them out over several hours as a drop-by party and assign smaller groups certain time windows they can arrive. We also intentionally hosted the party in the front yard as opposed to the back yard and let our guests know in advance they had the option to just drive by if they didn’t feel comfortable getting out and visiting. That way those who are older or high risk feel like they have options as well!

That’s it! We hope this is helpful for you in this season of “unprecedented times” (I swear if I hear that again it will be too soon, ha!). And we hope you keep finding creative ways to safely celebrate those you love because even when the world is turned upside down, our people are still worth celebrating!

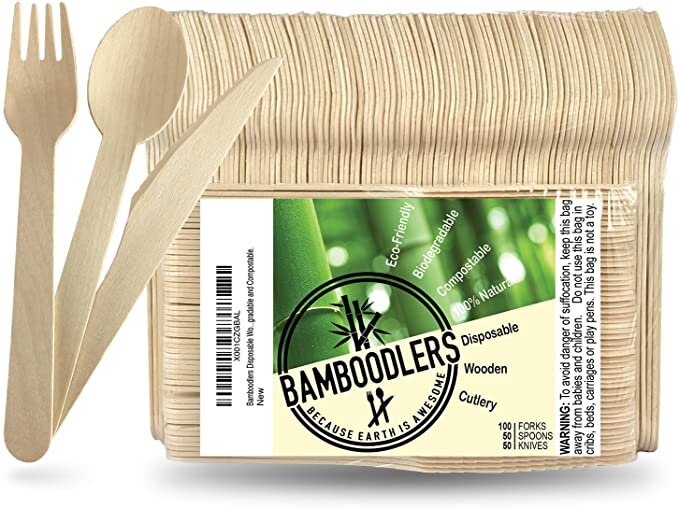
Check out the links below for some of the products we used to make this party happen!

Event Design: Sweetwood Creative Co.
Custom Cookies: Bakeologist

Cheers!
signature.png
 

(DISCLAIMER: This post contains some affiliate links. This does not affect the price of the products you're purchasing, but I do receive a small kickback for any purchase made. I only link to products that I personally use and highly recommend!)

Wild One Boho First Birthday

Wild One Boho First Birthday

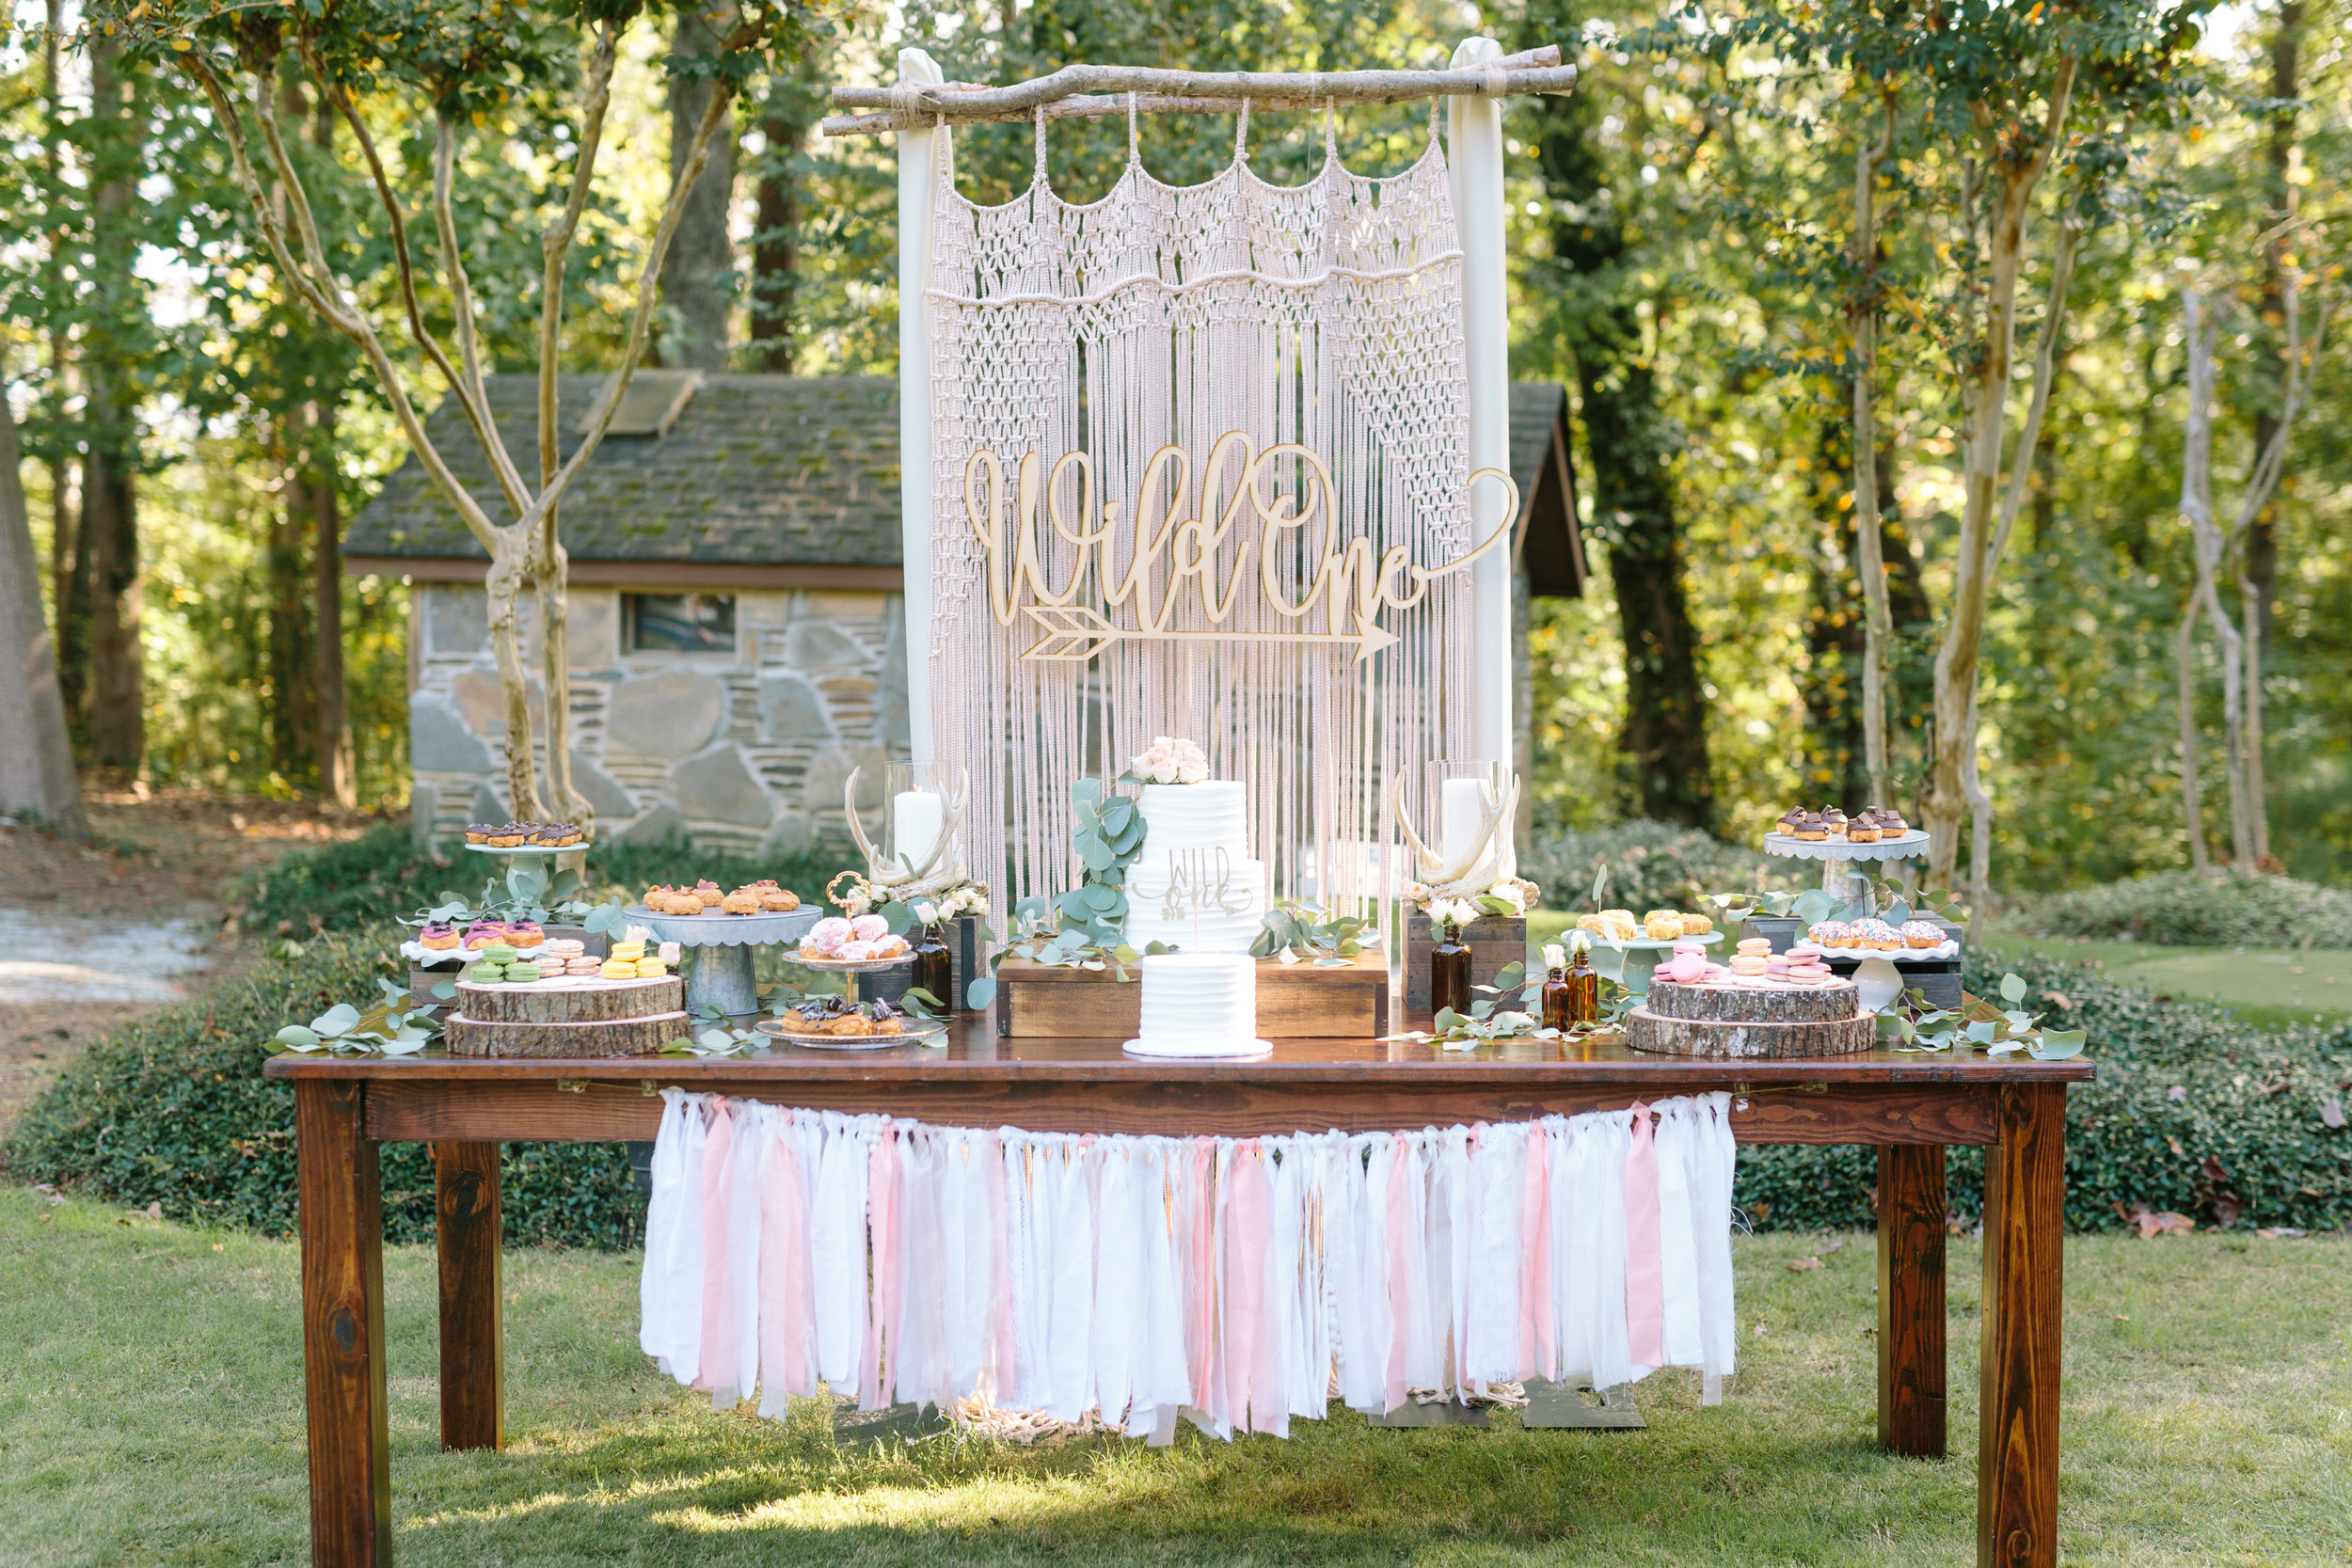
Take a peek at this over the top adorable "Wild One" themed boho first birthday party by Sweetwood Creative Co!

Nautical First Birthday

Nautical First Birthday

Check out this adorable navy, white and red nautical themed first birthday party by Sweetwood Creative Co.!

Red, White & Two Patriotic Celebration

Red, White & Two Patriotic Celebration

Check out all the patriotic details from this Red, White & TWO themed birthday celebration by Sweetwood Creative Co.!

Navy & Gold Baby Shower

Navy & Gold Baby Shower

All the details of a navy, gold and gray themed baby boy shower! 

Boho Chic Garden Party

Boho Chic Garden Party

Check out all the details of this adorably stylish boho chic garden party.

Born To Be Wild Baby Shower Brunch

Born To Be Wild Baby Shower Brunch

All the details from a Born to be Wild themed baby shower brunch with modern decor!

Dr. Seuss First Birthday & Free Party Favor Printables

Dr. Seuss First Birthday & Free Party Favor Printables

FREE party favor printables with this Dr. Seuss themed "Oh The Places You'll Go" First birthday decor!

Teddy Bear Picnic First Birthday

Teddy Bear Picnic First Birthday

A Teddy Bear Picnic themed first birthday party!

Construction Themed Party & Free Printables

Construction Themed Party & Free Printables

A construction themed first birthday party for Mason, complete with FREE printables for your own party!

Rookie of the Year First Birthday Party

Rookie of the Year First Birthday Party

A look inside all the details from a Rookie of the Year themed first birthday party!

Ready to Pop Free Printables

They're finally here...FREE printables for your next baby shower!

We had such a huge response from my previous POST about the "Ready to POP" baby shower I threw for my bestie, that I put together two different sets of FREE printables for you...so now you can have them for a boy or a girl shower! 

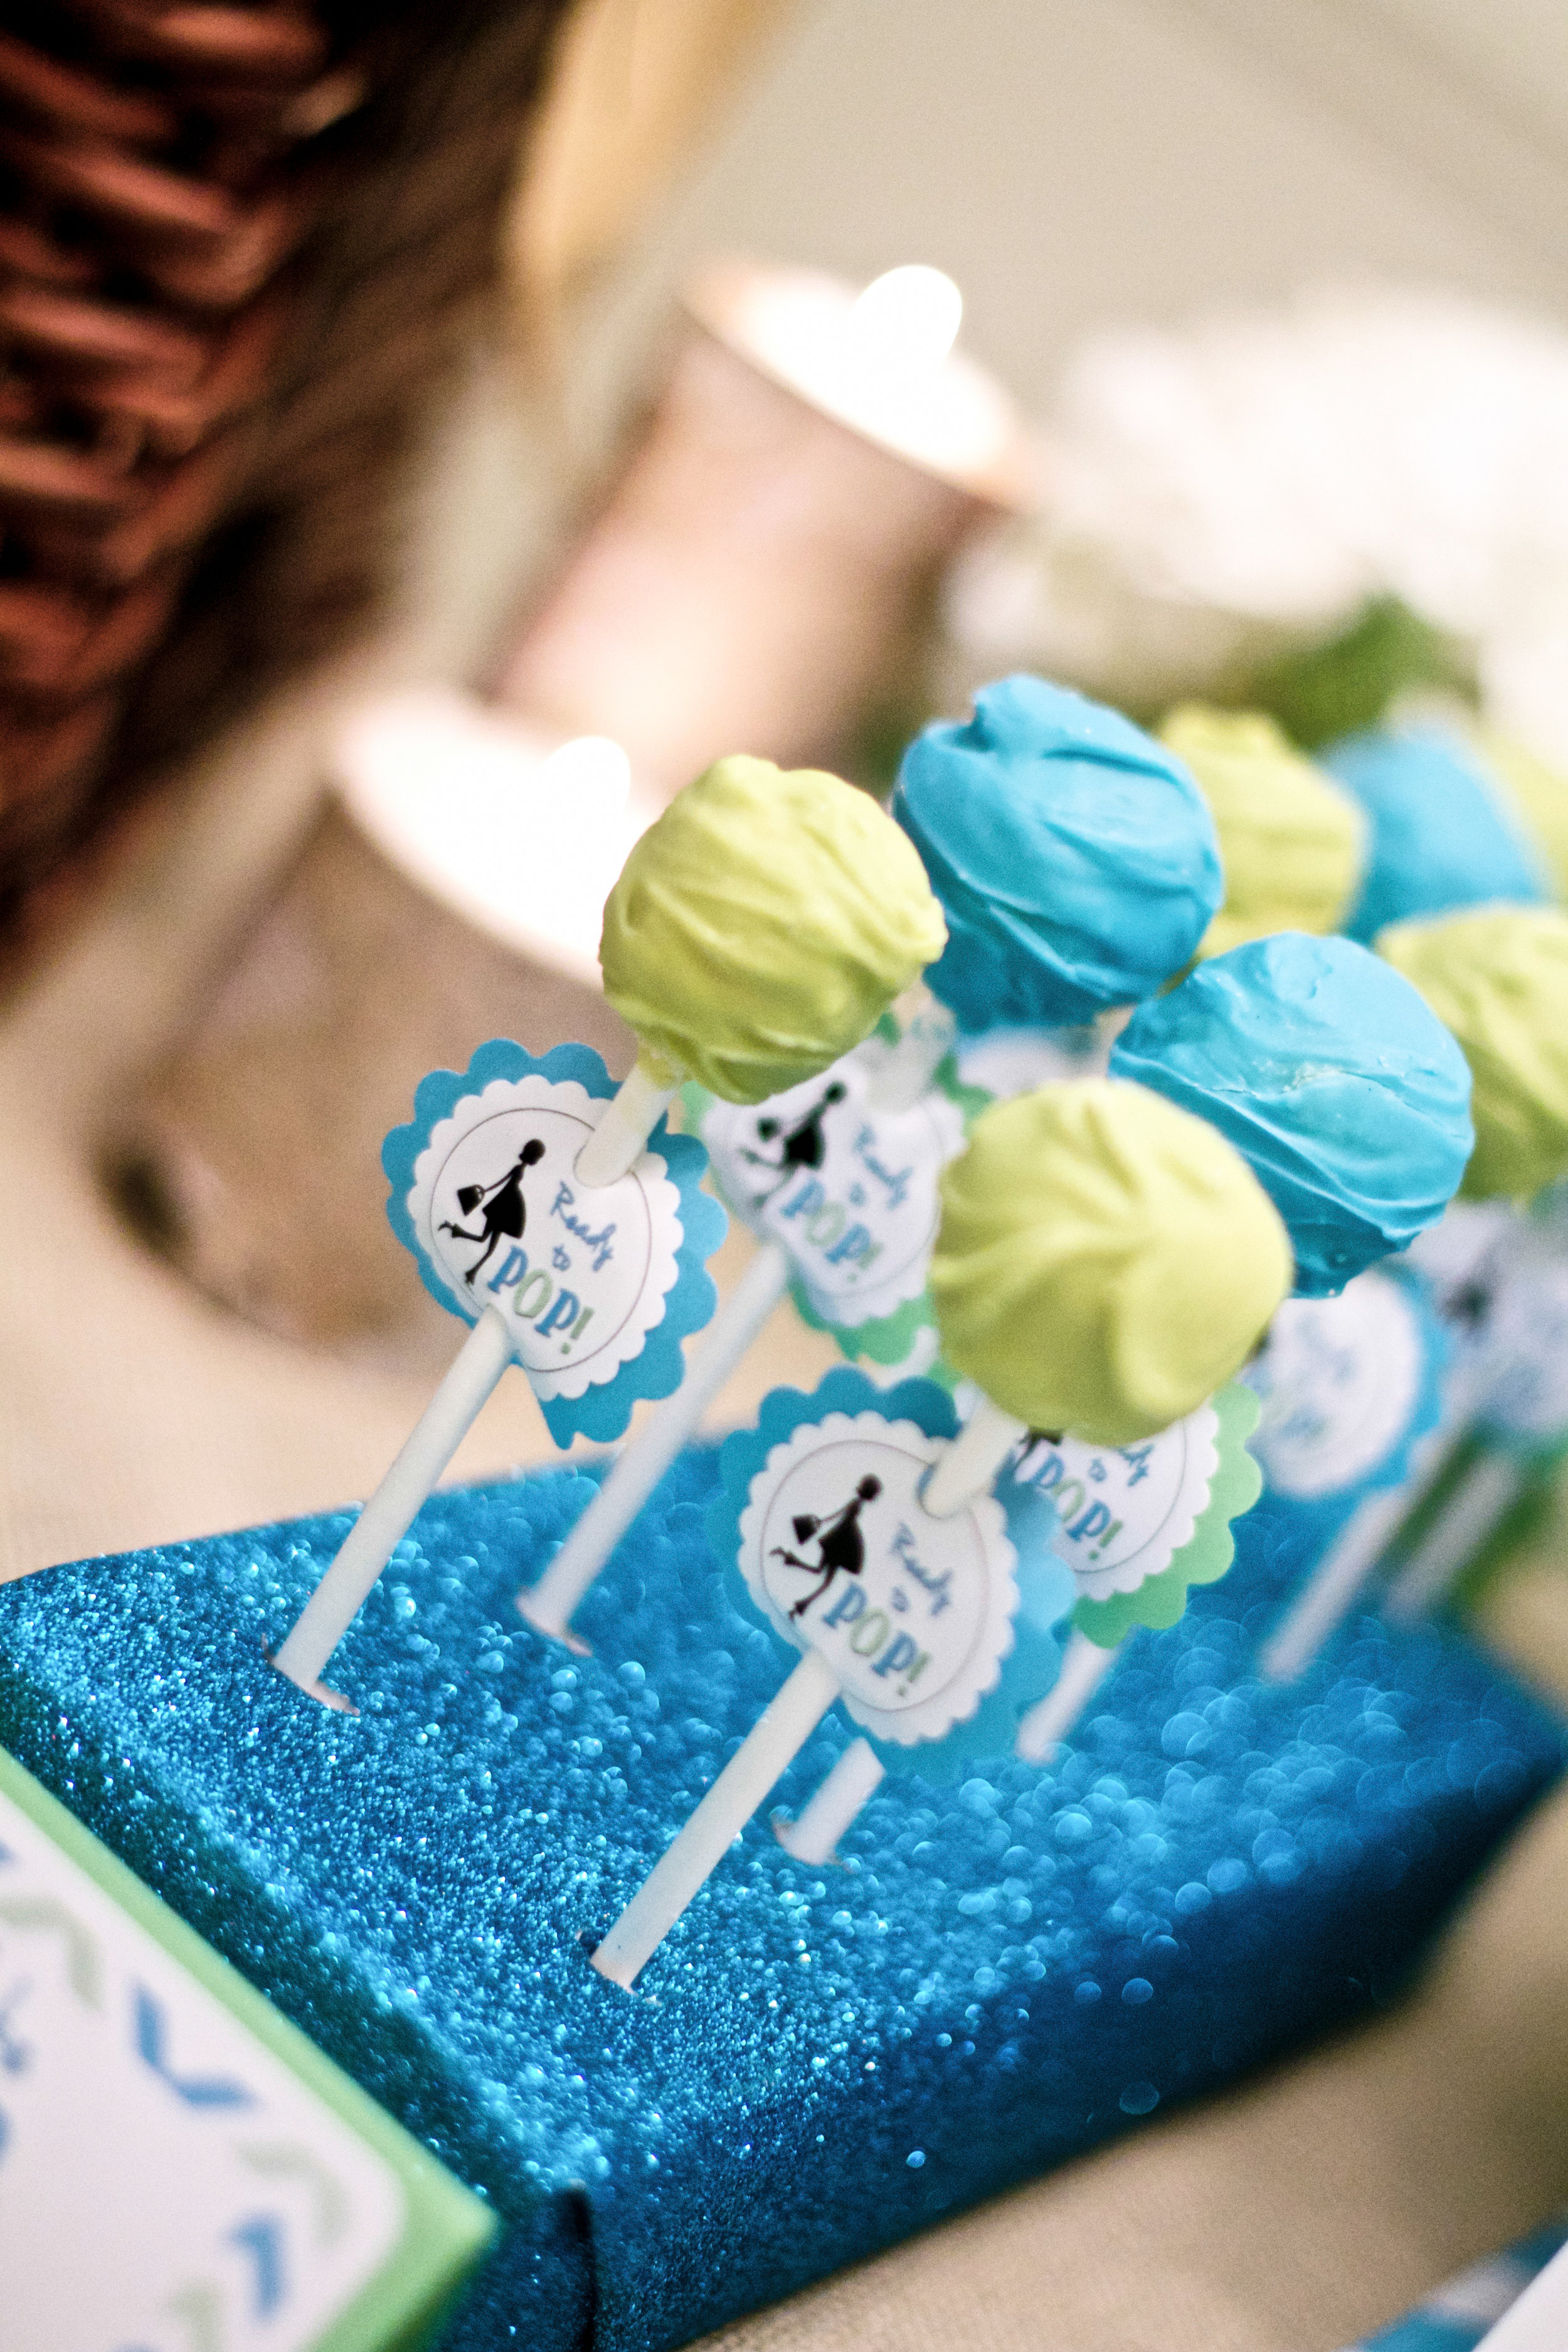
Here's a glimpse at what they looked like at the shower I hosted:

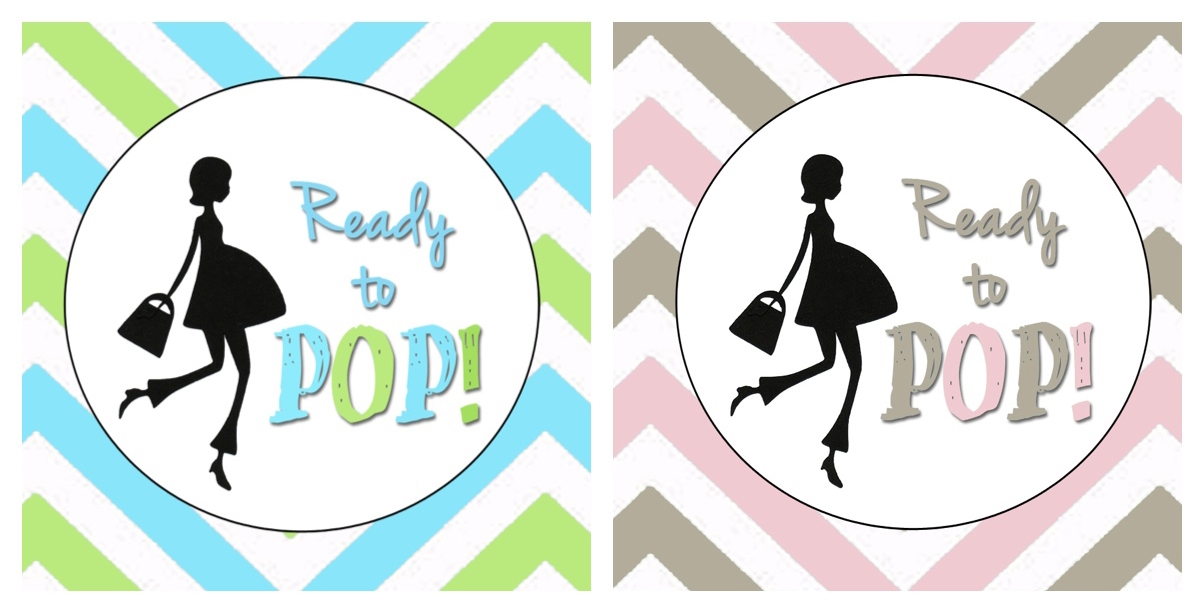
 And now you can download your own in either Blue and Green or Pink and Brown! Here's what the download package includes:

  • Water Bottle Labels

  • Food labels (with blanks for extra items)

  • Ready to "Pop" round cutouts (for cake pops, labels, favors and more!)

  • Thanks for "Popping" By round cutouts

  • Baby Stats game instructions and cards

  • Baby "Pop" Quiz Game & Answer Key

Simply choose your color palette below and click on the link to open and print!

PLEASE NOTE: This printable is for your personal use ONLY. Files may not be sold, printed products may not be sold, and the designs may not be placed on items that are sold. If they are reproduced, redistributed or sold under any of these conditions, legal action will be taken.

Ready to Pop Printable Pacakge - Pink and Brown

Ready to Pop Printable Package-Blue

Enjoy!

JAMIE.png
 

DIY Diaper Cake Tutorial

This cake looks almost good enough to eat!

(but I wouldn't recommend it)
Earlier this week I showed you our fabulous "Ready to Pop" themed baby shower (click HERE to download our FREE Ready to Pop party printables!), now I'll show you a simple tutorial on how to make the beautiful diaper cake we used as the centerpiece for our food display. Diaper cakes are a great way to dress up a practical gift, and if you decorate in the colors of the party, they can also become a beautiful focal point of the shower decor. 

Some might say they pull double doody....er, I mean duty. Ahem.

Let's start out with the supplies you'll need:I made this whole diaper cake for less than $30, simply by shopping smart and utilizing some supplies that I had around the house. When you know you're going to be making one of these in the near future, start collecting empty toilet paper rolls (these can be used for other fun crafts as well) and an empty wrapping paper roll. I use the empty wrapping paper roll as the "base" of the cake, to help hold everything securely in place. It helps the cake transport easily without falling apart and keeps everything centered.

With the exception of the diapers, I found all of my supplies (cake plate, ribbons, flower, crinkle paper) all at Michael's...so it really was a one-stop-shop kind of project. PLUS I used my Michael's iPhone app for a coupon and saved some money! 

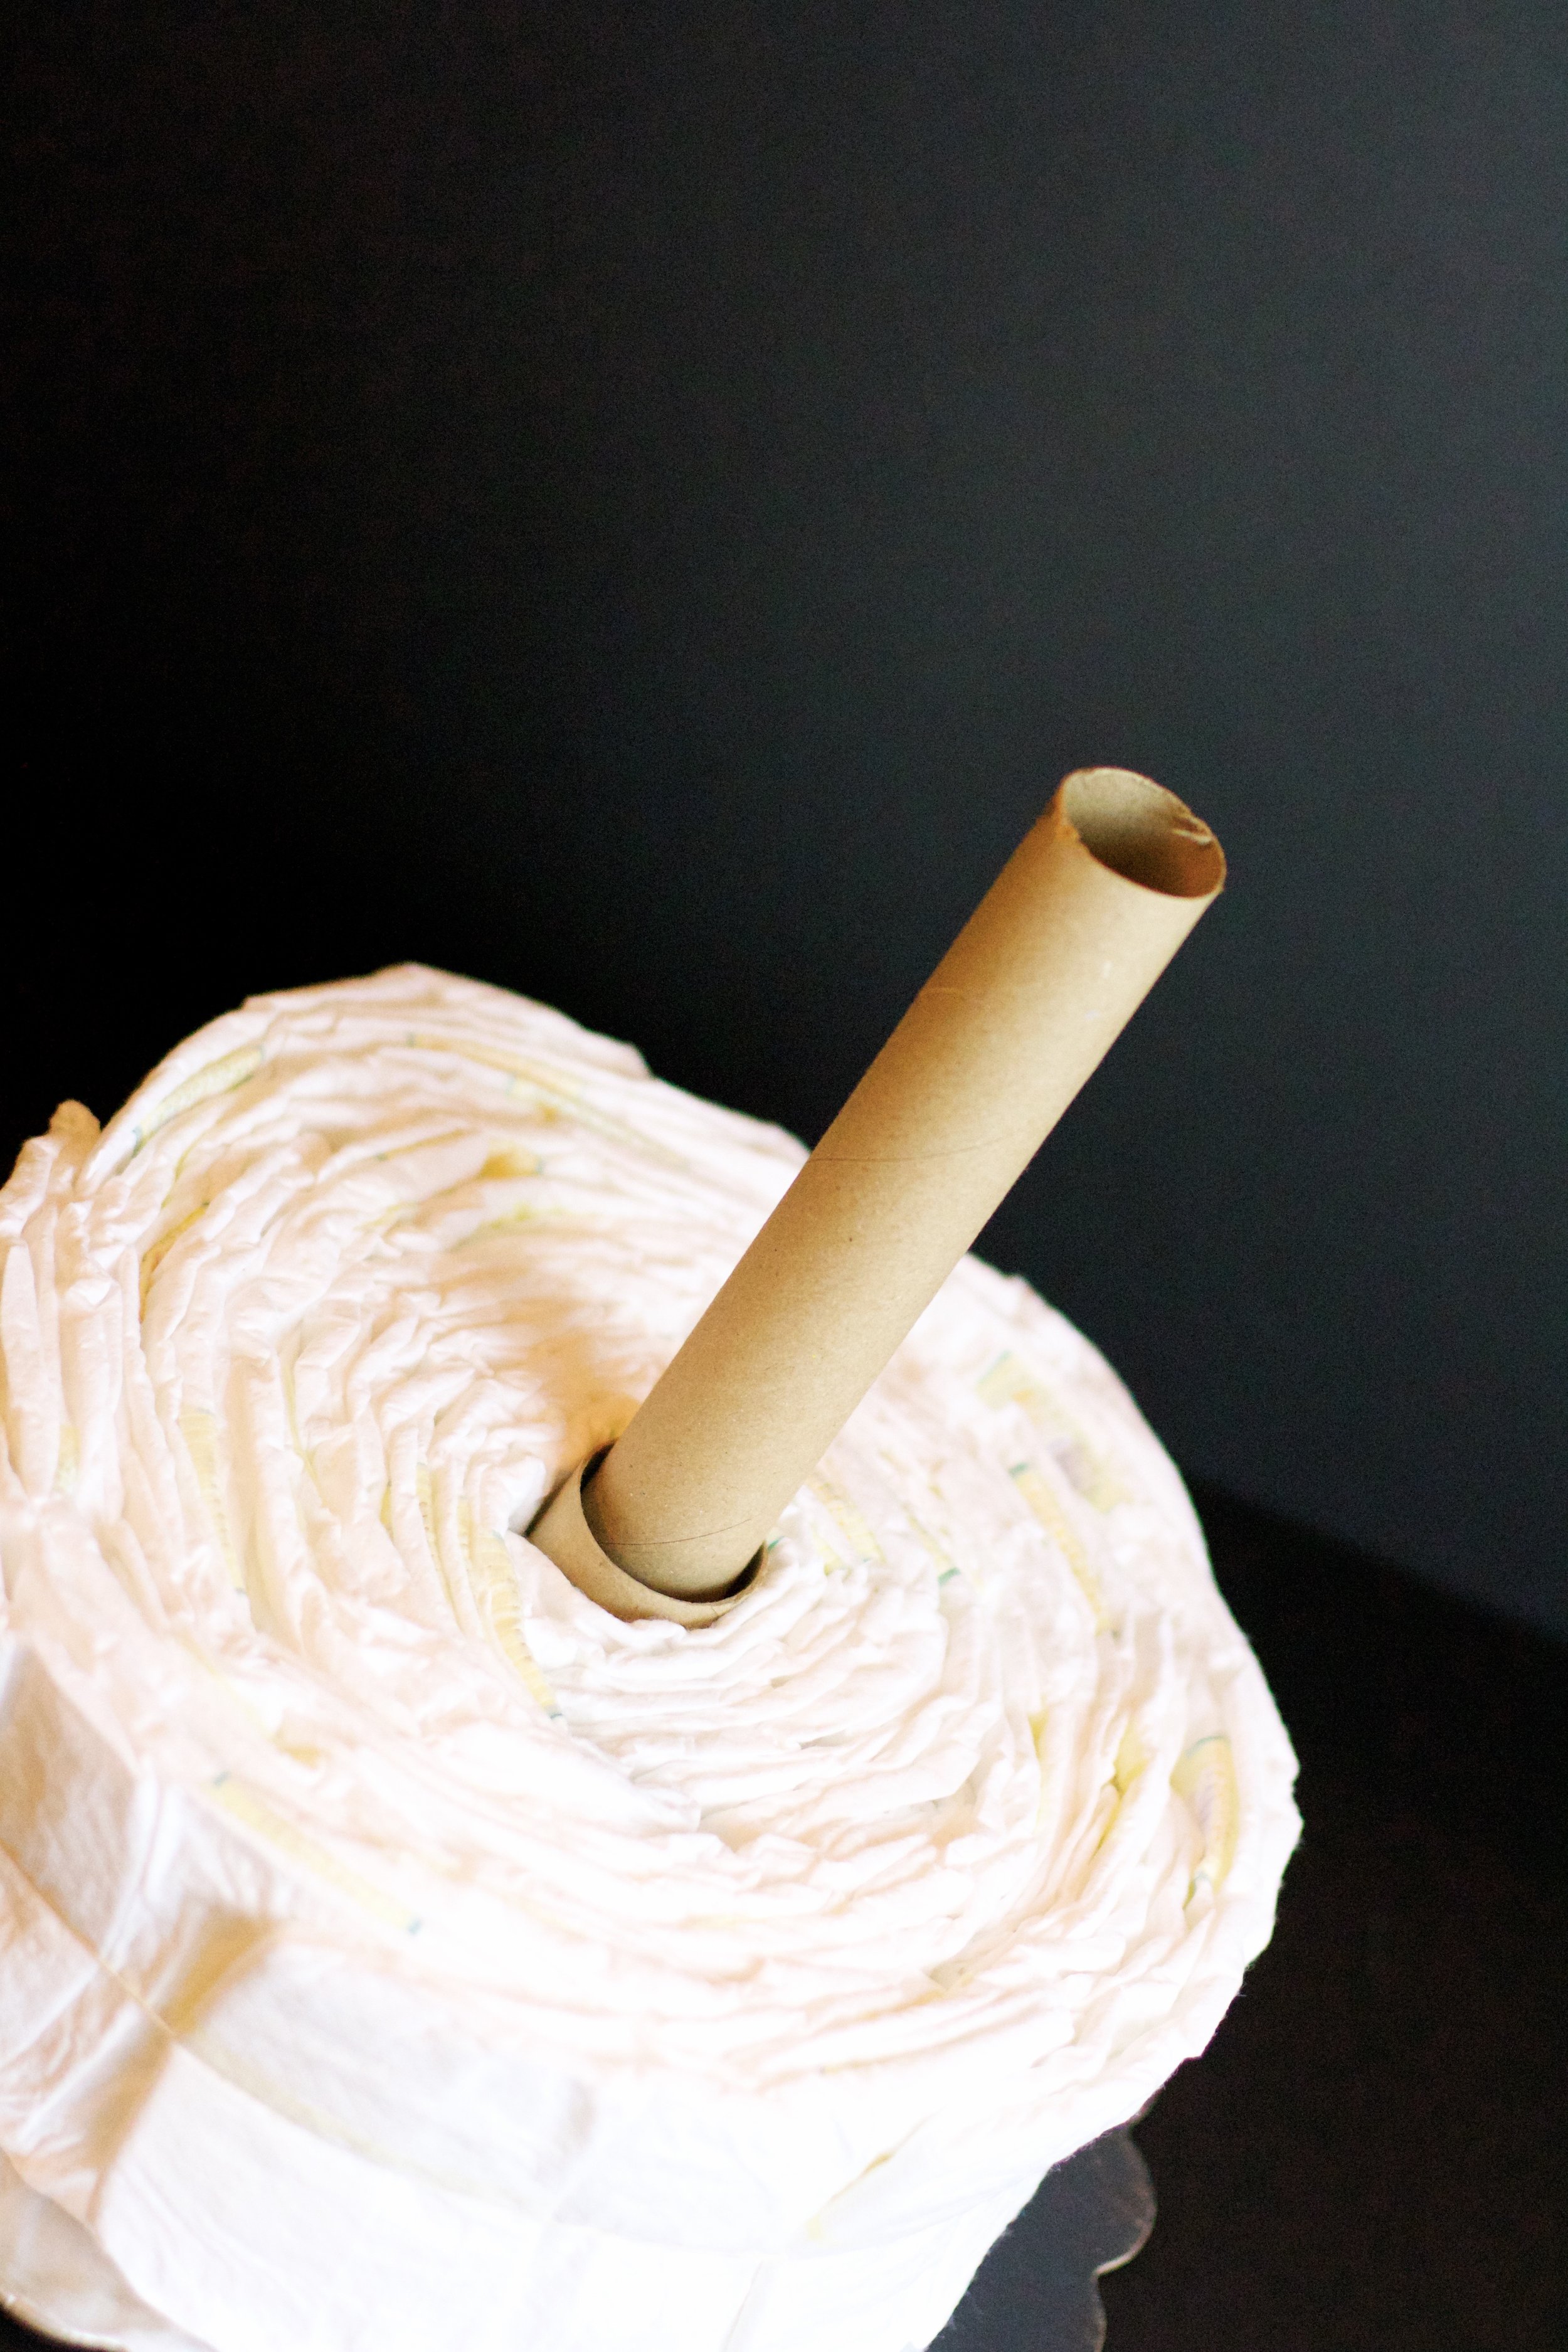
STEP 1: Cut down your wrapping paper roll and glue it to the center of the 12" cake plate.To cut down the wrapping paper roll to the right size I took the three toilet paper rolls and laid them on the floor one on top of the other (to form a tower), then laid the wrapping paper roll beside it and marked it about 1/2 inch shorter than the length of the three rolls (so that it wouldn't stick out the top). 

NOTE: You might ask why I didn't just use a paper tower roll since they're similar in height - the problem with paper towel rolls is that they are generally the same diameter as toilet paper rolls, making it hard to slide one onto the other. I have found that wrapping paper rolls are generally smaller in diameter and work perfectly. And bonus...they're long enough that you can cut it and get TWO cakes out of one roll!Jackpot! While the glue on the base is drying, you're ready to start assembling your layers. This is where you bust out the diapers and take a good whiff because they smell incredibly of fresh clean baby. (ahhh). I used Pampers Size 2 Swaddlers that I got from Buy Buy Baby at 2 packs (72 diapers) for around $22...not bad! I've found that this size diaper is the perfect size for the cake, and it allows the mommy to enjoy the cake on display in the nursery for a little bit after the little one arrives (if she chooses) without having to take it apart in the first week for the newborn size diapers she'll need.

STEP 2: Attach diapers to the toilet paper roll with rubber bands.Make sure you turn all of the diapers with the patterned side facing inwards (so they all look solid like a vanilla frosted cake), and begin to wrap and rubber band them in stacks of five. As you add more and more diapers, you can begin to fan them out (instead of one thick stack) so that the outer rim looks smooth and symmetrical.

You might need an extra set of hands to do this for the base if you haven't done it before...but if you don't have help, just be patient, it may take you a couple of tries to get the diapers in the right place and rubber banded before they fall over! I promise you can do it - I did this one solo! 

Repeat this step for the middle and top layers.

Here's the breakdown of the number of diapers I used for each layer:

BASE: 30-35 Diapers

MIDDLE: 20-25 Diapers

TOP: 10-15 Diapers

The best way to do this is just eyeball it. Start with your base, and as you make the next layer measure it on top of the layer below it to make sure it is slightly smaller in size. Once you get your three layers rubber banded, you're ready to assemble.

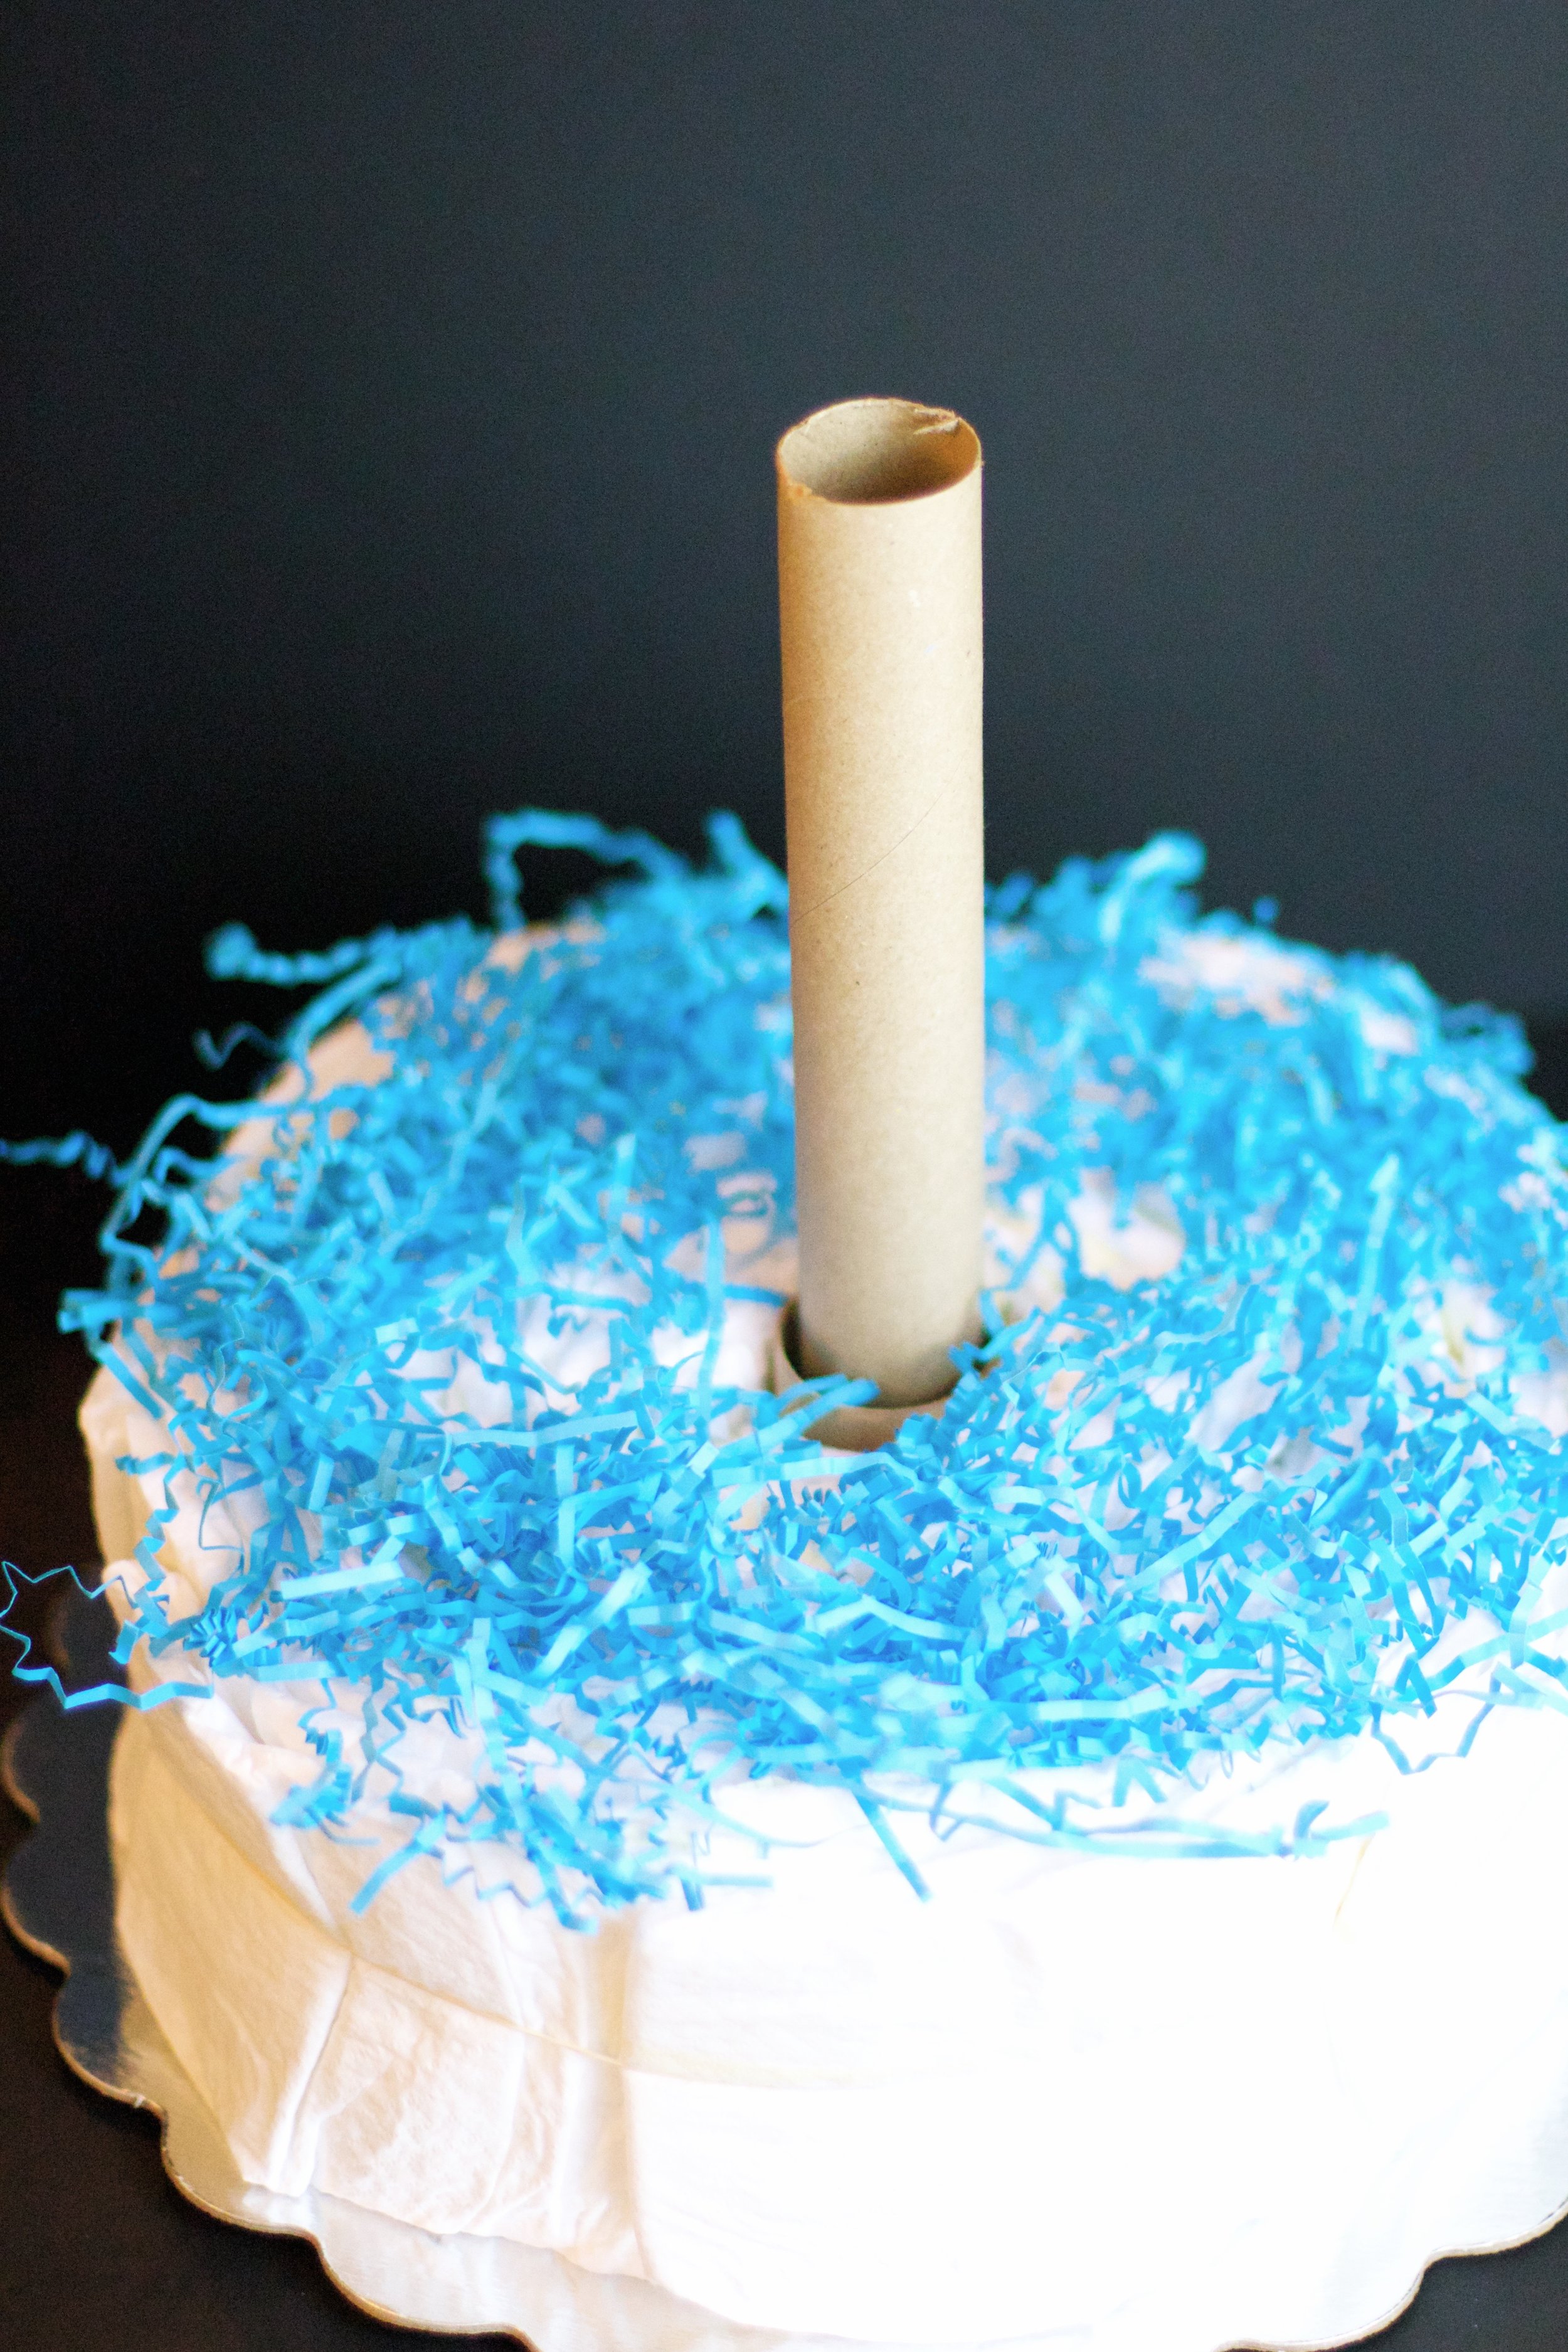
STEP 3: Slide layers onto base, placing crinkle paper in between each layer.Adding the crinkle paper isn't absolutely necessary, but I think it gives it a fun pop of color and distinguishes between the layers. (and it looks like frosting to me...we all know I LOVE frosting...just saying.) Note: I originally didn't put crinkle paper on the very bottom (between the base and the cake plate) but I went back later and added it in to give it a consistent look across the layers - you'll see it in the finished product at the bottom of this post)

STEP 4: Attach your ribbon with paper clips and glue.You don't want to glue your ribbon directly to the diaper because it will ruin it for actual use, so what I did was use a paper clip to attach one side of the ribbon at the back. I then wrapped the ribbon all the way around, cut it just slightly longer (so it overlaps) and then used a little bit of hot glue to attach the ribbon to itself.

NOTE: Be sure to put something in between the diaper and the ribbon as you glue the ribbon together so that the glue doesn't seep through to the diaper.

Repeat this for all three layers, making sure your seams are all in the same place at the back of the cake. Next, take your 1/2 inch ribbon and wrap it around to the front of the cake, tying a bow in the center of each layer.

STEP 5: Trim your decorative flower and place on top.The great thing about this is that I literally just had to cut the stem down to the height of the cake, and then it slid right down into the wrapping paper tube...no glue, no muss, no fuss. Easiest cake topper ever. (I used a silk gerber daisy from Michael's)

And voila...you have a beautiful gift and a beautiful centerpiece for your baby shower!


"Ready to Pop" Baby Shower

Who has two thumbs and loves a good theme party?

This girl. [points to self]

So of course I jumped at the chance to do a fun "Ready to Pop" themed baby shower for my bestie, who is almost ready to pop...literally! She's just weeks away from meeting her sweet baby boy. Here's a glimpse into our fabulous DIY baby shower...with tutorials on some of the fun details to come later this week! From the Caramel Butter POPcorn to Cake POPs to POPcorn chicken and the favors, I had a blast dreaming up ways to incorporate the theme.

This super simple diaper cake makes a great gift (and centerpiece)...tutorial located HERE! Want an easy and inexpensive way to display your cake pops and add a little bling to your table? Simply get white, rectangle styrofoam pieces from any craft store (example HERE) for a few bucks and cover them in fancy wrapping paper! So simple...yet it makes your cake pops, well...pop. (pun intended)

All of the "Ready to Pop" logos were easily created in photoshop...download FREE printables in blue and green OR pink and brown HERE!

I think the cupcake in a jar favors are my new favorite. I just keep finding new awesome ways to use mason jars! Hope you enjoyed this peek into our fun filled day...thanks for POPping by!

(see what I did there? I just can't help myself)


(Disclaimer: This post contains some affiliate links.)