savvy style

Ready to Pop Free Printables

They're finally here...FREE printables for your next baby shower!

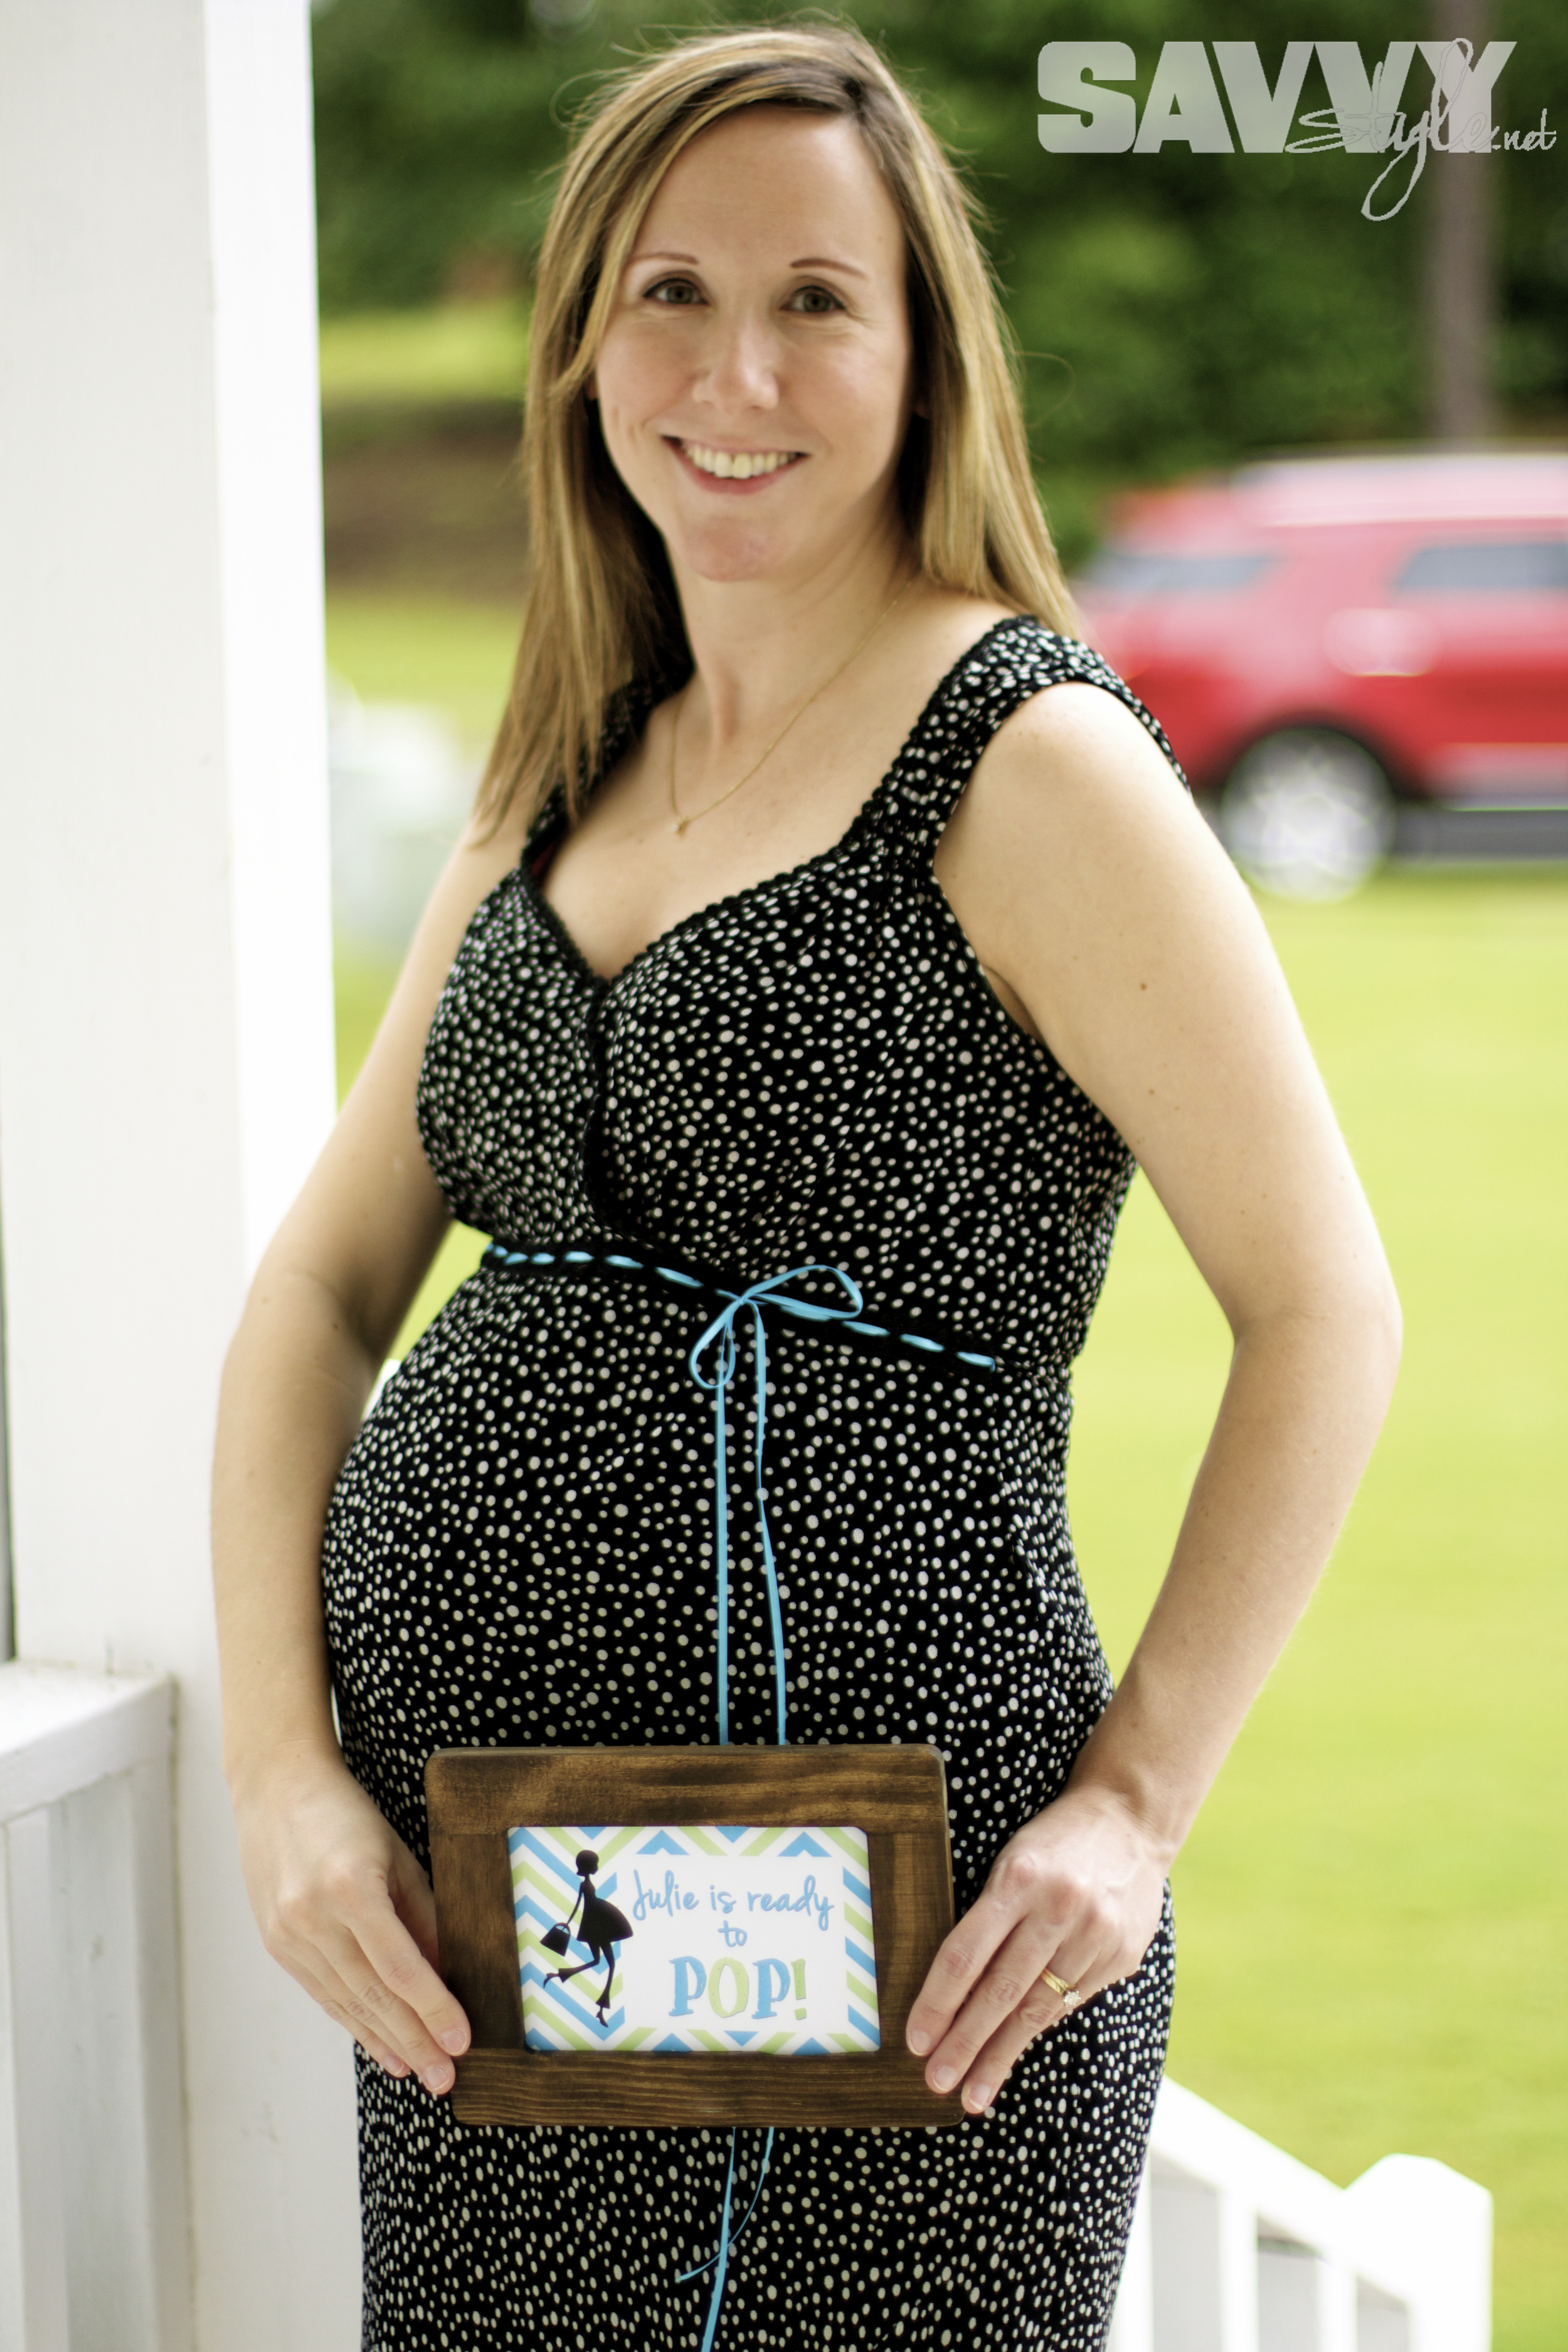
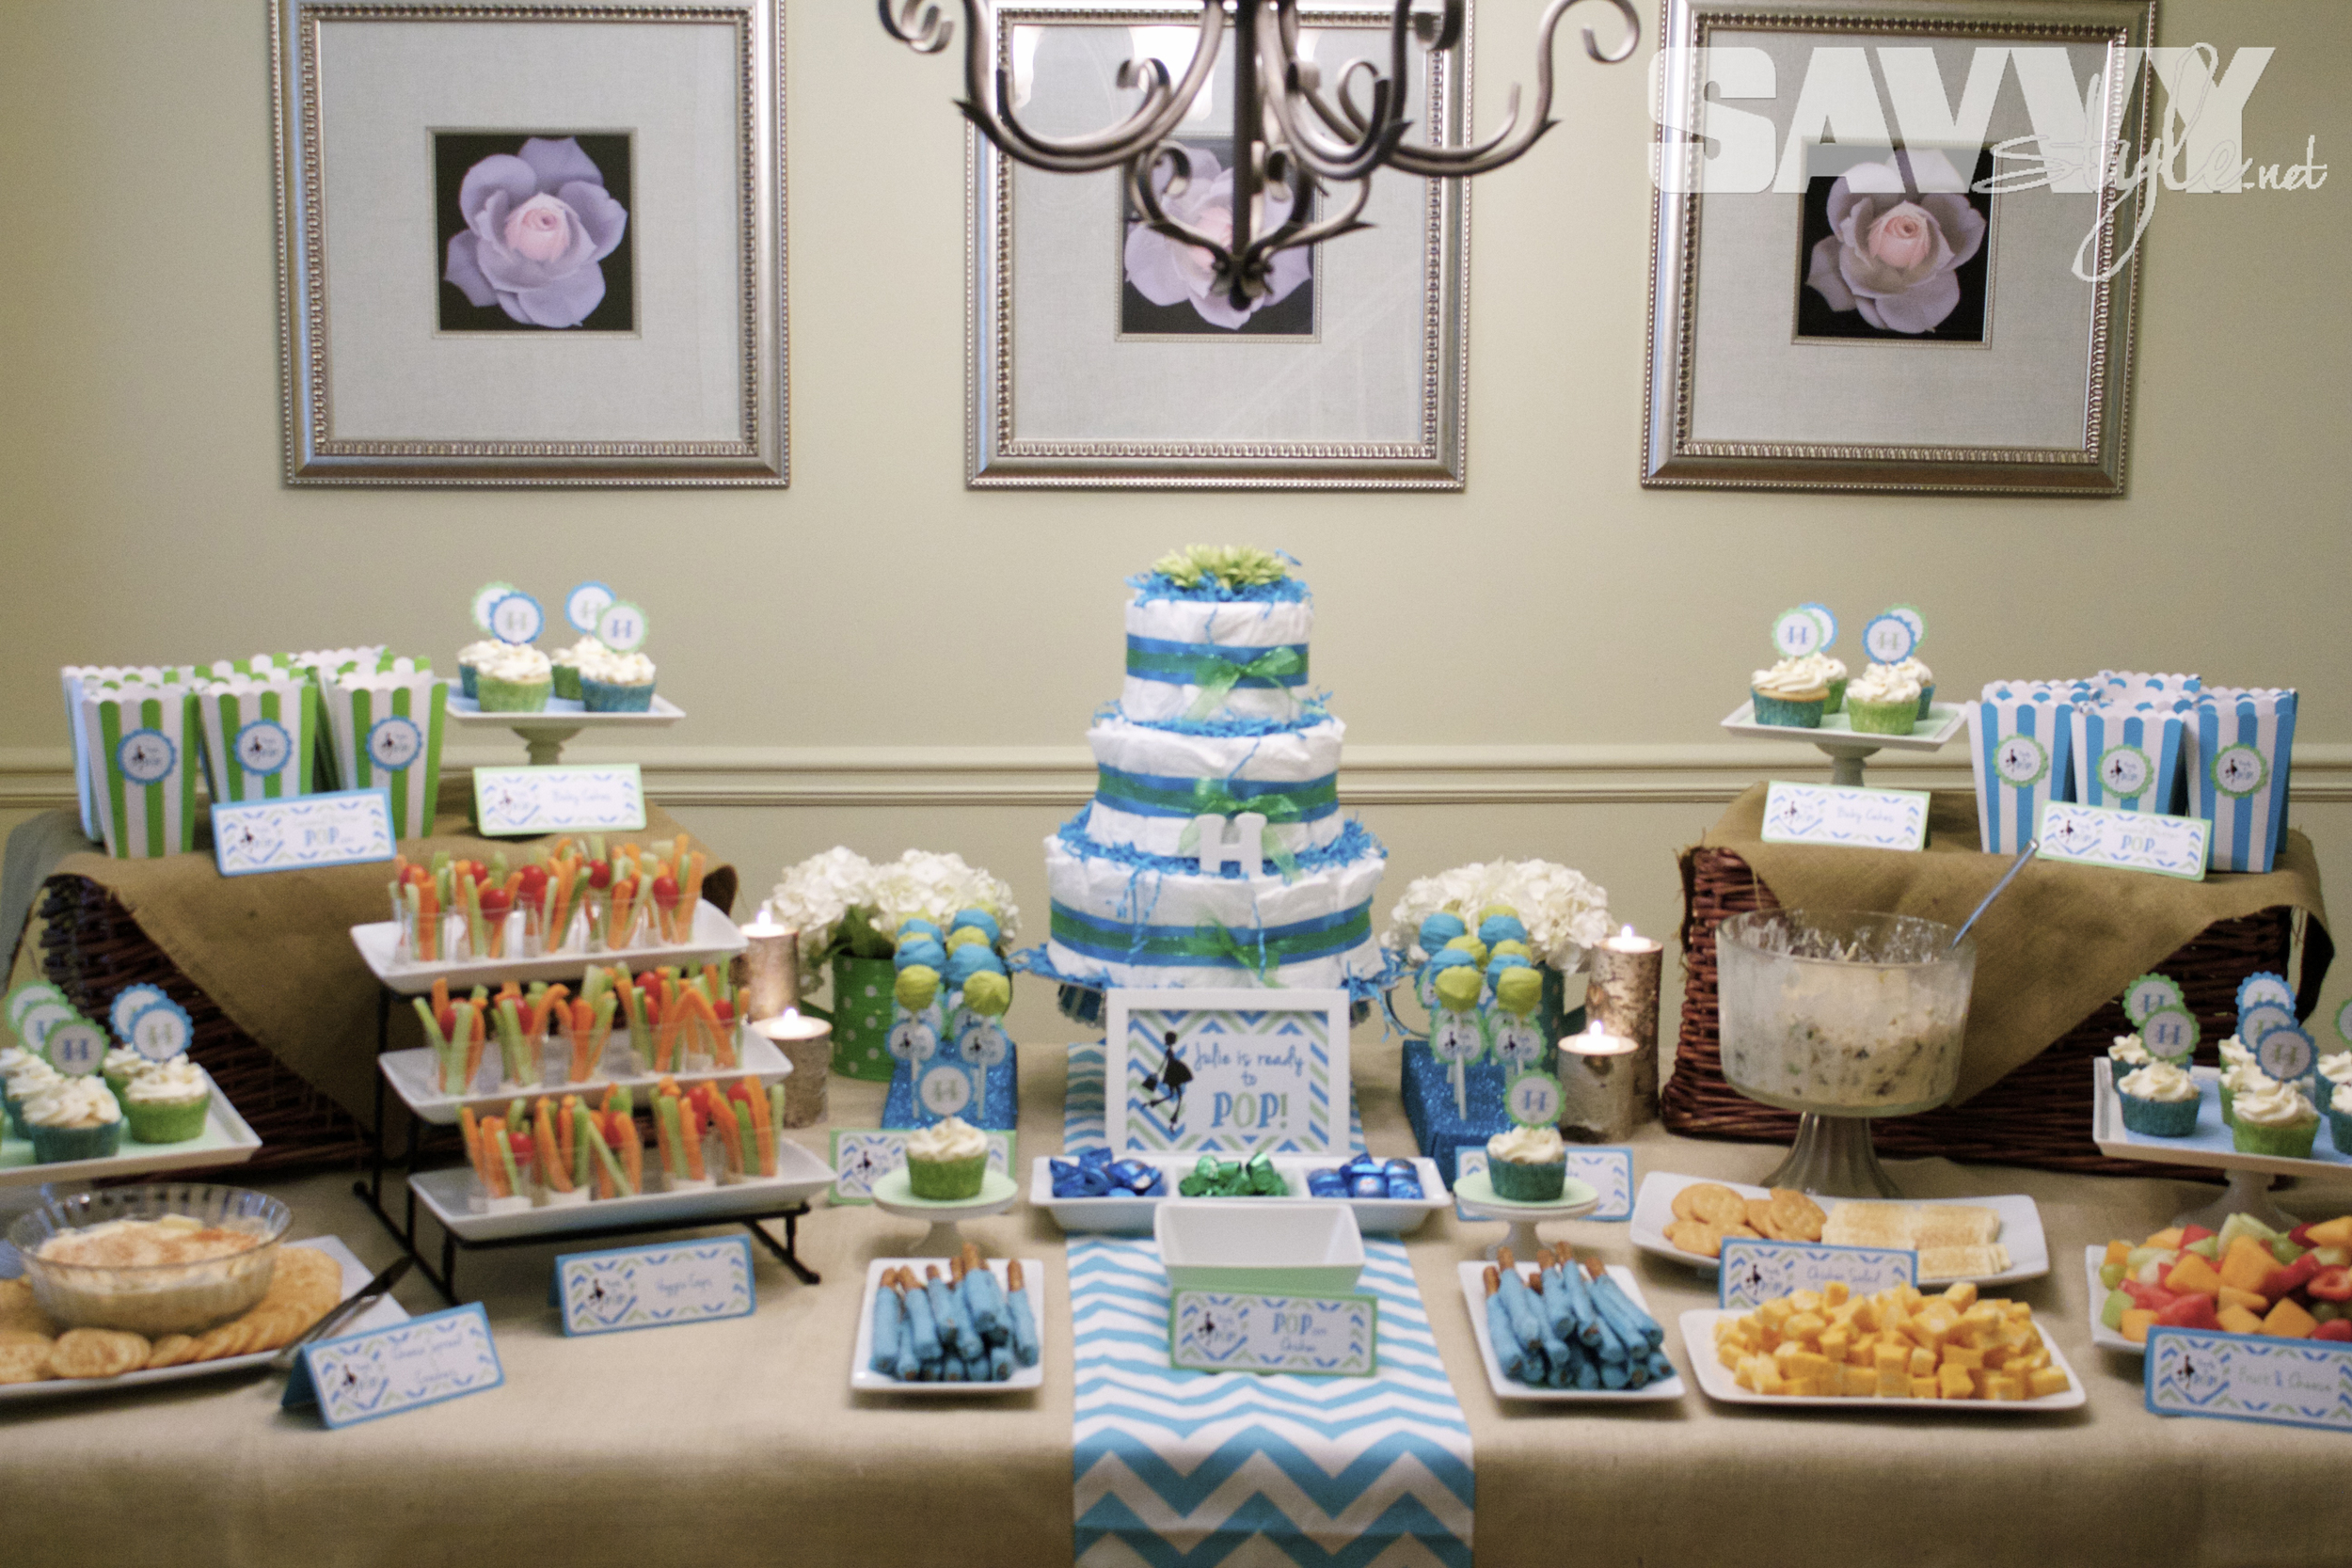
We had such a huge response from my previous POST about the "Ready to POP" baby shower I threw for my bestie, that I put together two different sets of FREE printables for you...so now you can have them for a boy or a girl shower! 

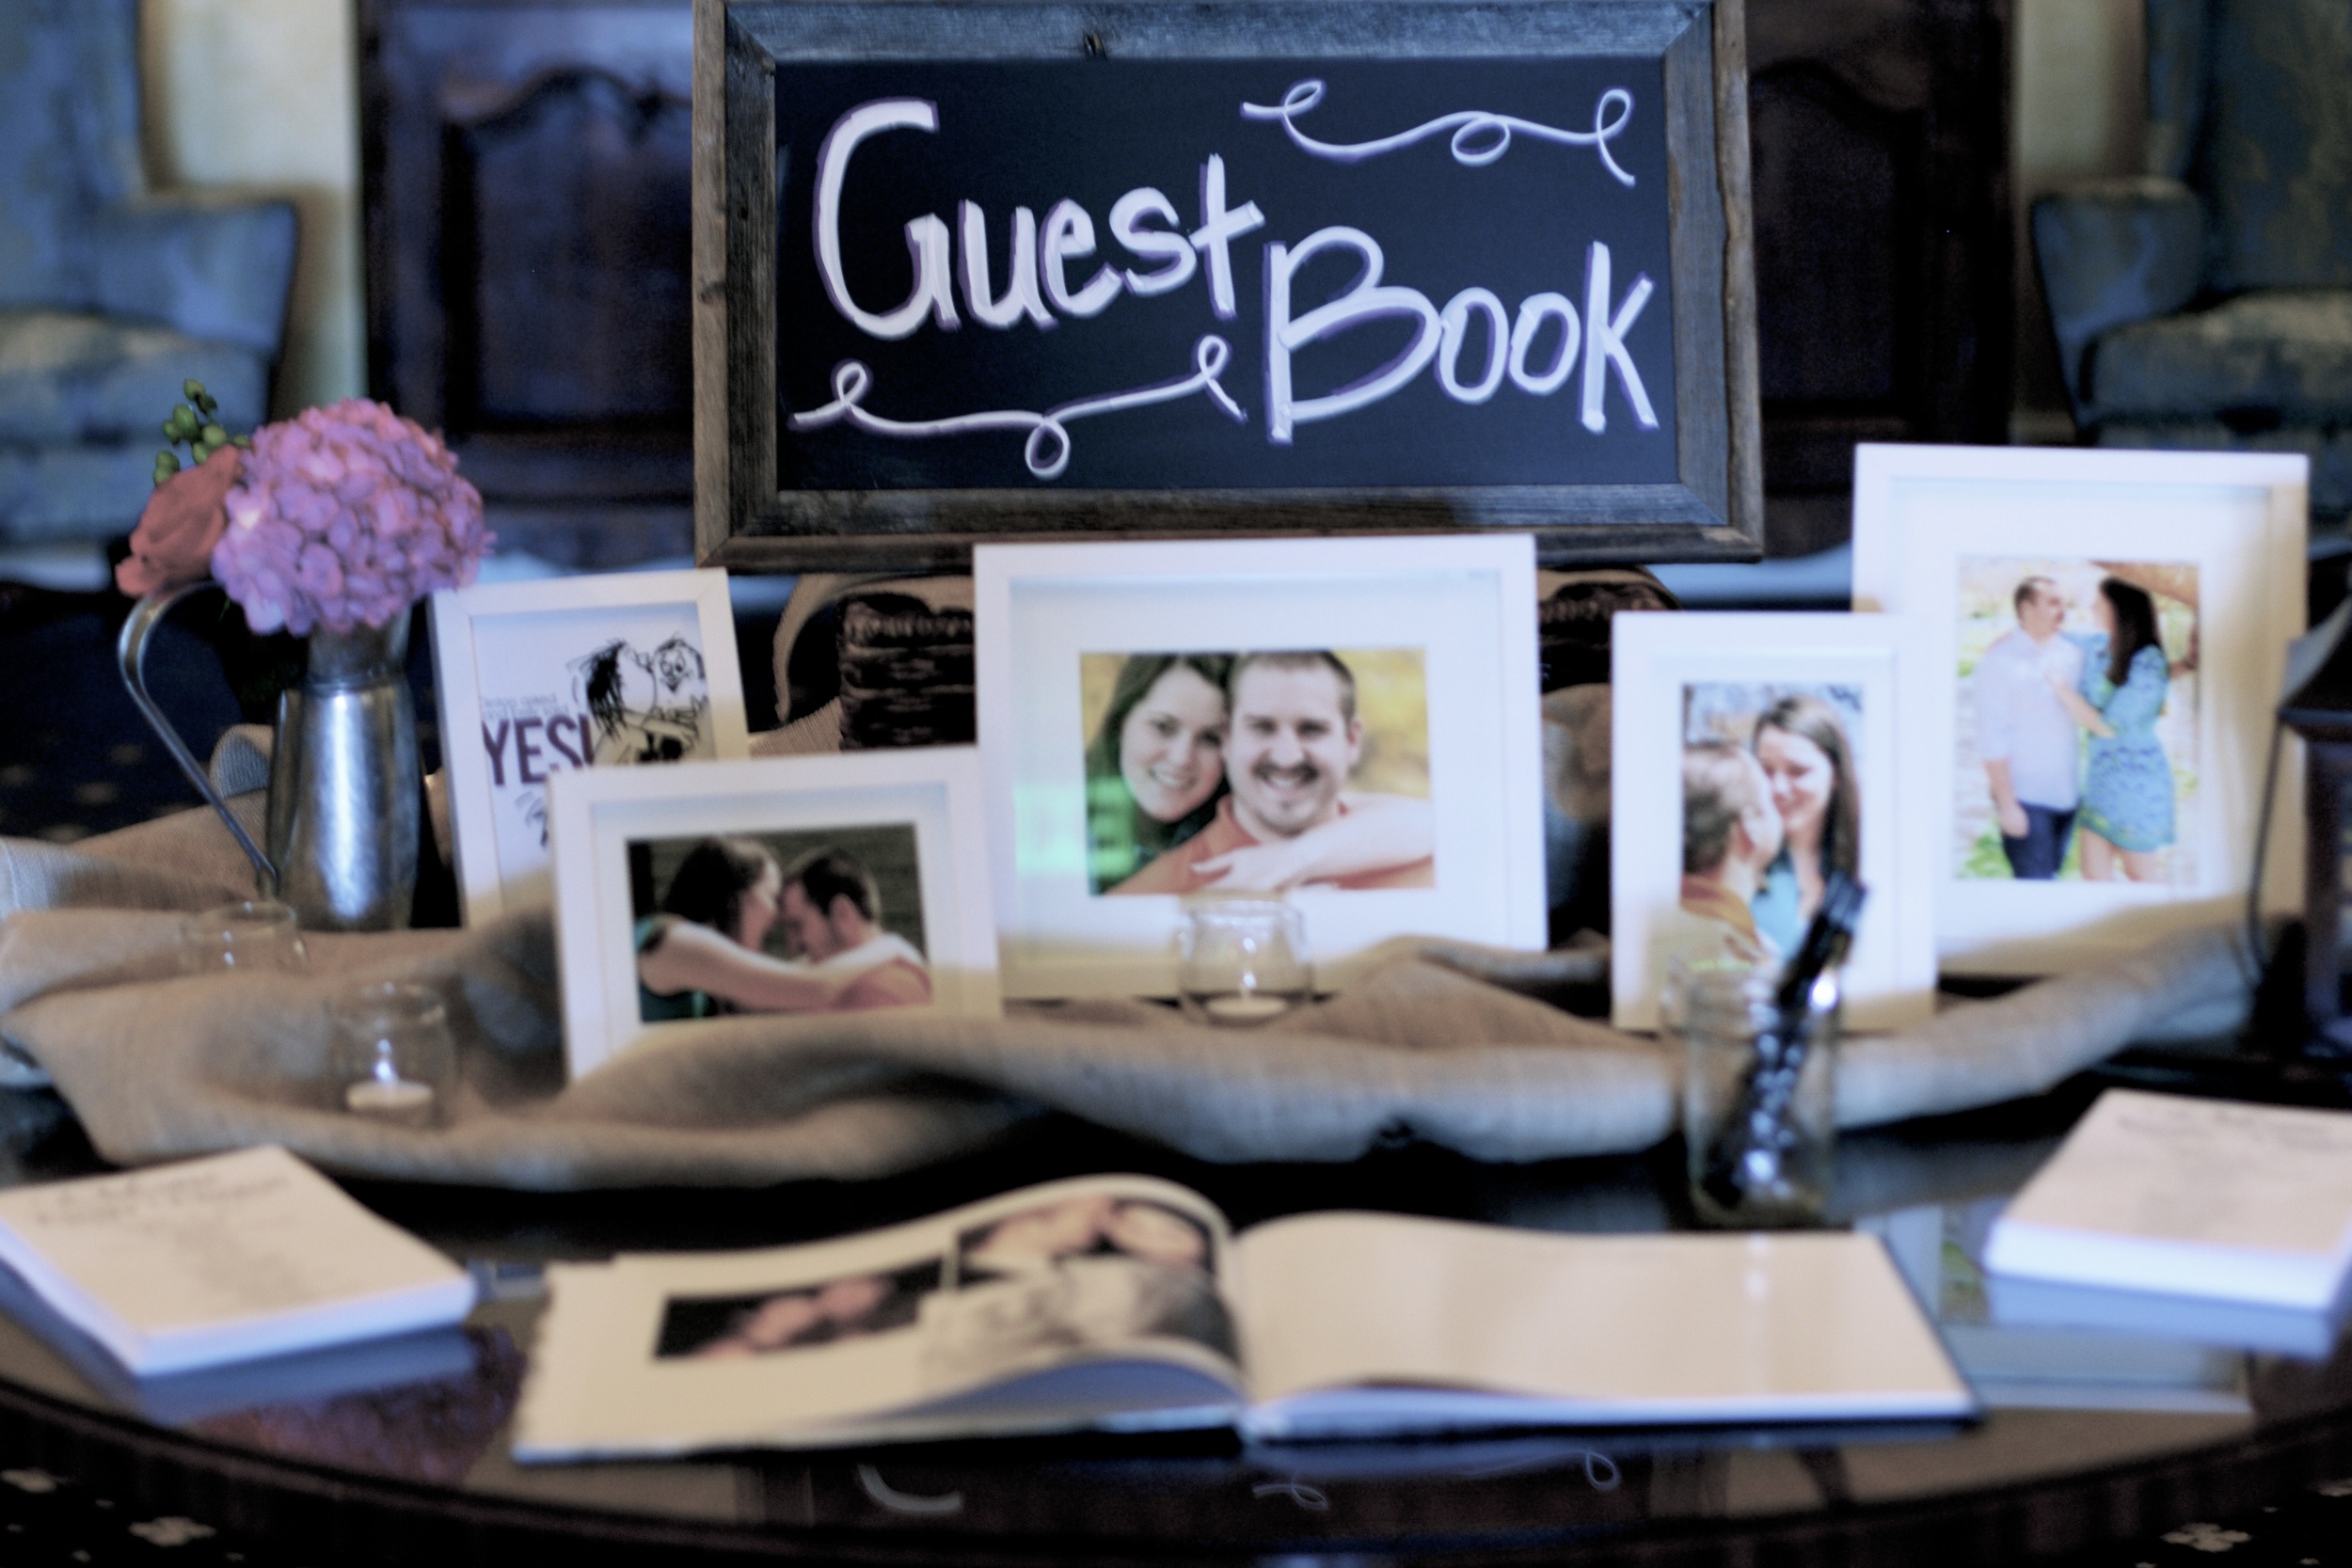
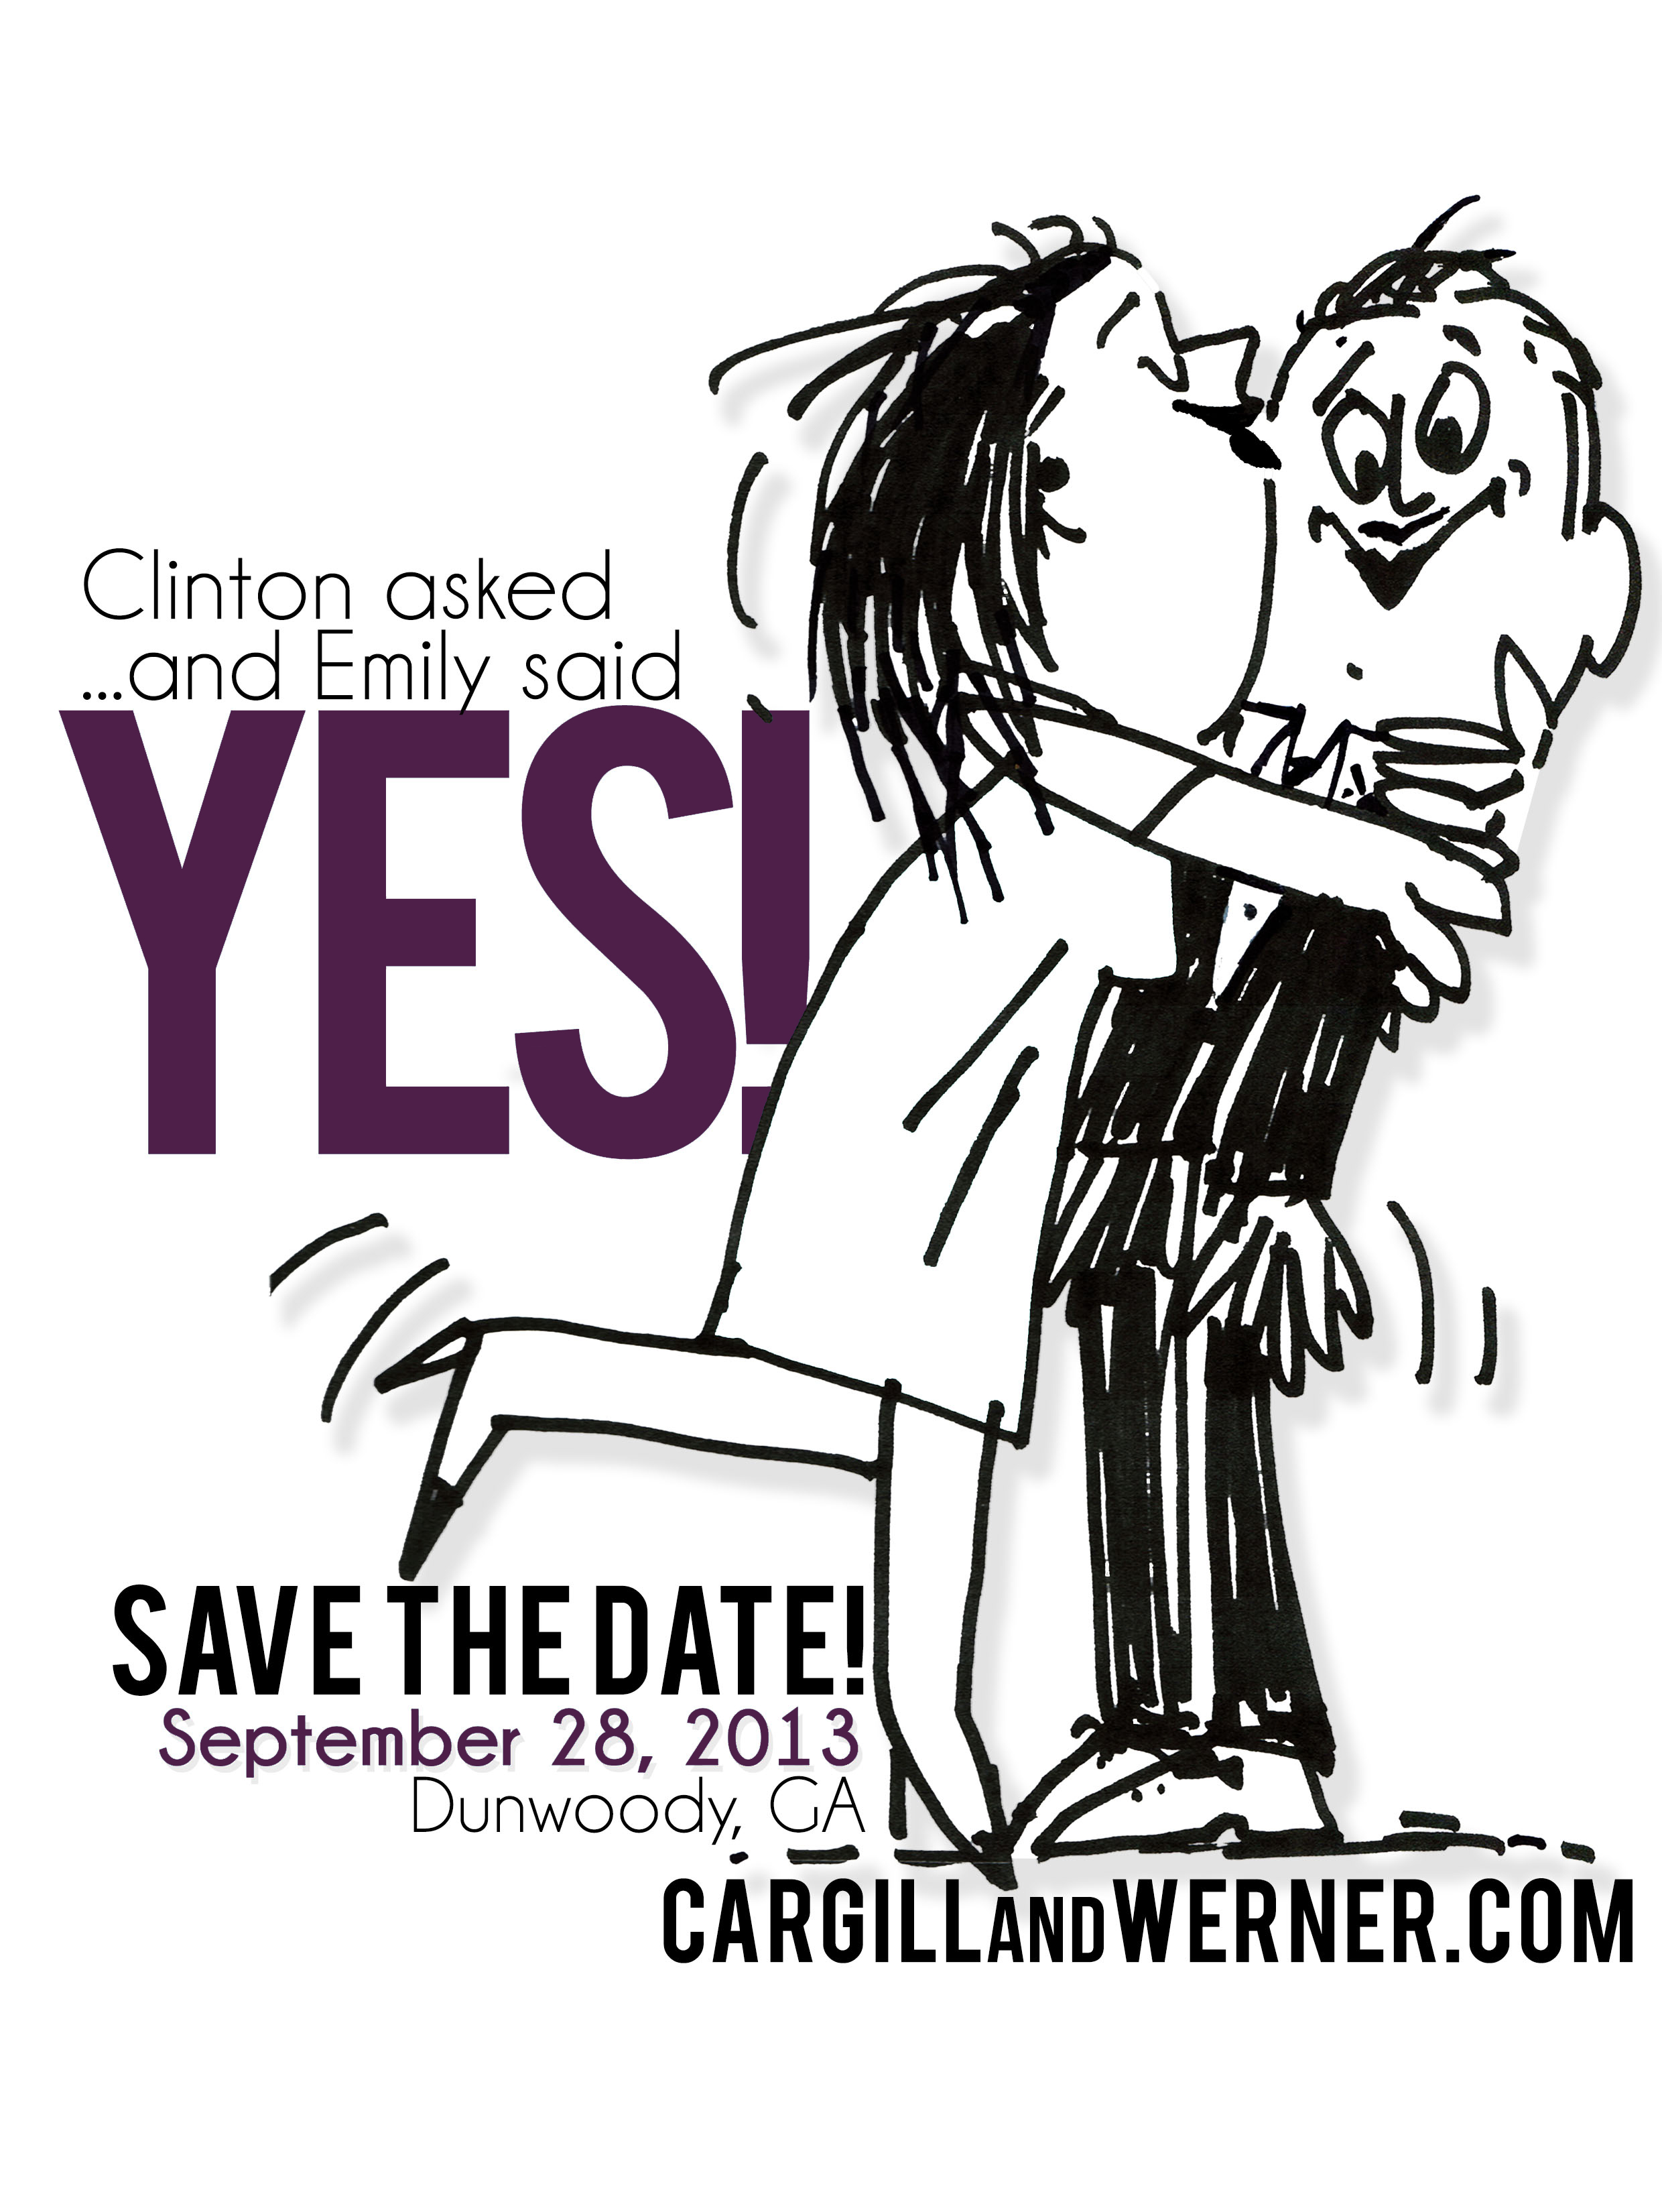
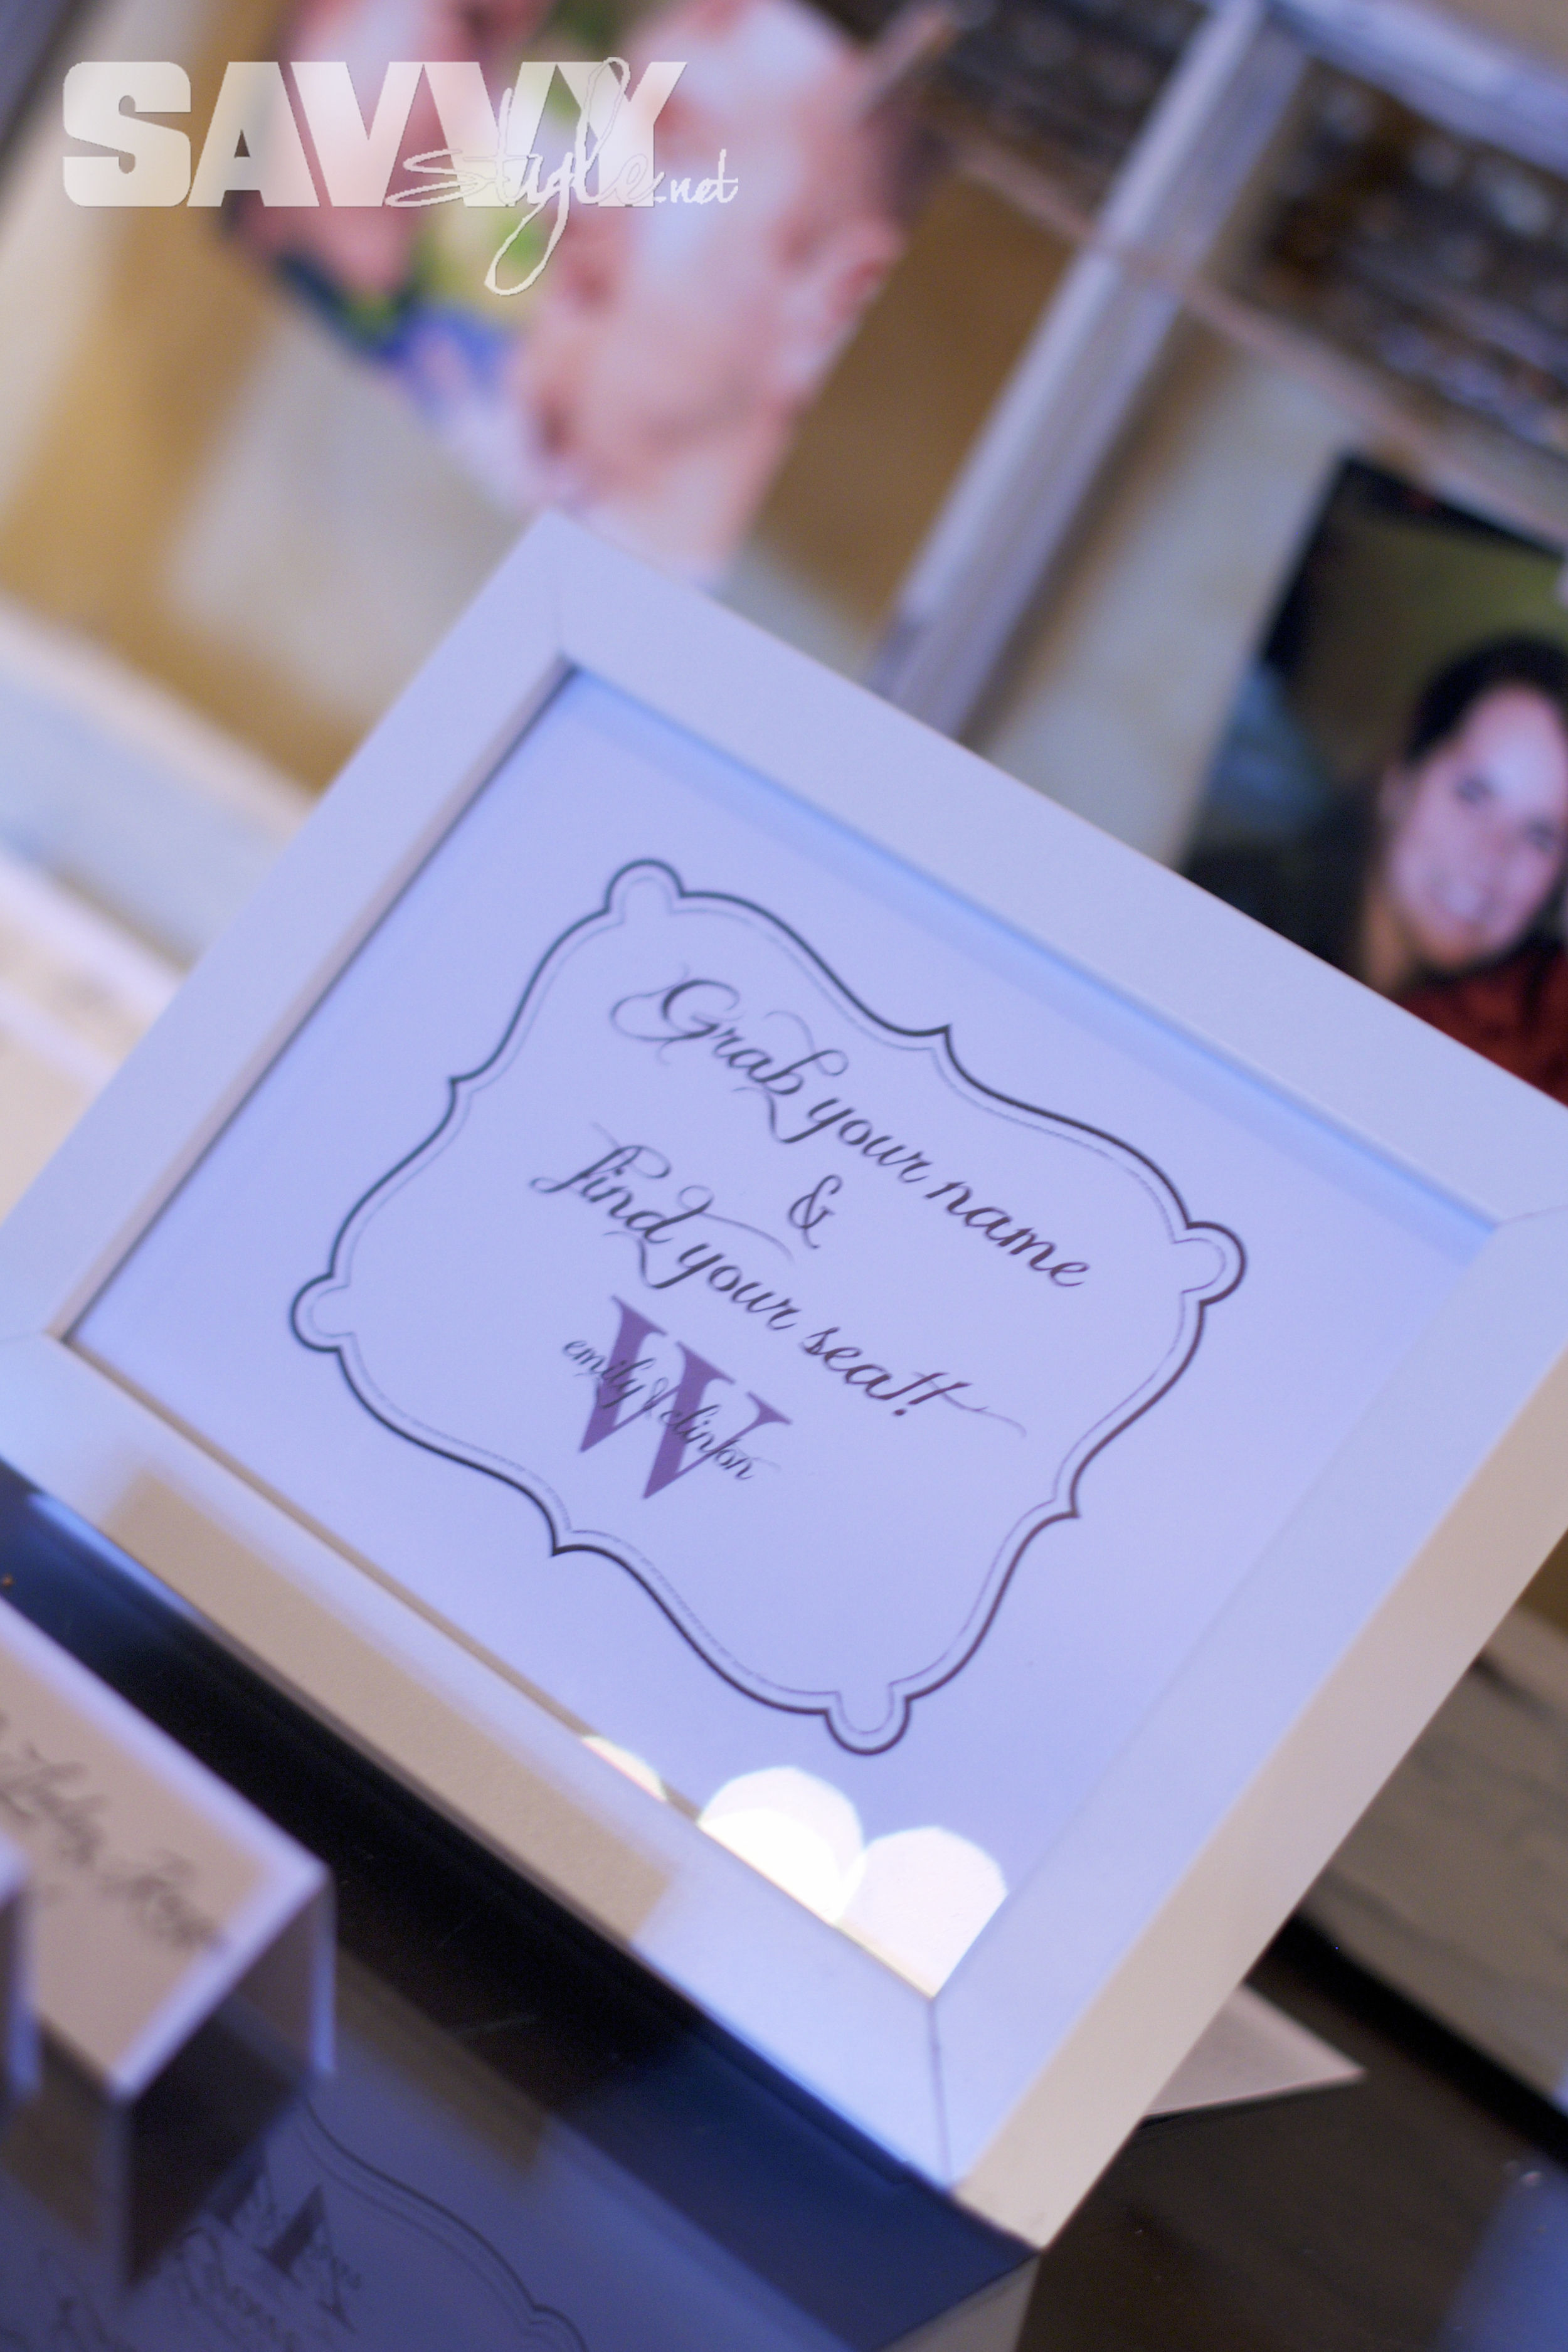
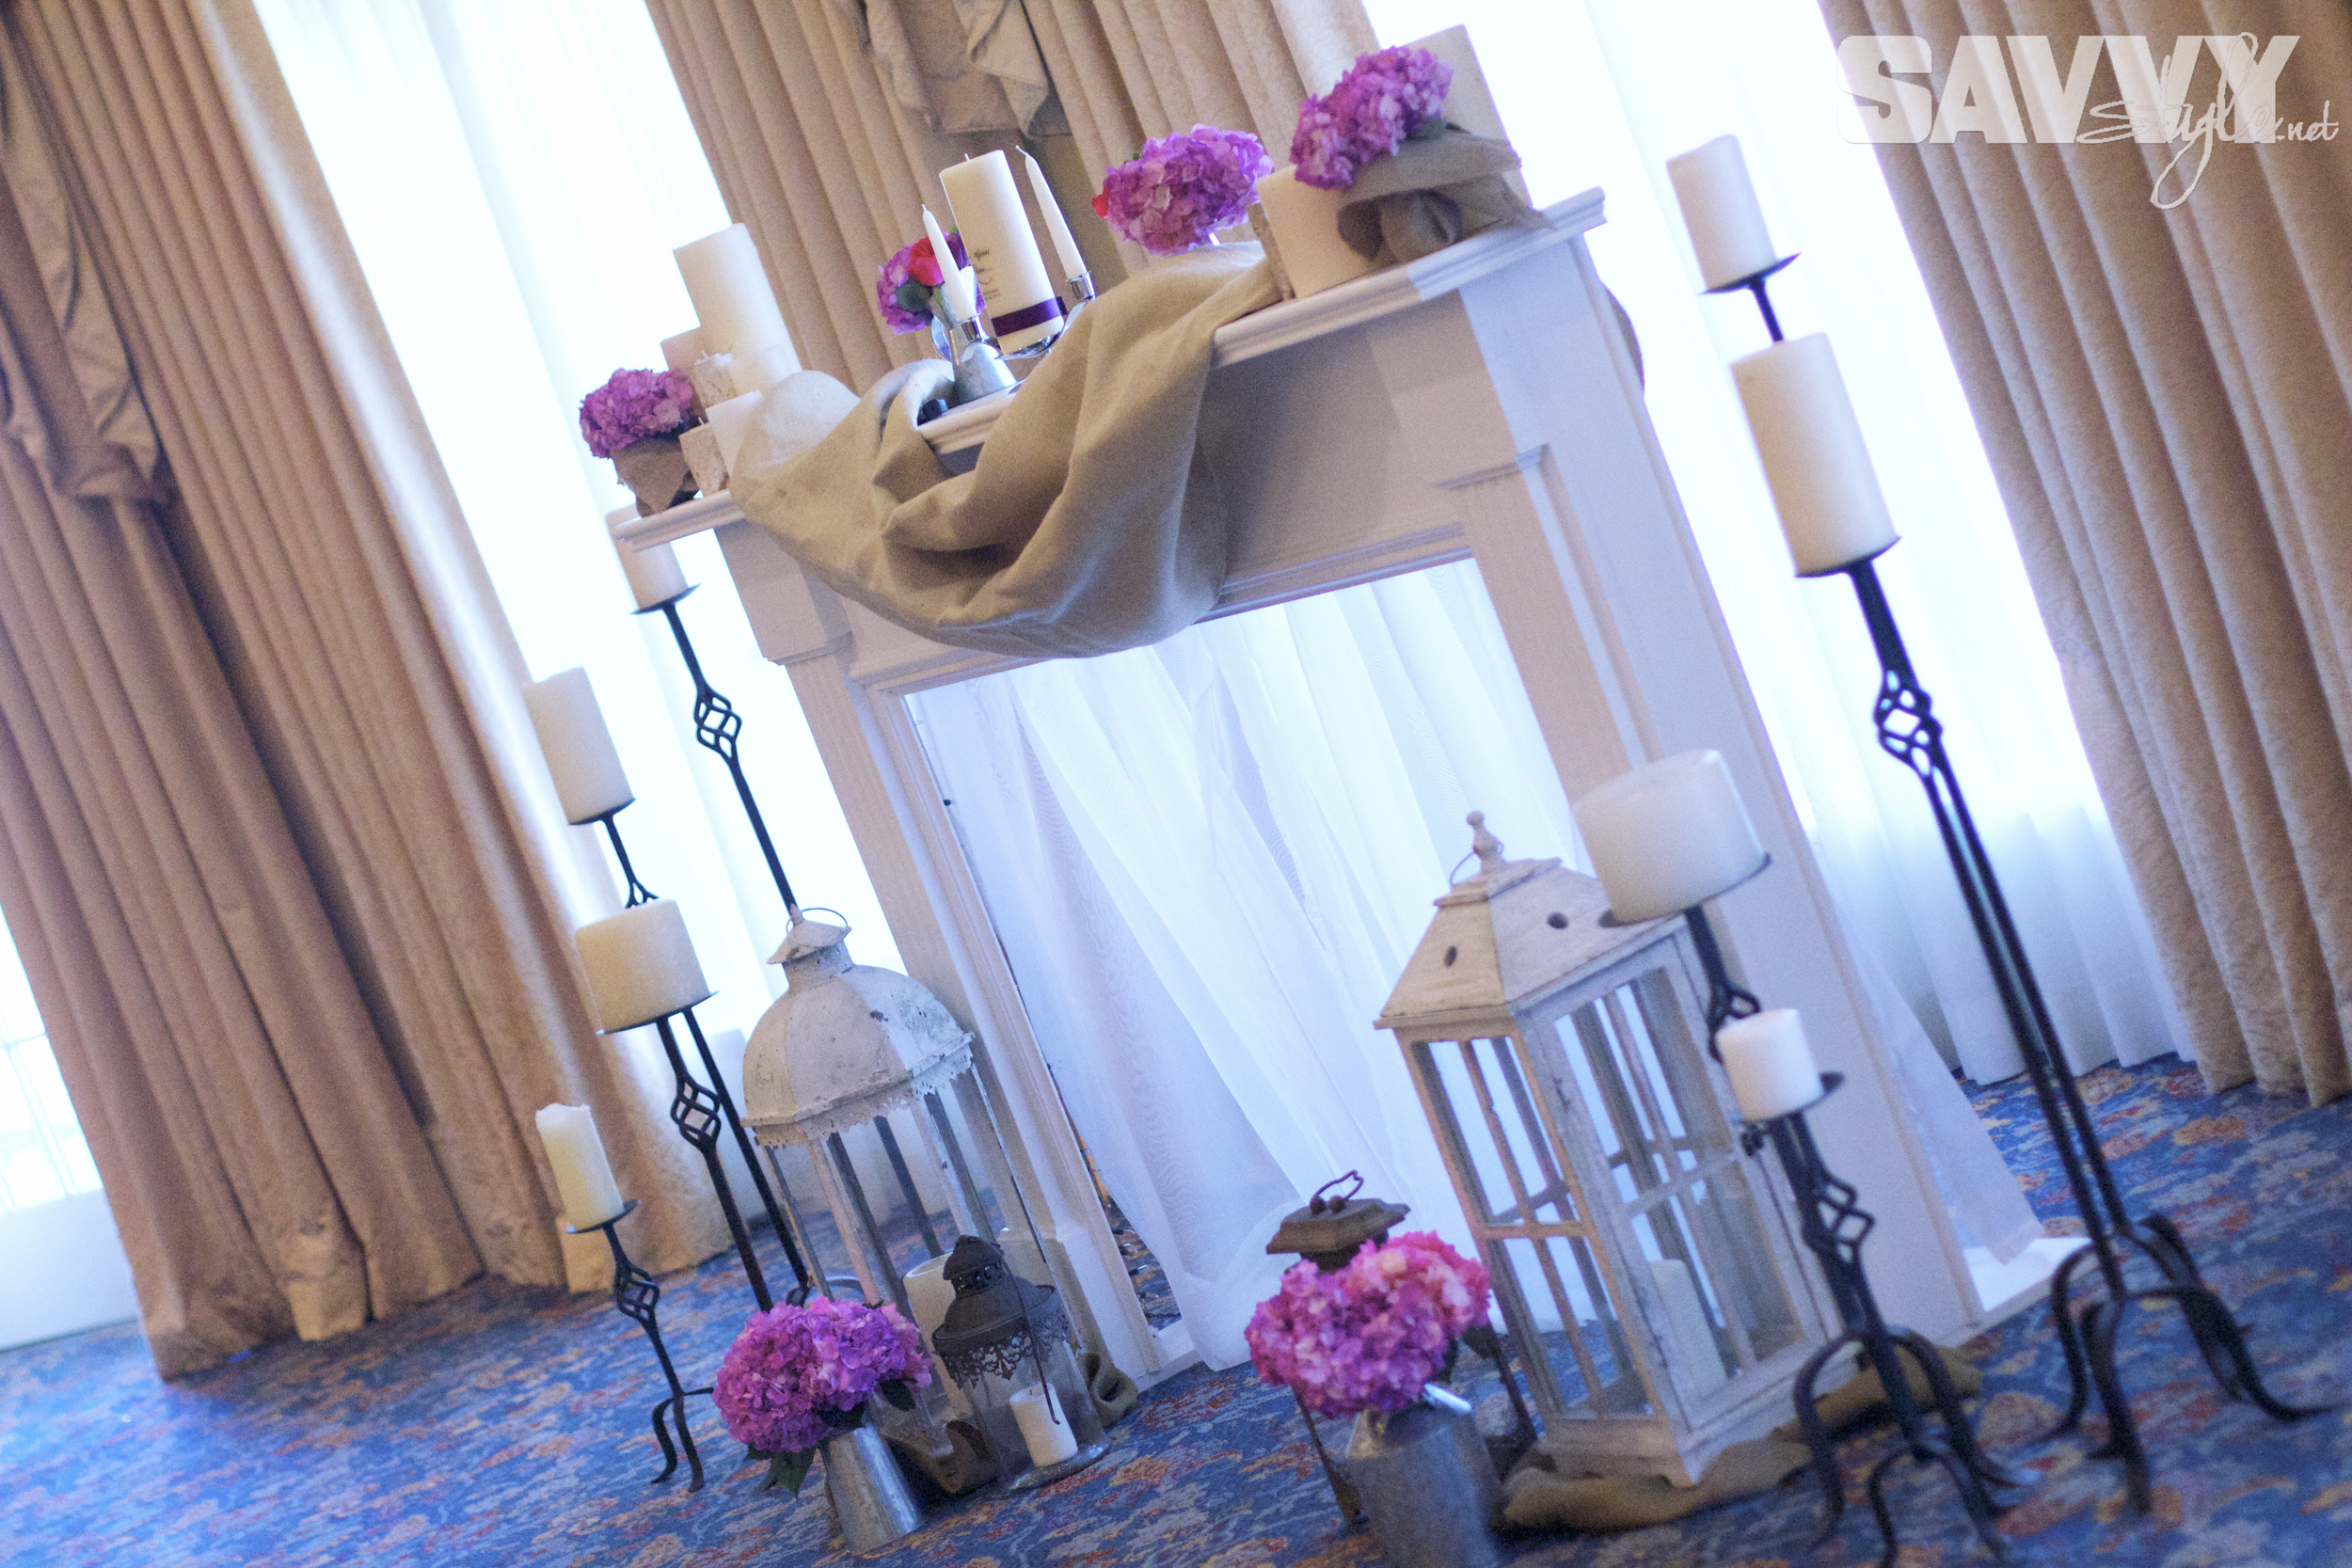
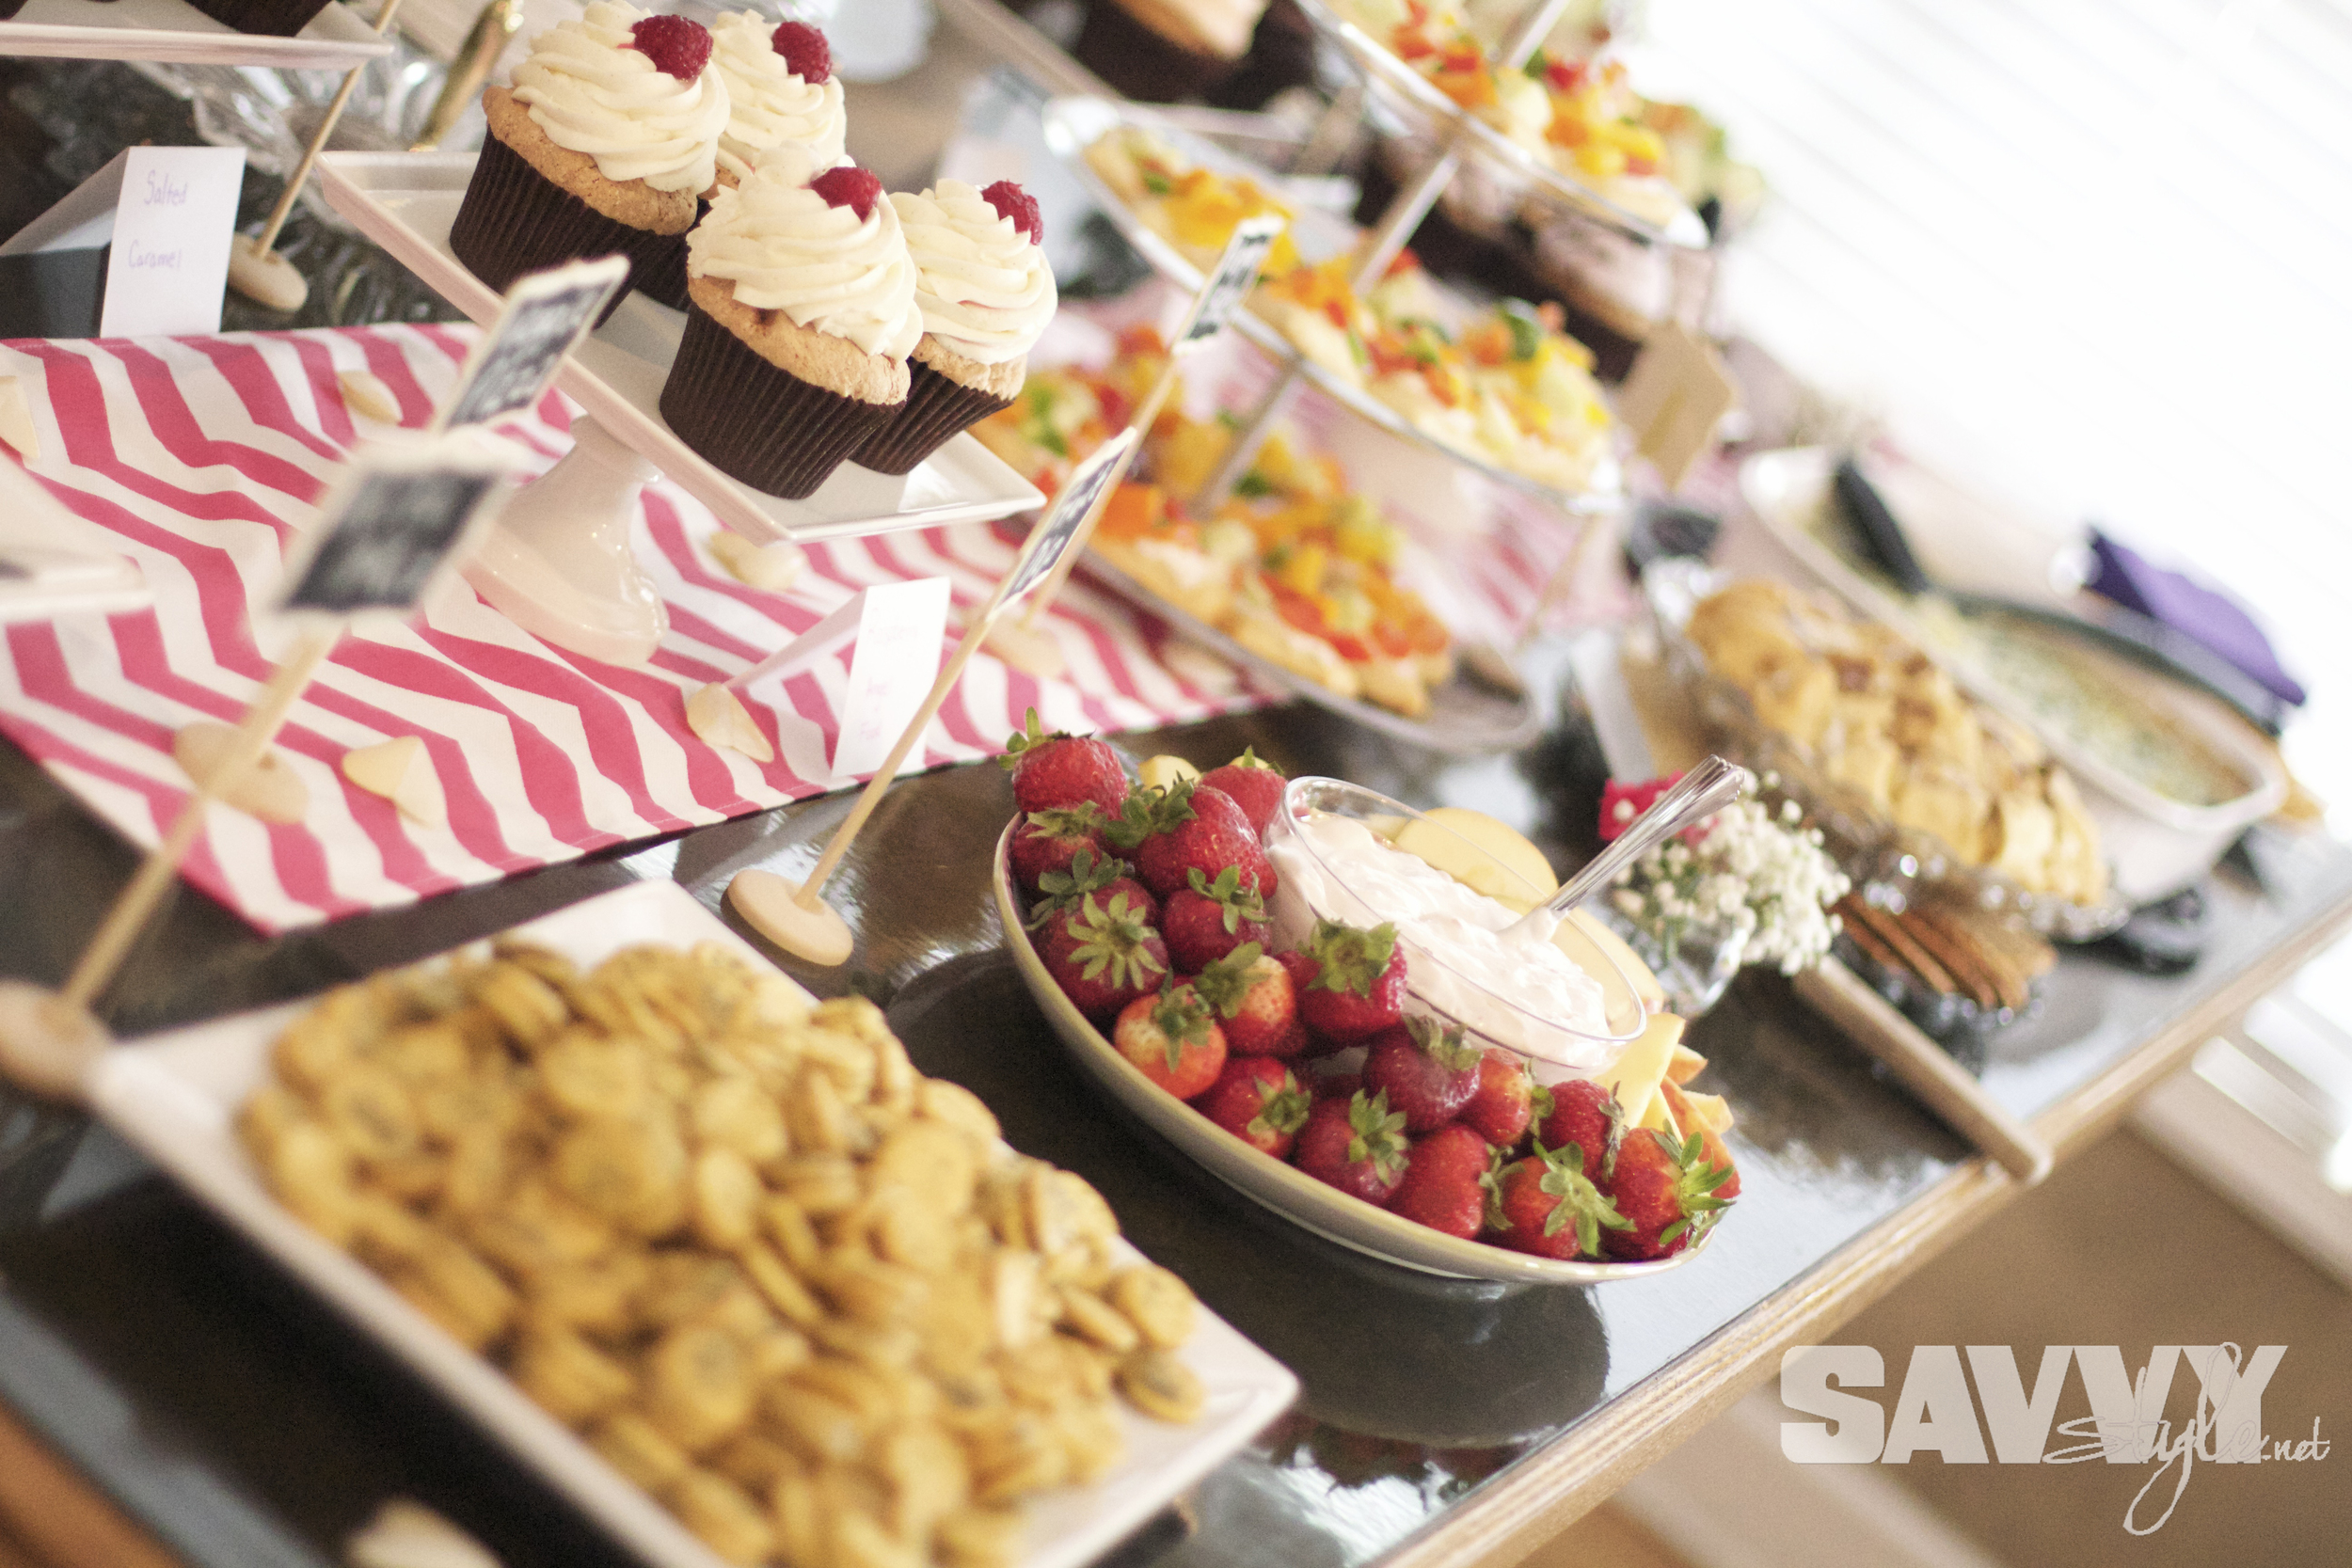
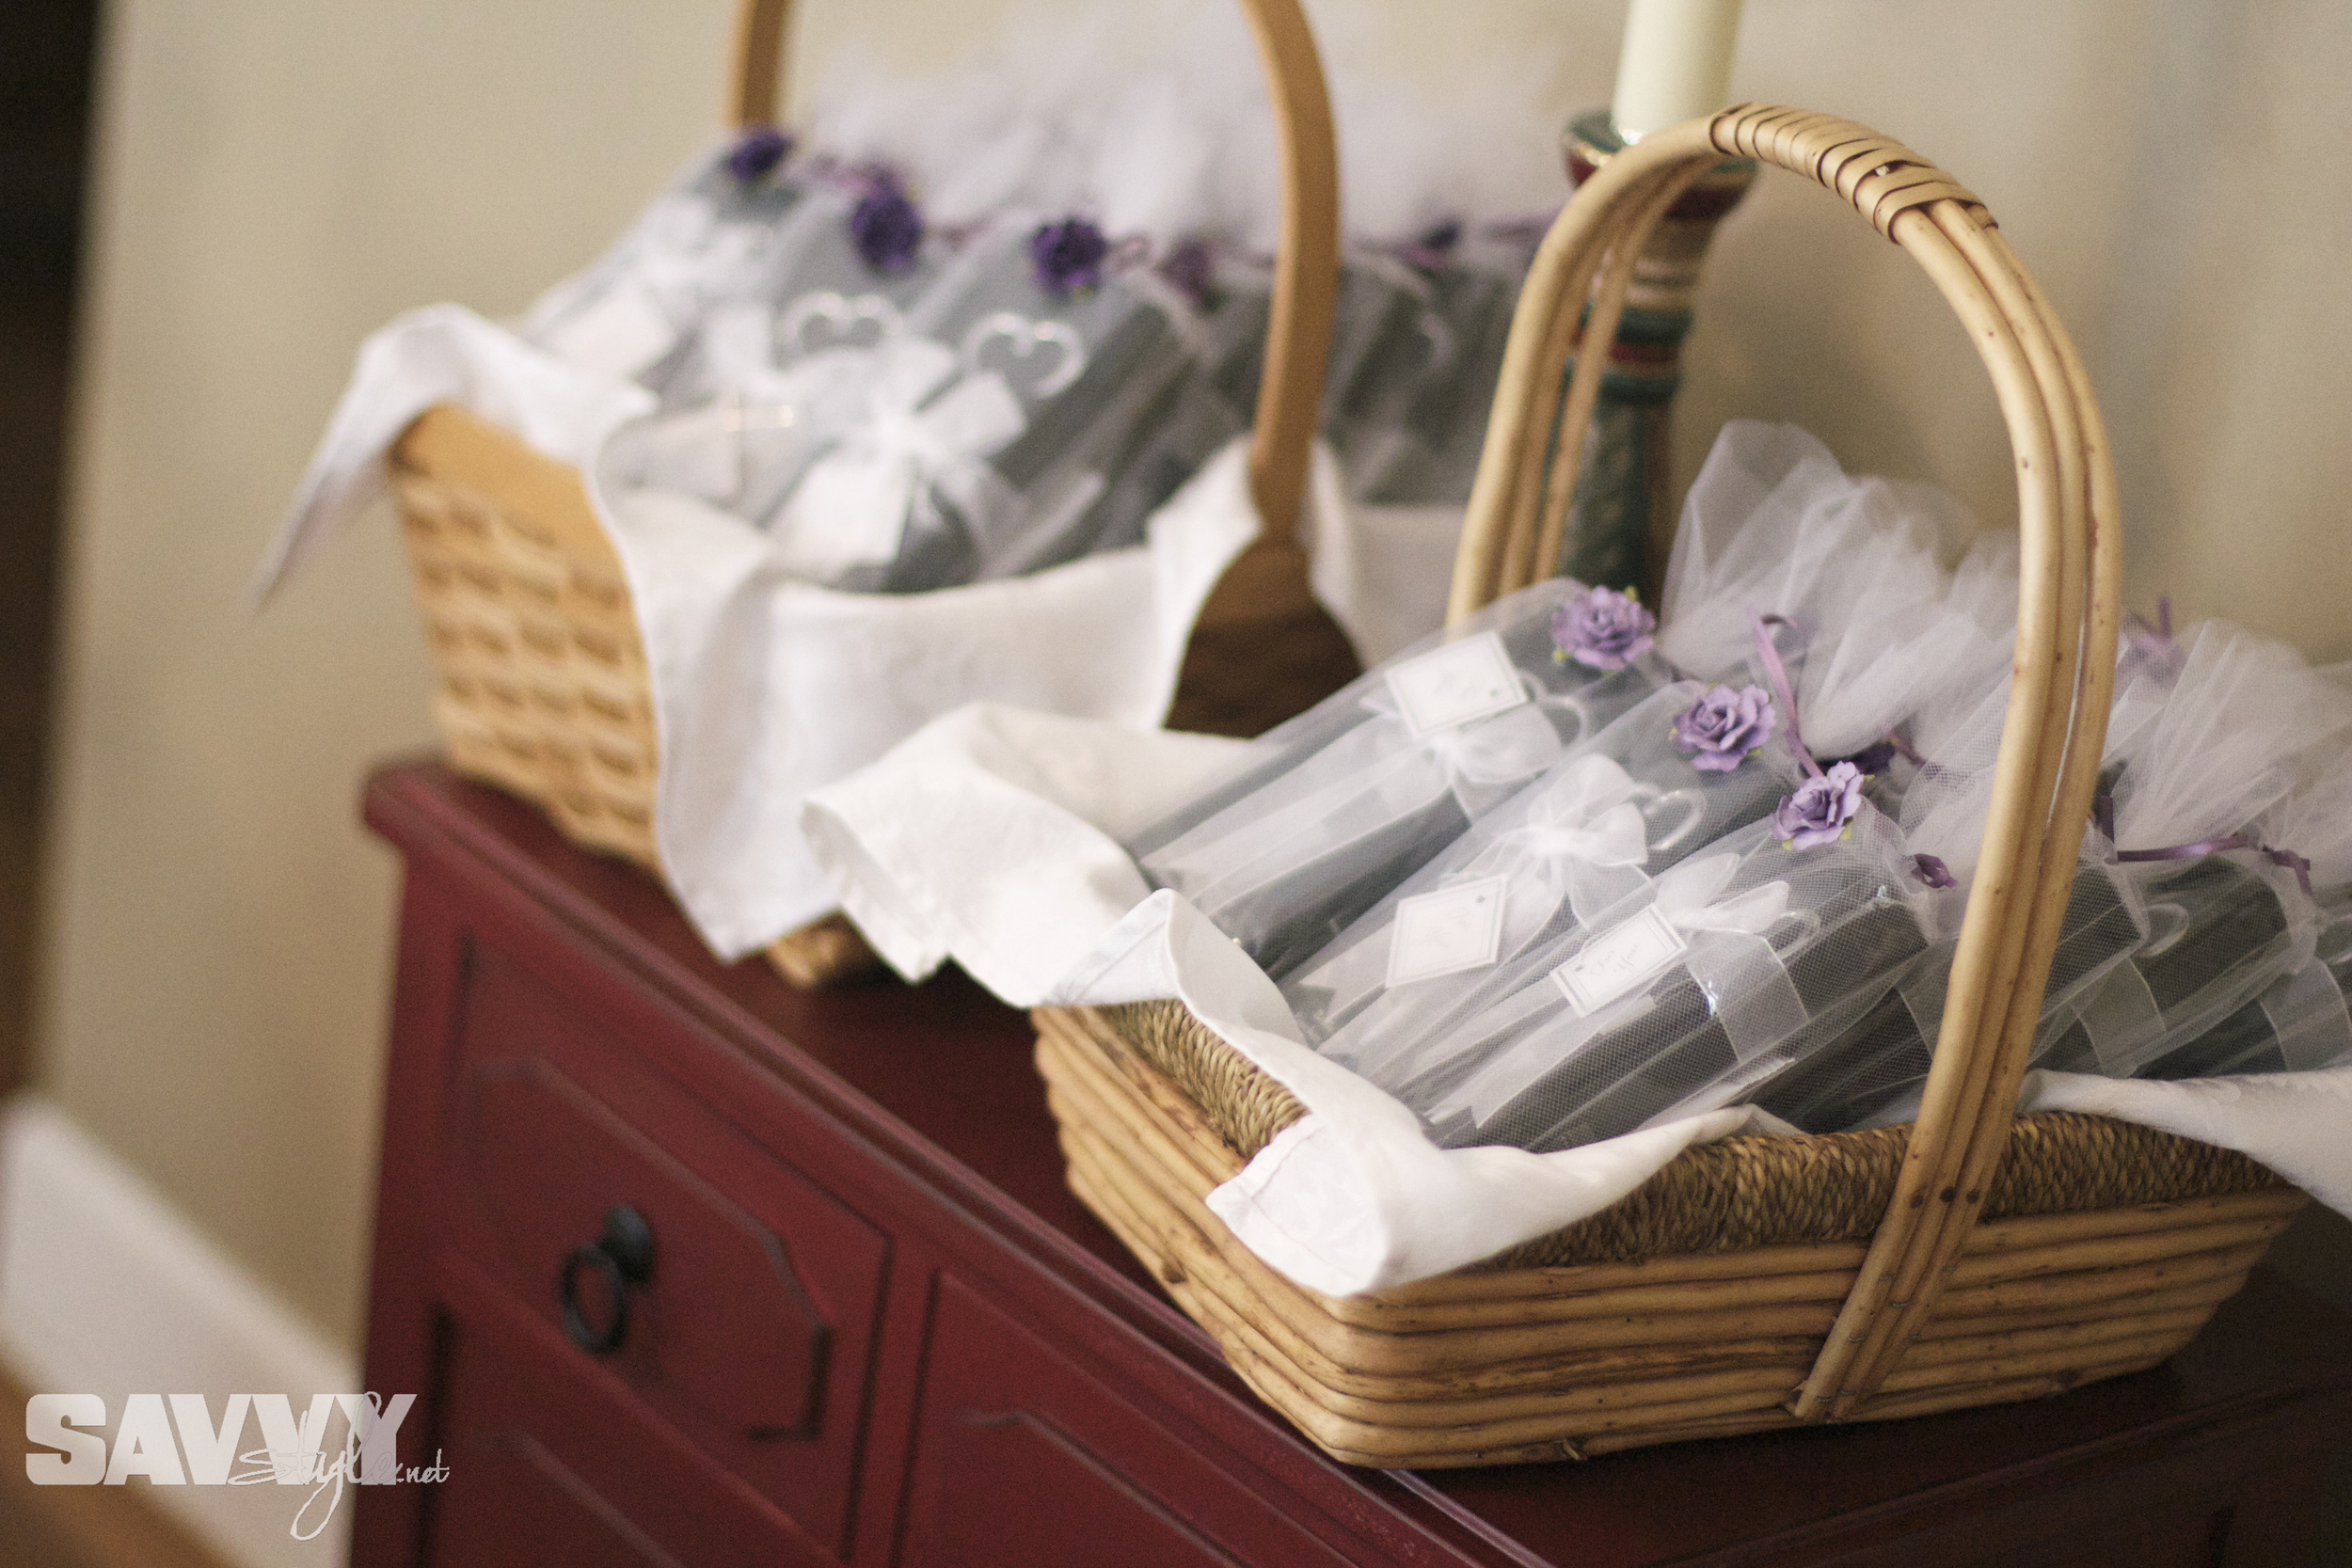
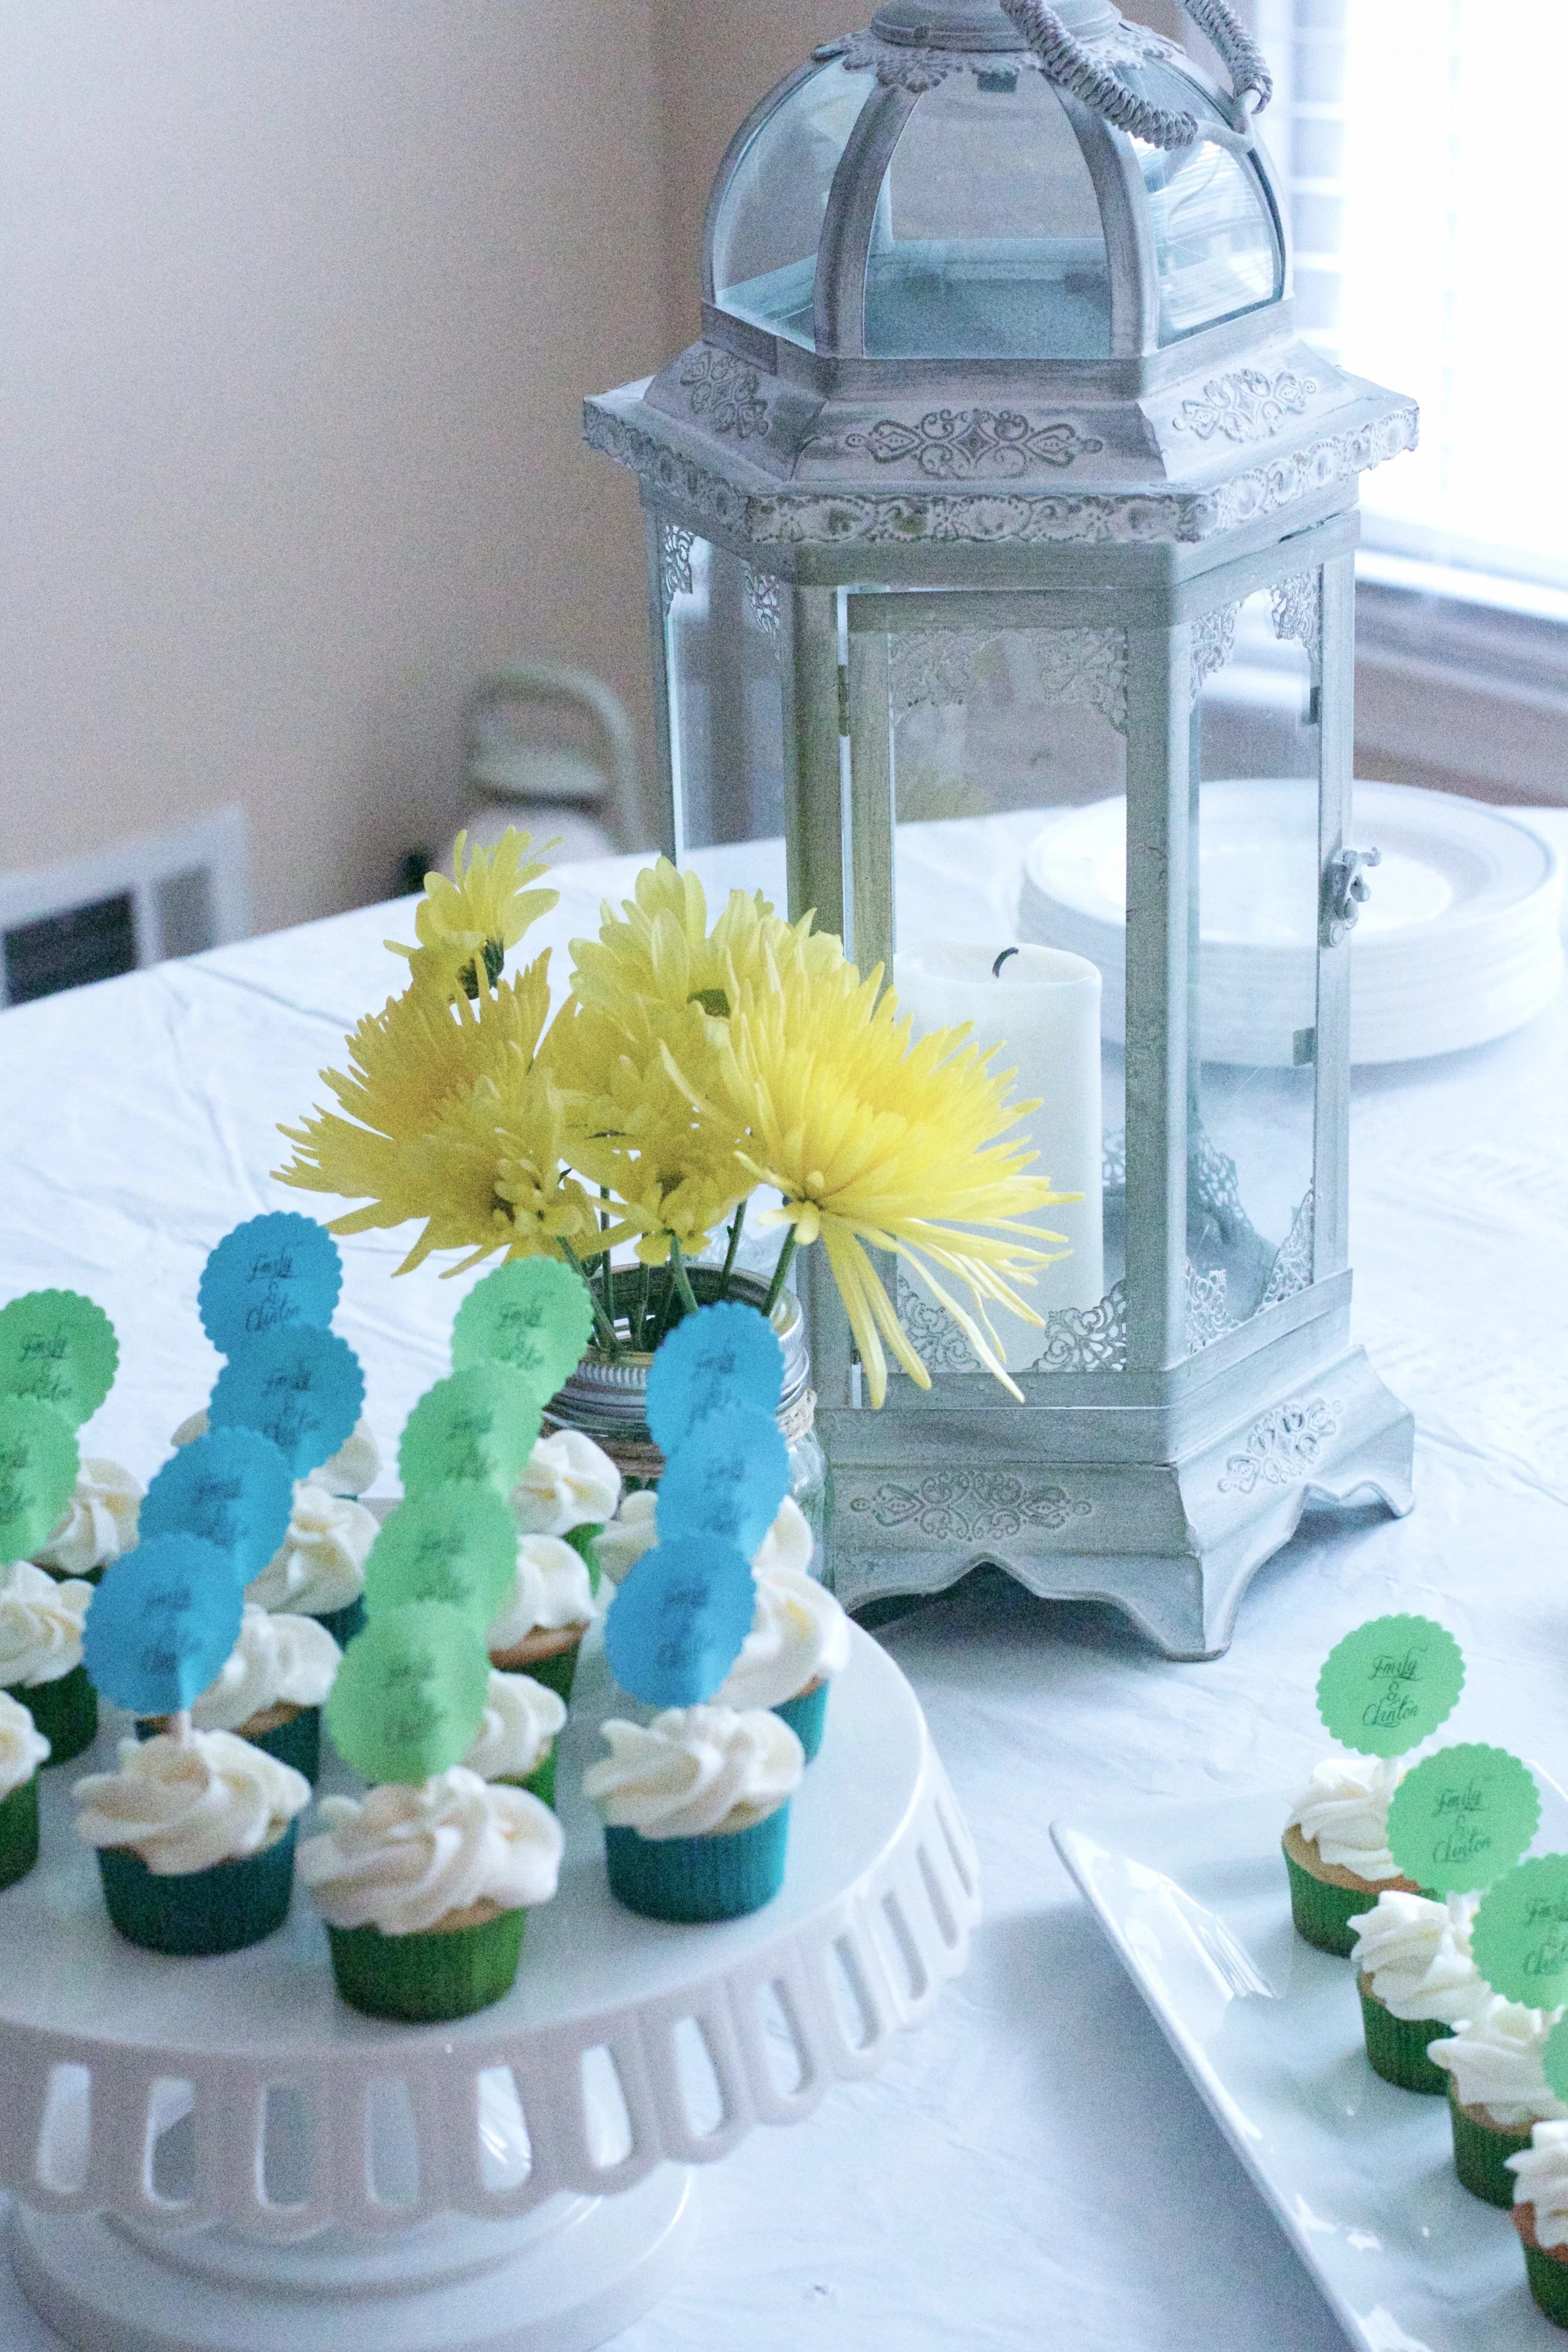
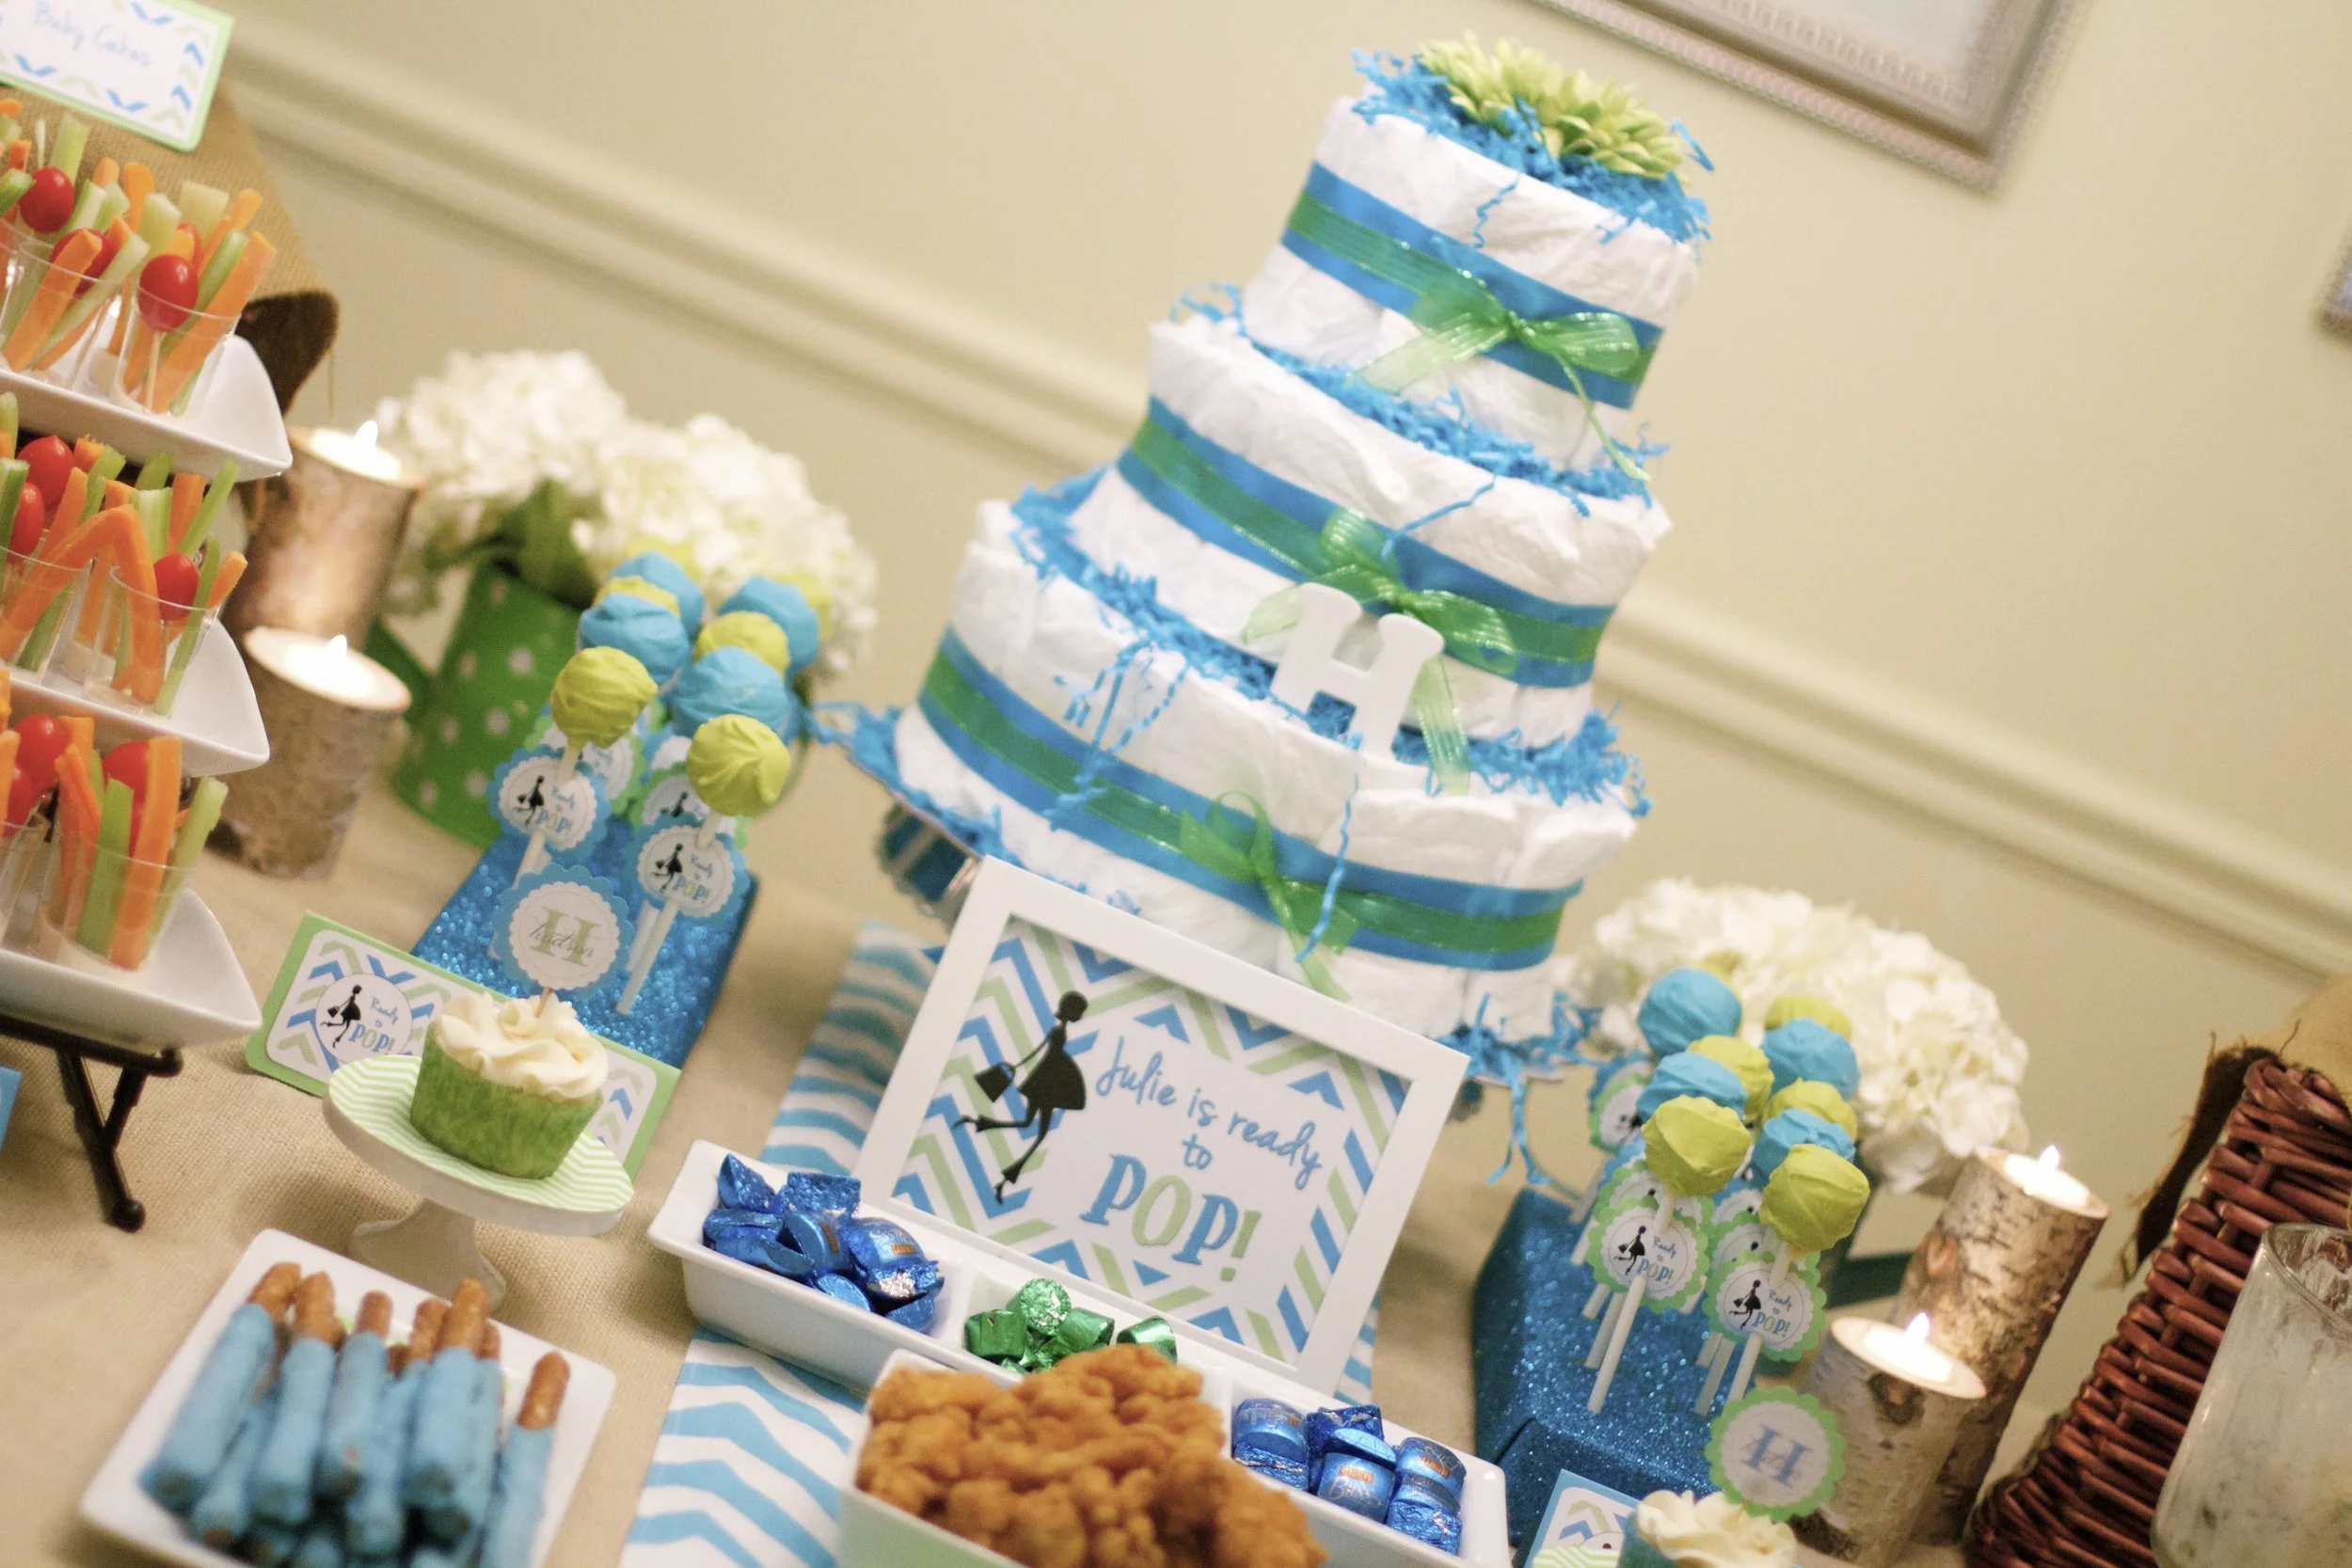
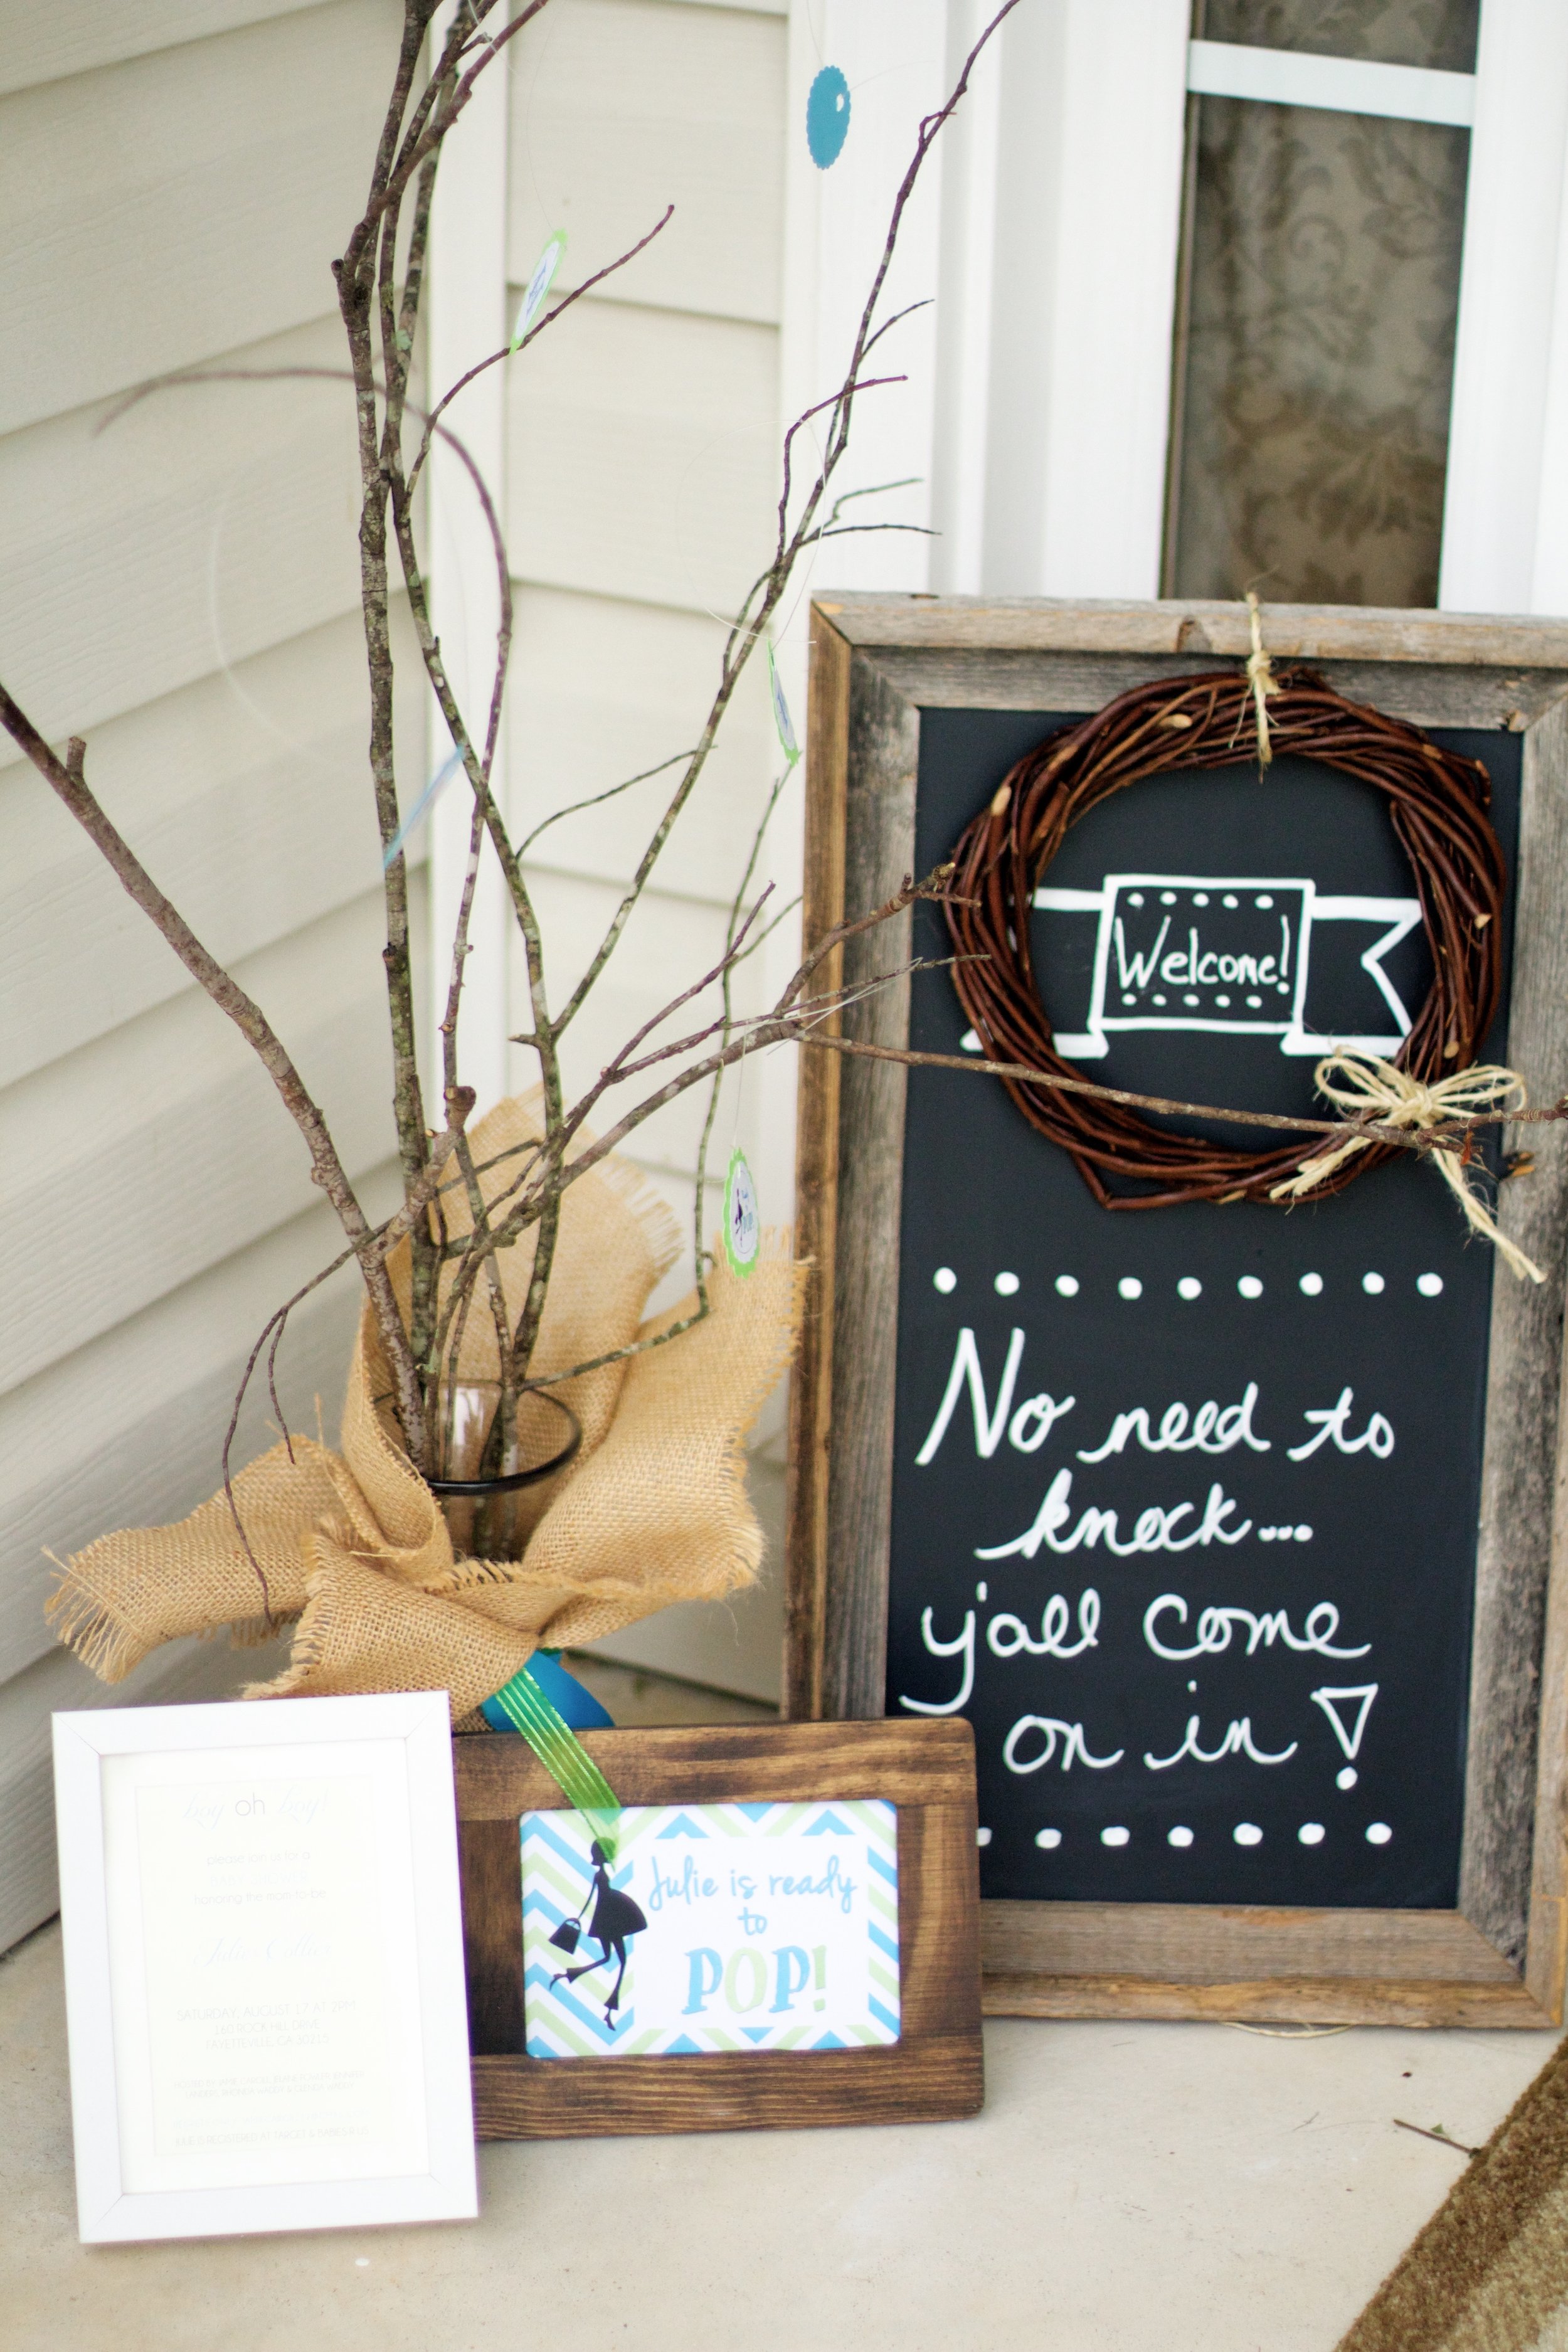
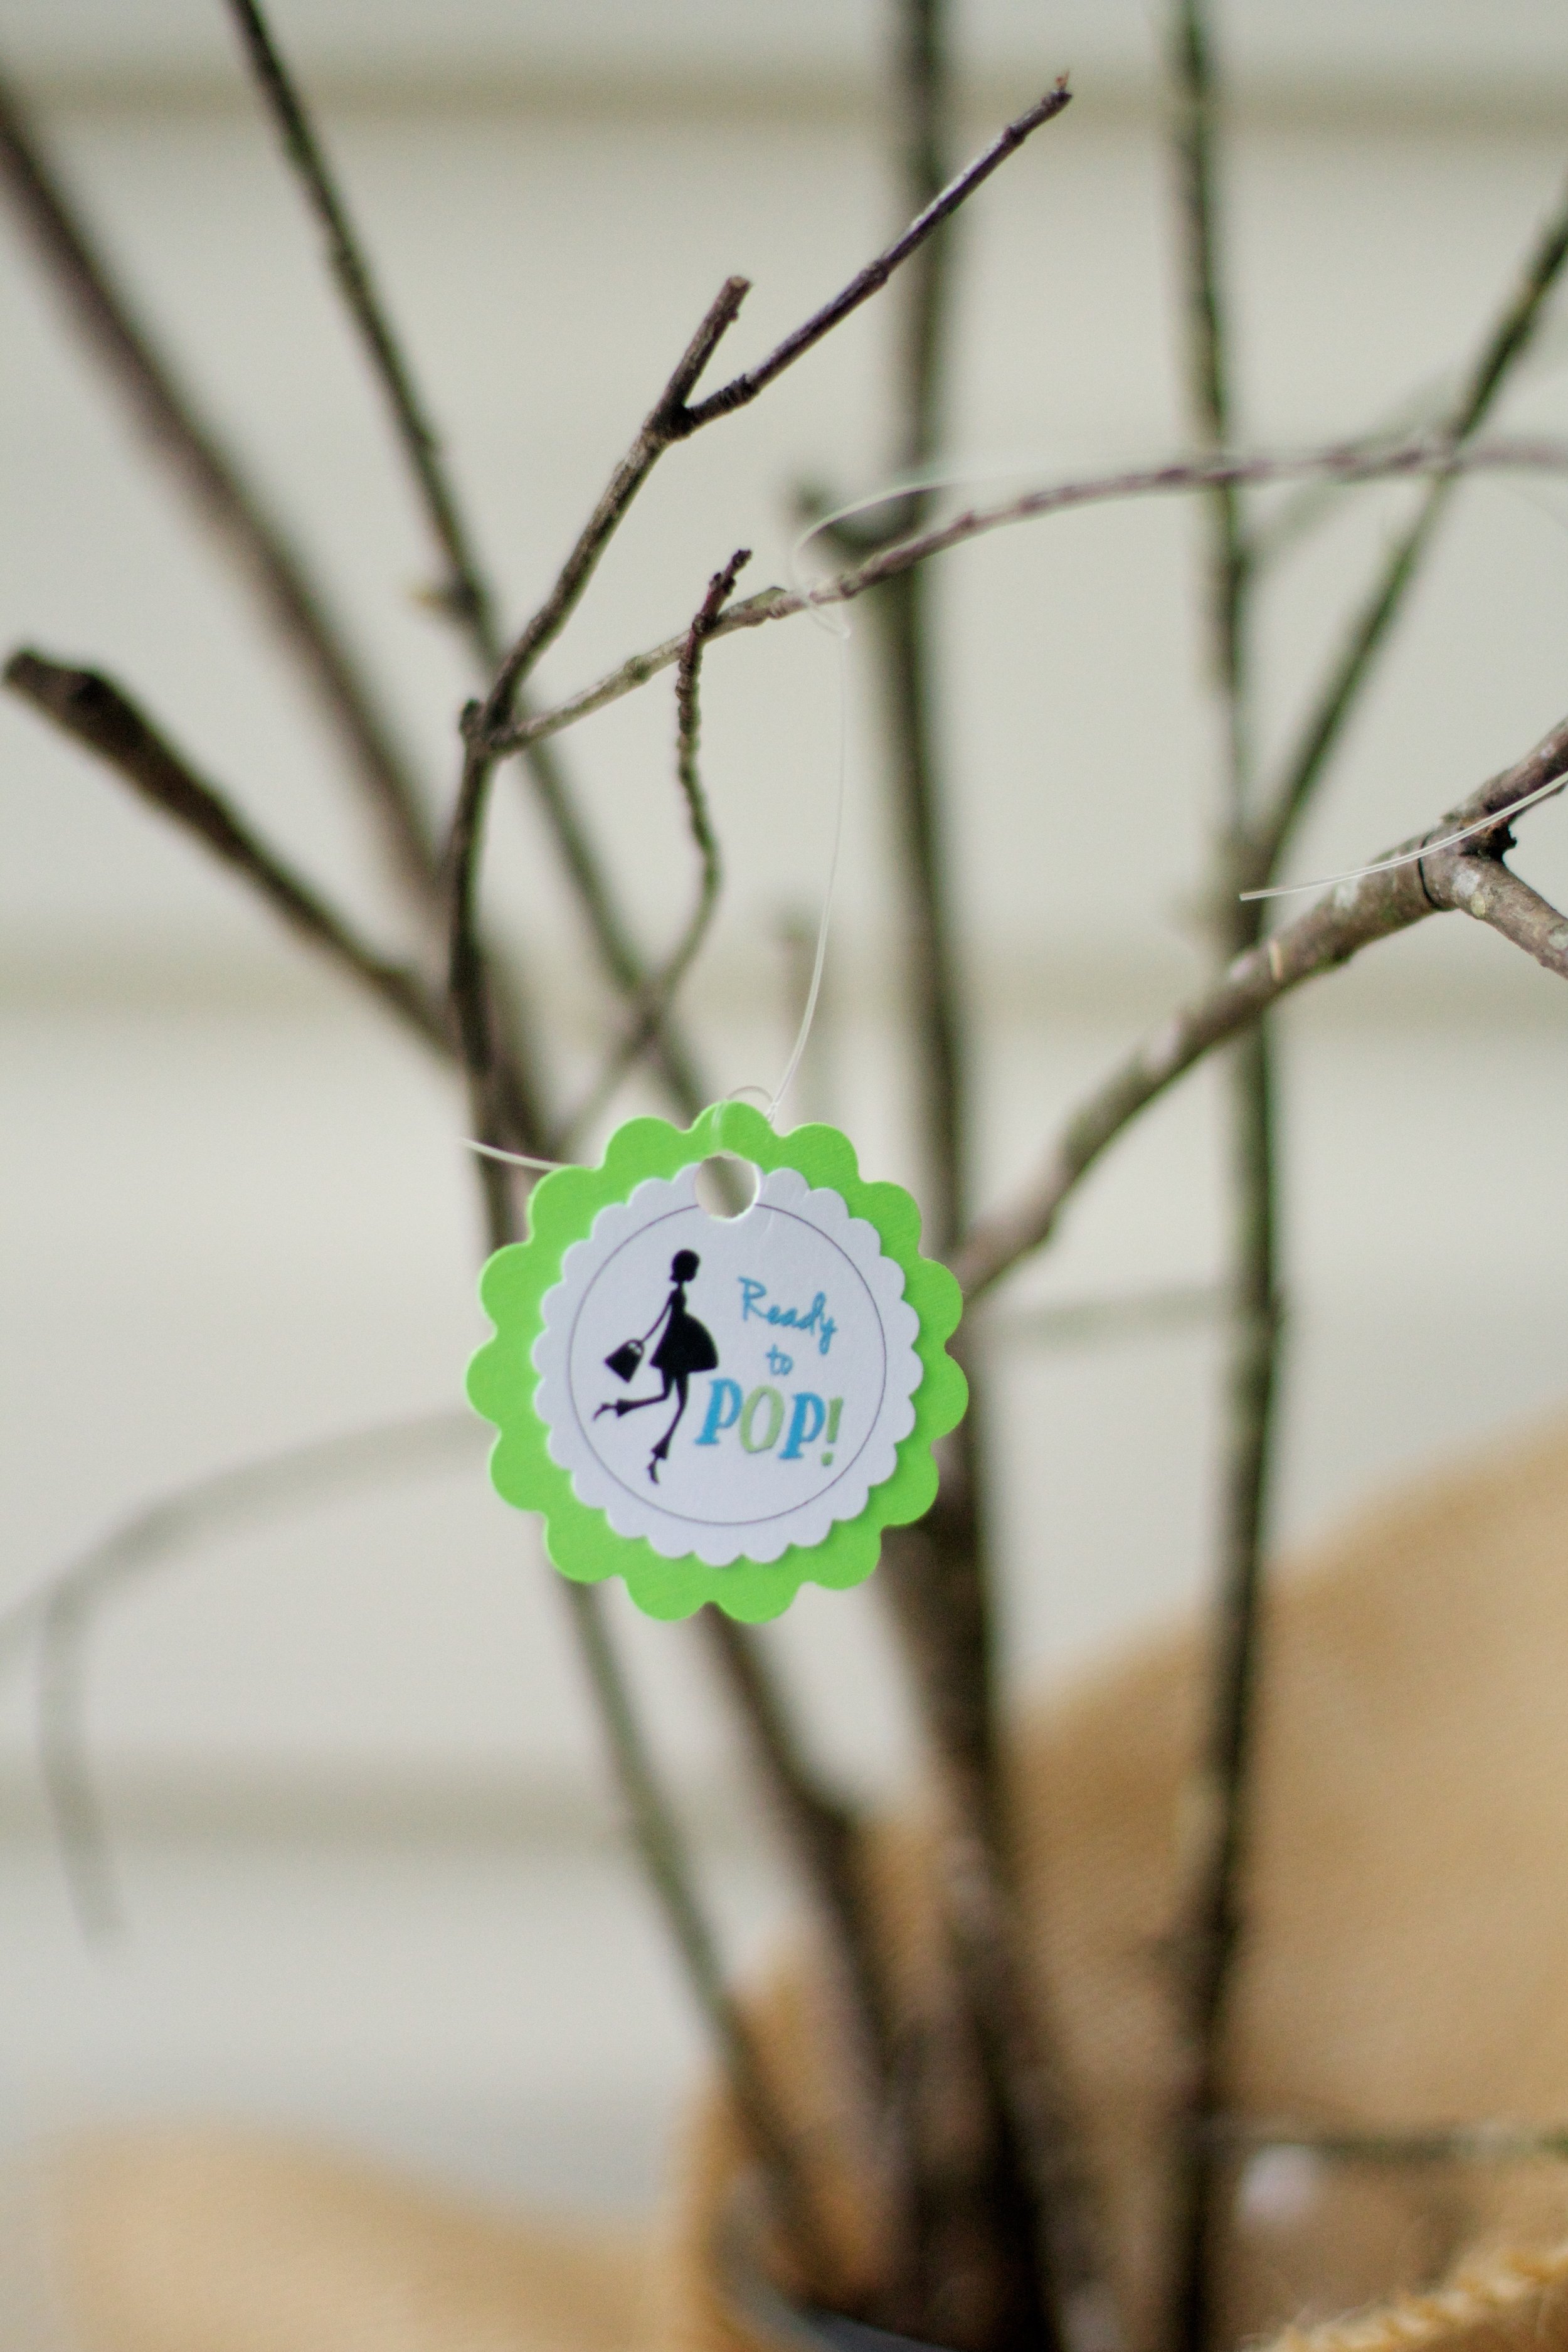
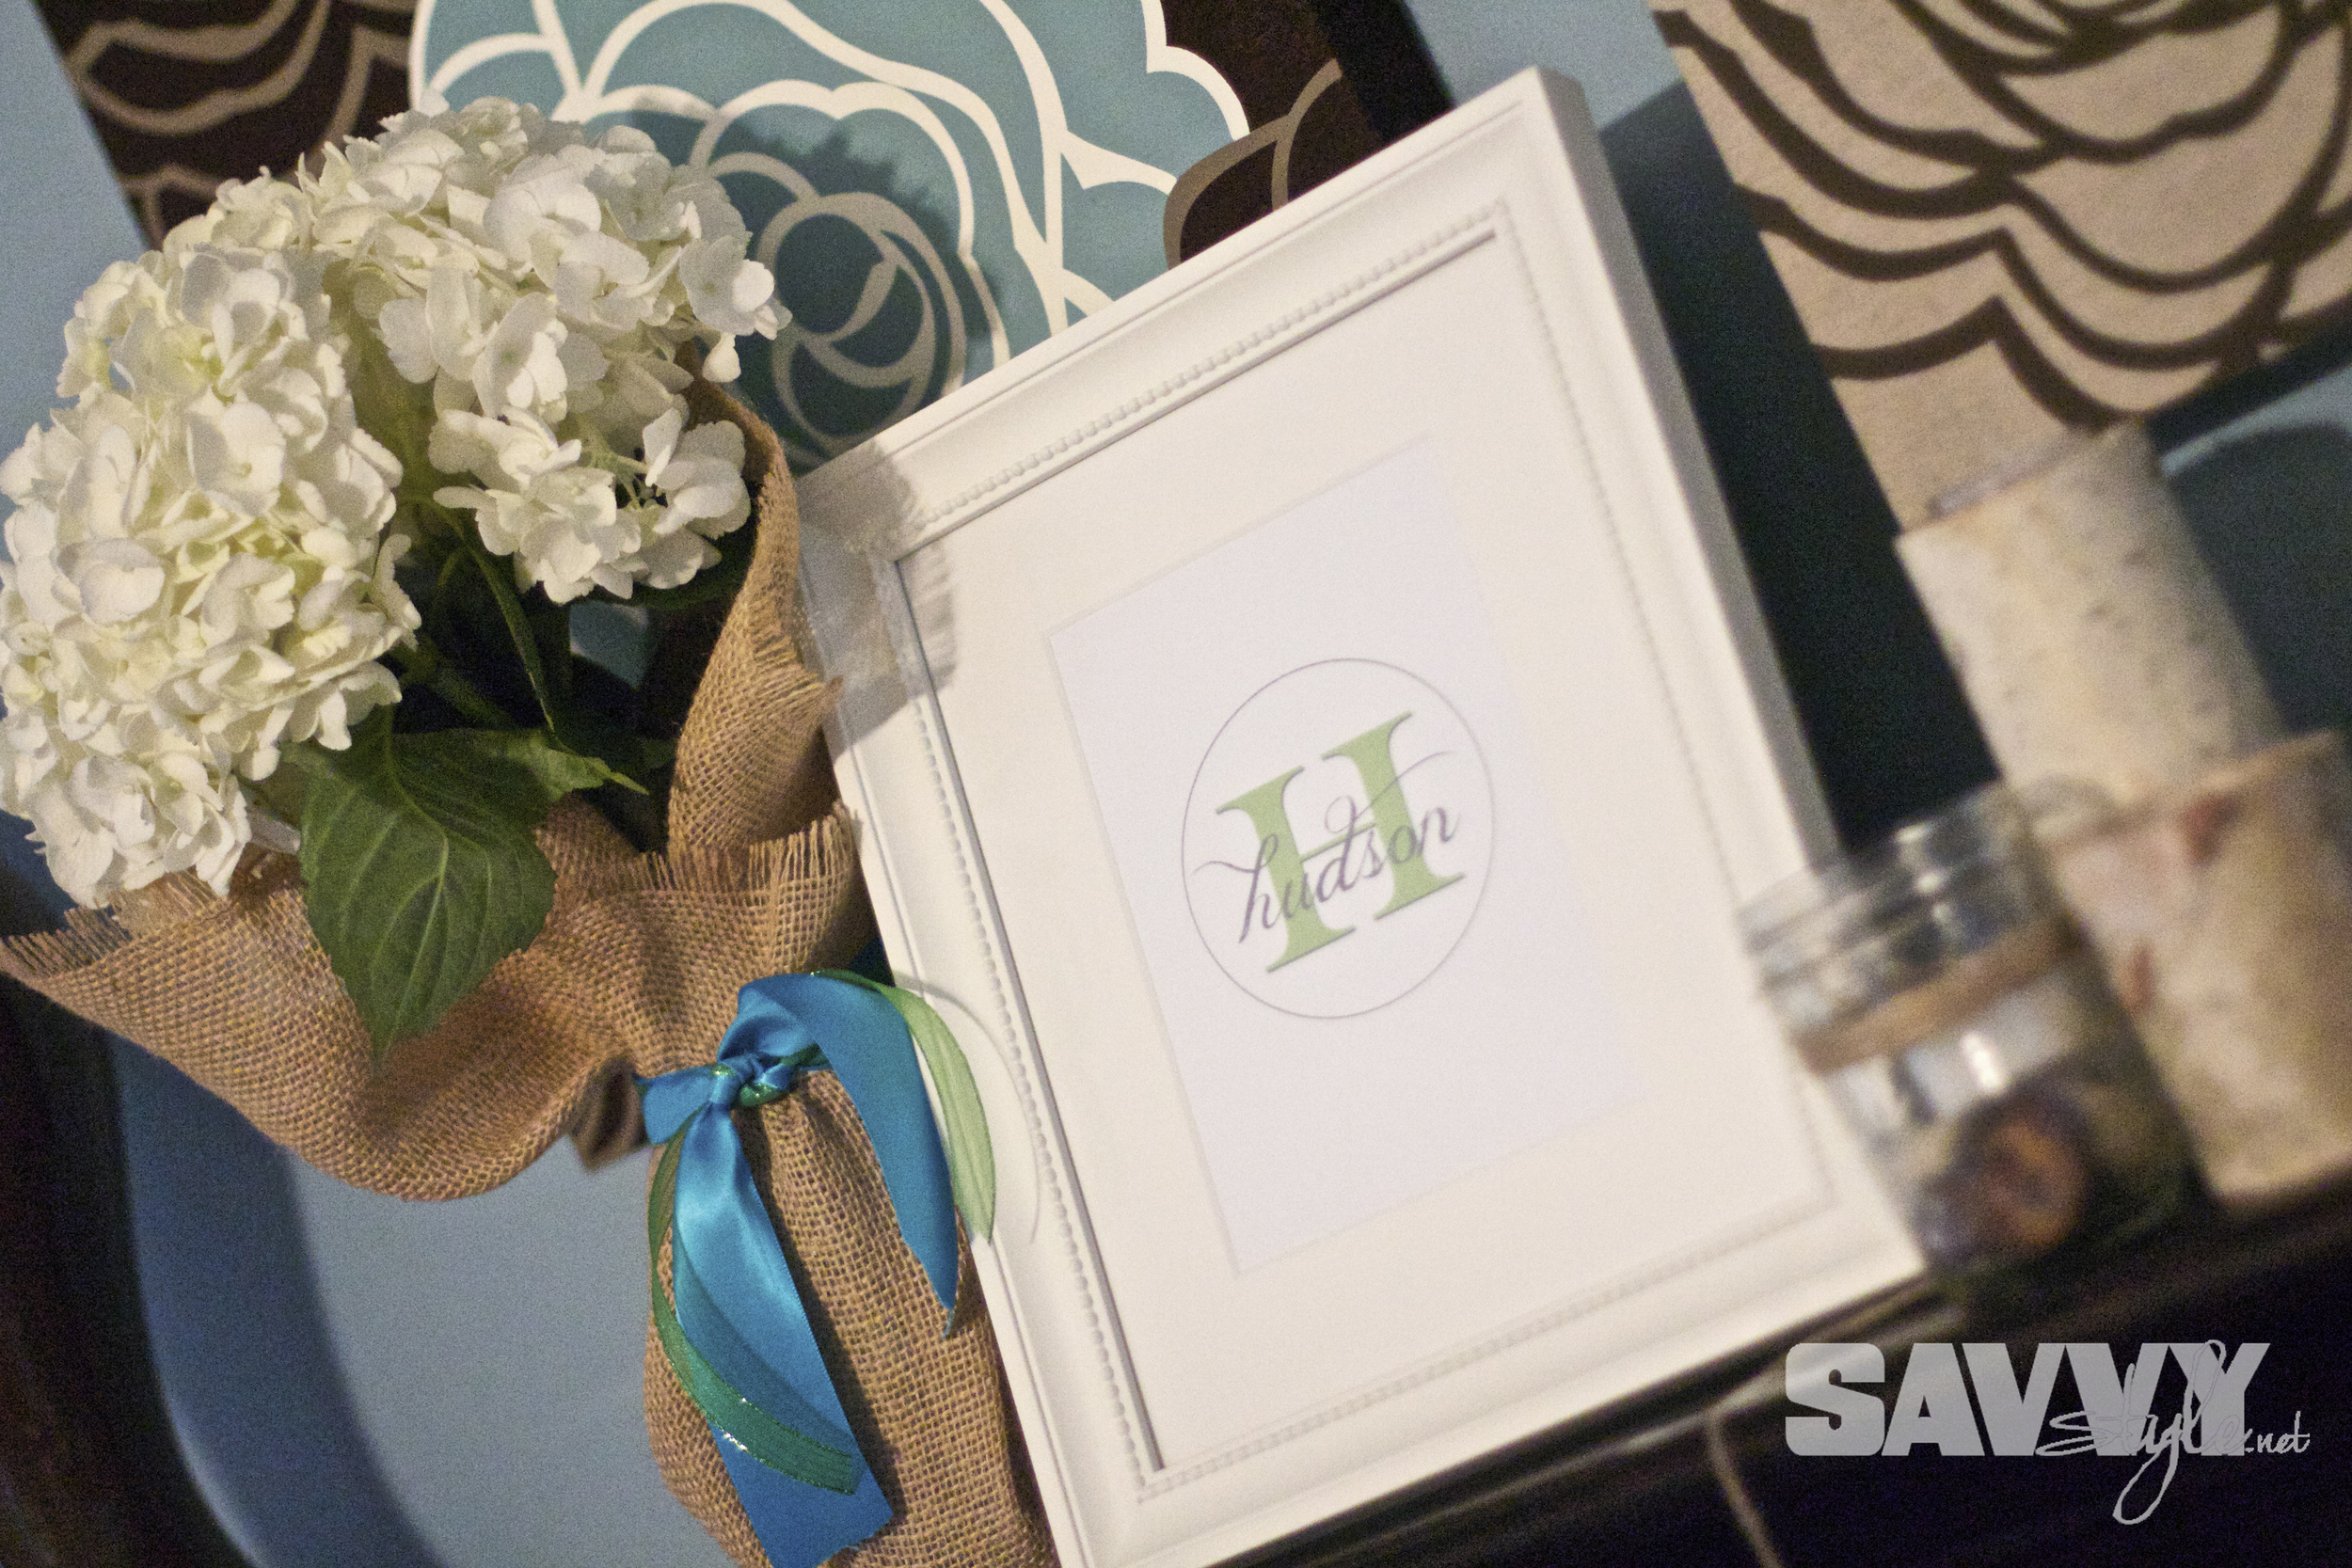
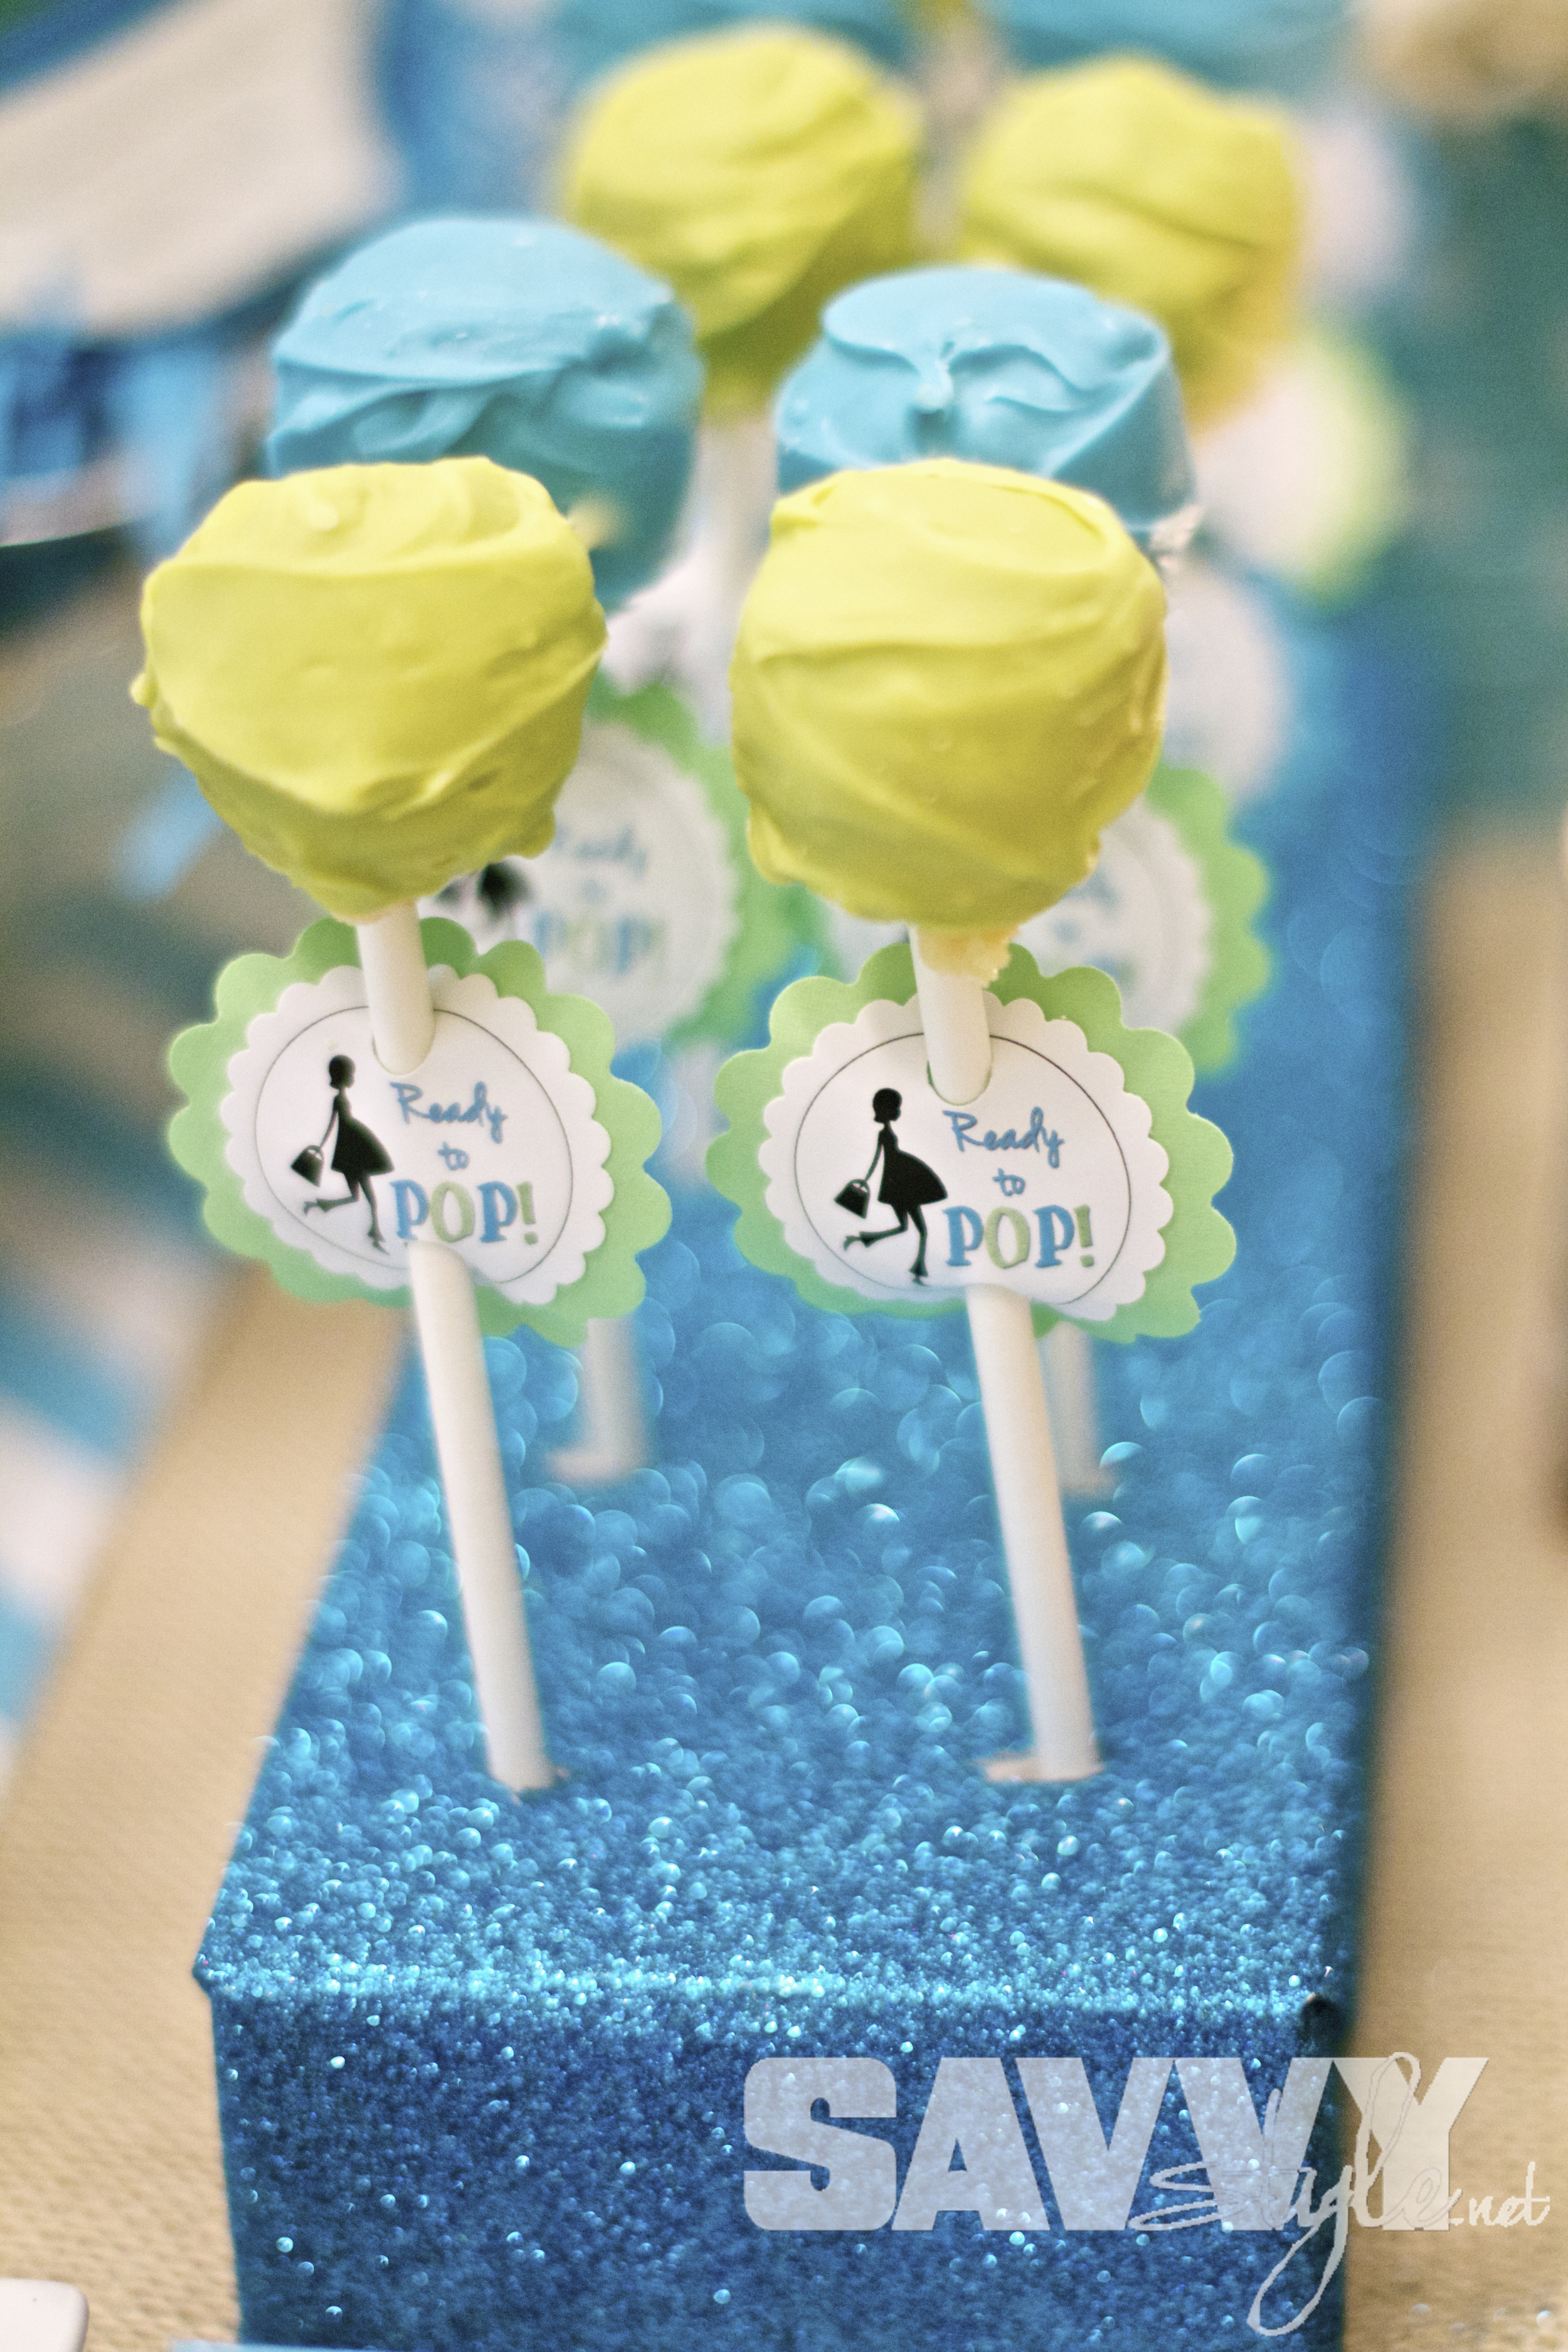
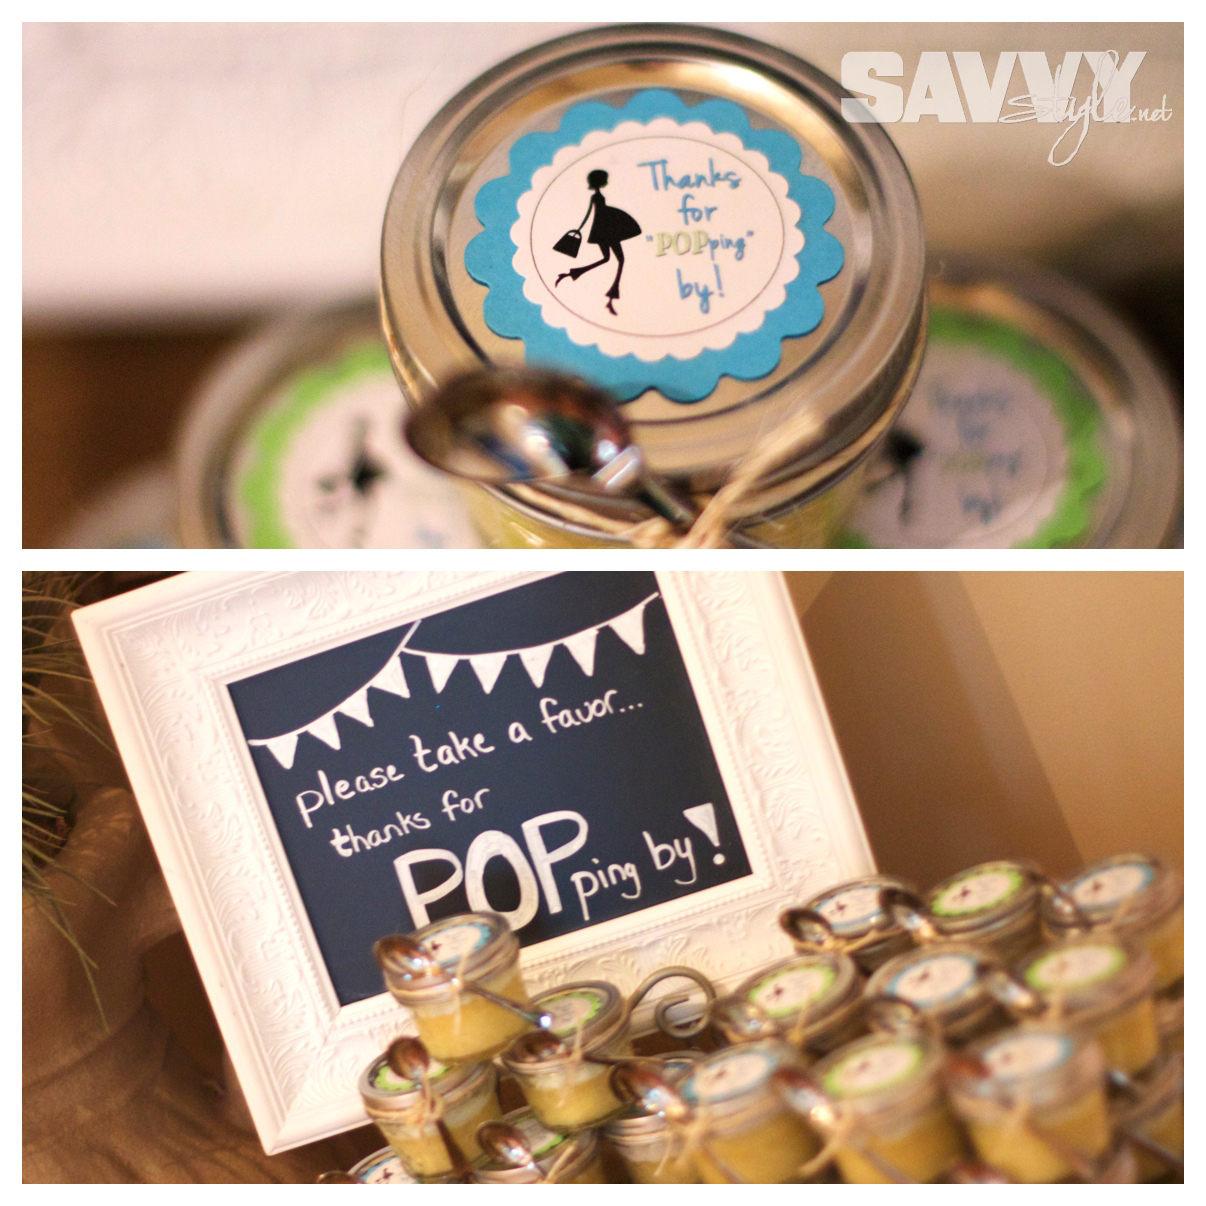
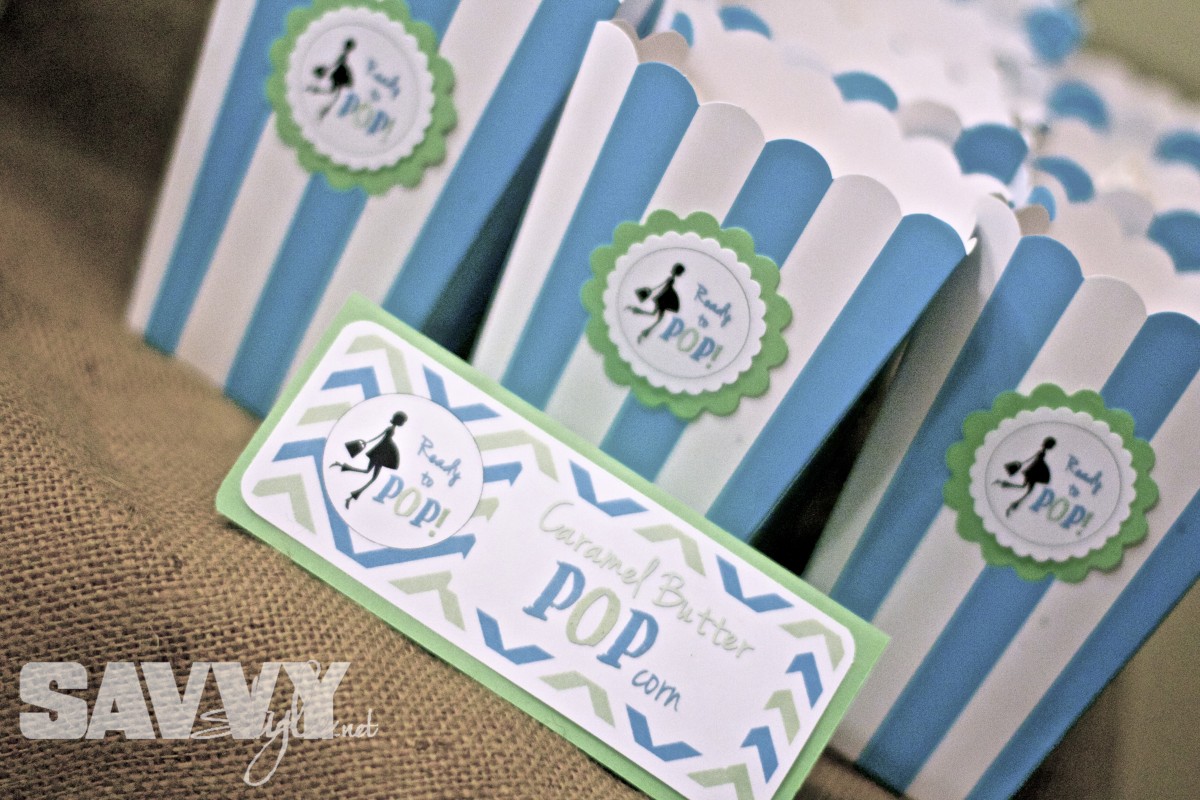
Here's a glimpse at what they looked like at the shower I hosted:

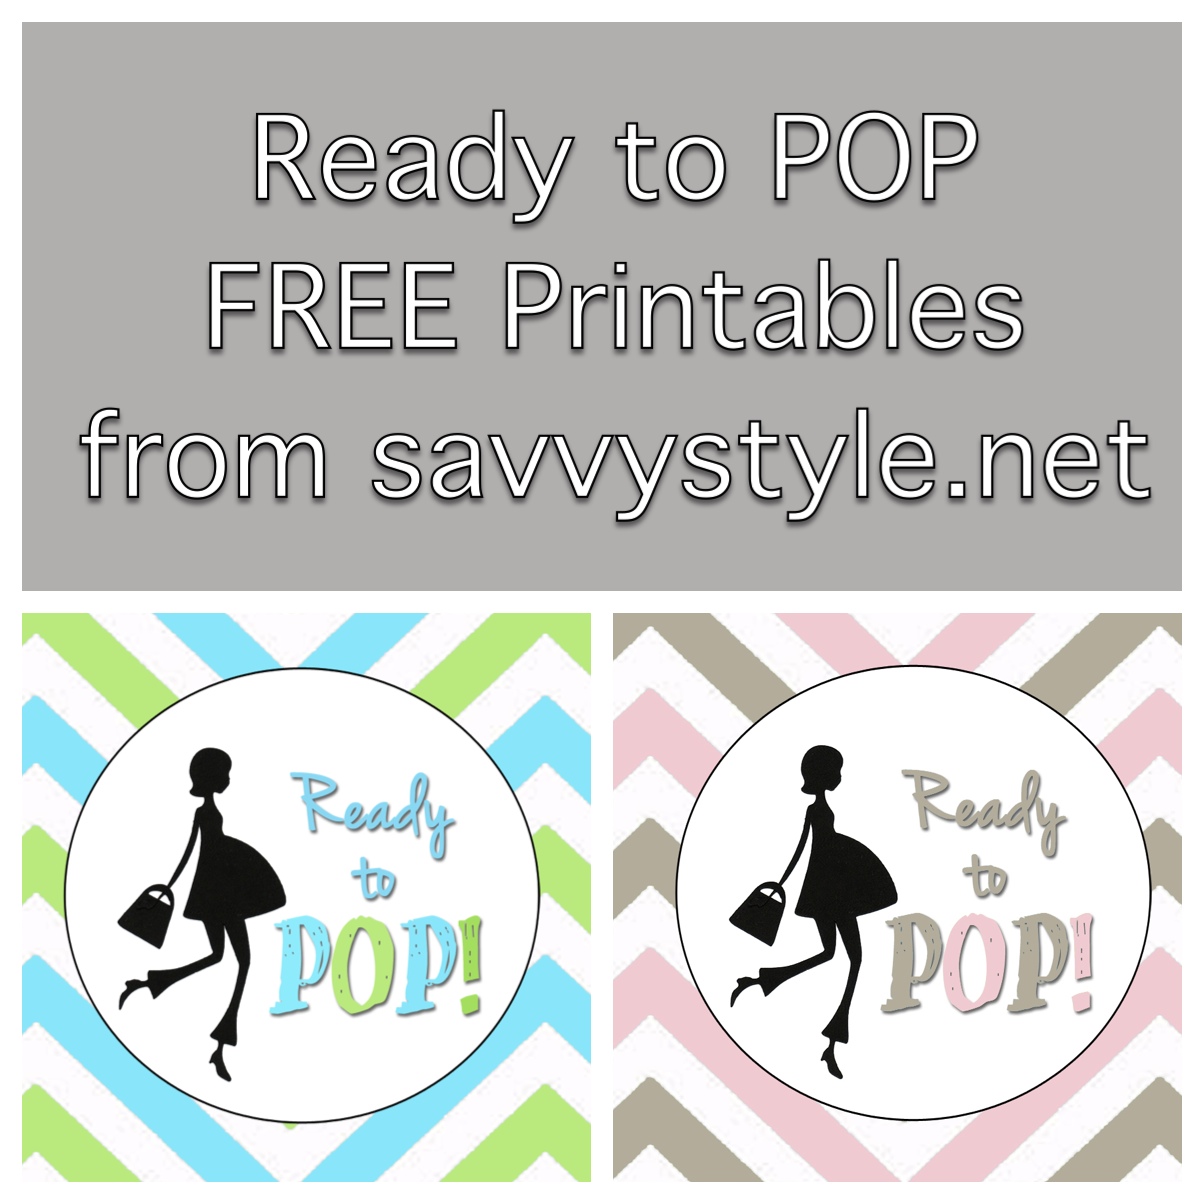
 And now you can download your own in either Blue and Green or Pink and Brown! Here's what the download package includes:
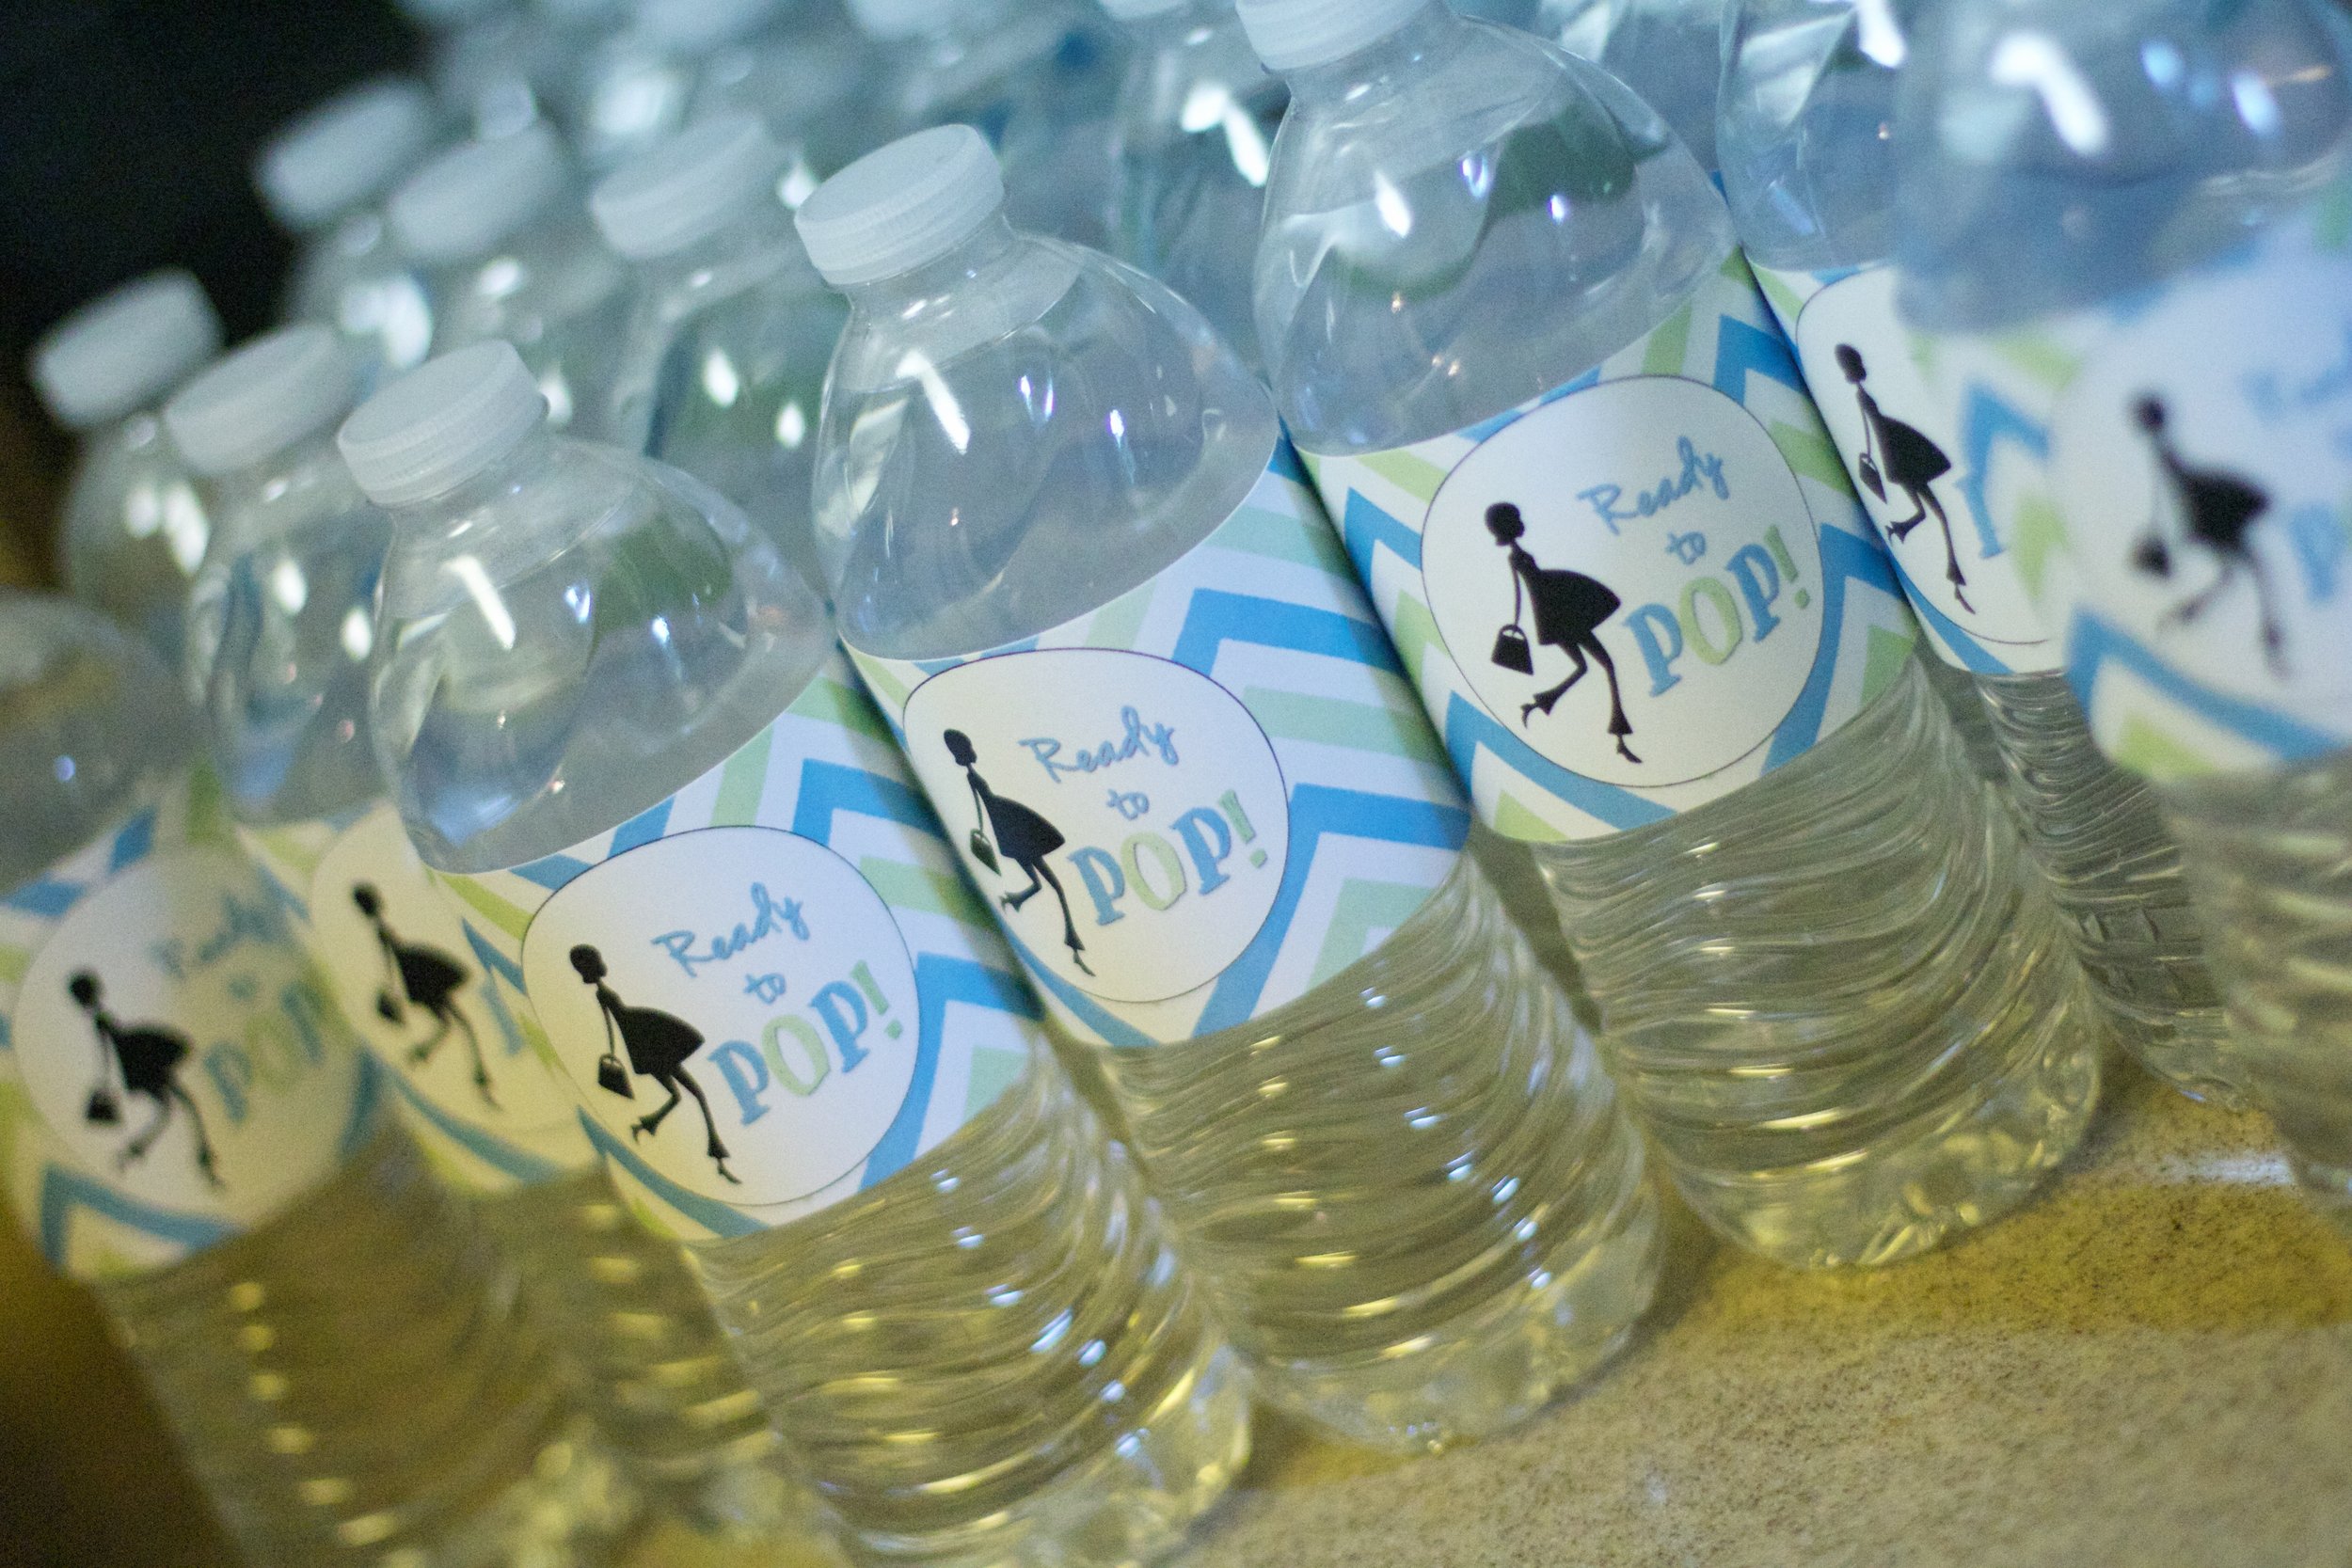
  • Water Bottle Labels

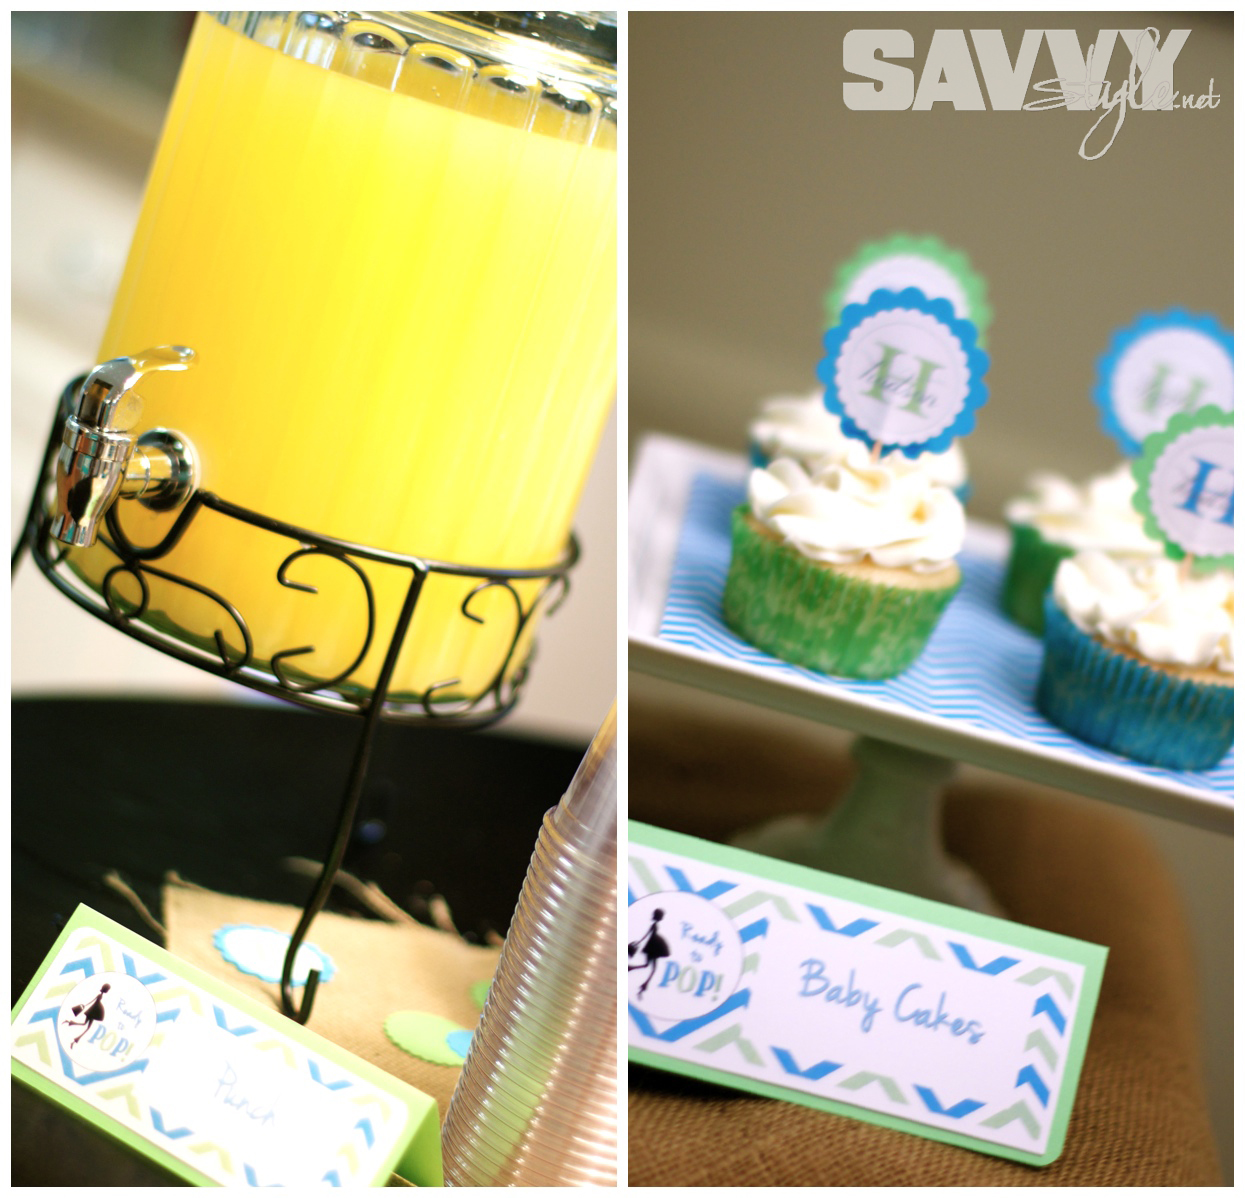
  • Food labels (with blanks for extra items)

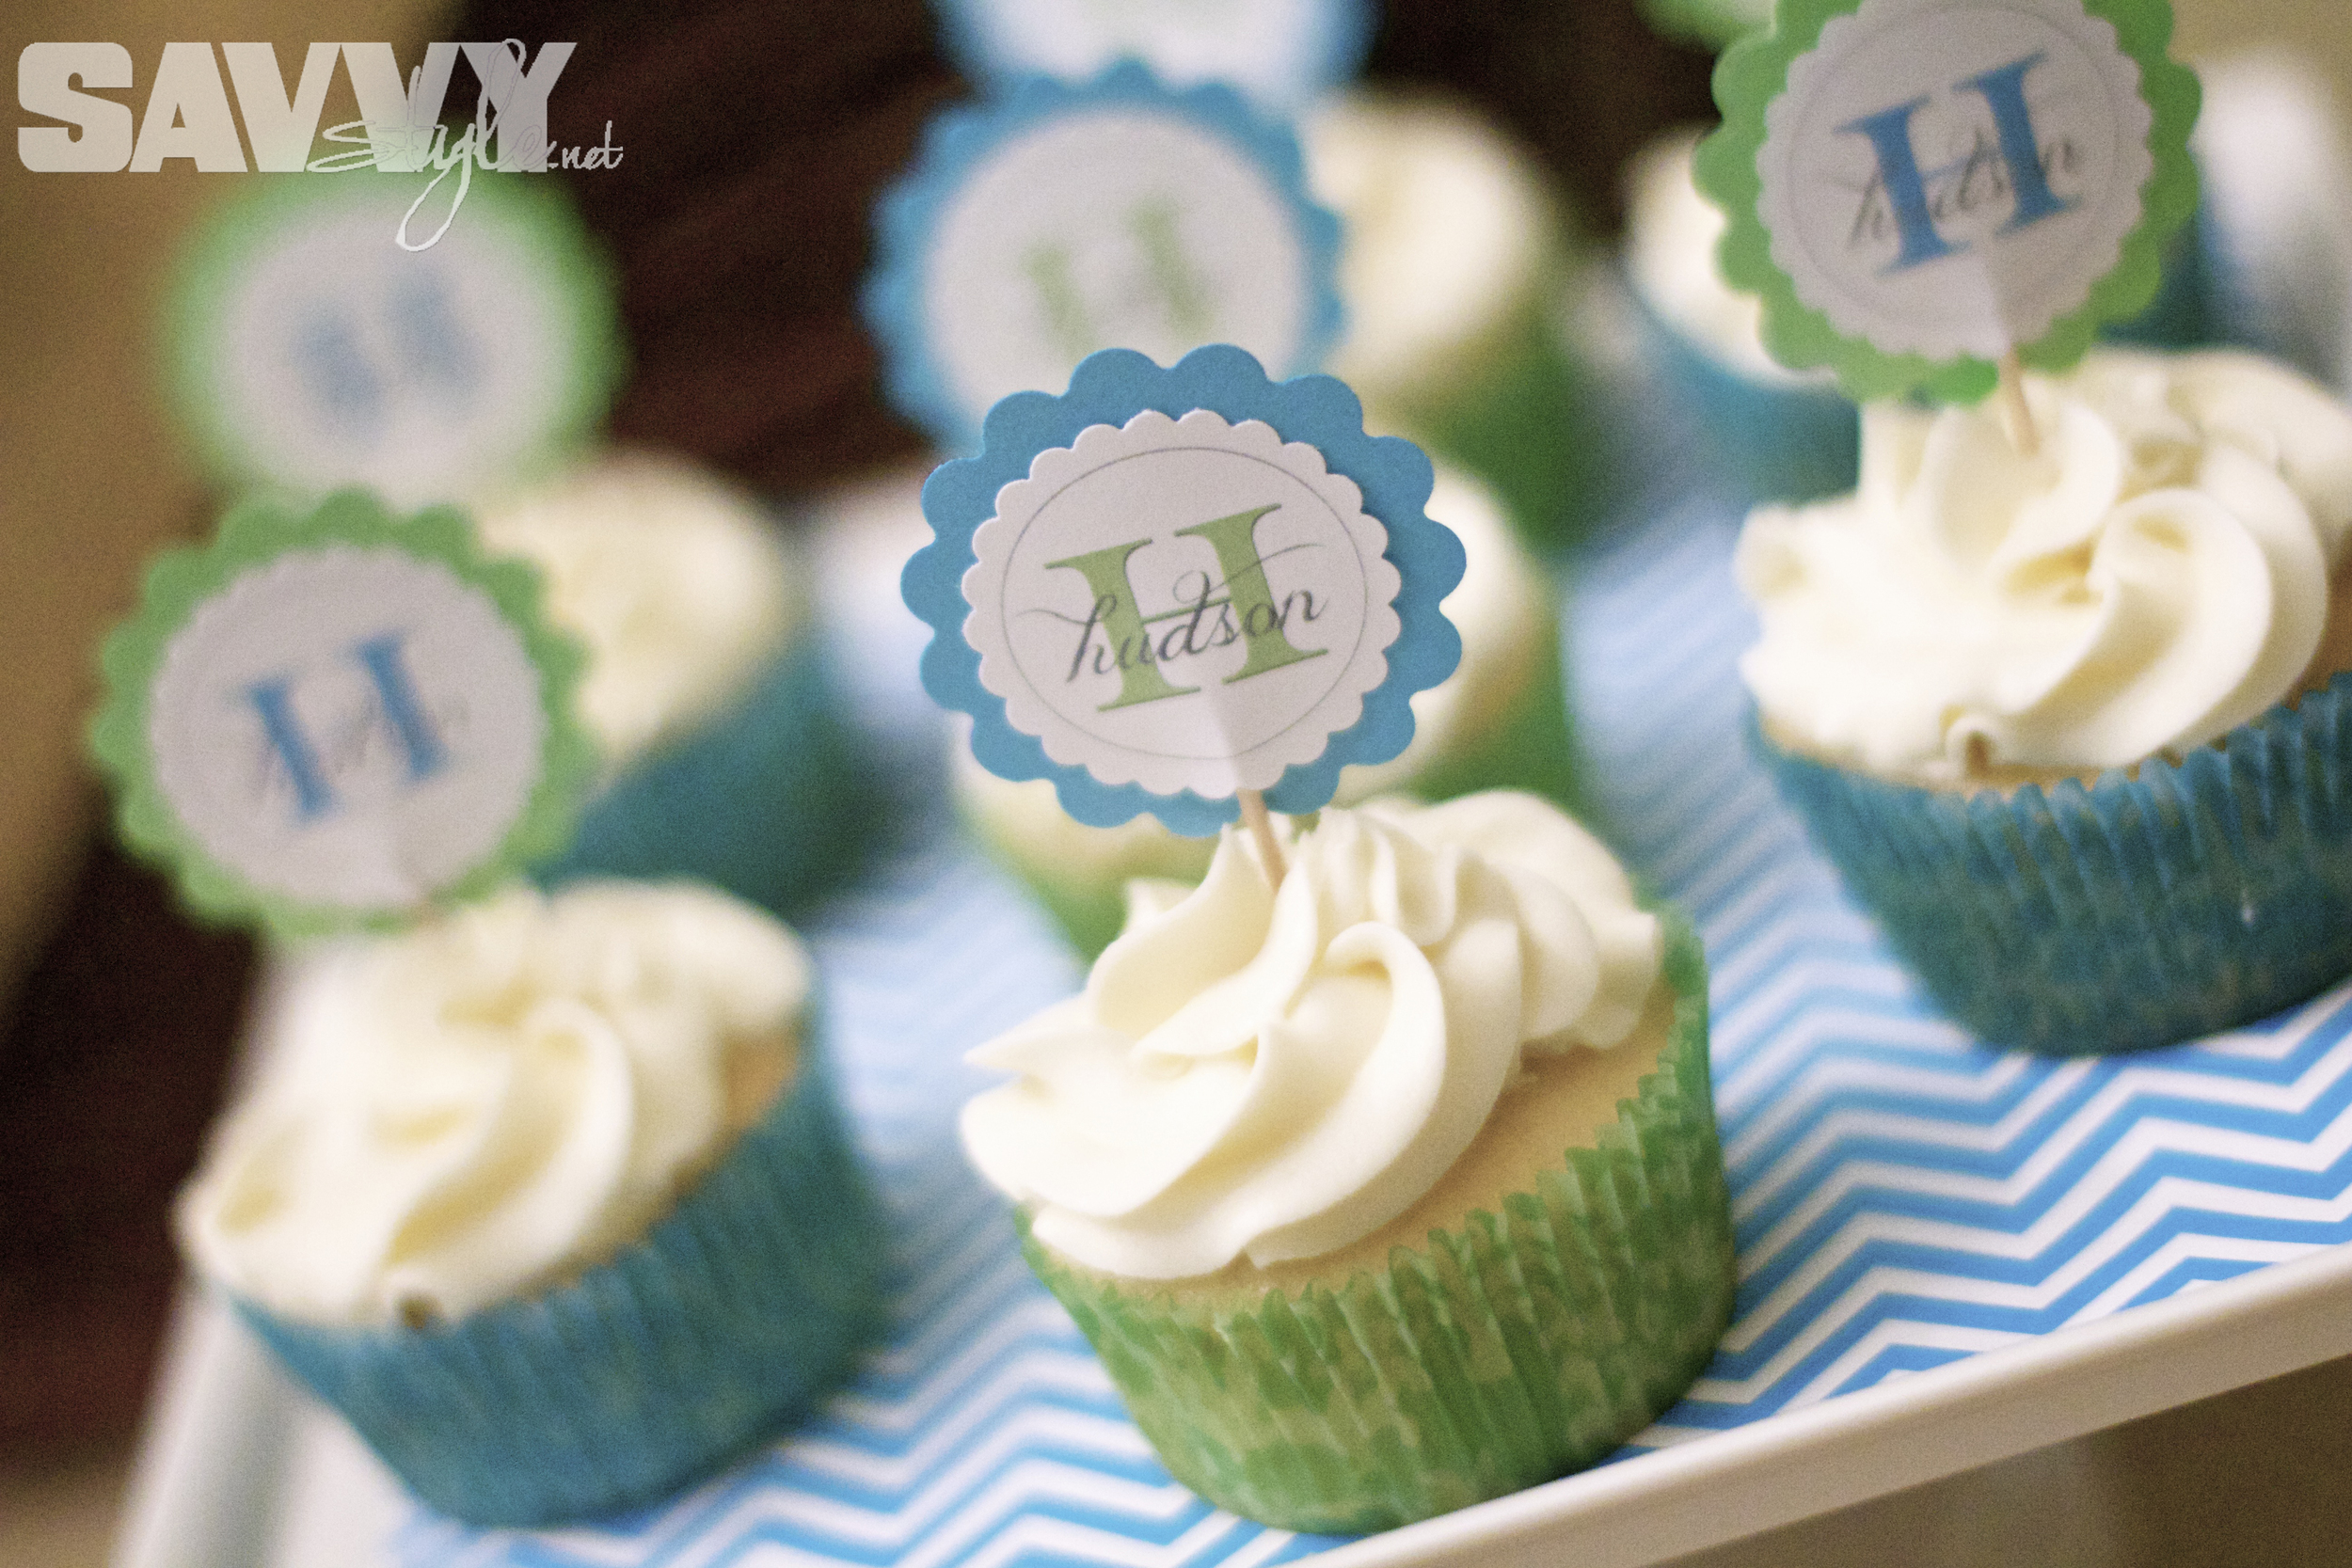
  • Ready to "Pop" round cutouts (for cake pops, labels, favors and more!)

  • Thanks for "Popping" By round cutouts

  • Baby Stats game instructions and cards

  • Baby "Pop" Quiz Game & Answer Key

Simply choose your color palette below and click on the link to open and print!

PLEASE NOTE: This printable is for your personal use ONLY. Files may not be sold, printed products may not be sold, and the designs may not be placed on items that are sold. If they are reproduced, redistributed or sold under any of these conditions, legal action will be taken.

Ready to Pop Printable Pacakge - Pink and Brown

Ready to Pop Printable Package-Blue

Enjoy!

JAMIE.png
 

Pink & Purple Wedding

We're having a blast talking all things weddings this week!

Today, let me introduce you to Emily & Clinton...

Photo Credit: http://www.sugarsnapatl.com

Photo Credit: http://www.sugarsnapatl.com

These two are super special to me. That's because for this wedding, not only was I the designer, planner and florist...I was also sister-in-law to the bride and matron of honor. (talk about pulling double duty!) 

Photo Credit: http://www.sugarsnapatl.com

Photo Credit: http://www.sugarsnapatl.com

When it comes to siblings in law...I hit the jackpot with this gal, she's just swell. We did this same pose at my wedding (see below right) and of course, had to carry on the tradition!

Photo Credit: http://www.sugarsnapatl.com

Photo Credit: http://www.sugarsnapatl.com

Photo Credit: http://www.sugarsnapatl.com

Photo Credit: http://www.sugarsnapatl.com

 
cinderella-carriage

cinderella-carriage

Anywho...if you know Emily, you know she loves all things fairytale related. In fact, Clinton even proposed to her with an adorable Cinderella carriage snow globe (that we displayed on their cake table) So from the princess style ball gown to the sweetheart cupcakes and every detail in between, we wanted to make her day feel like her own special farytale. I LOVED the bright pink, purple and black color palette she chose...it was so vibrant and fun! And when we found dyed hydrangeas to match her vision, we hit the jackpot!


Let's start with the flowers. Sam's Club came through for me again with a great selection of affordable flowers, and perfect colors to match! (to read more about how I used Sam's Club for my own wedding bouquets, check out my DIY tutorial HERE

Oh my word our tiny apartment was busting with flowers! (did I mention my hubby's allergic? oops!)

Oh my word our tiny apartment was busting with flowers! (did I mention my hubby's allergic? oops!)

Emily wanted bouquets, but she also wanted flowers integrated into all of her centerpieces, so this order cost a little more than my last, but for just under $700 here's what we got:

1 Large bridal bouquet

6 Large bridesmaids bouquets

2 Mother's carry bouquets

3 Grandmother's carry bouquets

13 Boutonnieres

20 Centerpiece arrangements

12 Aisle arrangements

2 Large buffet table arrangements

7-10 small arrangements for altar and other accent tables

Talk about getting some bang for your buck! We had flowers everywhere and they were gorgeous! The bouquets and arrangements were made up of pink & purple hydrangeas, green hypericum berries, hot pink roses and purple tulips.

Photo Credit: http://sugarsnapatl.com

Photo Credit: http://sugarsnapatl.com

Photo Credit: http://sugarsnapatl.com

Photo Credit: http://sugarsnapatl.com

Photo Credit: http://sugarsnapatl.com

Photo Credit: http://sugarsnapatl.com

Photo Credit: http://sugarsnapatl.com

Photo Credit: http://sugarsnapatl.com

Photo Credit: http://sugarsnapatl.com

Photo Credit: http://sugarsnapatl.com

Photo Credit: http://sugarsnapatl.com

Photo Credit: http://sugarsnapatl.com

Now let's talk decor. Emily wanted this fairytale day to have a country club setting with a slightly rustic feel (which I love, because in wedding world these days rustic is the new black). So we accented her decor with touches of burlap and mason jars...galvanized buckets and vintage lanterns, barn wood framed chalk boards and DIY distressed table number frames. It was lovely!

Photo Credit: http://sugarsnapatl.com

Photo Credit: http://sugarsnapatl.com

Did you see that adorable little sketch in the picture above? That's actually their save the date. The bride's grandfather is an artist, and he sketched that picture for them. My husband then scanned it in and added the text...it was so cute and personalized just for them! I also designed all of the Bride & Groom's invitations, programs and wedding favors. I created a custom "logo" for them that we placed on any of the printed signage for the day such as place cards, etc.

The logo I created for them.

The logo I created for them.

The wedding favors were another adorable burlap touch, complete with the couple's logo and filled with purple and silver Hershey's Hugs & Kisses.

One of my favorite pieces we created for Emily & Clinton's big day was the fireplace mantle altar. Since the wedding was at a country club, there was no "traditional" altar for the focal point. In fact, the ceremony and reception took place in the same room, so while the guests were enjoying cocktail hour on the gorgeous veranda, the room was flipped...however this altar remained in the room and doubled as a backdrop for the dance floor. I actually scored the mantle off of Craigslist for $50...what a steal! (the story of how we actually got it to fit in a vehicle is a comical tale for another day...let's just save you the trouble now and say it will NOT fit in a Rav4)

The mantle was in great condition, so we just added two wood planks at the bottom to enable it to stand up and painted them white. I bought some sheer curtains at Ikea for $5 (similar HERE) and tacked them on the back to give the center some filler, and then we ran a strand of twinkle lights along the back of the opening to give it a soft backlight glow effect once the sun went down. It turned out beautifully!

Another subtle fairytale touch with the unity candle. Photo Credit: http://sugarsnapatl.com

Another subtle fairytale touch with the unity candle. Photo Credit: http://sugarsnapatl.com

Photo Credit: http://sugarsnapatl.com

Photo Credit: http://sugarsnapatl.com

Photo Credit: http://sugarsnapatl.com

Photo Credit: http://sugarsnapatl.com

For the aisle, we couldn't actually do an aisle runner because the dance floor was already in place, so to jazz it up I created mason jar floral arrangements and accented them with burlap. We then dressed the center aisle with pink, purple and white rose petals.

They're married! Dancing back down the aisle. Photo Credit: http://sugarsnapatl.com

They're married! Dancing back down the aisle. Photo Credit: http://sugarsnapatl.com

After a cocktail hour on the veranda, the guests came back into the ballroom for dinner and dancing....oh, there was so much dancing! The centerpieces contained an eclectic mix of vintage lanterns (no two tables were the same!), with mason jars wrapped in burlap, tied with ribbon that matched our bridesmaids dresses and filled with white hydrangeas.

Photo Credit: http://sugarsnapatl.com

Photo Credit: http://sugarsnapatl.com

Those table number frames cost $1 each from Michael's. I painted them a purplish pink to match the decor and overlaid a layer of ivory to give it more of a rustic/distressed look. We used chalk-paper card stock (did you know they make that?! It's awesome!) and chalk pens, both also from Michael's.

Photo Credit: http://sugarsnapatl.com

Photo Credit: http://sugarsnapatl.com

And here's just a few more of my favorite shots from the day...

Photo Credit: http://sugarsnapatl.com

Photo Credit: http://sugarsnapatl.com

Photo Credit: http://sugarsnapatl.com

Photo Credit: http://sugarsnapatl.com

Photo Credit: http://sugarsnapatl.com

Photo Credit: http://sugarsnapatl.com

Photo Credit: http://sugarsnapatl.com

Photo Credit: http://sugarsnapatl.com

Photo Credit: http://sugarsnapatl.com

Photo Credit: http://sugarsnapatl.com

Venue: Dunwoody Country Club

Hair & Makeup: Sineat Heintzelman (she's amazing!!)

Flowers & Decor Design: Sweetwood Creative Co.

Wedding Cupcakes: Gigi's Cupcakes of Buckhead

Dress: Bride Beautiful

Here's to Emily & Clinton's Happily Ever After!


Rustic Chic Bouquets

As we continue with Wedding Week, today I'm excited to introduce you to Lindsey & Jonathan...

LindseyJonathan_3.8.14-318

Their wedding day was just so sweet, but their love story and illustration of God's faithfulness has been even sweeter. Lindsey is a co-worker and friend of mine, and I've known Jonathan for years...so it's been really cool to watch two friends I've known independently come together and fall in love. And I was so honored to be able to play a small role in their special day!

When Lindsey and I sat down to discuss her vision for the bouquets, I knew she wanted three things:

1.  Rustic in style

2. Blush and white in color

3. Affordable

So I created 8 bouquets, 1 flower girl bouquet, 2 large ceremony arrangements, 8 medium sized reception arrangements and about 40 (yes 40..see pic below) small baby's breath arrangements for the reception tables...all for right around $450.

babys-breath
car-flowers

The bouquets consisted of the following flowers:

Blush Garden Roses
White Garden Roses
White Hydrangeas
Dusty Miller
Baby's Breath
White Hypericum Berries
Blush Spray Roses

I wrapped them all in burlap and tied with twine to continue the rustic feel. They matched perfectly with the bridesmaids blush dresses!

All photos courtesy of Kyle Hale

Burlap bows for the guest pews and floral bows for the family pews.

Congrats to the happy new couple!

signature.png


Wedding Week: April Showers

It's wedding week! All things bridal, all week long...swoon!

That's right, spring is in the air, all things lovely are in bloom...and wedding season is in full swing!

April showers always bring May flowers, they say. And while it may be raining here in Atlanta today, the only showers we're going to talk about are BRIDAL showers! Today we'll feature a bridal shower as well as a "Love is Sweet" Couples shower, both were thrown for my sweet sister-in-law. Emily's wedding colors were purple and hot pink, so we had lots of fun making this a brightly colored soiree! 

Both the chevron table runner and chalkboard food signs came from Jane.com. If you haven't signed up for their daily email list yet, do yourself a favor and sign up now...amazing deals daily!

Adorable wine stopper favors were wrapped up beautifully by one of the bridesmaids.

And here's a glimpse at the "Love is Sweet" Couples shower. Of course, if you're going to lure men to a shower...you have to provide entertainment. What's better than a good game of corn hole?

chicken-wire-pic-display
cupcake-display
cupcake-minis-display

To wrap up the evening, we finished with a hilarious game of "He Said/She Said." We place the couple back to back and they swap a shoe, so that each of them has one of their own shoes in one hand and their fiancÃĐ's shoe in the other. We asked questions such as "who is the better cook" and let them both answer (without seeing each other's response). The outcome was hysterical, as you can tell from my sister-in-laws expression below.

Stay tuned with us this week as we cover more weddings, flowers and decor to your heart's content! It's bound to be a week of wedded bliss!


DIY Diaper Cake Tutorial

This cake looks almost good enough to eat!

(but I wouldn't recommend it)

Earlier this week I showed you our fabulous "Ready to Pop" themed baby shower (click HERE to download our FREE Ready to Pop party printables!), now I'll show you a simple tutorial on how to make the beautiful diaper cake we used as the centerpiece for our food display. Diaper cakes are a great way to dress up a practical gift, and if you decorate in the colors of the party, they can also become a beautiful focal point of the shower decor. 

Some might say they pull double doody....er, I mean duty. Ahem.

Let's start out with the supplies you'll need:I made this whole diaper cake for less than $30, simply by shopping smart and utilizing some supplies that I had around the house. When you know you're going to be making one of these in the near future, start collecting empty toilet paper rolls (these can be used for other fun crafts as well) and an empty wrapping paper roll. I use the empty wrapping paper roll as the "base" of the cake, to help hold everything securely in place. It helps the cake transport easily without falling apart and keeps everything centered.

With the exception of the diapers, I found all of my supplies (cake plate, ribbons, flower, crinkle paper) all at Michael's...so it really was a one-stop-shop kind of project. PLUS I used my Michael's iPhone app for a coupon and saved some money! 

STEP 1: Cut down your wrapping paper roll and glue it to the center of the 12" cake plate.To cut down the wrapping paper roll to the right size I took the three toilet paper rolls and laid them on the floor one on top of the other (to form a tower), then laid the wrapping paper roll beside it and marked it about 1/2 inch shorter than the length of the three rolls (so that it wouldn't stick out the top). 

NOTE: You might ask why I didn't just use a paper tower roll since they're similar in height - the problem with paper towel rolls is that they are generally the same diameter as toilet paper rolls, making it hard to slide one onto the other. I have found that wrapping paper rolls are generally smaller in diameter and work perfectly. And bonus...they're long enough that you can cut it and get TWO cakes out of one roll!Jackpot! While the glue on the base is drying, you're ready to start assembling your layers. This is where you bust out the diapers and take a good whiff because they smell incredibly of fresh clean baby. (ahhh). I used Pampers Size 2 Swaddlers that I got from Buy Buy Baby at 2 packs (72 diapers) for around $22...not bad! I've found that this size diaper is the perfect size for the cake, and it allows the mommy to enjoy the cake on display in the nursery for a little bit after the little one arrives (if she chooses) without having to take it apart in the first week for the newborn size diapers she'll need.

STEP 2: Attach diapers to the toilet paper roll with rubber bands.Make sure you turn all of the diapers with the patterned side facing inwards (so they all look solid like a vanilla frosted cake), and begin to wrap and rubber band them in stacks of five. As you add more and more diapers, you can begin to fan them out (instead of one thick stack) so that the outer rim looks smooth and symmetrical.

You might need an extra set of hands to do this for the base if you haven't done it before...but if you don't have help, just be patient, it may take you a couple of tries to get the diapers in the right place and rubber banded before they fall over! I promise you can do it - I did this one solo! 

Repeat this step for the middle and top layers.

Here's the breakdown of the number of diapers I used for each layer:

BASE: 30-35 Diapers

MIDDLE: 20-25 Diapers

TOP: 10-15 Diapers

The best way to do this is just eyeball it. Start with your base, and as you make the next layer measure it on top of the layer below it to make sure it is slightly smaller in size. Once you get your three layers rubber banded, you're ready to assemble.

STEP 3: Slide layers onto base, placing crinkle paper in between each layer.Adding the crinkle paper isn't absolutely necessary, but I think it gives it a fun pop of color and distinguishes between the layers. (and it looks like frosting to me...we all know I LOVE frosting...just saying.) Note: I originally didn't put crinkle paper on the very bottom (between the base and the cake plate) but I went back later and added it in to give it a consistent look across the layers - you'll see it in the finished product at the bottom of this post)

STEP 4: Attach your ribbon with paper clips and glue.You don't want to glue your ribbon directly to the diaper because it will ruin it for actual use, so what I did was use a paper clip to attach one side of the ribbon at the back. I then wrapped the ribbon all the way around, cut it just slightly longer (so it overlaps) and then used a little bit of hot glue to attach the ribbon to itself.

NOTE: Be sure to put something in between the diaper and the ribbon as you glue the ribbon together so that the glue doesn't seep through to the diaper.

Repeat this for all three layers, making sure your seams are all in the same place at the back of the cake. Next, take your 1/2 inch ribbon and wrap it around to the front of the cake, tying a bow in the center of each layer.

STEP 5: Trim your decorative flower and place on top.The great thing about this is that I literally just had to cut the stem down to the height of the cake, and then it slid right down into the wrapping paper tube...no glue, no muss, no fuss. Easiest cake topper ever. (I used a silk gerber daisy from Michael's)

And voila...you have a beautiful gift and a beautiful centerpiece for your baby shower!


"Ready to Pop" Baby Shower

Who has two thumbs and loves a good theme party?

This girl. [points to self]

So of course I jumped at the chance to do a fun "Ready to Pop" themed baby shower for my bestie, who is almost ready to pop...literally! She's just weeks away from meeting her sweet baby boy. Here's a glimpse into our fabulous DIY baby shower...with tutorials on some of the fun details to come later this week! From the Caramel Butter POPcorn to Cake POPs to POPcorn chicken and the favors, I had a blast dreaming up ways to incorporate the theme.

This super simple diaper cake makes a great gift (and centerpiece)...tutorial located HERE! Want an easy and inexpensive way to display your cake pops and add a little bling to your table? Simply get white, rectangle styrofoam pieces from any craft store (example HERE) for a few bucks and cover them in fancy wrapping paper! So simple...yet it makes your cake pops, well...pop. (pun intended)

All of the "Ready to Pop" logos were easily created in photoshop...download FREE printables in blue and green OR pink and brown HERE!

I think the cupcake in a jar favors are my new favorite. I just keep finding new awesome ways to use mason jars! Hope you enjoyed this peek into our fun filled day...thanks for POPping by!

(see what I did there? I just can't help myself)


(Disclaimer: This post contains some affiliate links.)