
We're having a blast talking all things weddings this week!
Today, let me introduce you to Emily & Clinton...

Photo Credit: http://www.sugarsnapatl.com
These two are super special to me. That's because for this wedding, not only was I the designer, planner and florist...I was also sister-in-law to the bride and matron of honor. (talk about pulling double duty!)

Photo Credit: http://www.sugarsnapatl.com
When it comes to siblings in law...I hit the jackpot with this gal, she's just swell. We did this same pose at my wedding (see below right) and of course, had to carry on the tradition!
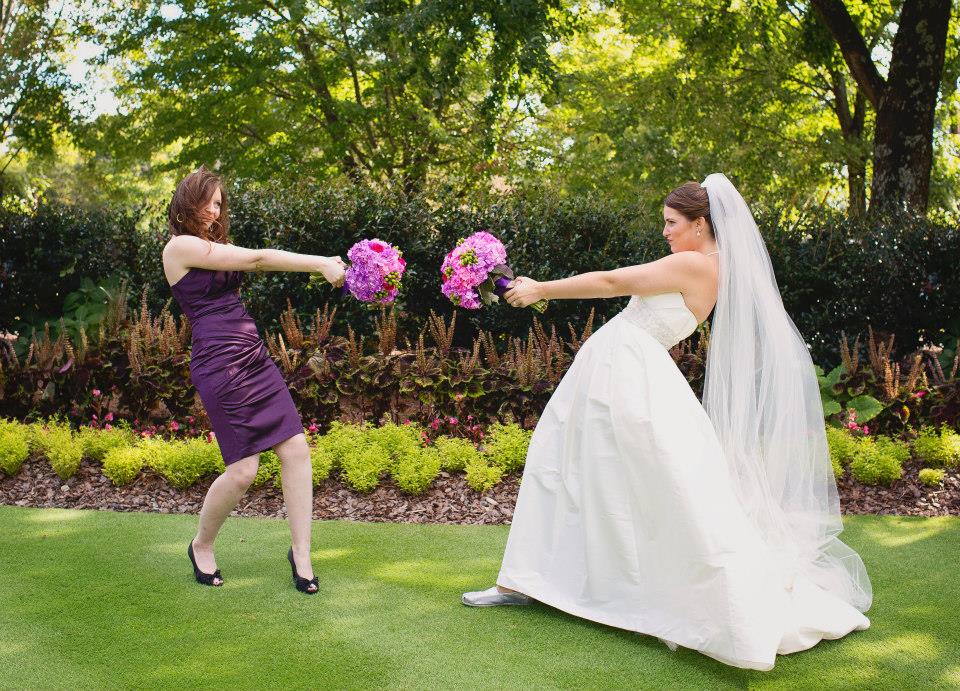
Photo Credit: http://www.sugarsnapatl.com

Photo Credit: http://www.sugarsnapatl.com

cinderella-carriage
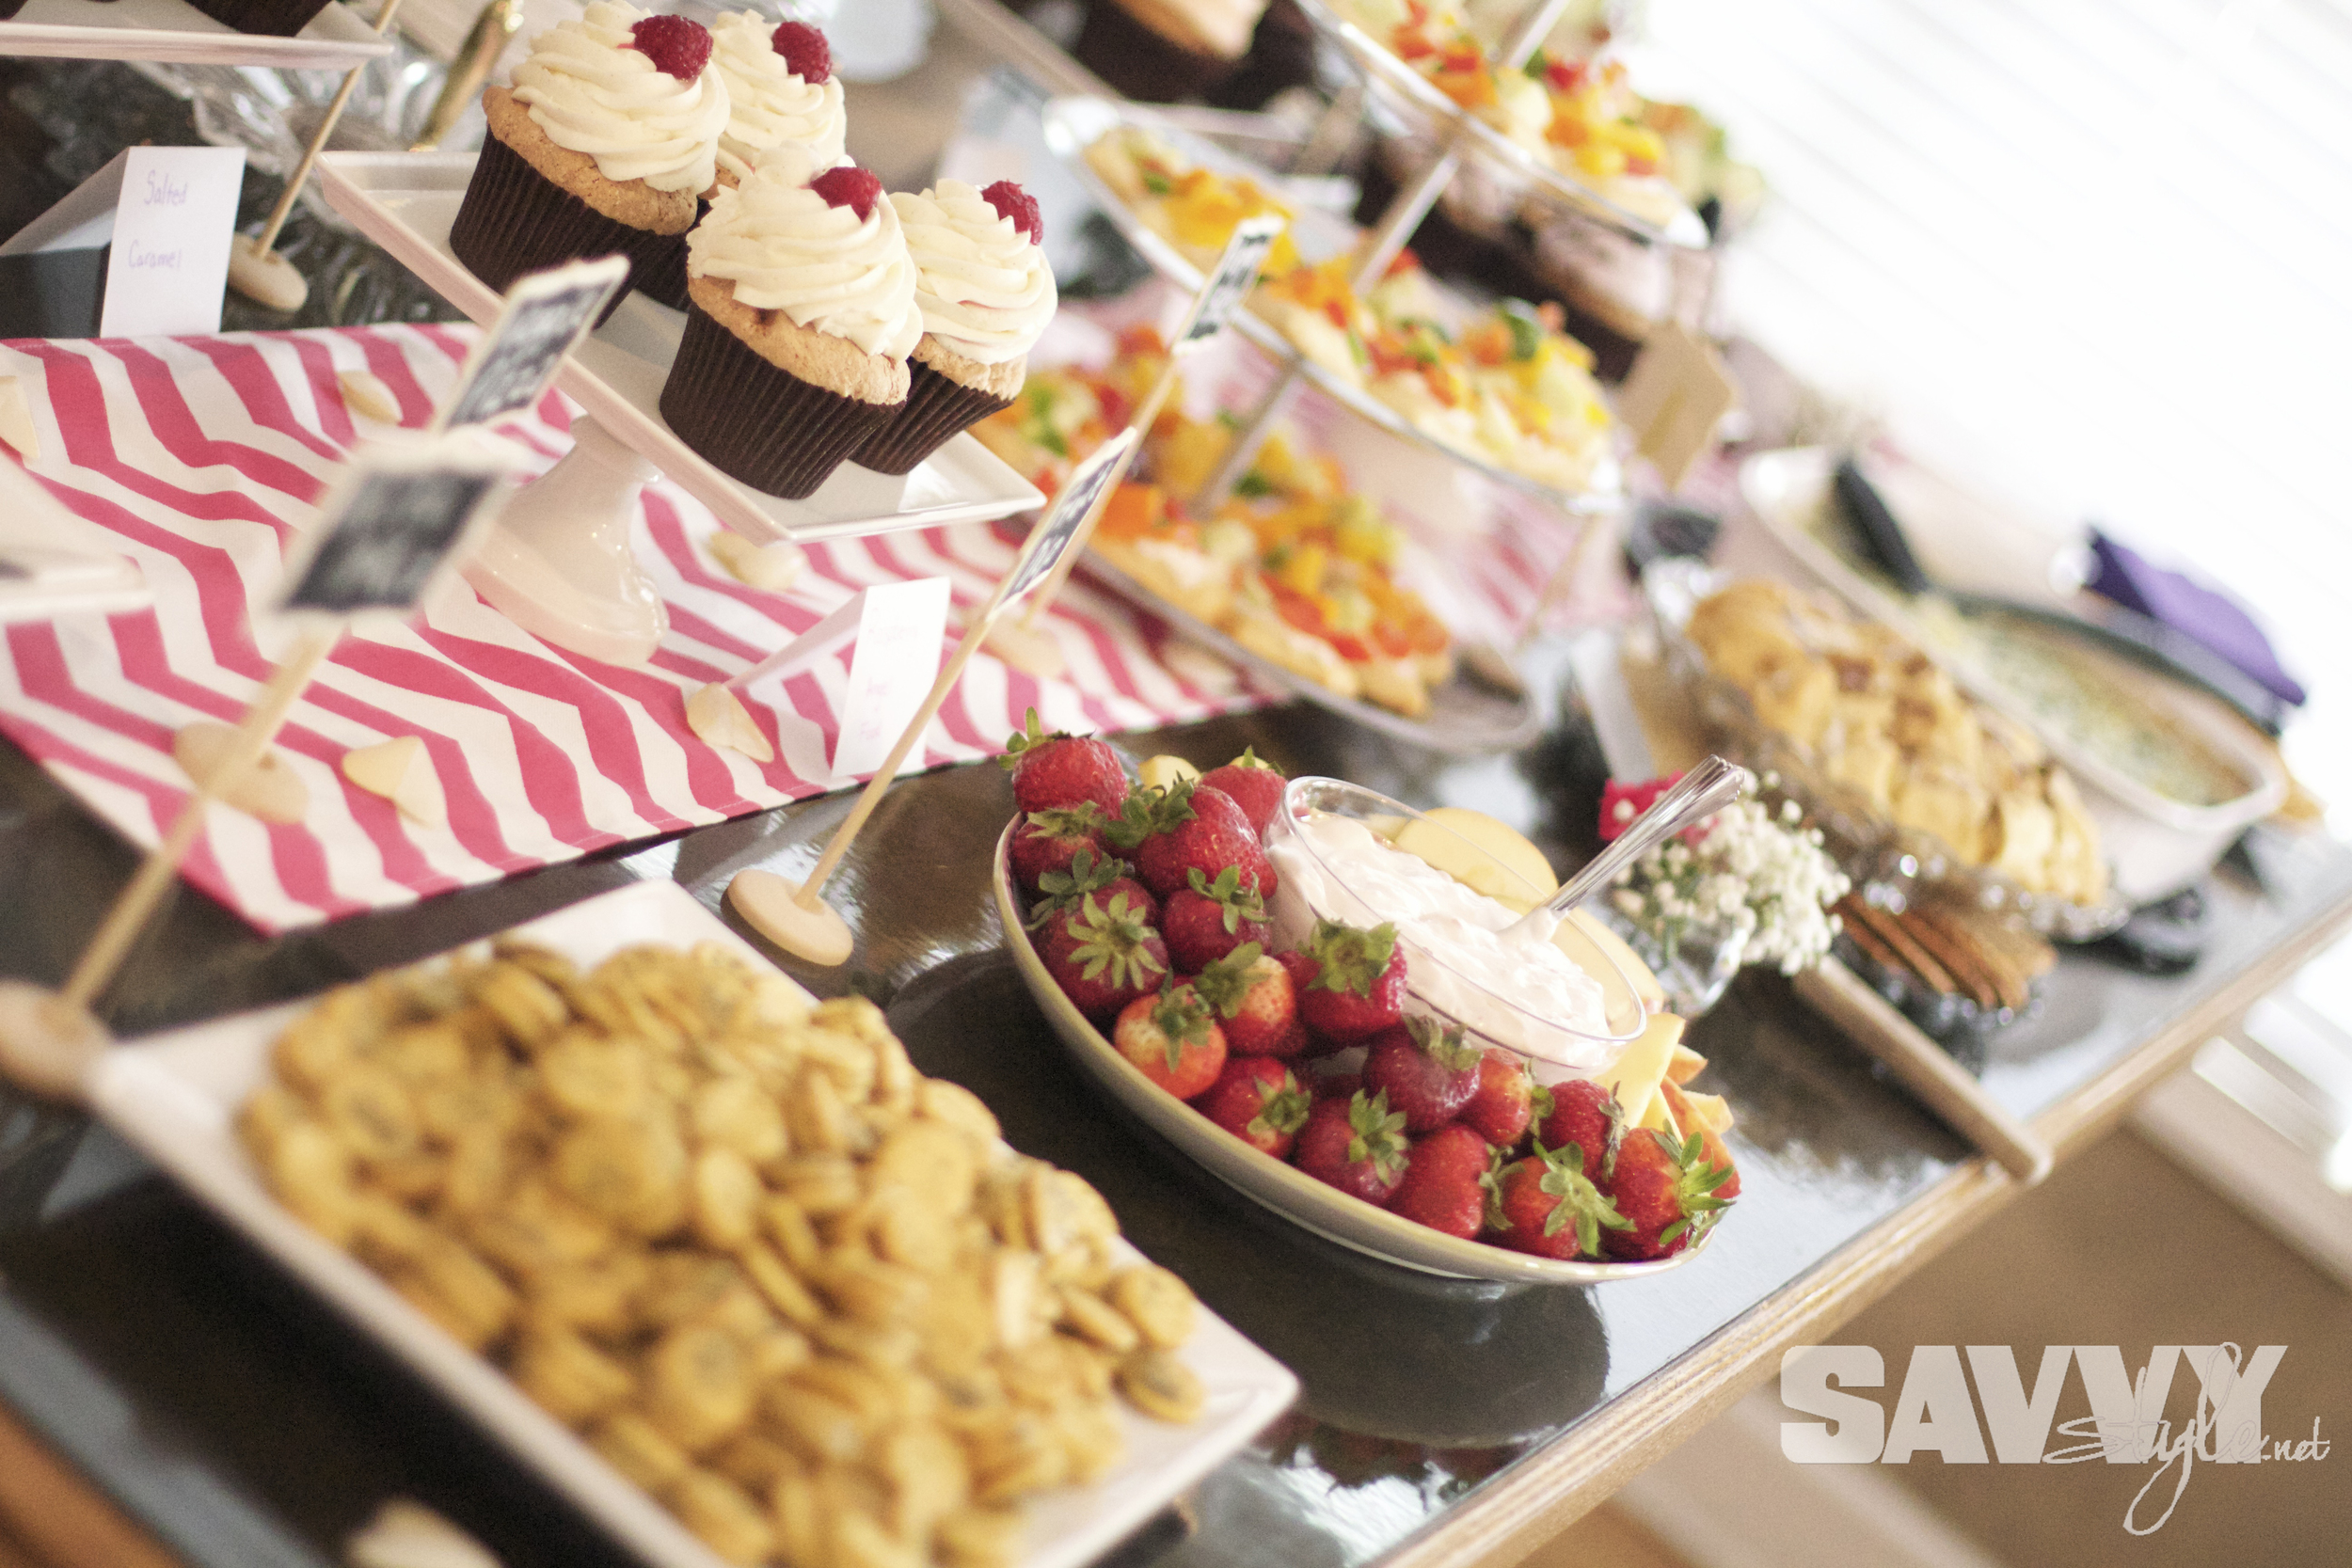
Anywho...if you know Emily, you know she loves all things fairytale related. In fact, Clinton even proposed to her with an adorable Cinderella carriage snow globe (that we displayed on their cake table) So from the princess style ball gown to the sweetheart cupcakes and every detail in between, we wanted to make her day feel like her own special farytale. I LOVED the bright pink, purple and black color palette she chose...it was so vibrant and fun! And when we found dyed hydrangeas to match her vision, we hit the jackpot!
Let's start with the flowers. Sam's Club came through for me again with a great selection of affordable flowers, and perfect colors to match! (to read more about how I used Sam's Club for my own wedding bouquets, check out my DIY tutorial HERE)

Oh my word our tiny apartment was busting with flowers! (did I mention my hubby's allergic? oops!)
Emily wanted bouquets, but she also wanted flowers integrated into all of her centerpieces, so this order cost a little more than my last, but for just under $700 here's what we got:
1 Large bridal bouquet
6 Large bridesmaids bouquets
2 Mother's carry bouquets
3 Grandmother's carry bouquets
13 Boutonnieres
20 Centerpiece arrangements
12 Aisle arrangements
2 Large buffet table arrangements
7-10 small arrangements for altar and other accent tables

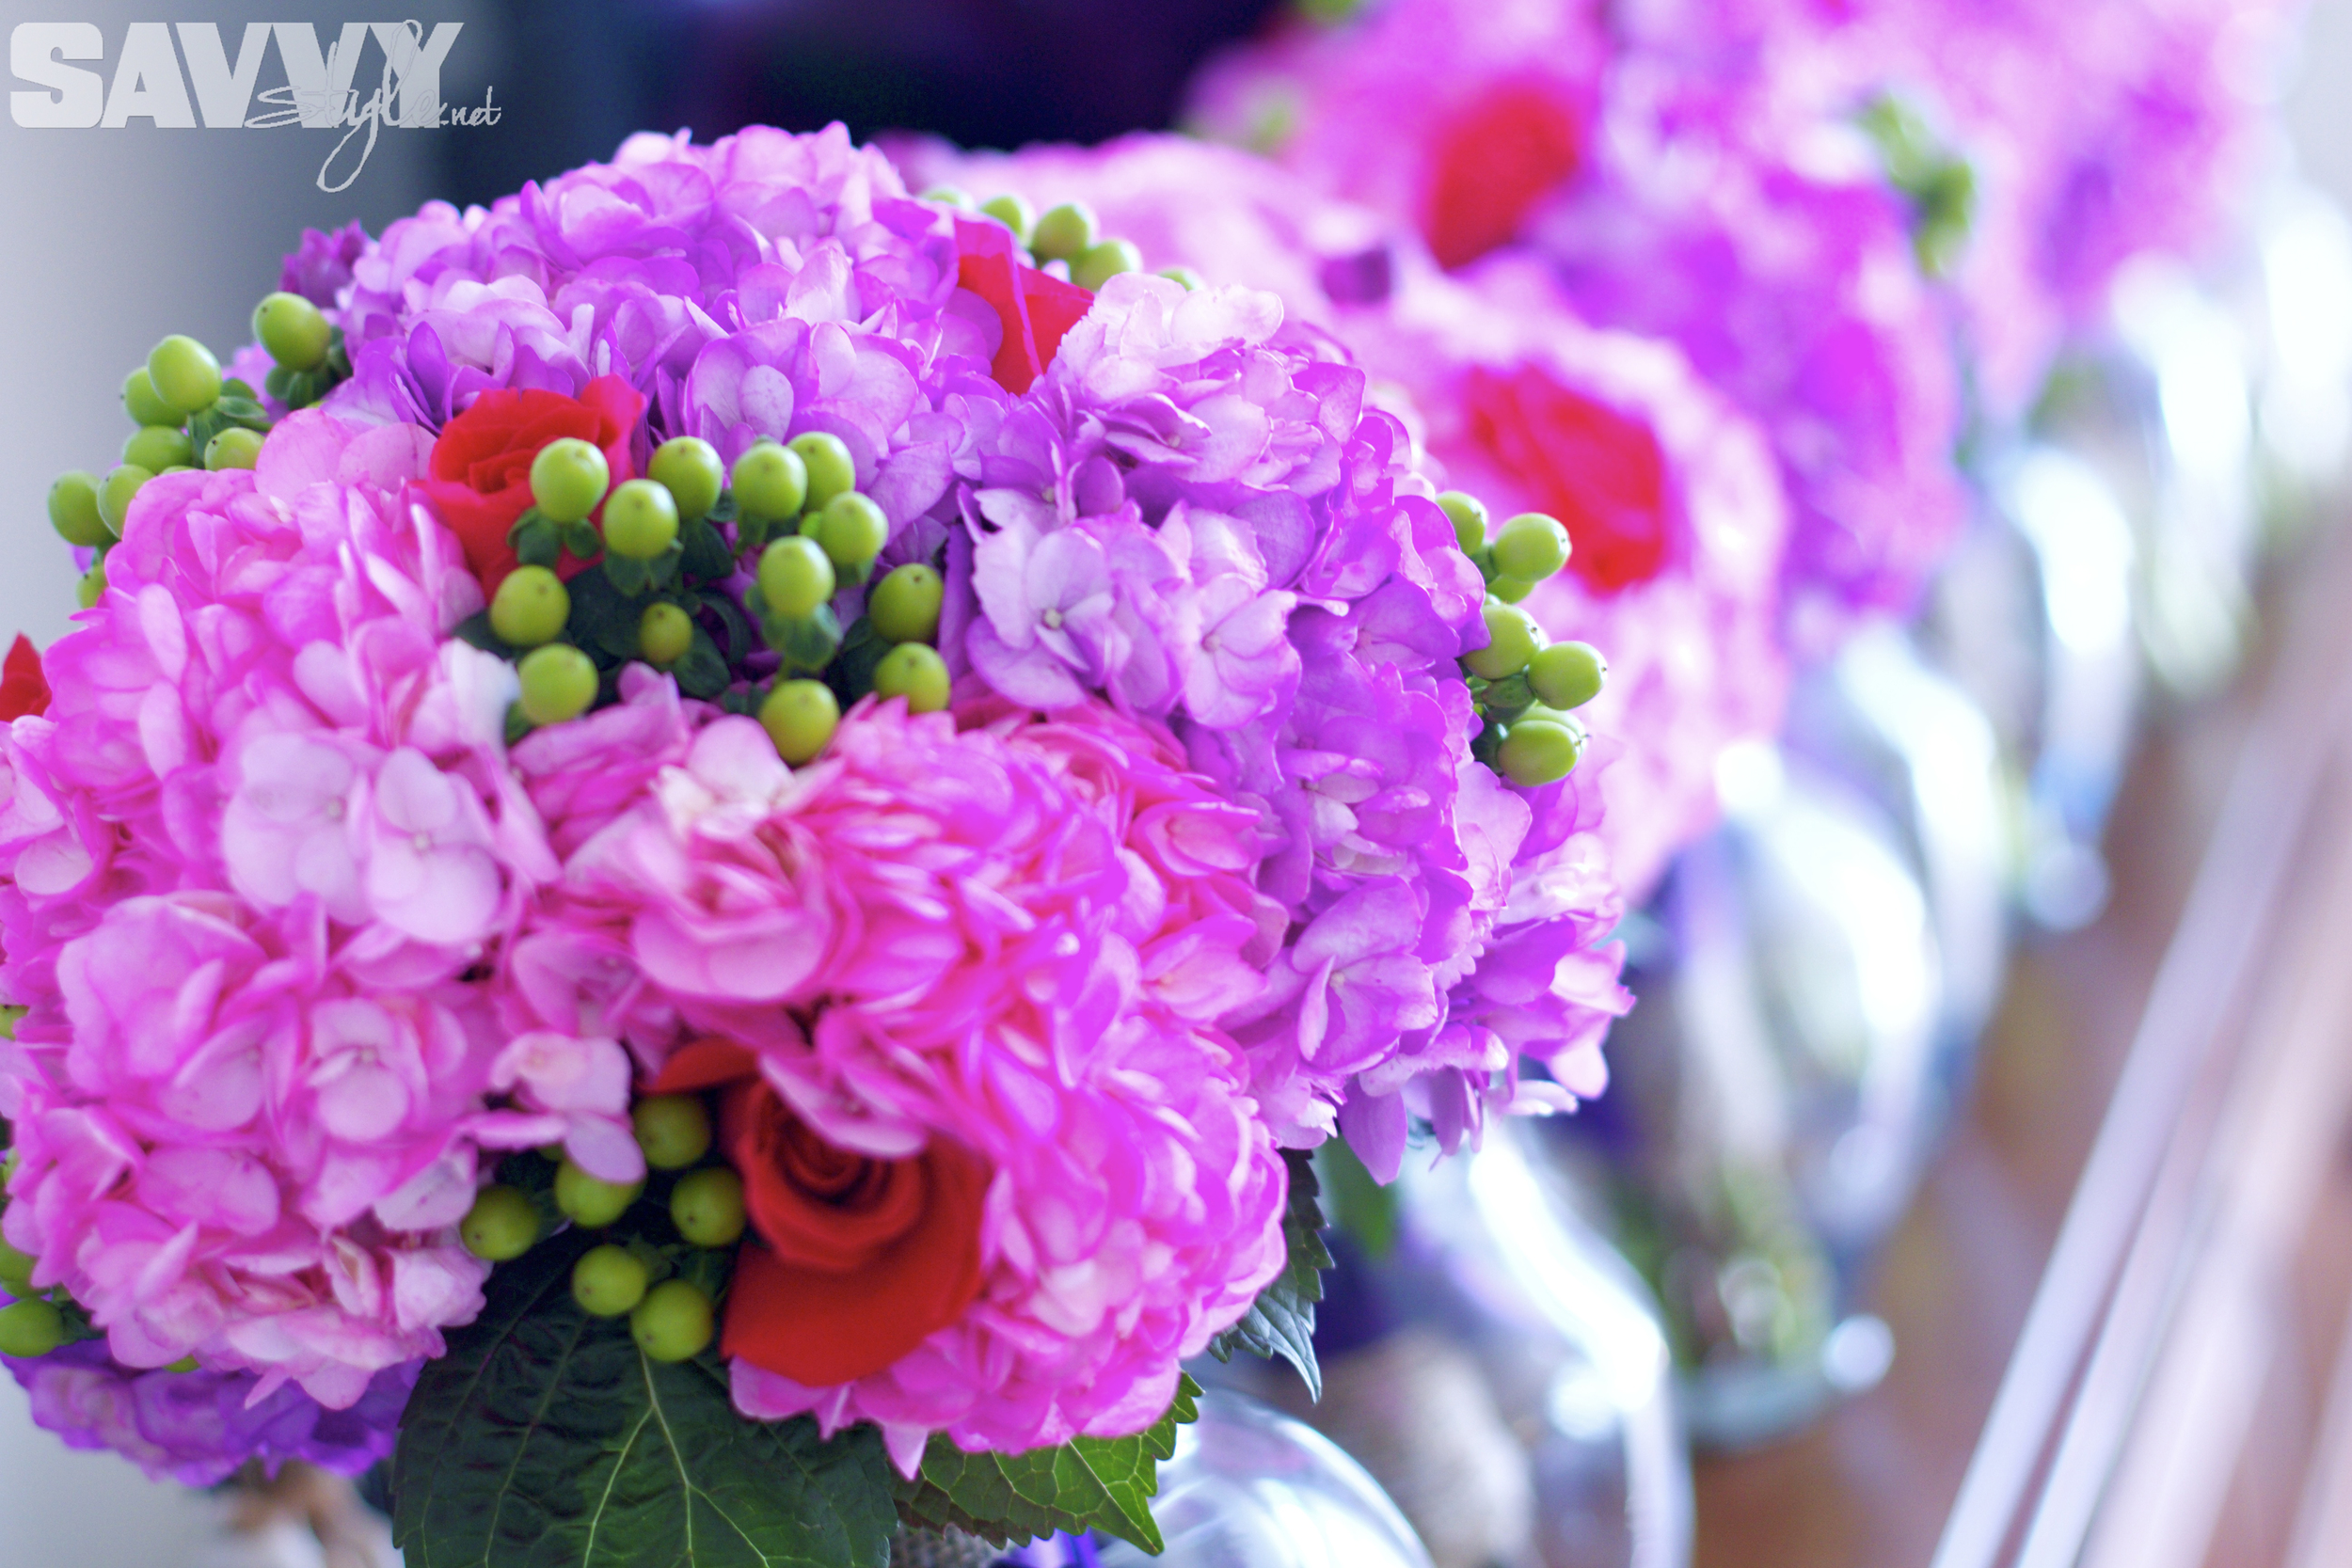
Talk about getting some bang for your buck! We had flowers everywhere and they were gorgeous! The bouquets and arrangements were made up of pink & purple hydrangeas, green hypericum berries, hot pink roses and purple tulips.

Photo Credit: http://sugarsnapatl.com

Photo Credit: http://sugarsnapatl.com

Photo Credit: http://sugarsnapatl.com

Photo Credit: http://sugarsnapatl.com

Photo Credit: http://sugarsnapatl.com

Photo Credit: http://sugarsnapatl.com
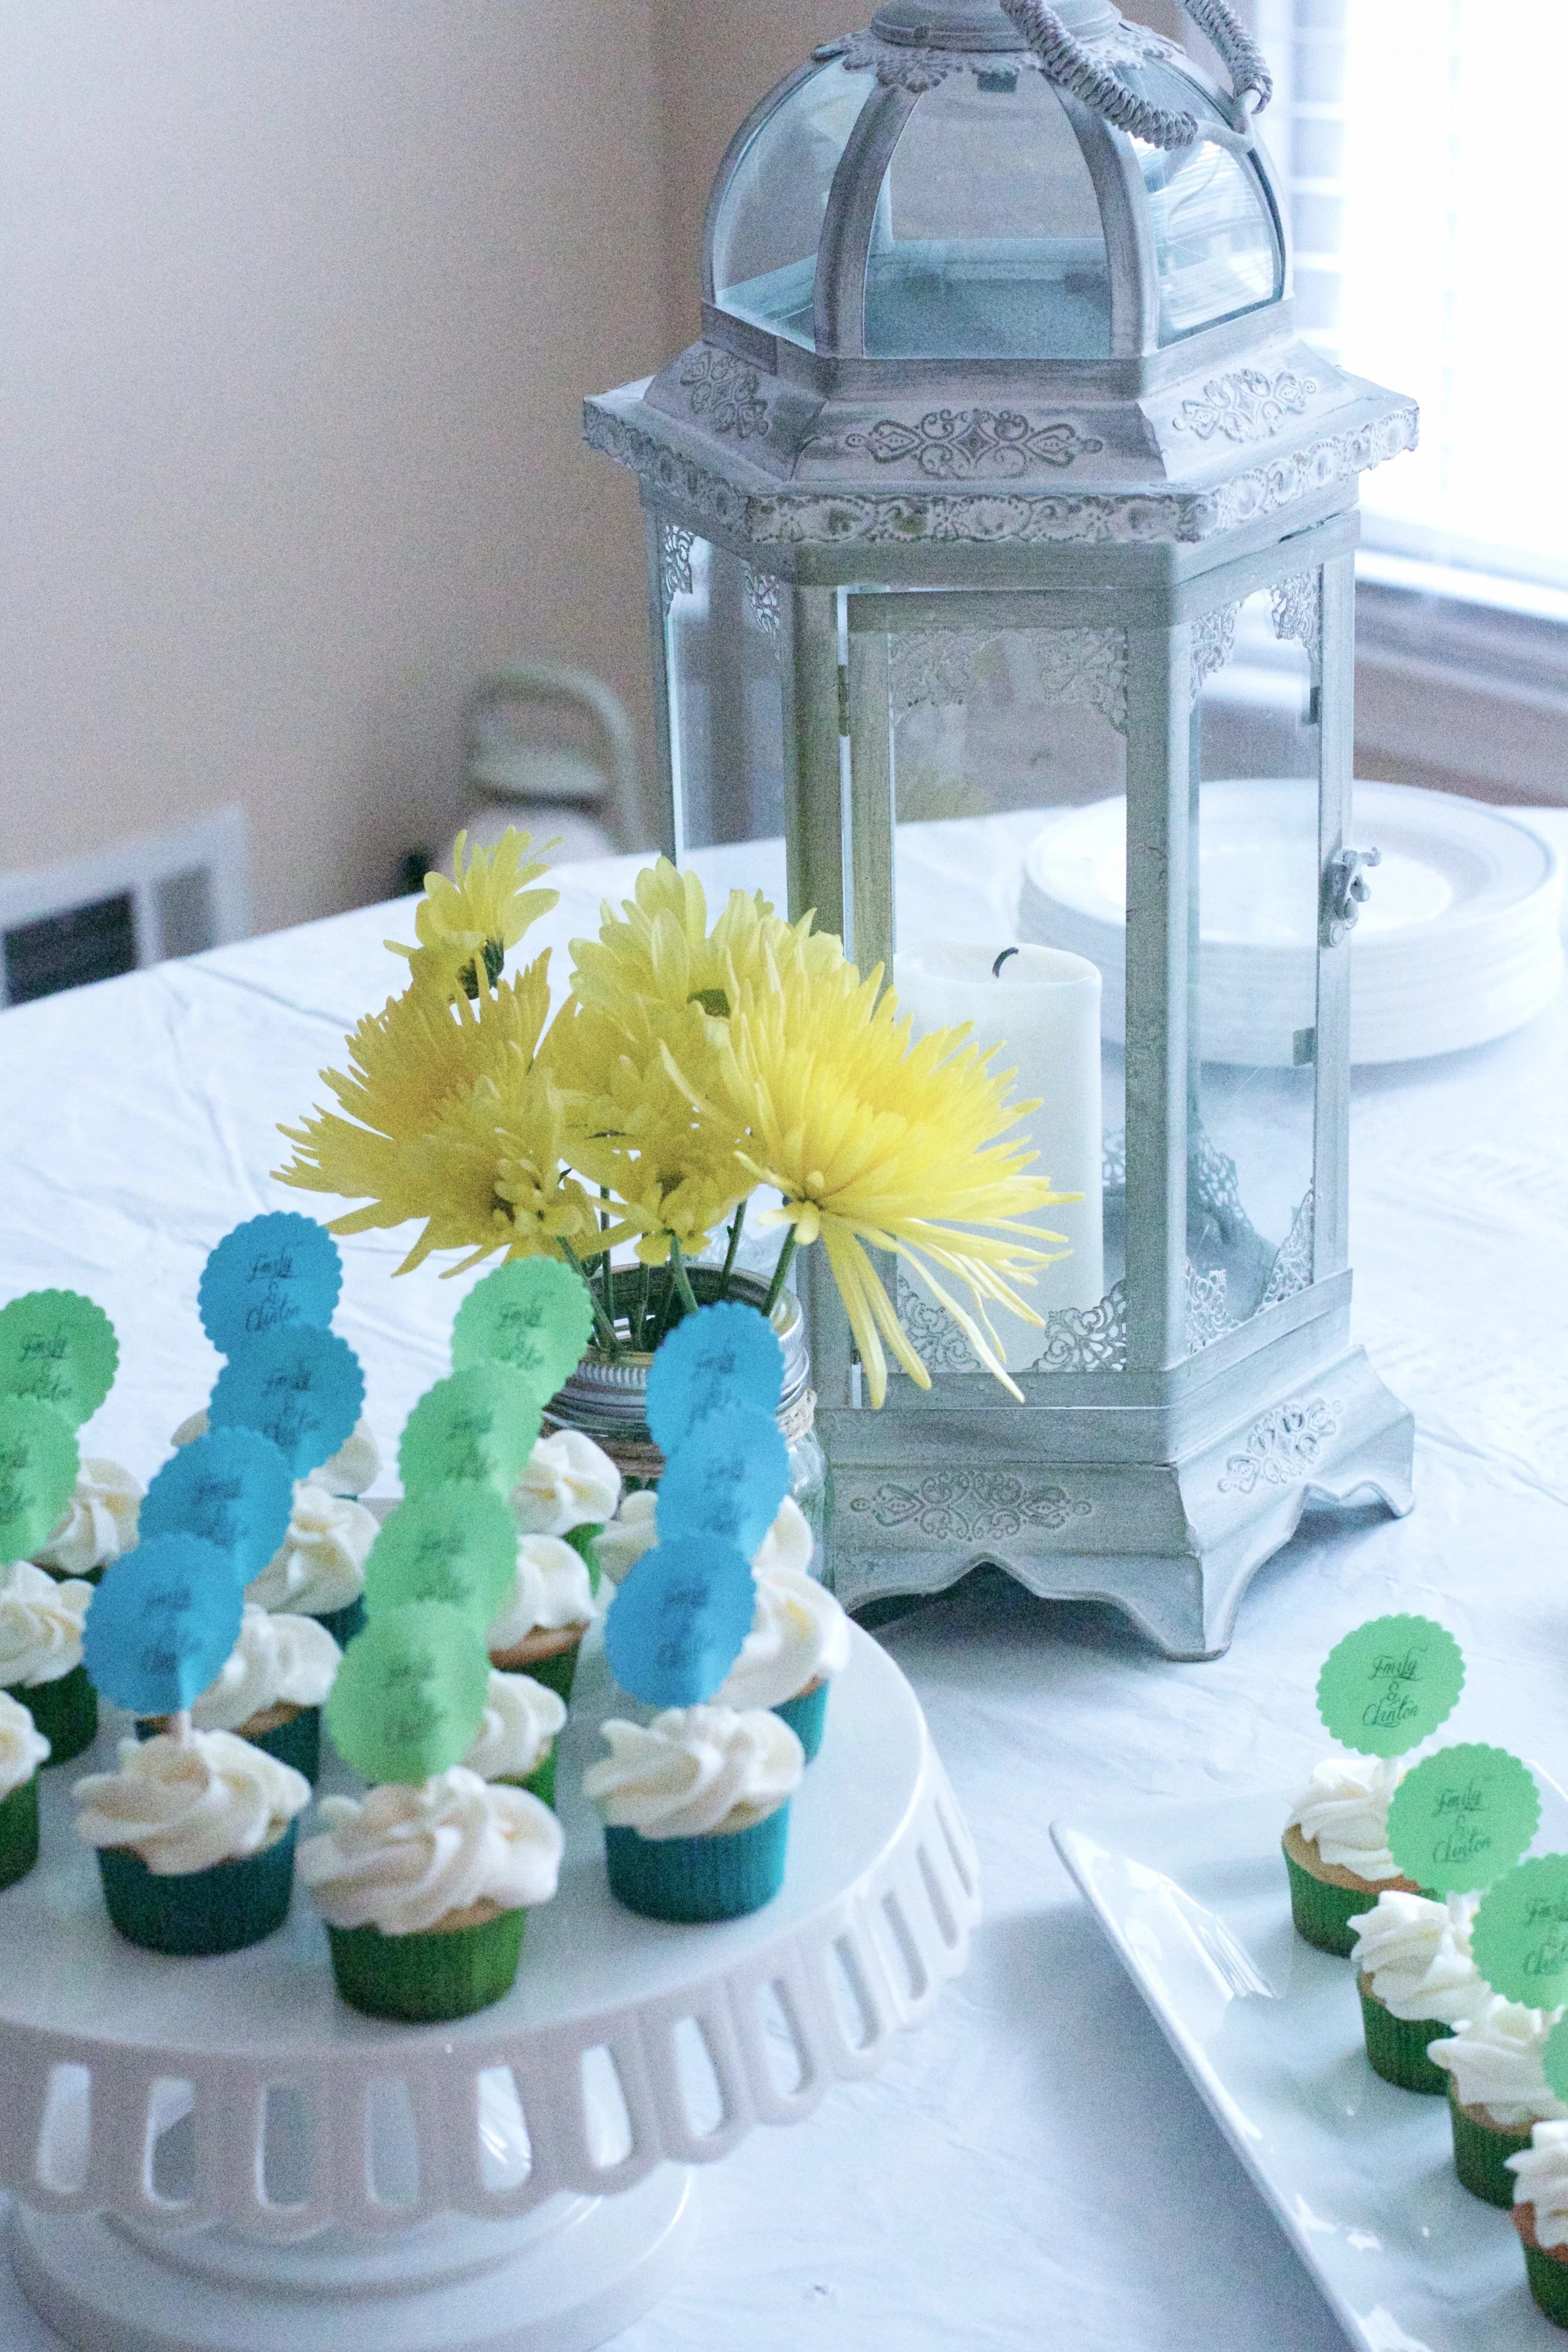
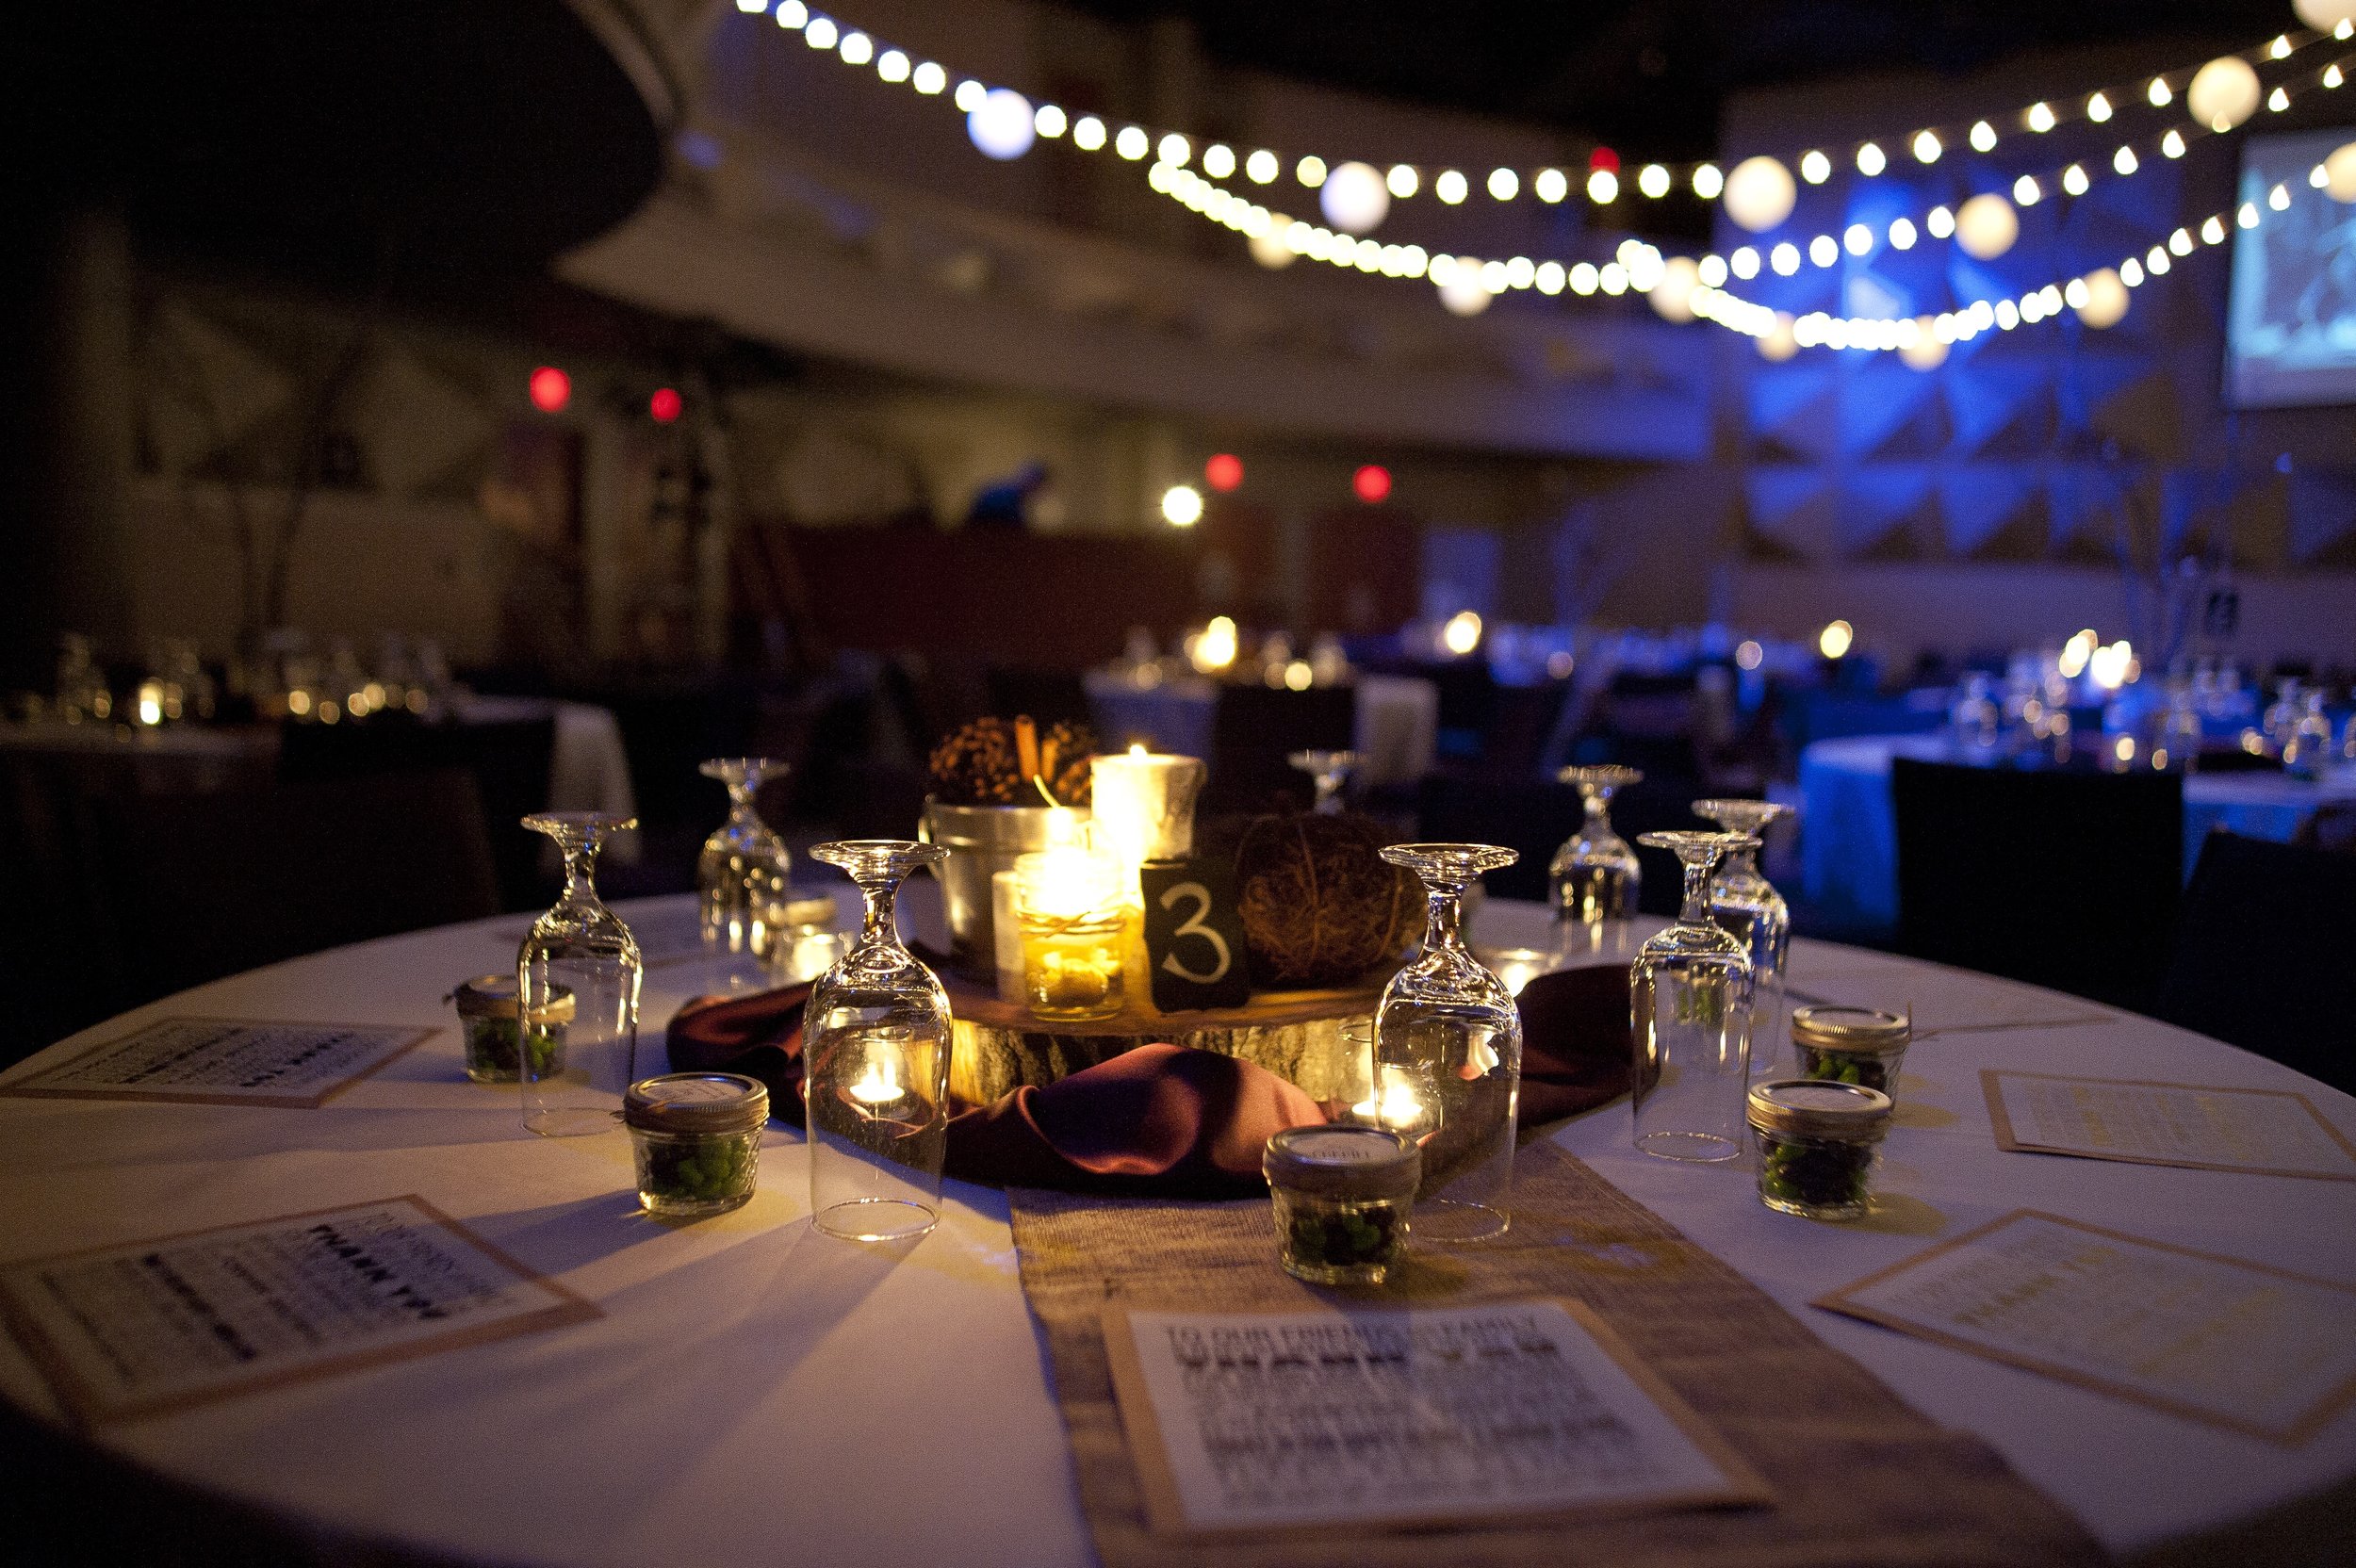
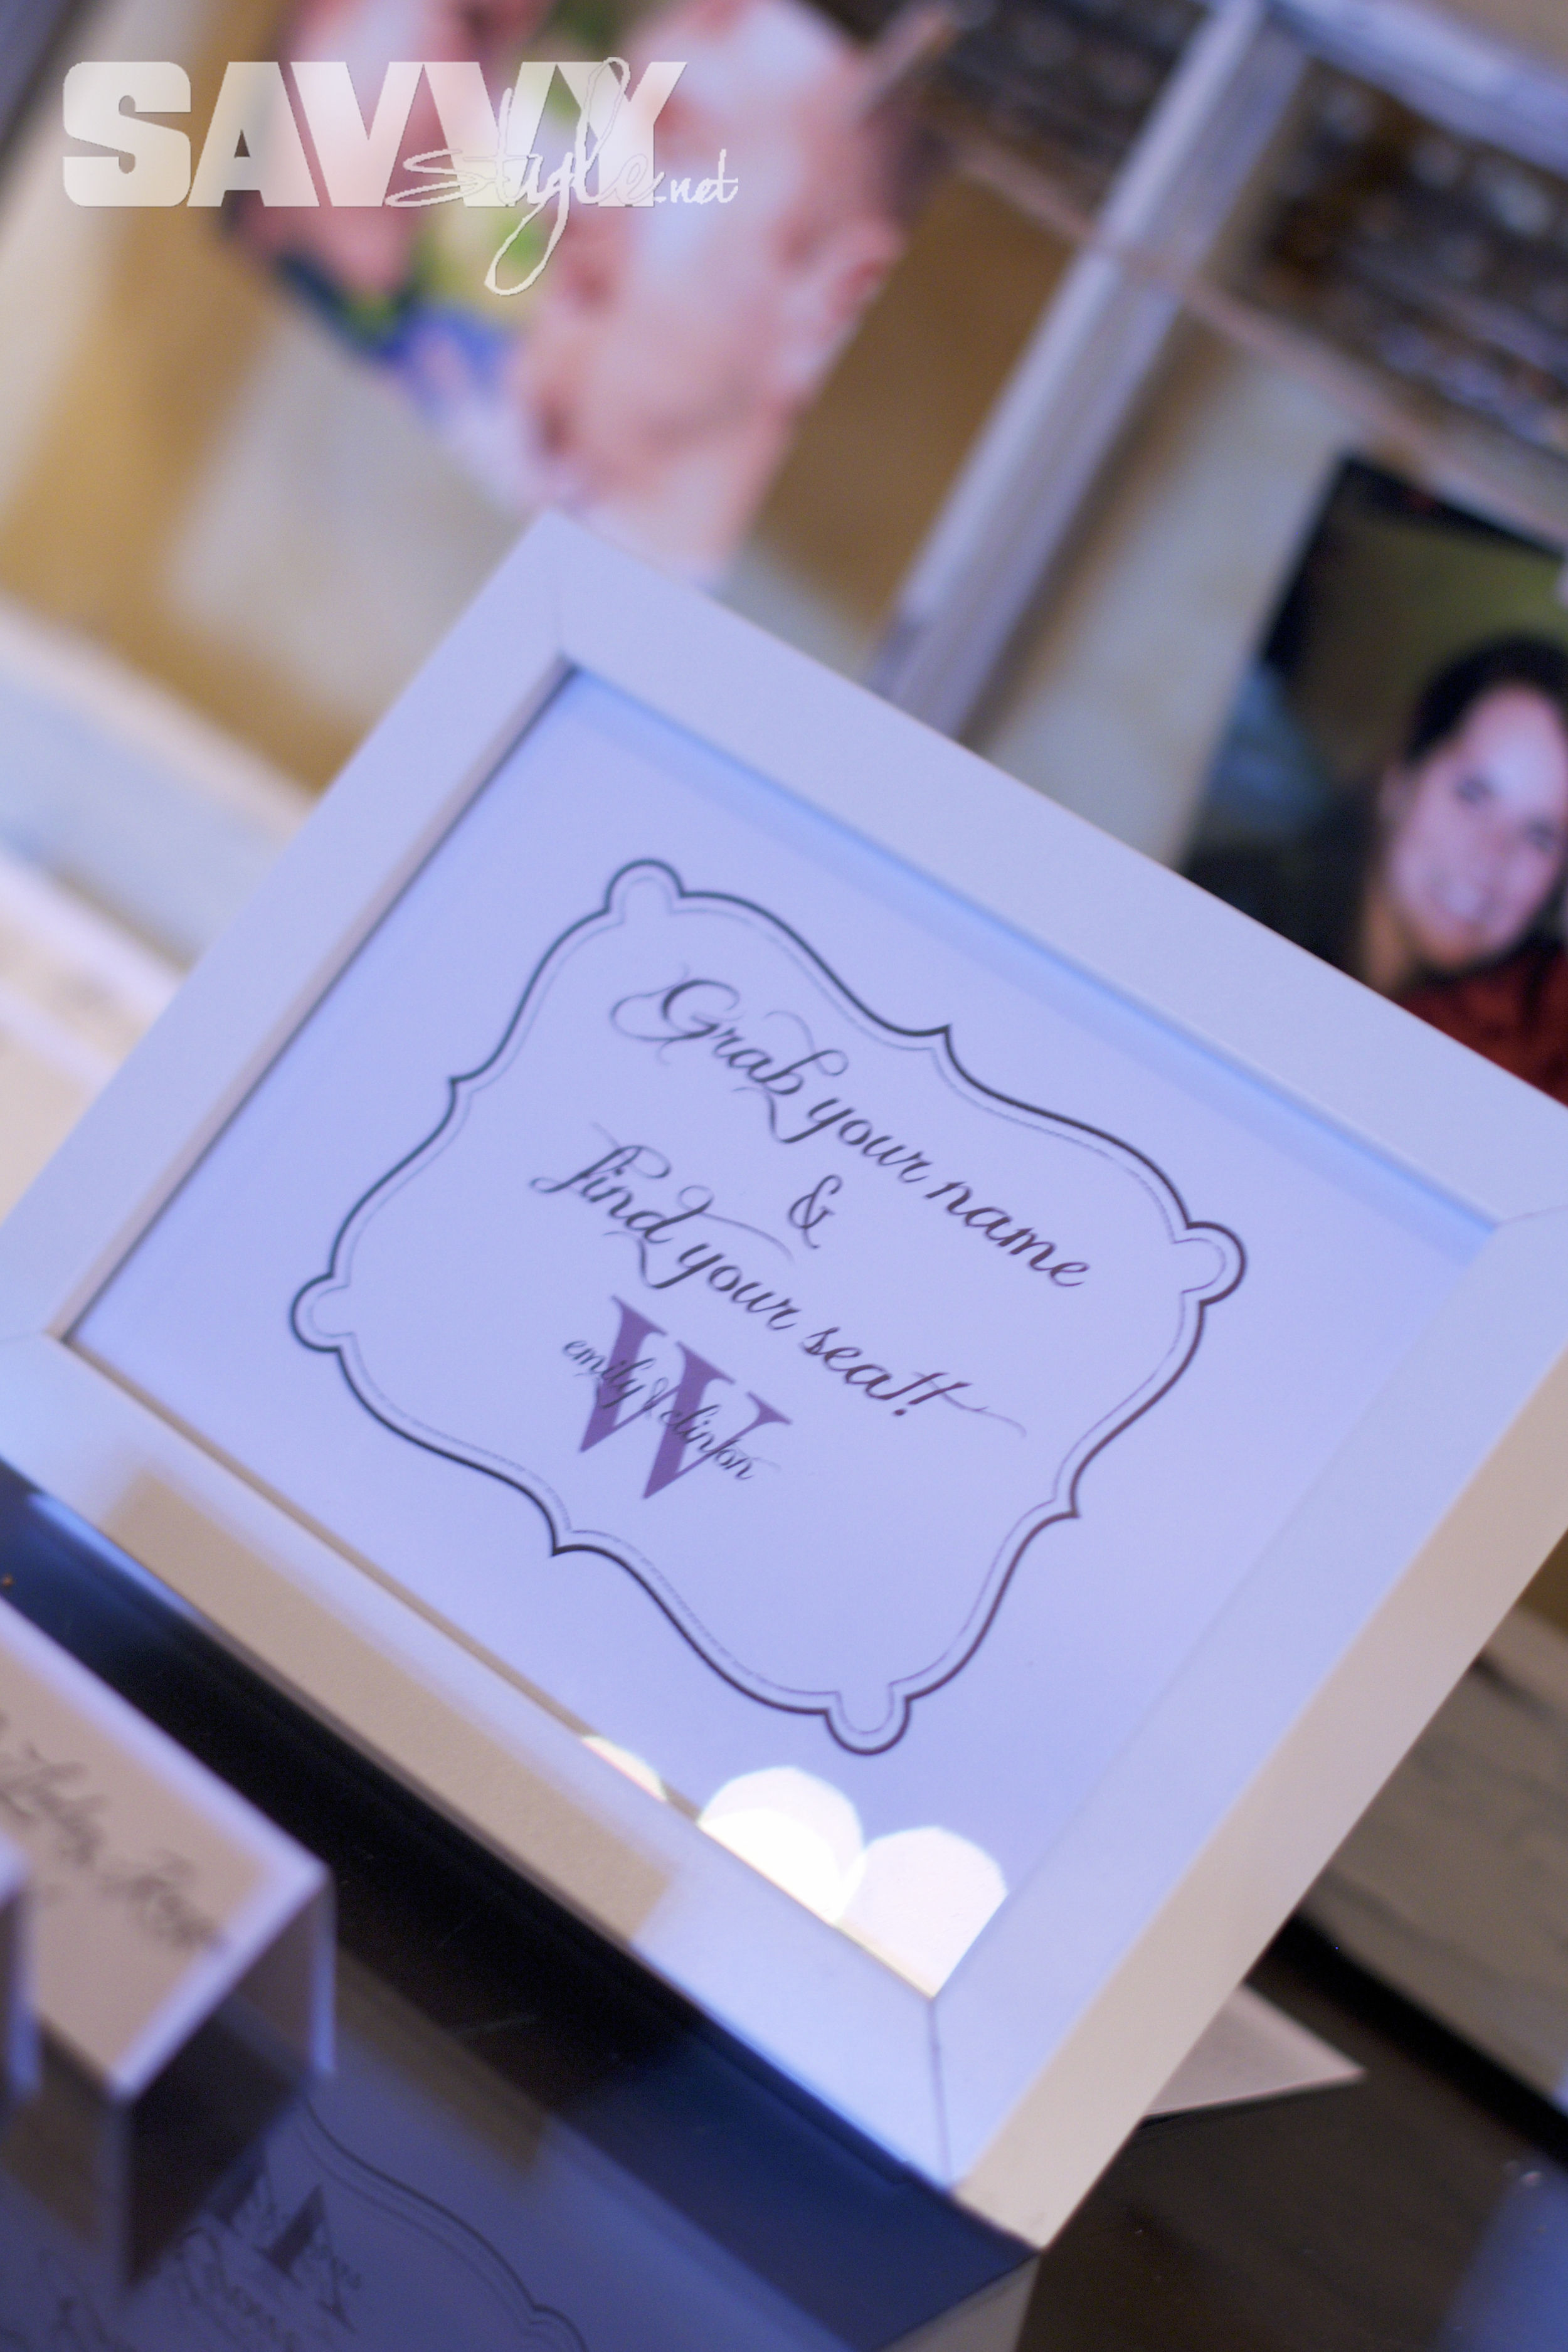
Now let's talk decor. Emily wanted this fairytale day to have a country club setting with a slightly rustic feel (which I love, because in wedding world these days rustic is the new black). So we accented her decor with touches of burlap and mason jars...galvanized buckets and vintage lanterns, barn wood framed chalk boards and DIY distressed table number frames. It was lovely!

Photo Credit: http://sugarsnapatl.com

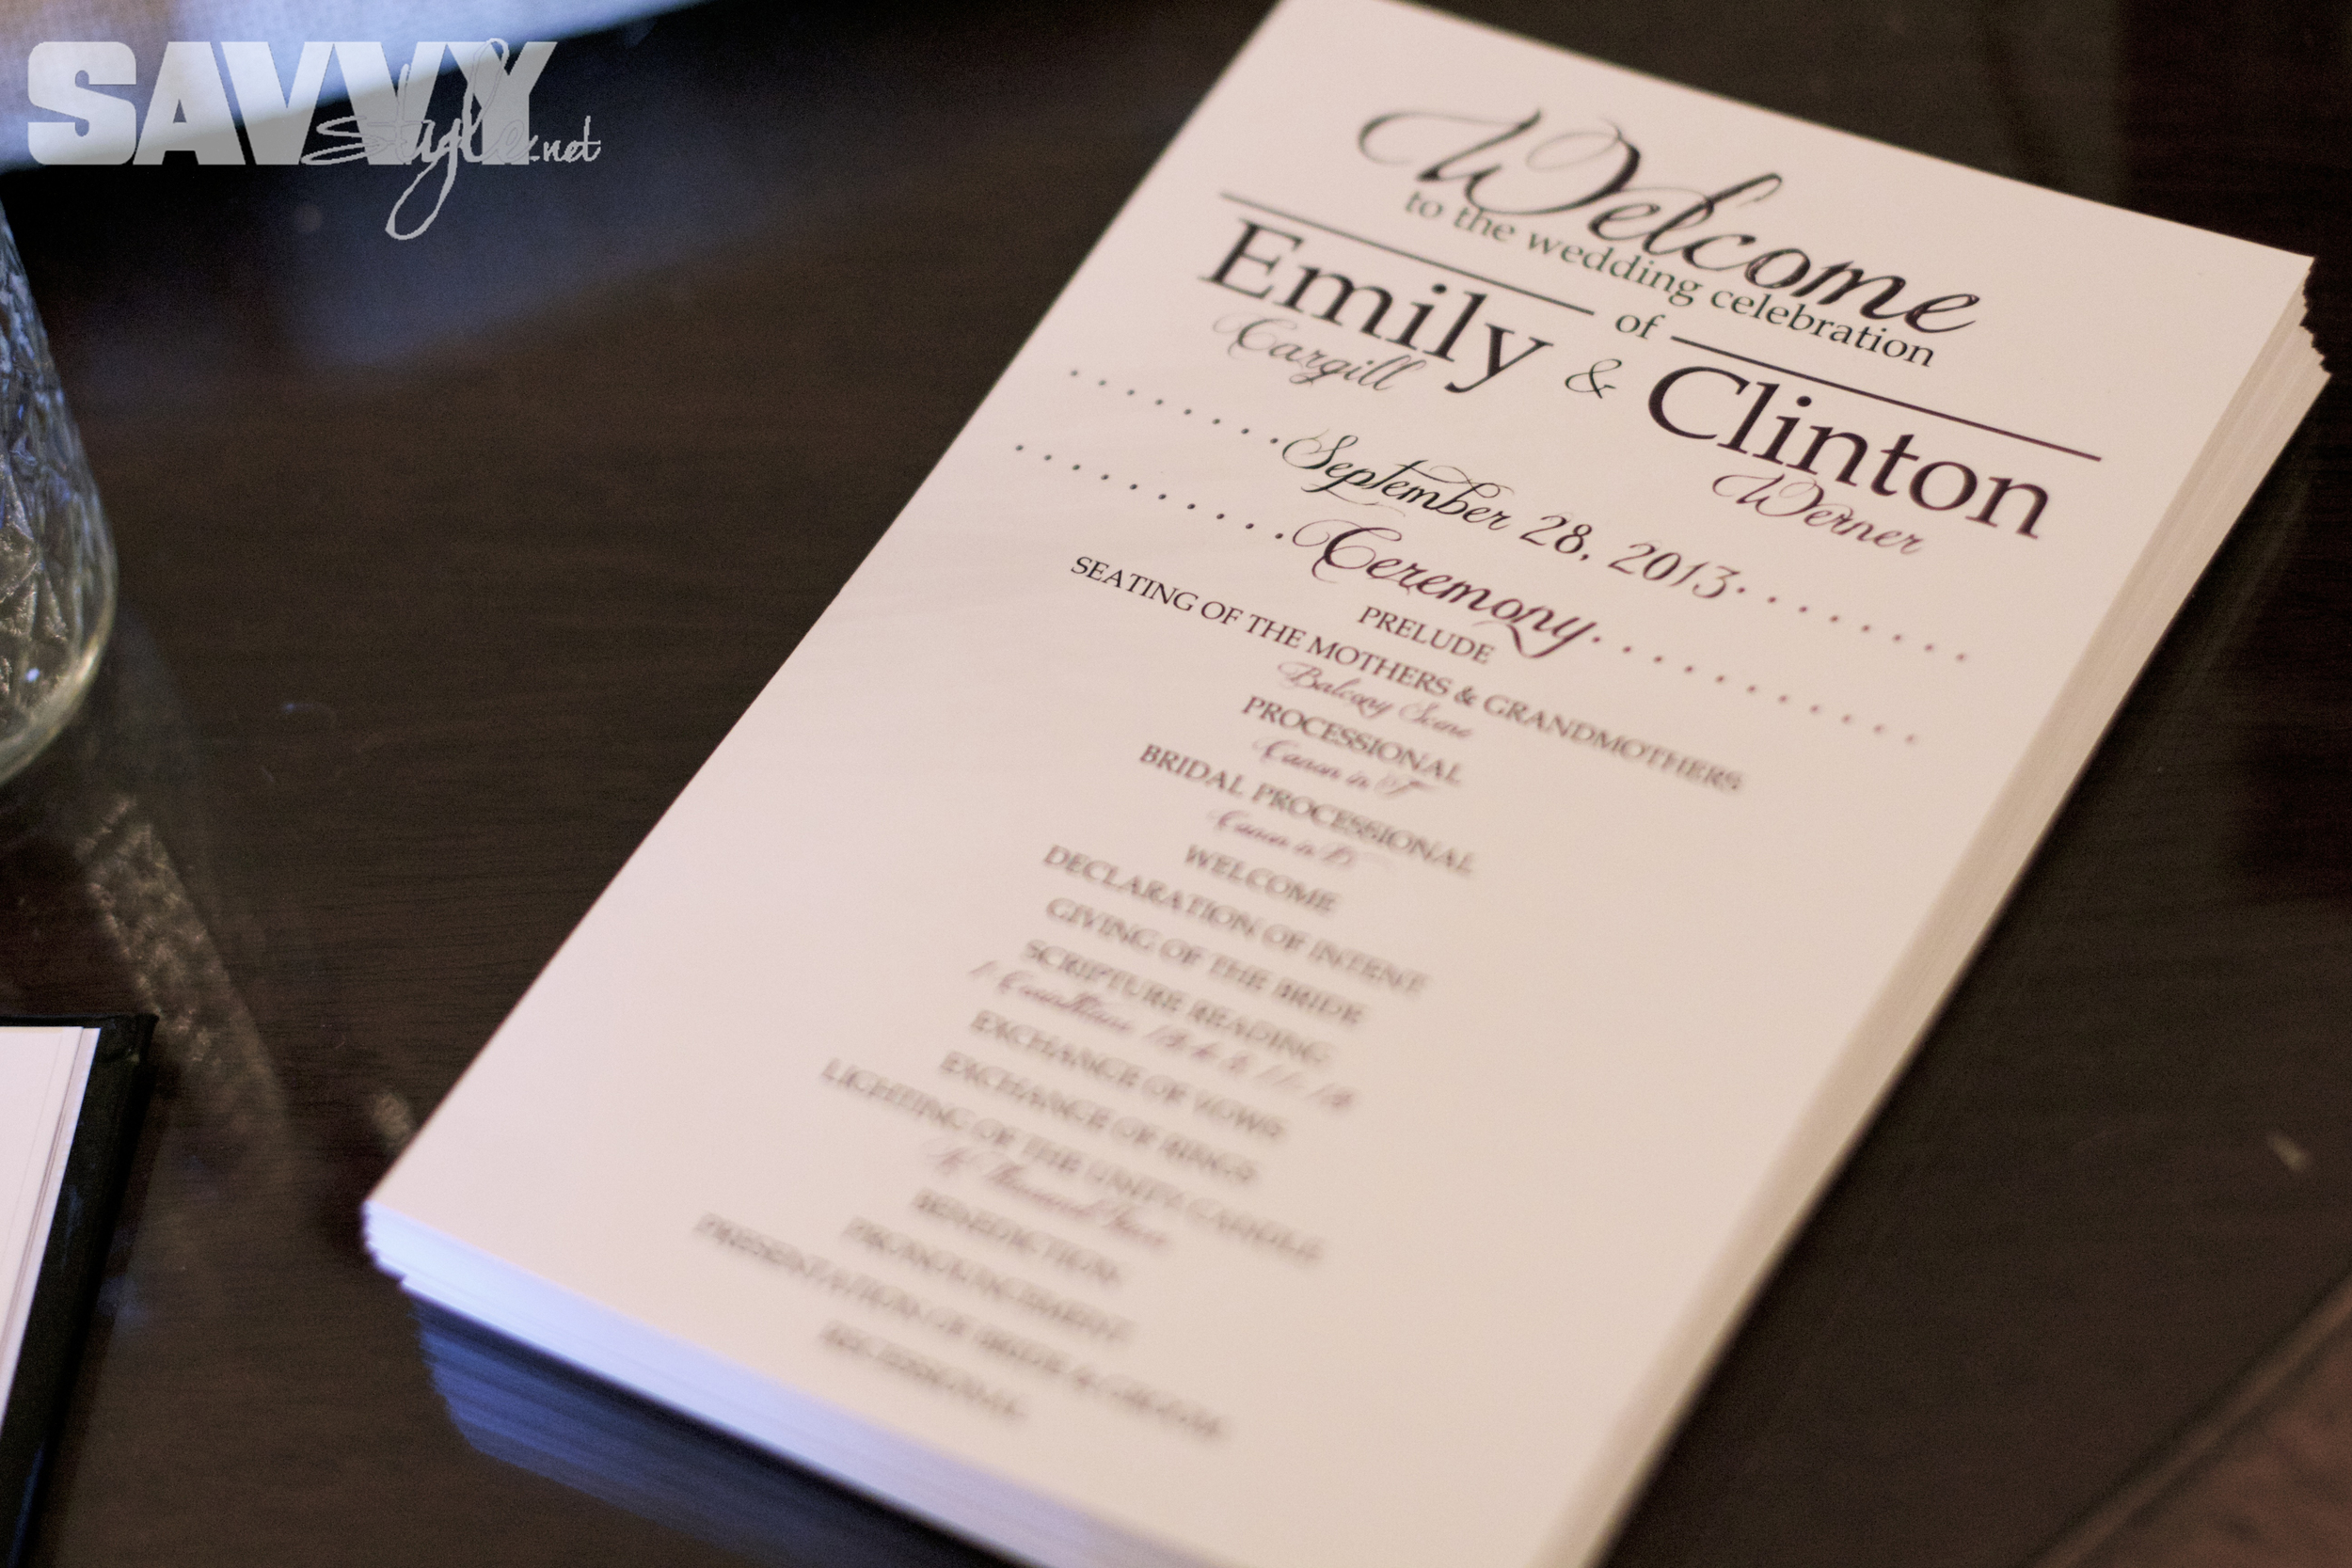

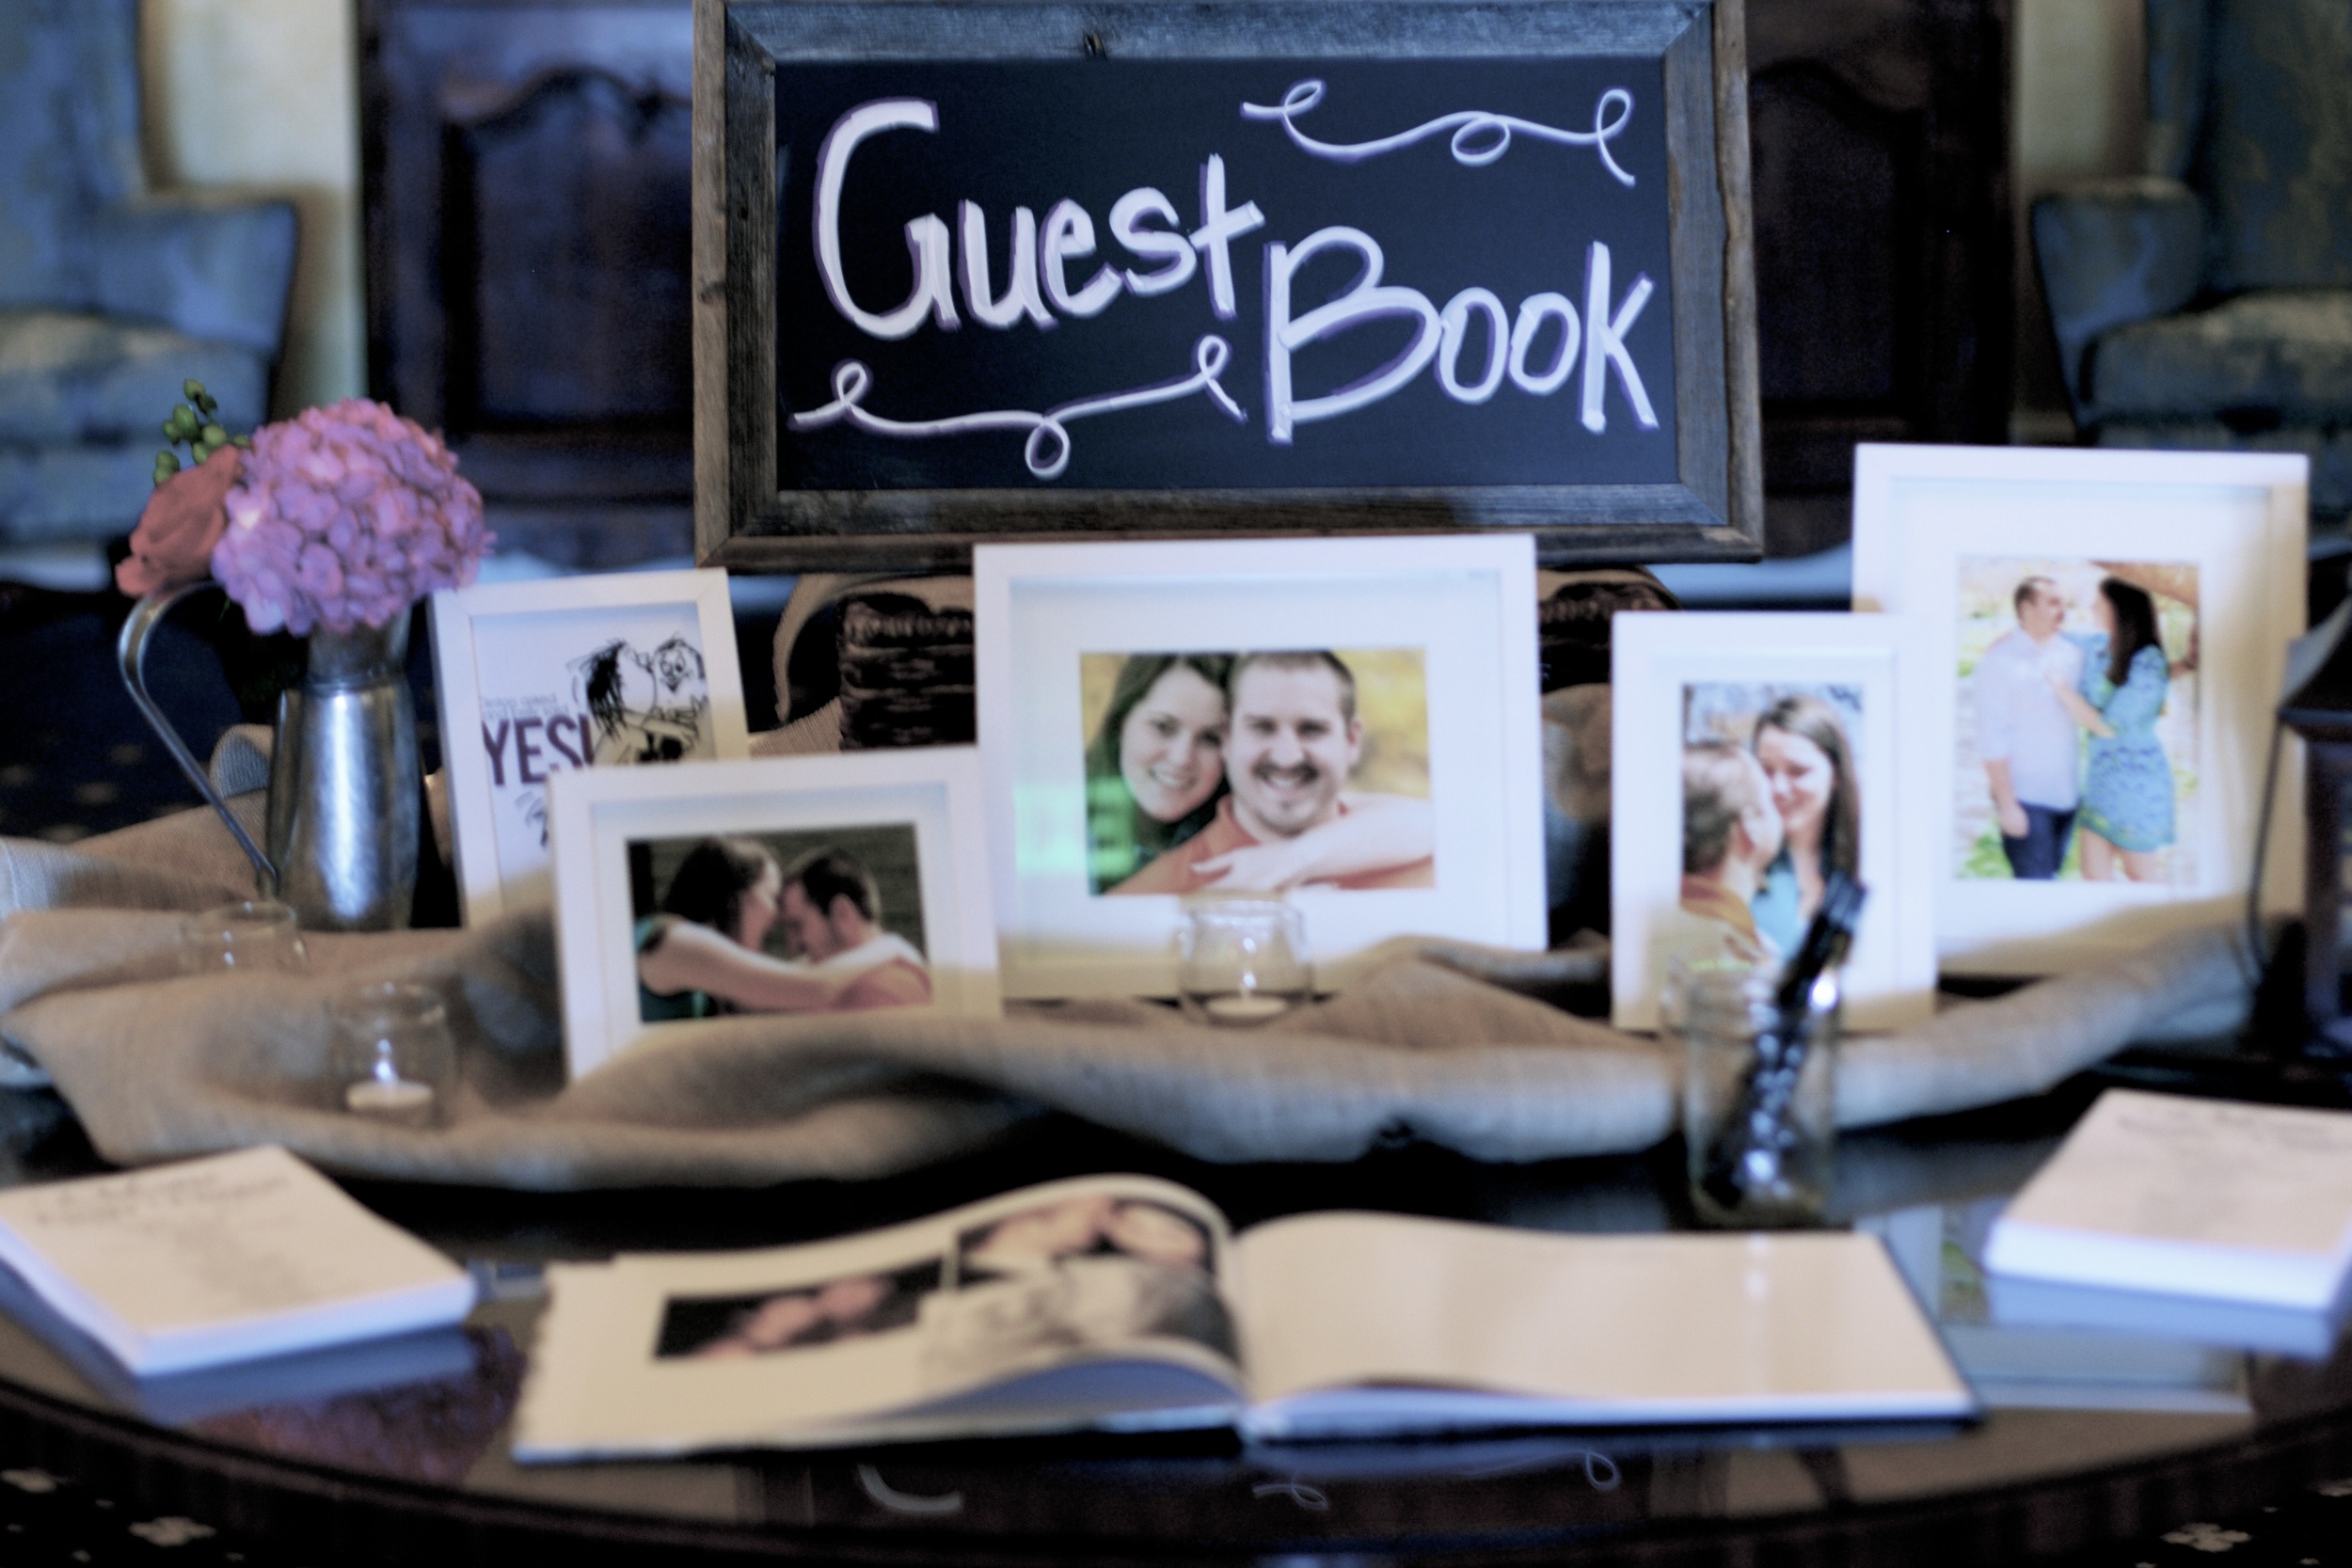
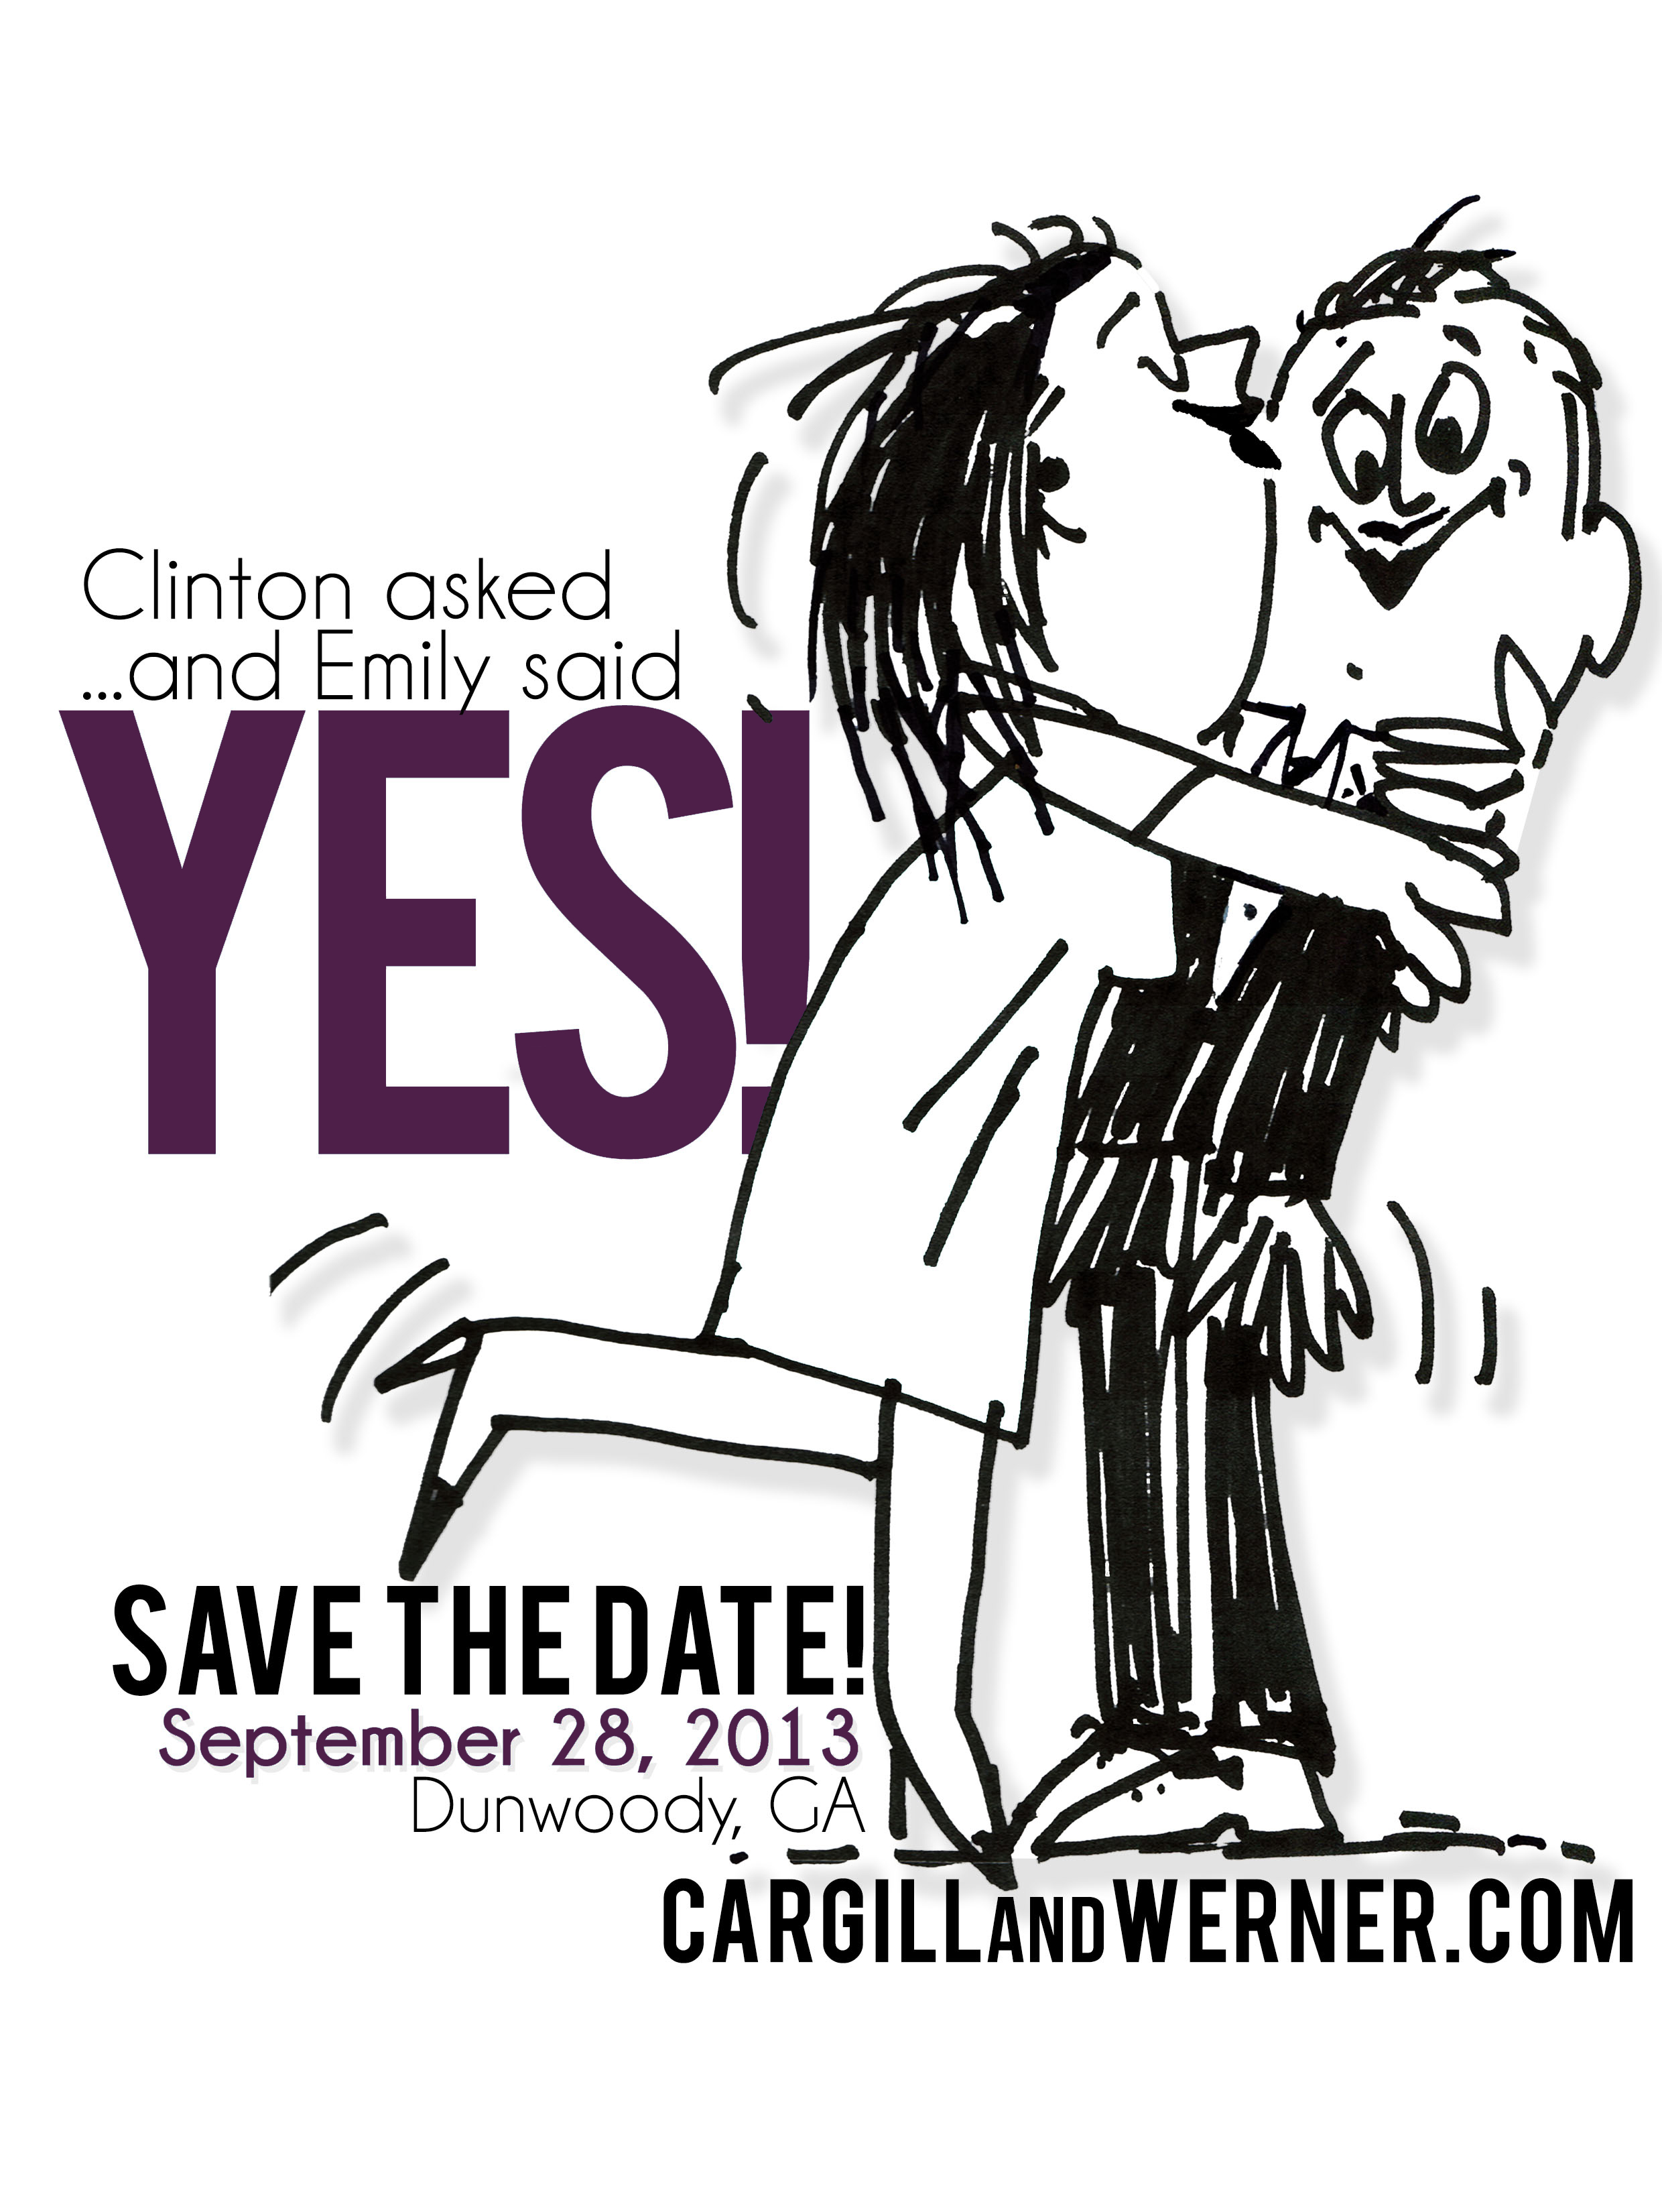
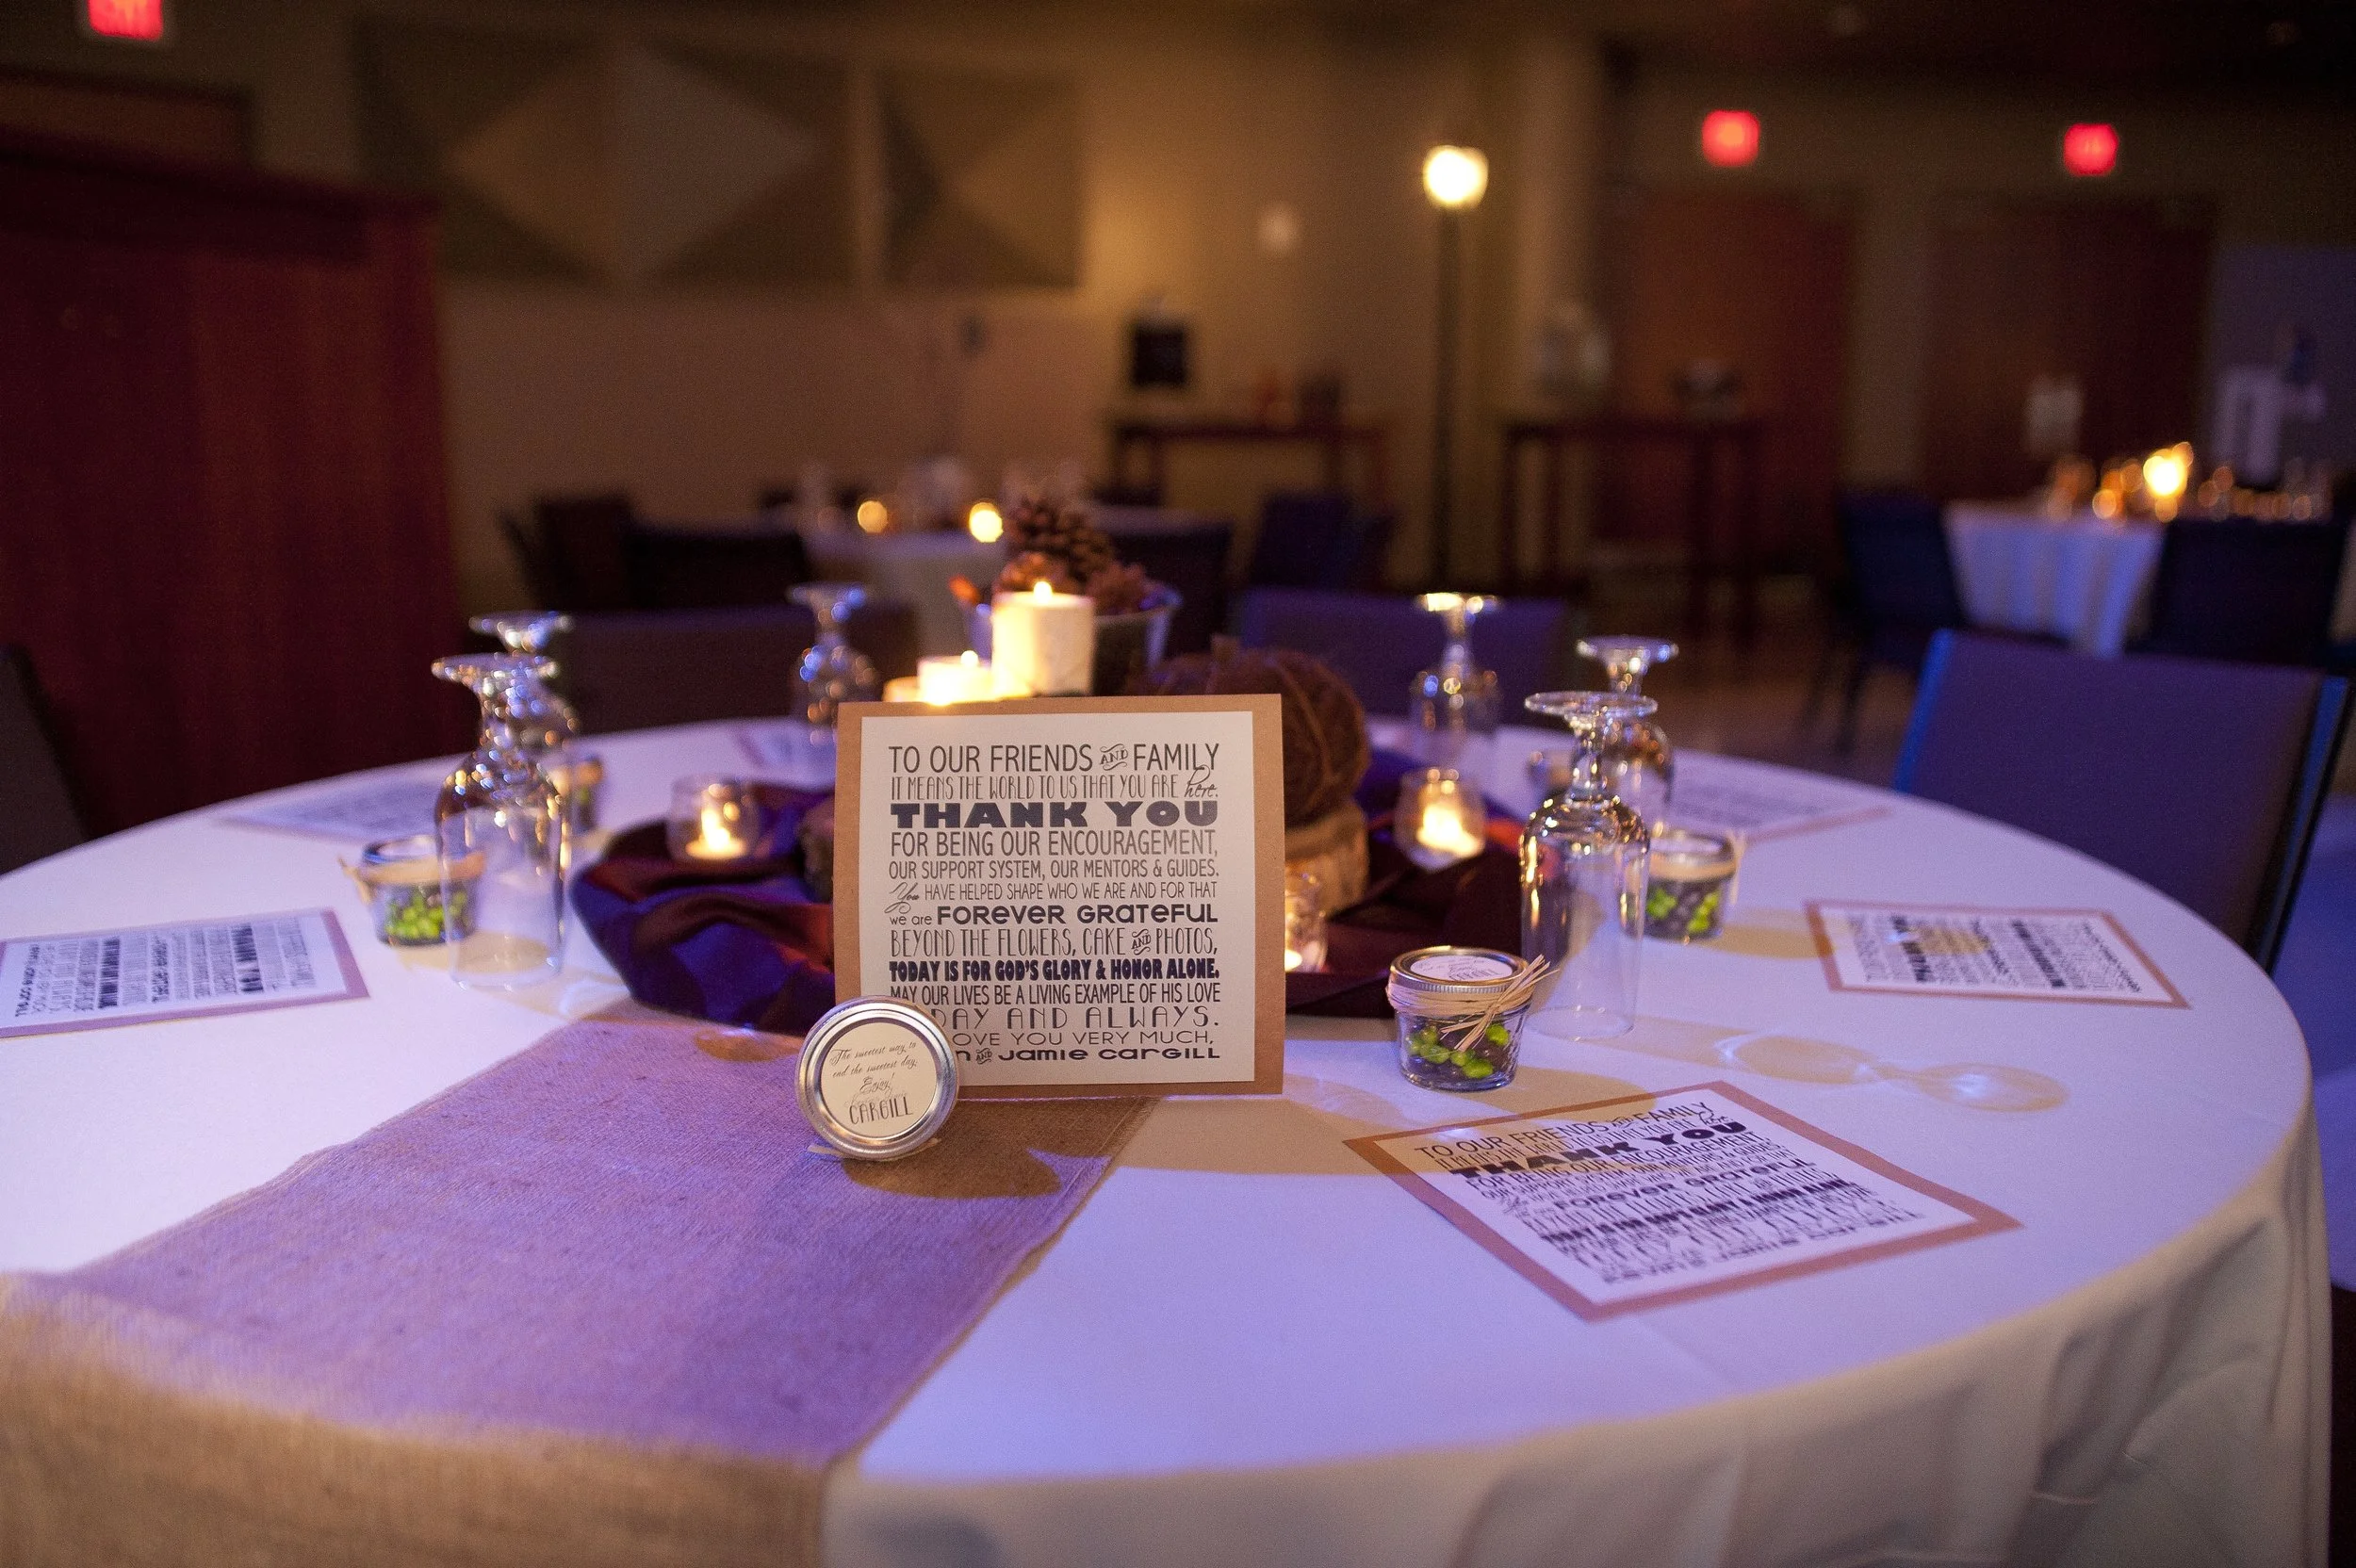
Did you see that adorable little sketch in the picture above? That's actually their save the date. The bride's grandfather is an artist, and he sketched that picture for them. My husband then scanned it in and added the text...it was so cute and personalized just for them! I also designed all of the Bride & Groom's invitations, programs and wedding favors. I created a custom "logo" for them that we placed on any of the printed signage for the day such as place cards, etc.

The logo I created for them.
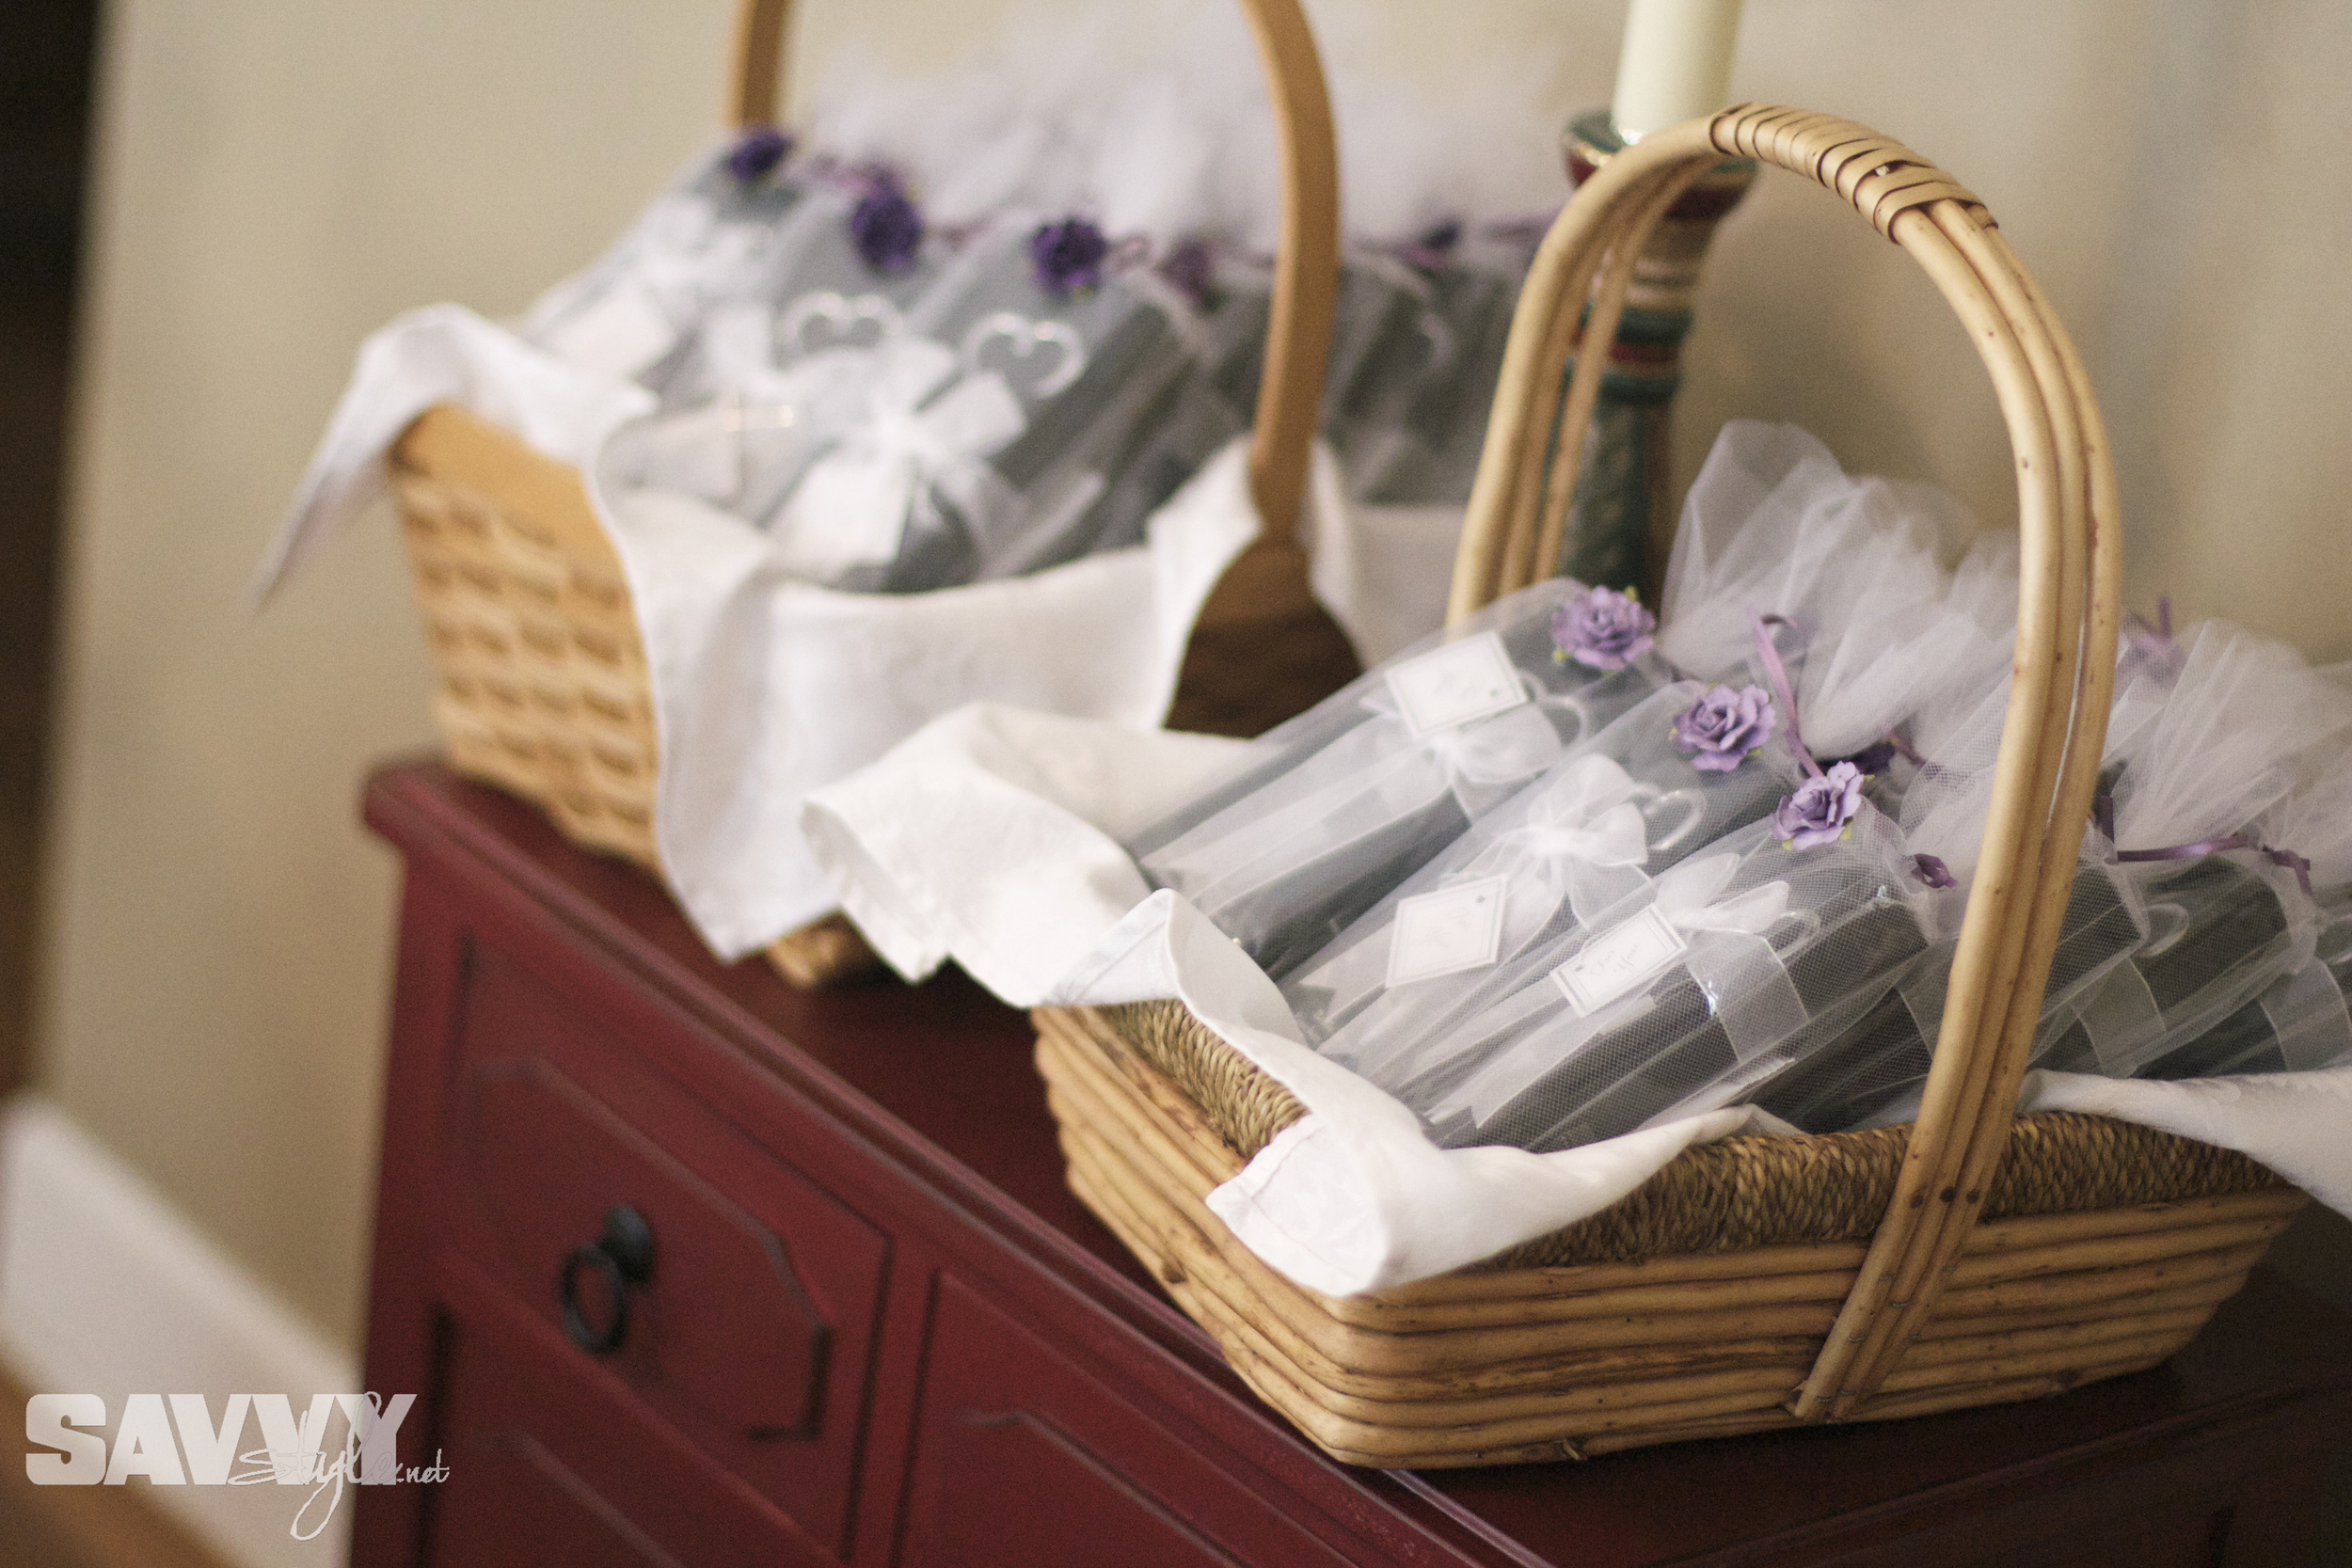
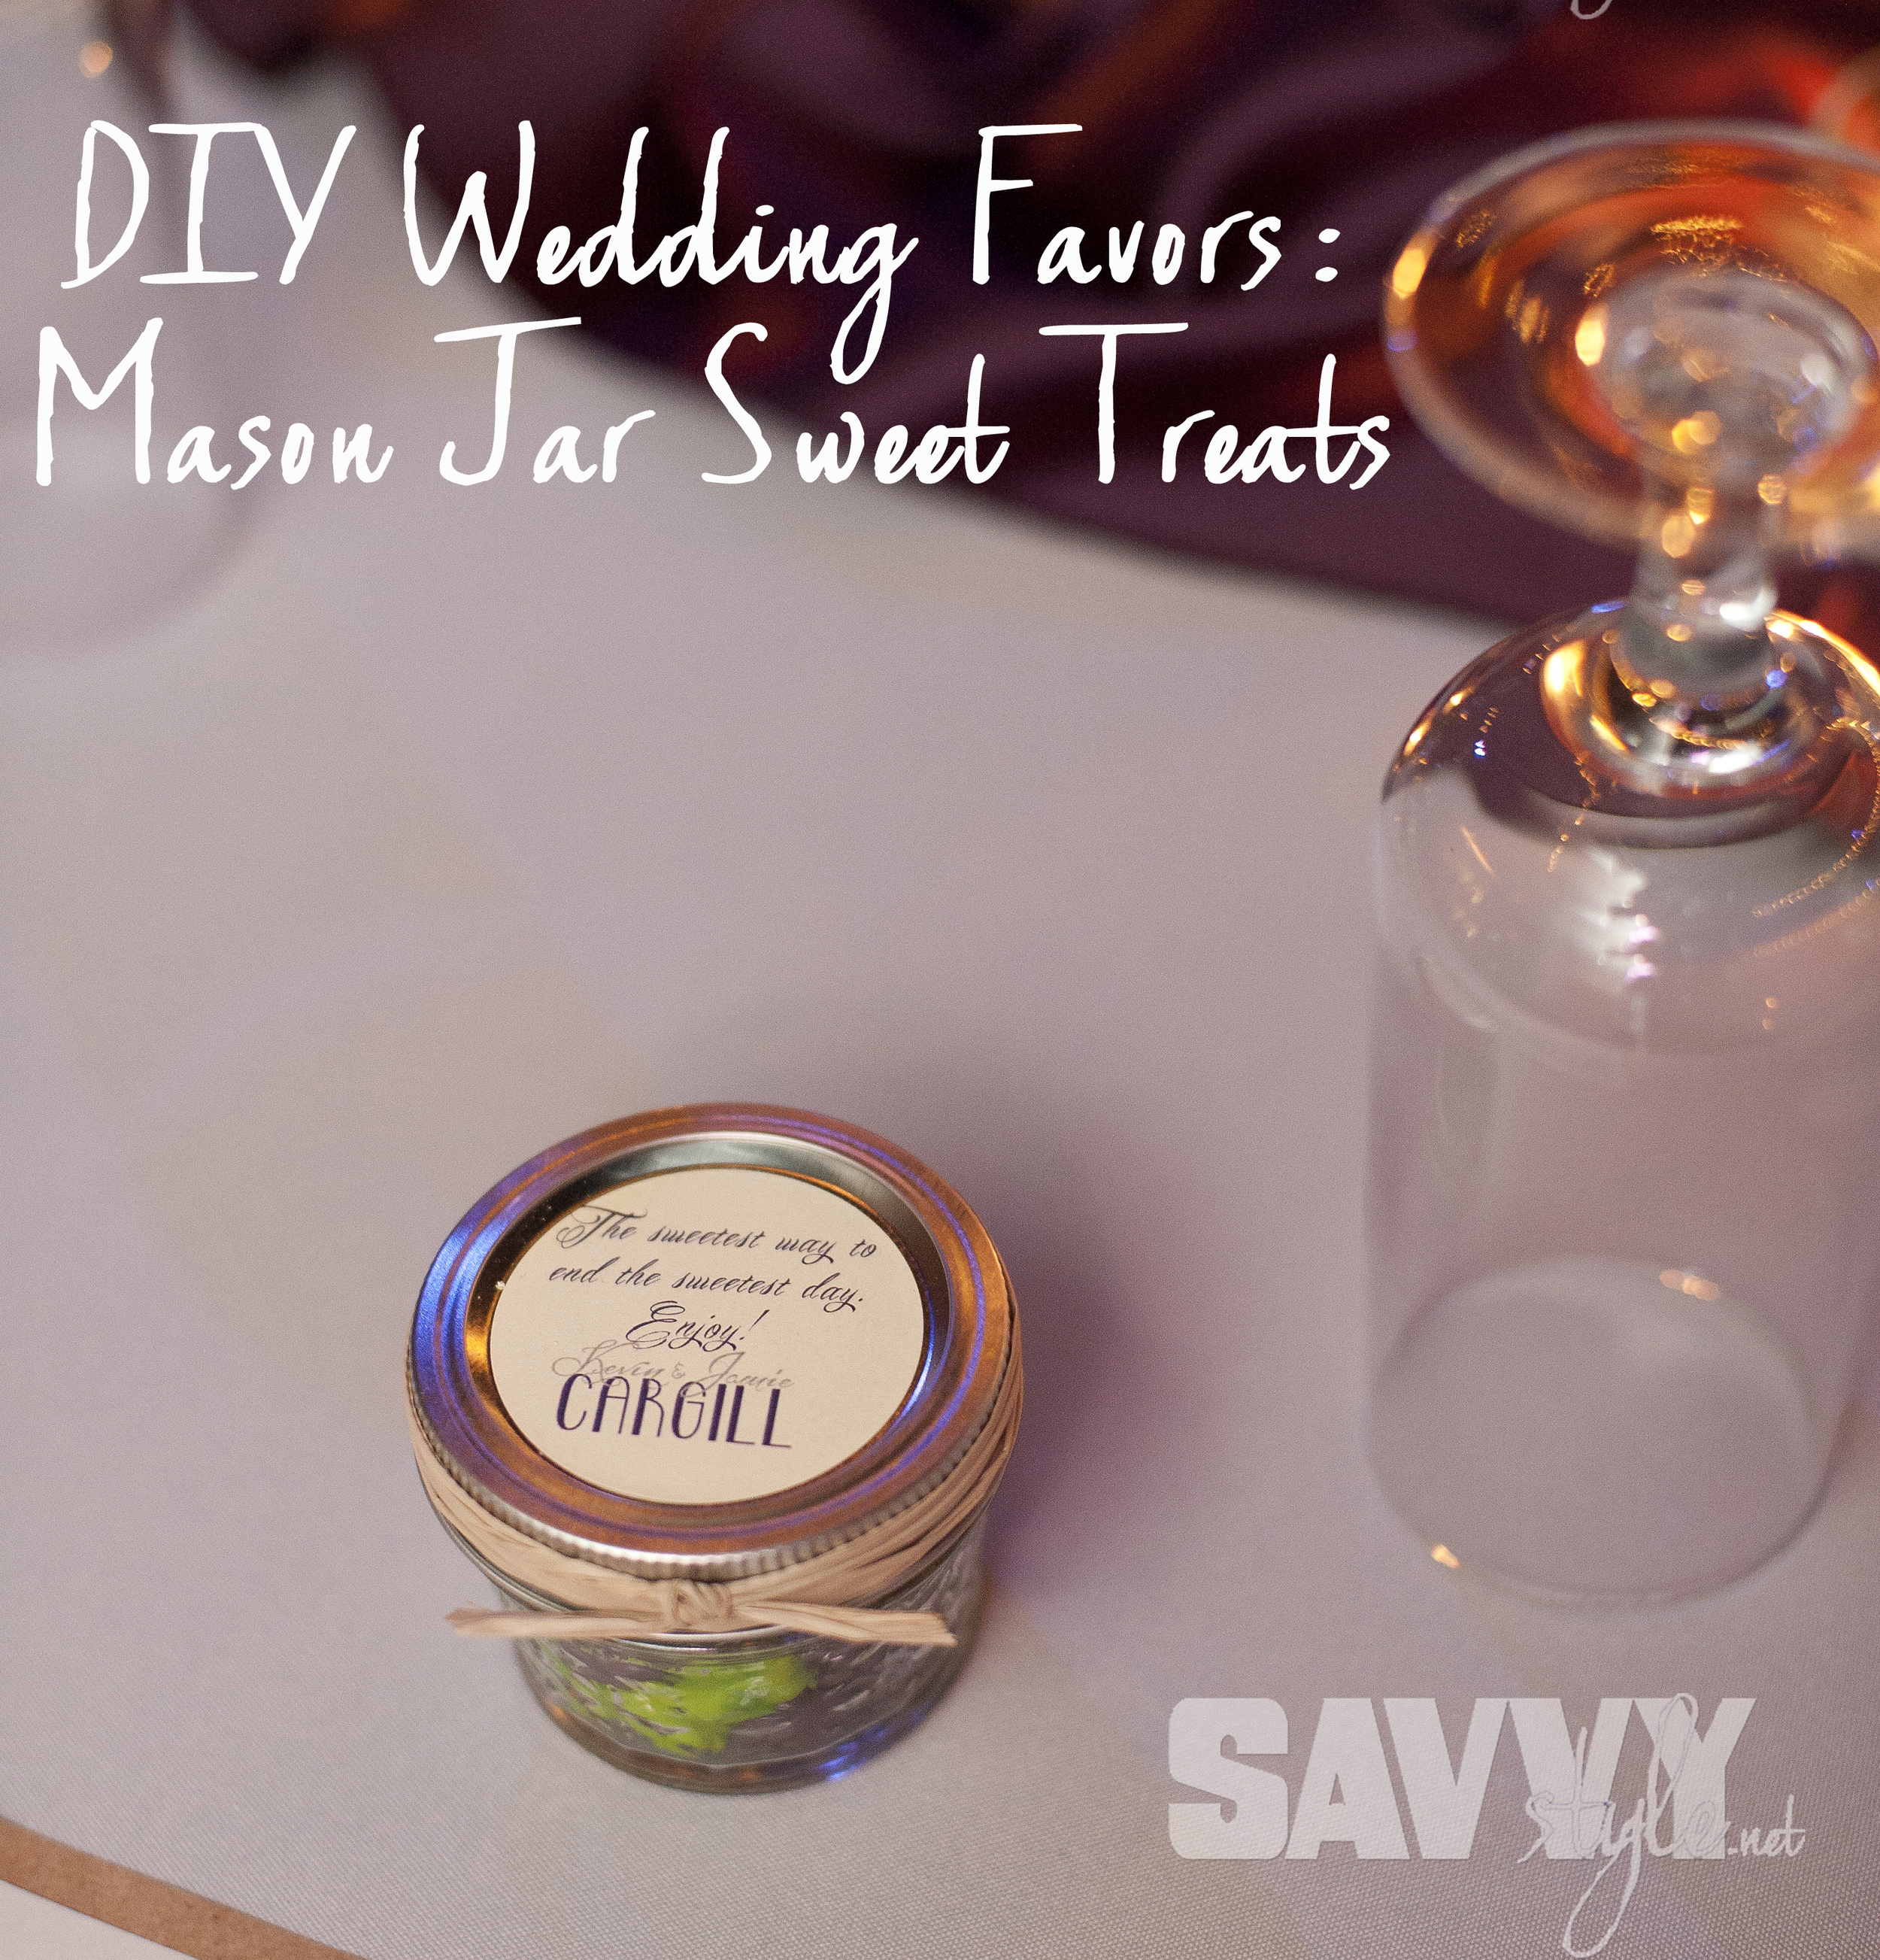
The wedding favors were another adorable burlap touch, complete with the couple's logo and filled with purple and silver Hershey's Hugs & Kisses.

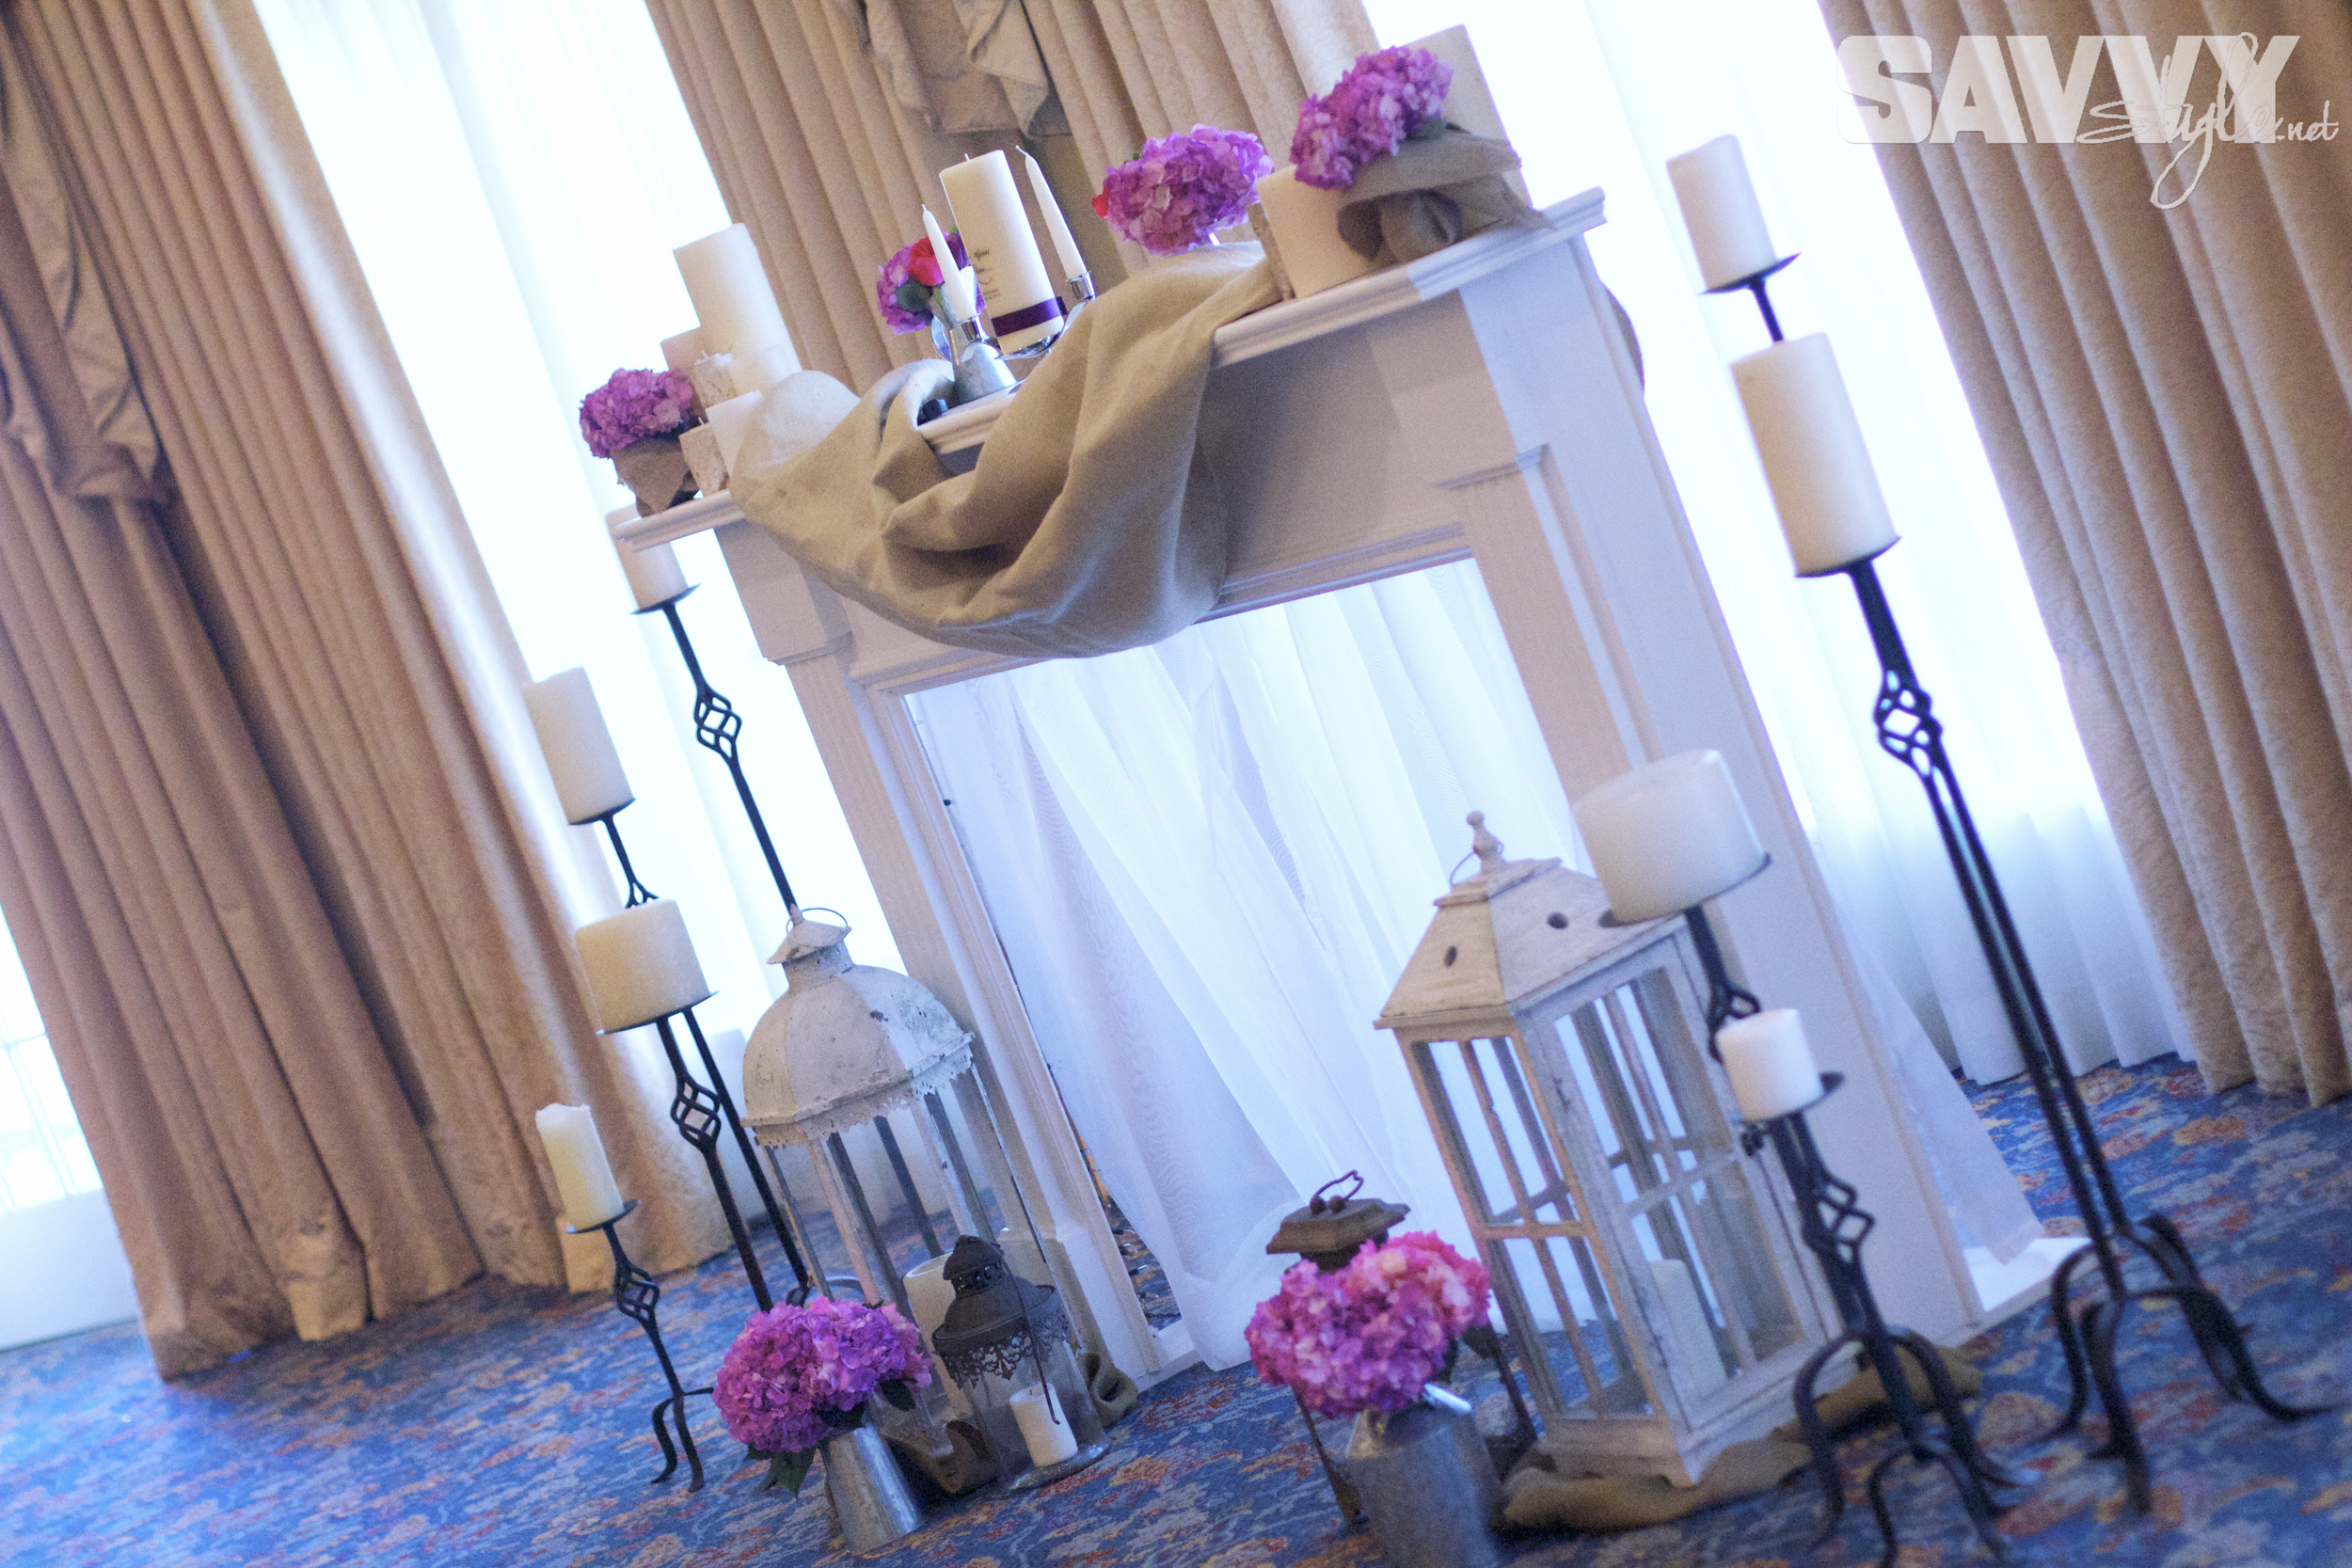
One of my favorite pieces we created for Emily & Clinton's big day was the fireplace mantle altar. Since the wedding was at a country club, there was no "traditional" altar for the focal point. In fact, the ceremony and reception took place in the same room, so while the guests were enjoying cocktail hour on the gorgeous veranda, the room was flipped...however this altar remained in the room and doubled as a backdrop for the dance floor. I actually scored the mantle off of Craigslist for $50...what a steal! (the story of how we actually got it to fit in a vehicle is a comical tale for another day...let's just save you the trouble now and say it will NOT fit in a Rav4)


The mantle was in great condition, so we just added two wood planks at the bottom to enable it to stand up and painted them white. I bought some sheer curtains at Ikea for $5 (similar HERE) and tacked them on the back to give the center some filler, and then we ran a strand of twinkle lights along the back of the opening to give it a soft backlight glow effect once the sun went down. It turned out beautifully!

Another subtle fairytale touch with the unity candle. Photo Credit: http://sugarsnapatl.com

Photo Credit: http://sugarsnapatl.com
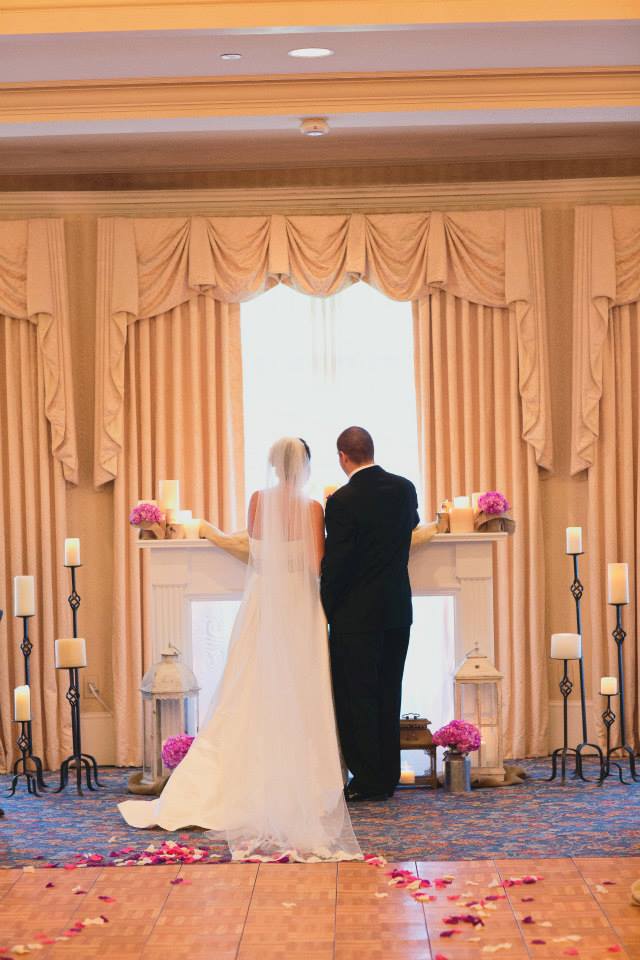
Photo Credit: http://sugarsnapatl.com
For the aisle, we couldn't actually do an aisle runner because the dance floor was already in place, so to jazz it up I created mason jar floral arrangements and accented them with burlap. We then dressed the center aisle with pink, purple and white rose petals.


They're married! Dancing back down the aisle. Photo Credit: http://sugarsnapatl.com
After a cocktail hour on the veranda, the guests came back into the ballroom for dinner and dancing....oh, there was so much dancing! The centerpieces contained an eclectic mix of vintage lanterns (no two tables were the same!), with mason jars wrapped in burlap, tied with ribbon that matched our bridesmaids dresses and filled with white hydrangeas.

Photo Credit: http://sugarsnapatl.com
Those table number frames cost $1 each from Michael's. I painted them a purplish pink to match the decor and overlaid a layer of ivory to give it more of a rustic/distressed look. We used chalk-paper card stock (did you know they make that?! It's awesome!) and chalk pens, both also from Michael's.

Photo Credit: http://sugarsnapatl.com

And here's just a few more of my favorite shots from the day...

Photo Credit: http://sugarsnapatl.com

Photo Credit: http://sugarsnapatl.com
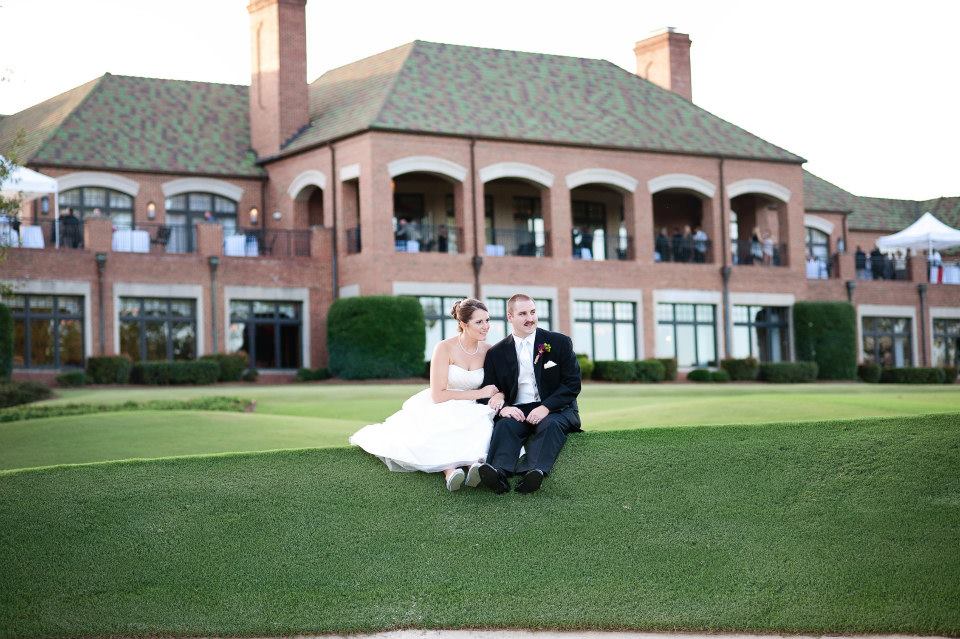
Photo Credit: http://sugarsnapatl.com

Photo Credit: http://sugarsnapatl.com
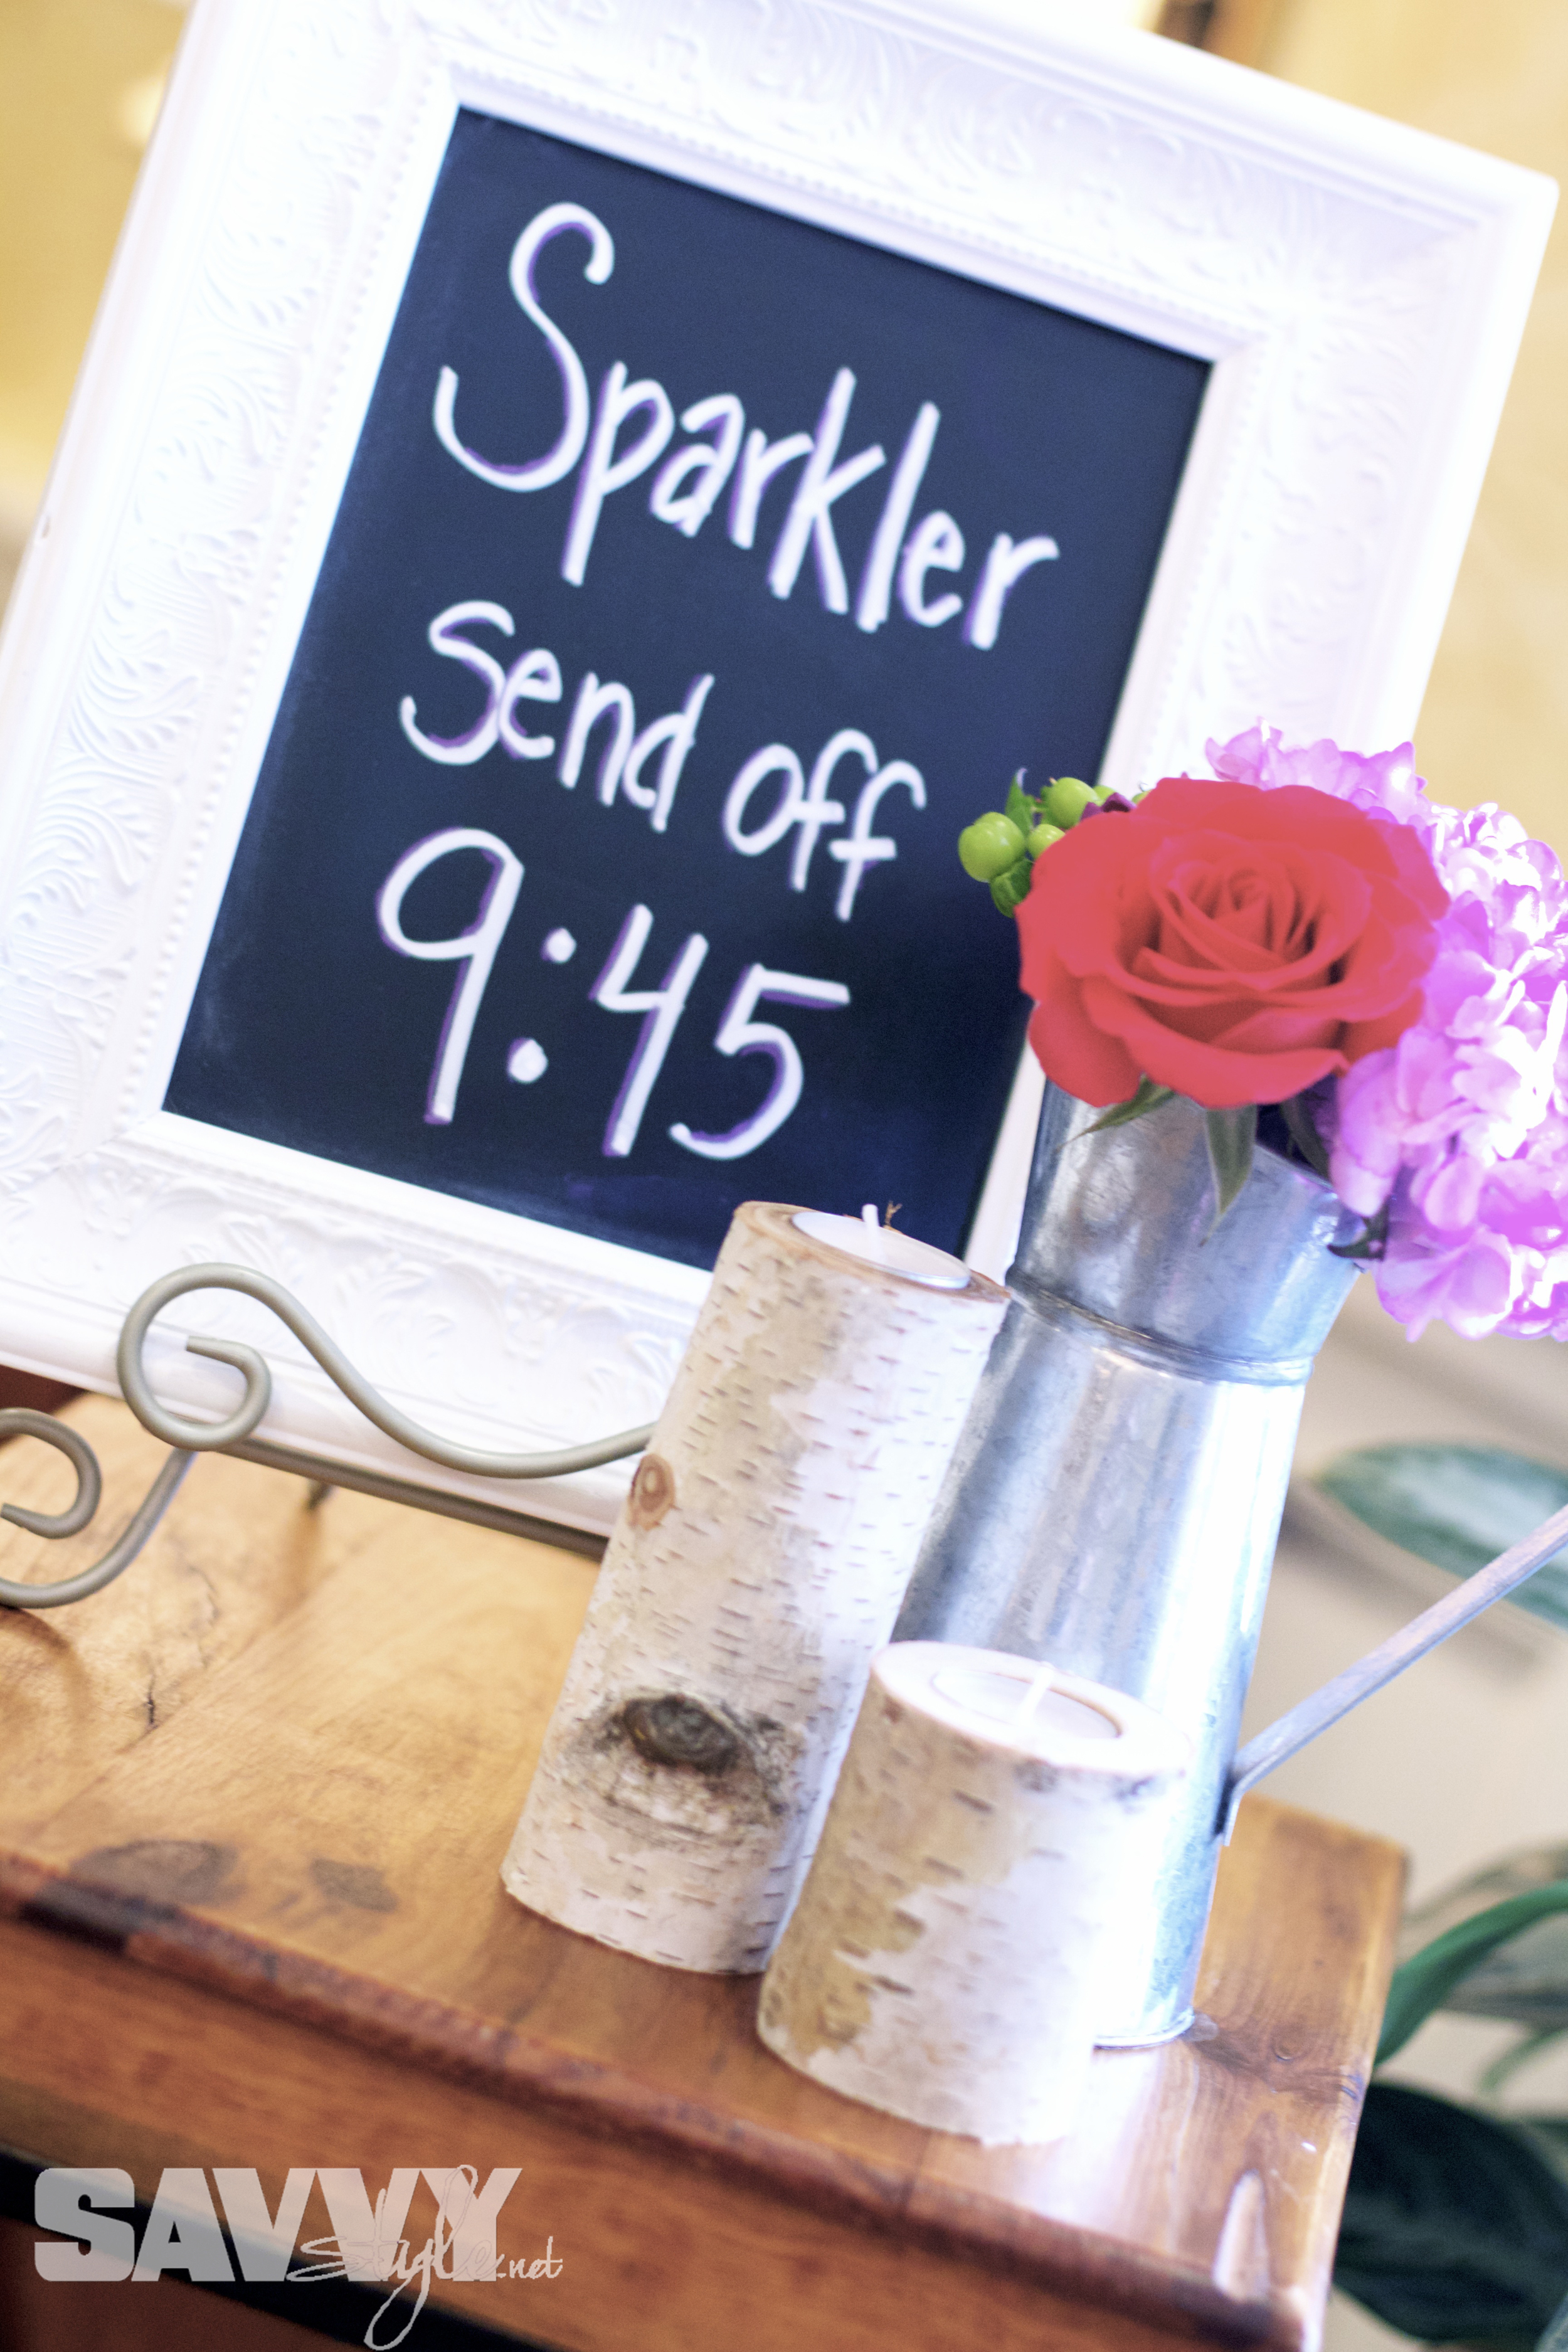
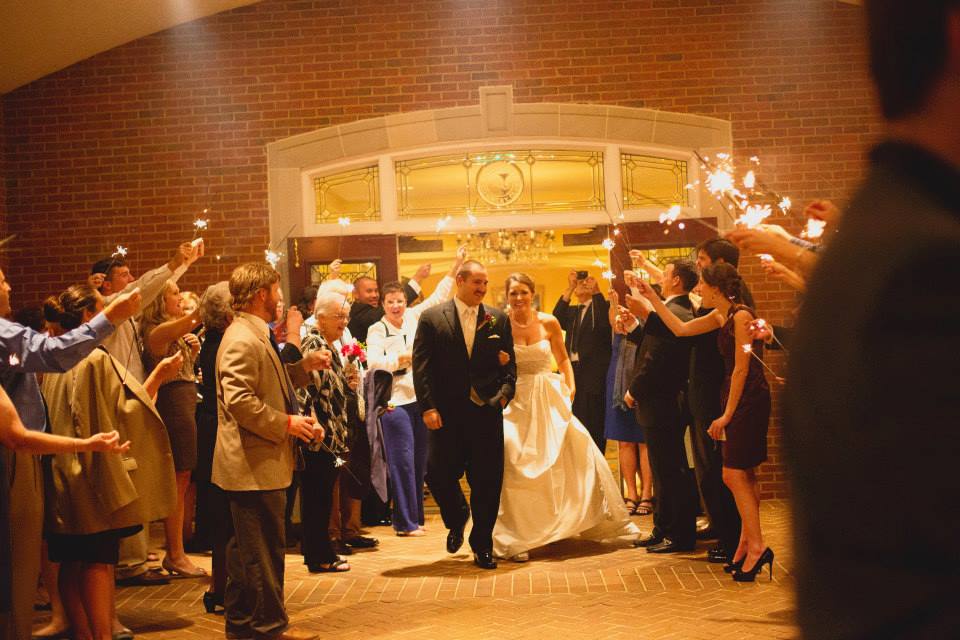
Photo Credit: http://sugarsnapatl.com
Venue: Dunwoody Country Club
Hair & Makeup: Sineat Heintzelman (she's amazing!!)
Flowers & Decor Design: Sweetwood Creative Co.
Wedding Cupcakes: Gigi's Cupcakes of Buckhead
Dress: Bride Beautiful
Here's to Emily & Clinton's Happily Ever After!